Where to begin? Before purchasing a split system (air conditioner), you must find out how much cooling (heating) area it will cover. To do this, you can do a simple calculation. If the area of the room where you want to install an air conditioner (hereinafter referred to as a split system) is no more than 20 square meters, then you can buy a split system of the seventh model. If the cooling area is from 21 to 27 square meters, then you need to buy a split system of the ninth model (installers and managers call it nine or seven, respectively). This means that when choosing a split system, as you already understand, you need to calculate what area it will cool, divide it by three, and then it will become clear to you which model of split system you need to buy. For example, you need to cool (heat) a room with an area of 36 square meters: divide this area by three and get the number of the split system you need, and in the example it will be 12. But we will tell you about installing model 12 and higher next time.

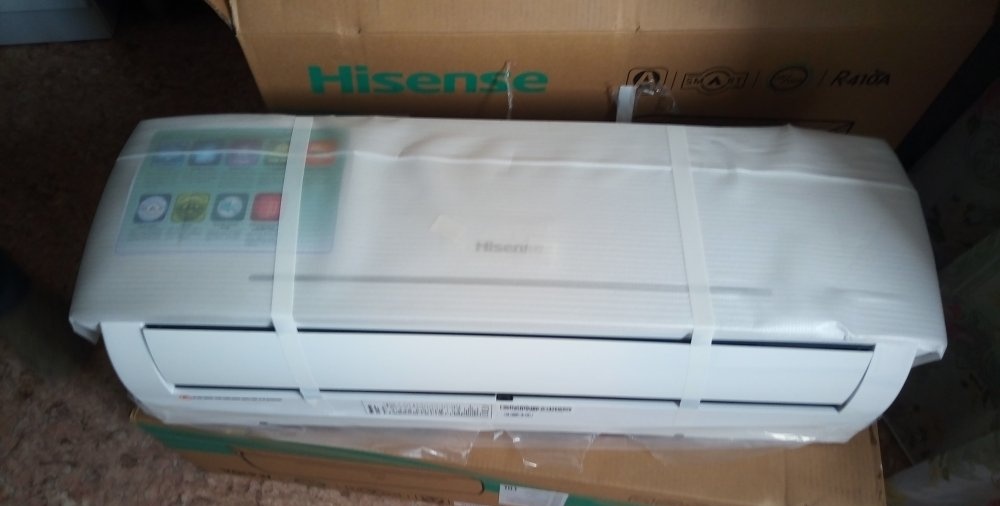
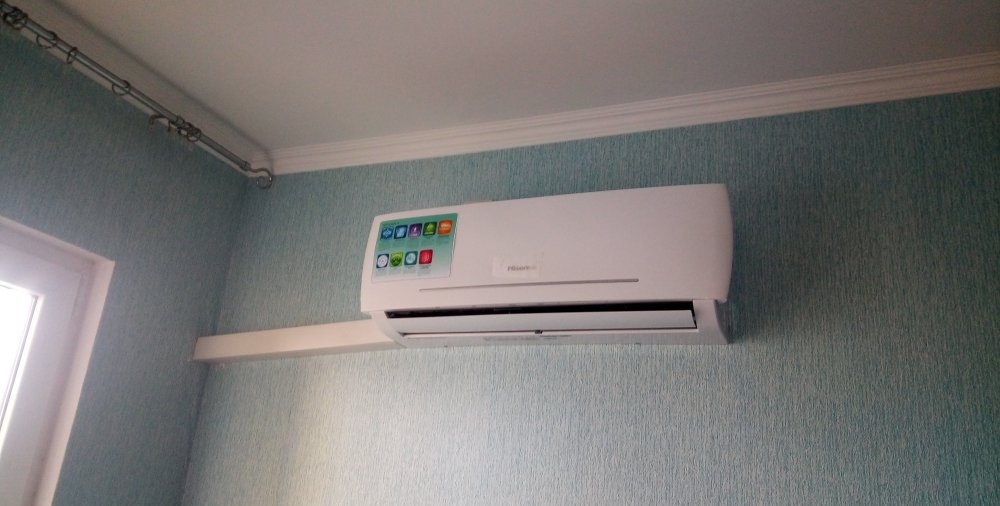
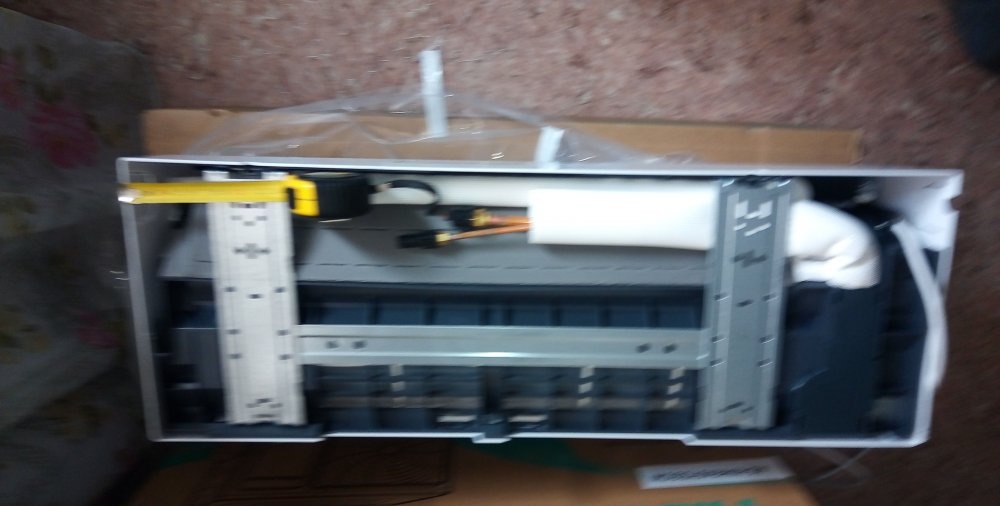
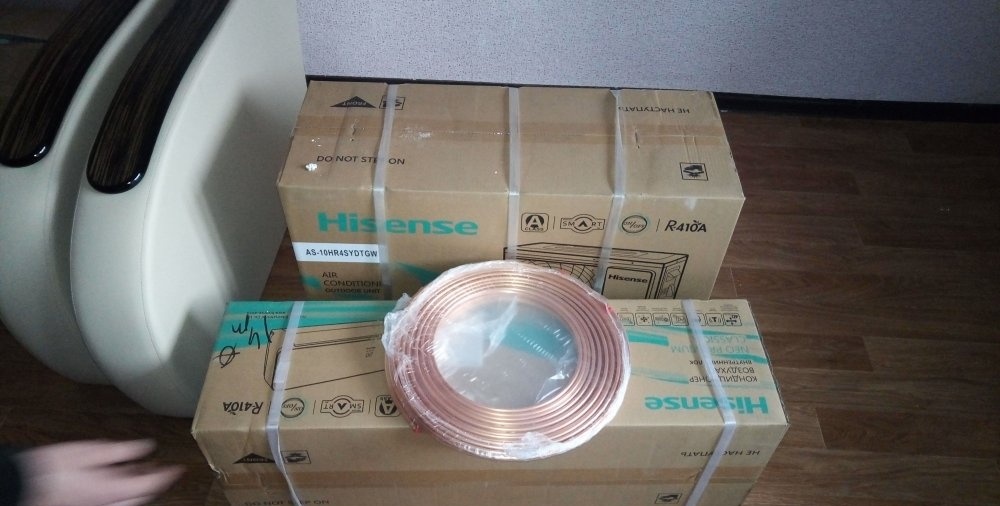
Let's begin by describing the installation process of the 7th model split system, which is designed for a cooling area of 21 square meters. So, you visited the store, chose a 7th model split system for installation, paid for the purchase, and now the split system is in your home. If you decided to install a split system for the first time and called the experts for this, then here’s what you should know. Firstly, before starting work, the assemblers (installers) must open the packaging in your presence, if you did not do so when it was delivered to you, and conduct a visual inspection of the external and internal units for the integrity of the housings. If an external inspection shows that there are no defects, then you can begin work on installing the split system. But if you suddenly notice that one of the blocks has a dent, a scratch, or, for example, a crack in the case, then immediately request an exchange of goods. It is prohibited to install a split system with any mechanical defects.
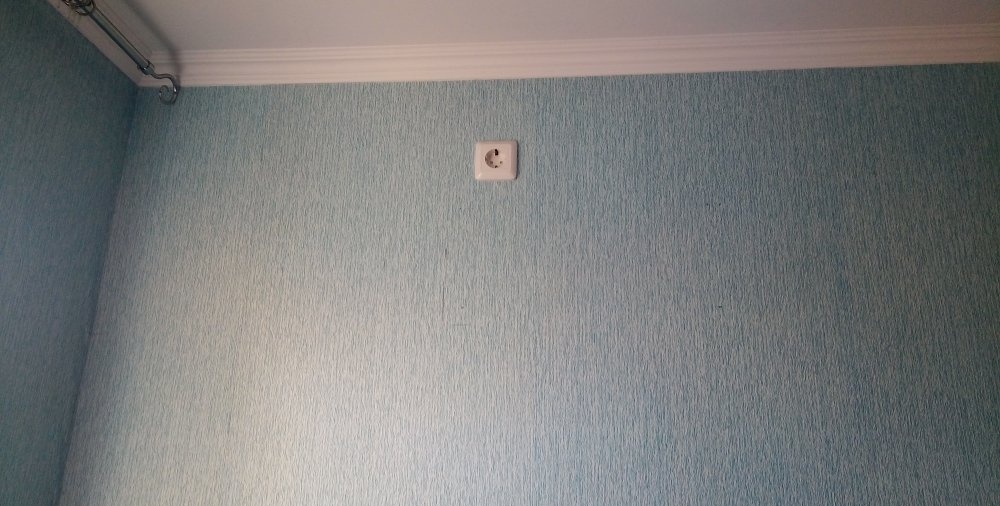
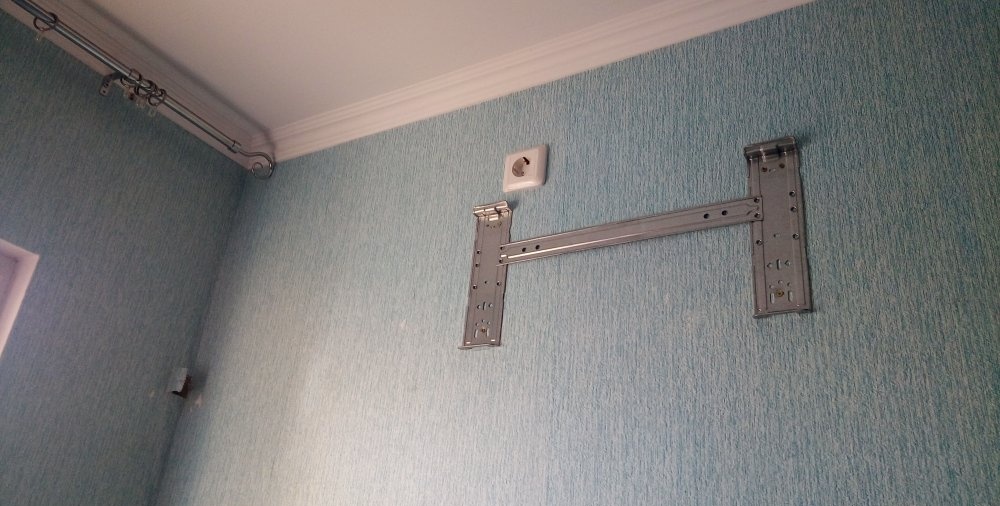
The installation team consists of two people. After opening the box with the indoor unit, using a tape measure, the installer must measure the distance from the strip on which the split system will be fixed to the plastic wall of the housing. These measurements are taken into account when marking the wall where the split system is installed using a level. It is also worth noting that after marking in the places where the plank is attached to the wall, from the edge of the split system using a level at a slight angle (this is mandatory), a place is marked where the hole will be drilled, and it must be below the edge of the split system housing. systems. This is done so that the water that is formed during operation of the evaporator flows by gravity through the drainage pipe to the street.The hole is also drilled at a slight angle; if the installers do not comply with this requirement, then the water from the split system will not drain on its own and will begin to flow onto the wall in the place where the split system is installed.
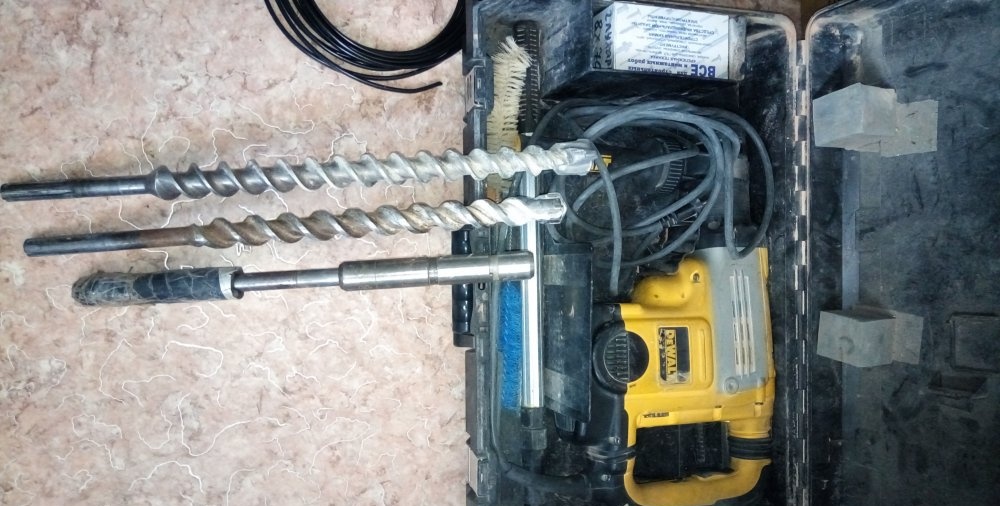
While one installer is marking, the second installer determines in what way and with what number of wires the indoor and outdoor units will be connected. If there are difficulties with this (lack of experience), then the installer can look it up in the installation instructions. In this case, one triple and one double wire are enough for installation. It also determines the diameter of the pipes that connect the blocks and through which the refrigerant will circulate. By the way, almost all modern models of split systems are already refilled and use freon 410 during operation. Therefore, the installer, after connecting the wires, begins rolling and connecting the nuts of the interblock pipes. It is important to remember which wires are connected to which terminals, since they will also be connected to the outdoor unit. After joining and rolling, the installer places a special flexible material on the pipes in order to improve the insulation and wraps it with tape. This will avoid the appearance of condensation on the interconnection route.
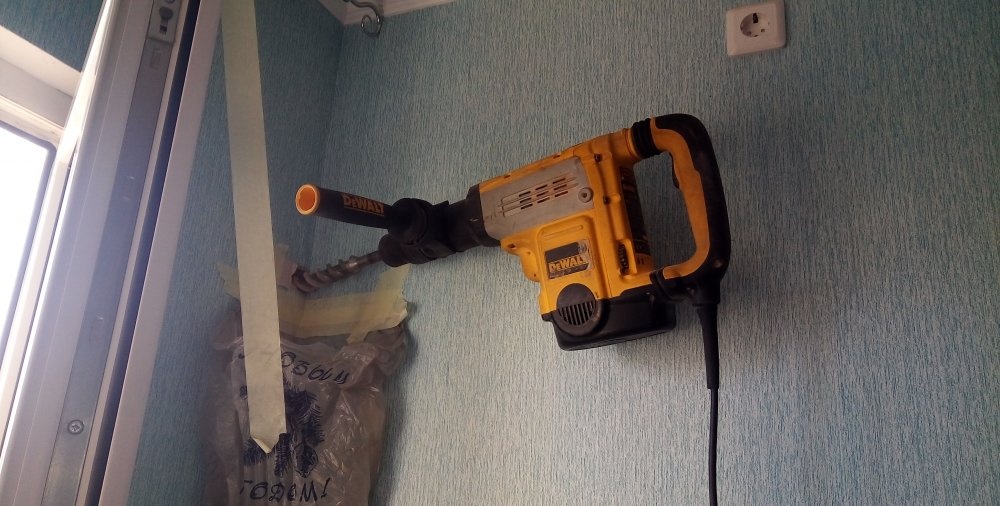
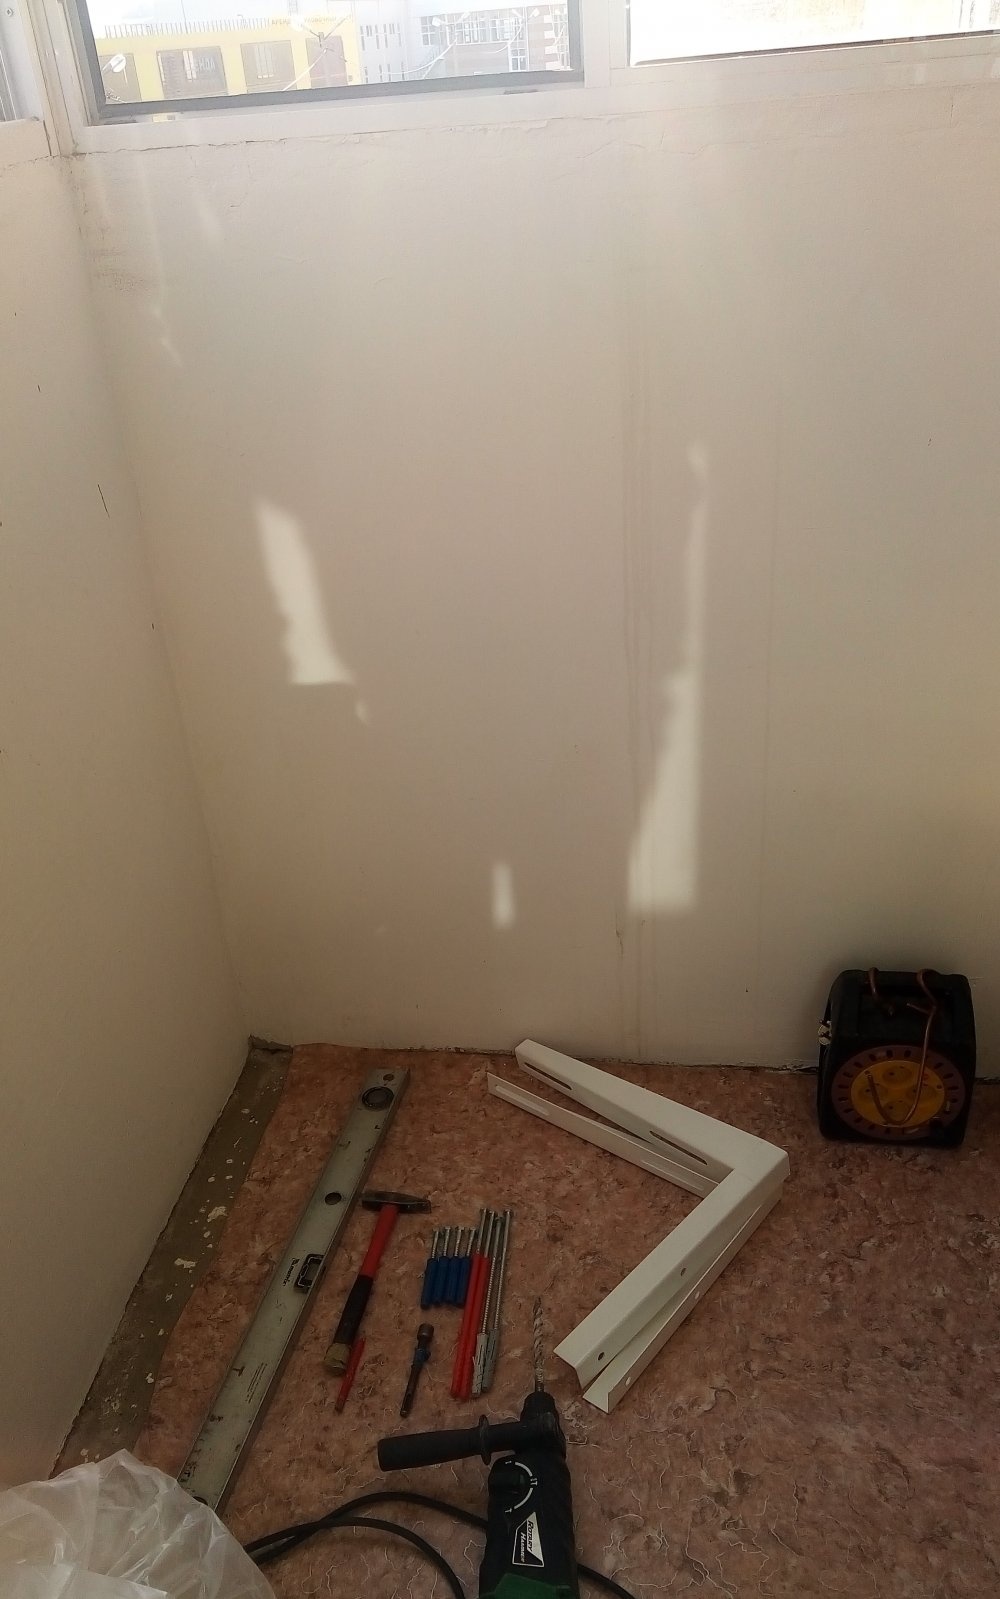
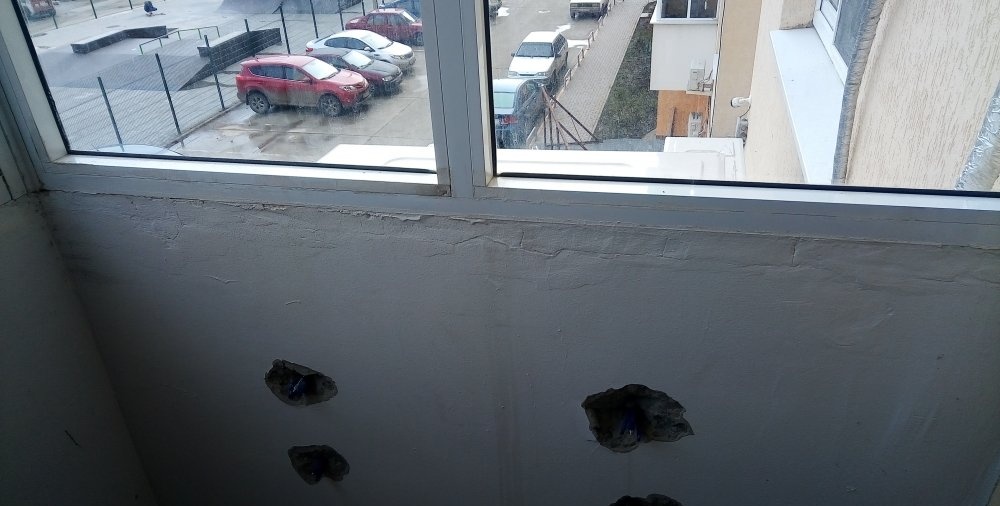
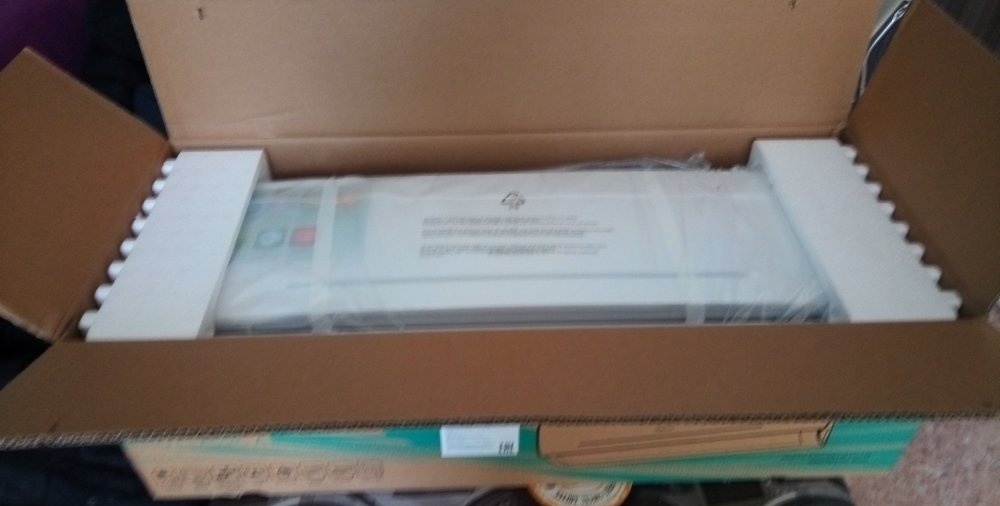
After marking the wall for fastening the plank, installer No. 2 begins drilling the hole, while installer No. 1 is outside in the place where the hole will come out, ensuring that fragments of the wall do not fall on people or parked cars. And so, the hole is ready, the stones are caught, the bar is installed, the installer begins to attach the brackets, the photo shows what we may need for this.Since in our case we are attaching the brackets to the wall of the balcony, we use short anchor nails, a 12-diameter drill, a hammer drill, a hammer and an attachment for tightening the anchors. Usually on balconies the holes for anchors are through, so it is better to immediately warn the owners of the facility where the work is being carried out about this. We secured the brackets, install the outdoor unit on them and secure it. We pass an insulated interblock route into the drilled hole (the drill diameter must be at least 32 mm). Then we hang the indoor unit on a strip fixed to the wall and carry out work on connecting the route and the external split system. After the installer has connected the pipes between the indoor and outdoor units, we connect a vacuum compressor and perform a vacuum for at least ten minutes, especially for inverter split systems. Then we connect the wires and secure the drainage tube. Only after all this work has been completed, the installer can start the split system for cold or heat, depending on the conditions, to check the functionality.