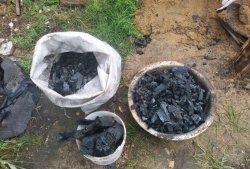
I read about charcoal and identified three of its main positive qualities: it burns cleaner than coal, it costs an order of magnitude cheaper, and you can cook it yourself.
I looked at several instructions for making your own charcoal, and this method seemed to be the easiest and cheapest. I originally dug it up somewhere on the Internet a couple of years ago, but in that video the guys used 210-liter barrels with pipes. I don’t have such steel canisters or closed barrels at my disposal. How did I get out of this situation? Now I will tell you everything in detail.
Tools and material
In general we will need:
- Firewood and coal wood.
- Tools for cutting and splitting wood.
- A metal container and everything needed to seal it.
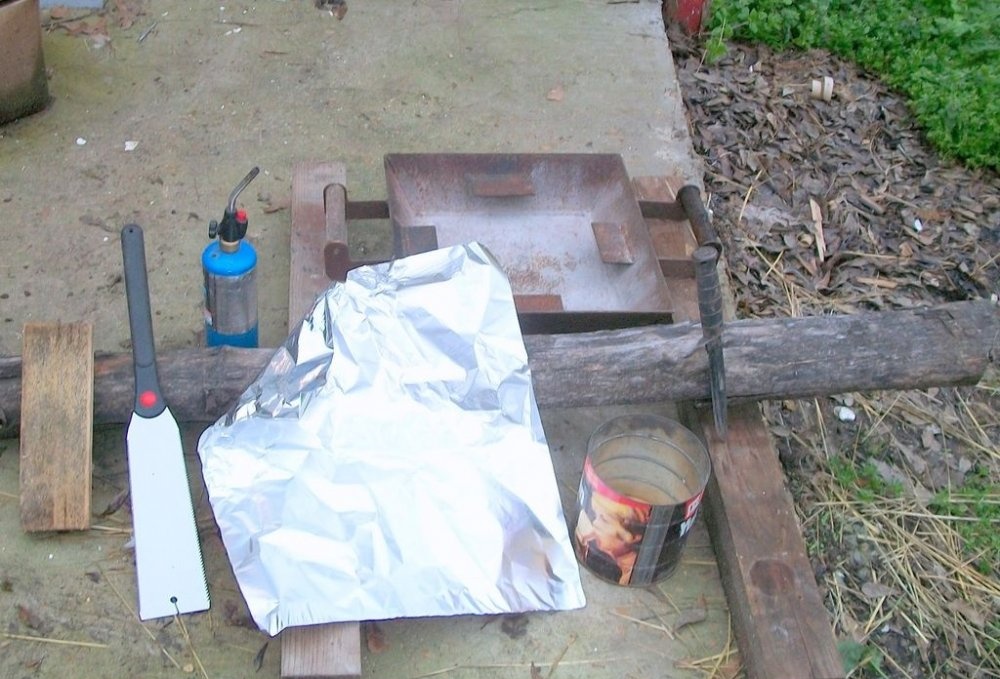
What I used:
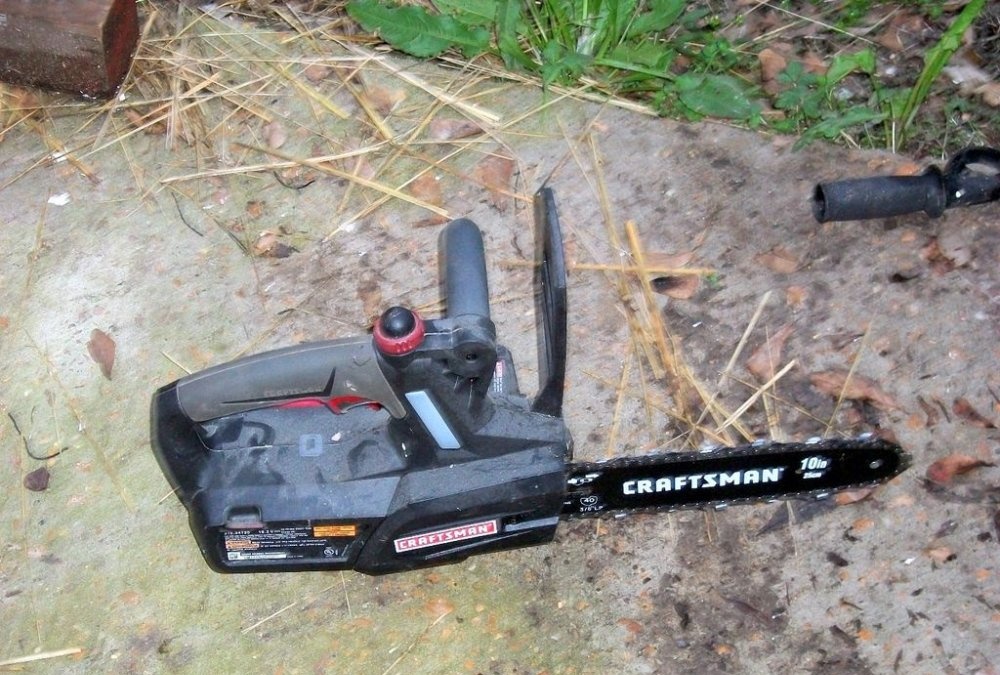
- A cordless chainsaw, although a regular hand-held one will do just fine.
- A Ka-Bar combat knife for cutting small wood, a wedge and a hammer, although you can also use a shingle knife (like in my story about making a forge, so I'll make a shingle knife from an old lawn mower blade).
- A block of wood for hitting the knife (or a knife for splitting shingles).
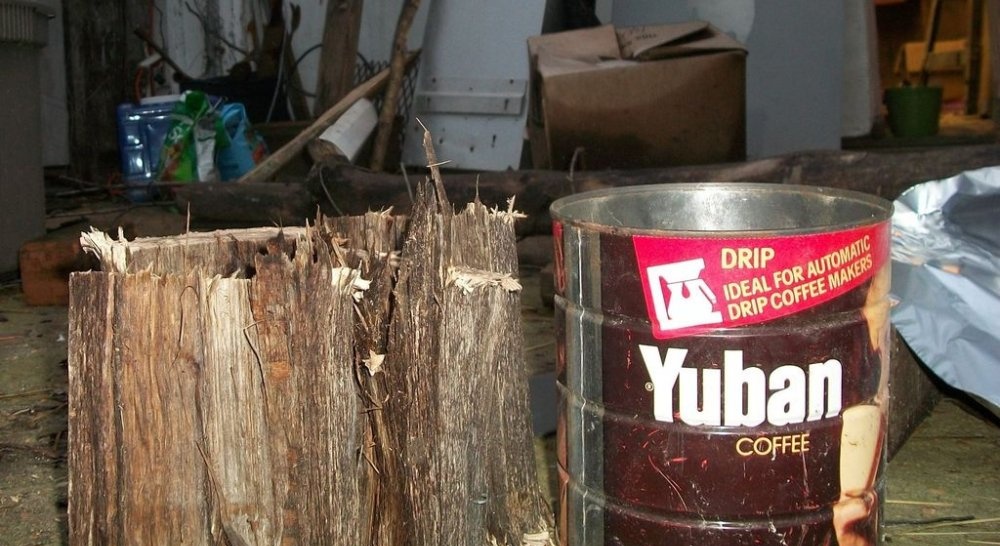
- Red oak for kindling.
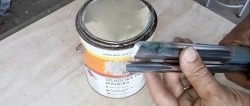
- Coffee can as a container.
- Aluminum foil to seal the container.
Chop, prick and throw into a jar
I couldn't capture everything properly on camera because I lost my tripod somewhere, but I think you'll understand everything anyway.
First I sawed the red oak to lengths just short of the height of my coffee can, then I chopped them into pieces about 20mm thick.
I estimated the thickness by eye. Since I plan to use these coals to light the forge, I thought that small blocks would not work for me. Considering, moreover, that everything was done as an experiment with an unknown result, I needed bars with as much surface area as possible for combustion.
I then filled the jar as tightly as possible with wood, then covered it with aluminum foil. I made a small hole in the foil to allow moisture and wood gas to escape.
When wood smolders in the absence of oxygen, it releases wood gas, which, by the way, can be useful on the farm. In principle, this gas can even be used to fuel cars! It is because of the gases that a completely sealed container in our case will turn into a time bomb. Aluminum foil with a hole avoids this effect.
Let's make a fire
Safety first!
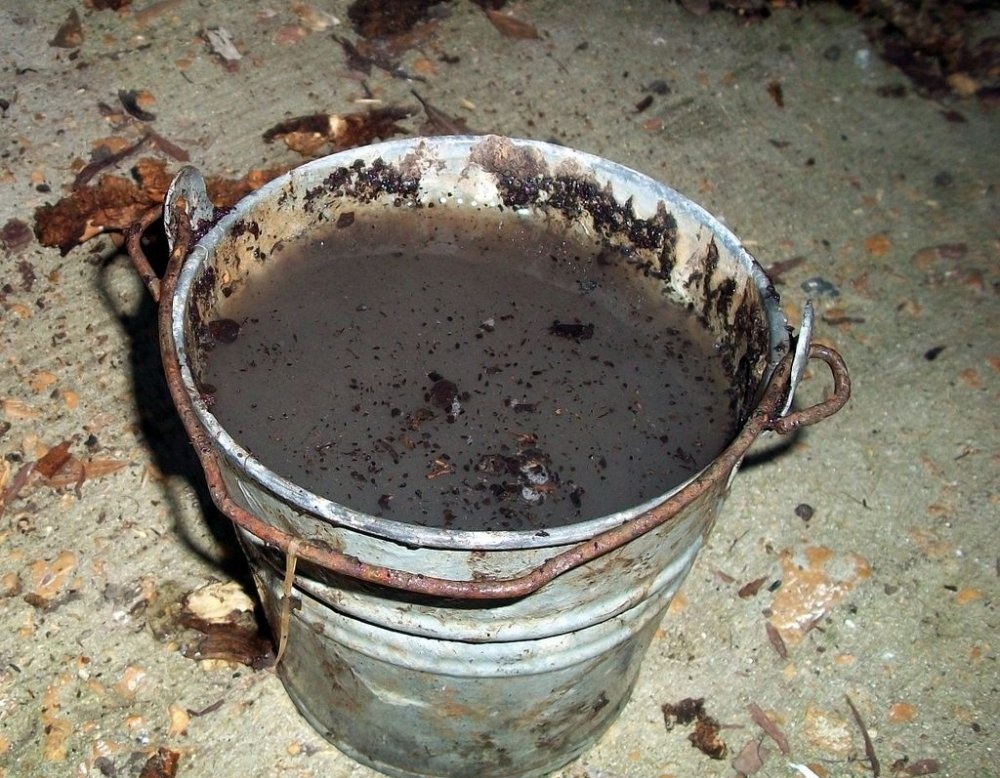
A bucket or other container with water nearby is a must.I had rain for 2 days, but the fire can break out suddenly and very quickly, so you need to be ready to stop it at any second. I had about 40 liters of water on hand.
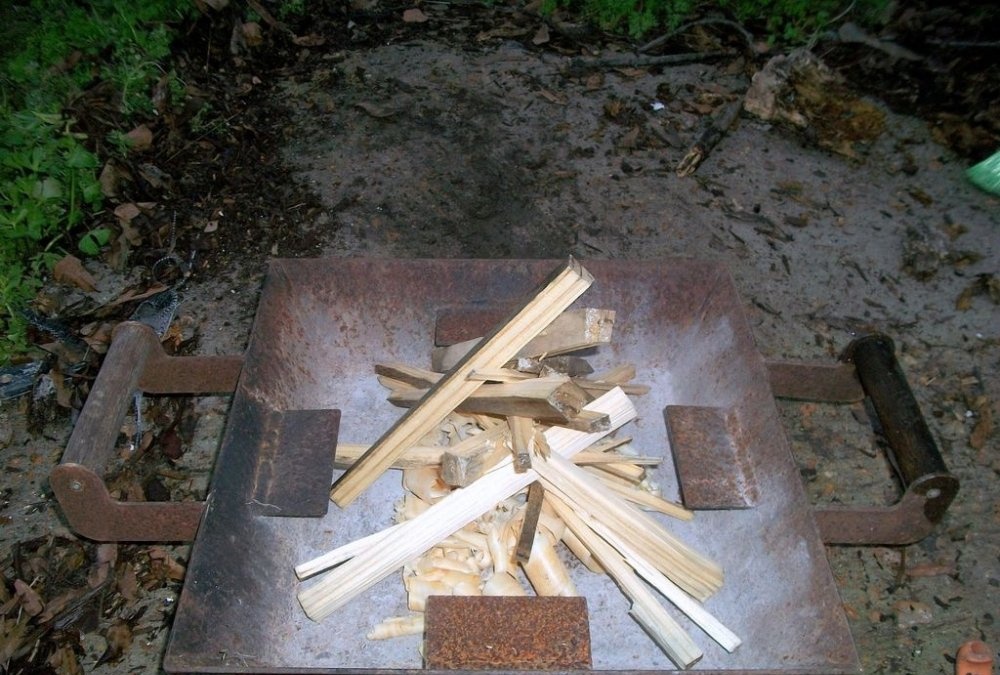
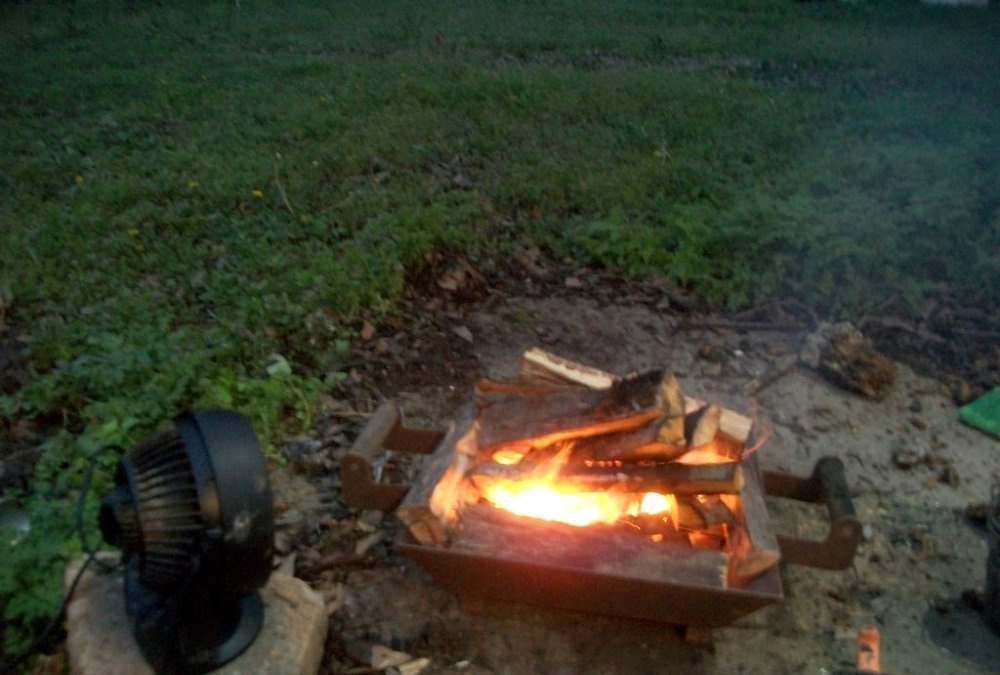
I started the fire in a homemade steel container that I made during a welding course a couple of years ago. I planned to make a grill out of it.
I have a fairly long beard and I've singed it before, so here's my advice to anyone with long beards: braid it or tuck it into your shirt! I think fishtail braids are a good option, while traditional three-strand braids tend to wear out pretty quickly.
For those with long hair, tie it back in a braid or bun to avoid singeing. It's not that easy to grow them back. My hair length now does not exceed 3 cm, so this issue no longer bothers me.
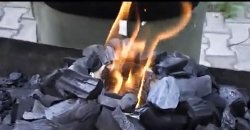
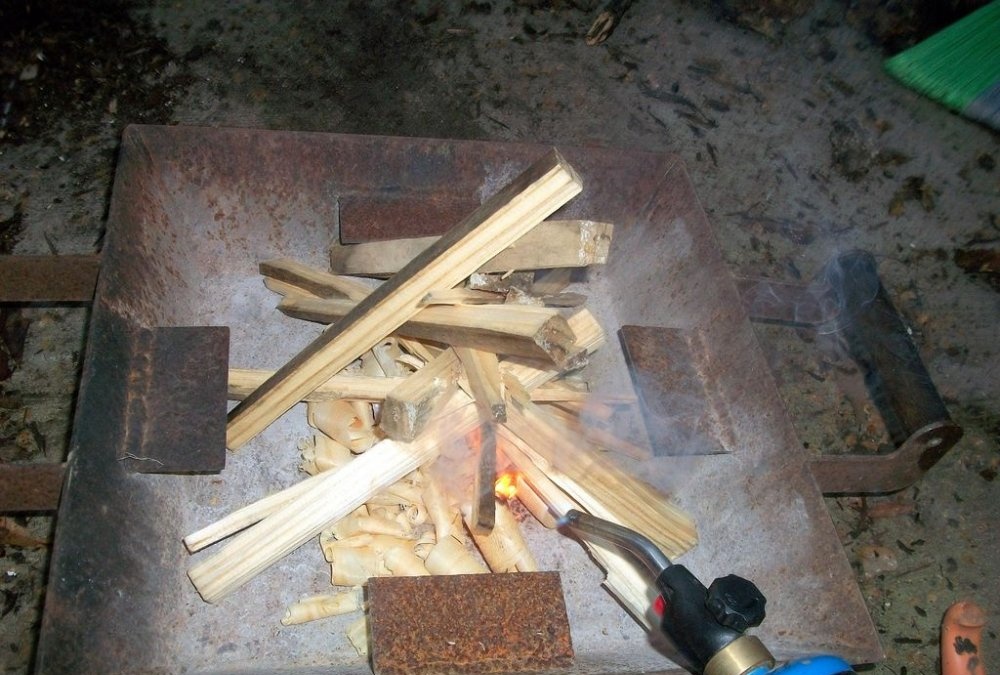
So, I decided to cheat a little by using a gas blowtorch to ignite. I used pine shavings from my workshop for tinder and dry pine sticks for the fire starter - all of which will help the red oak fire.
I lit a fire and put oak on top, but the fire burned weakly. The traditional method of cooking charcoal requires patience, but I was eager to get it done before the evening! That's why I turned a fan on the fire, and after about half an hour it completely engulfed the tree. It's time to move on to the next step.
We watch and wait
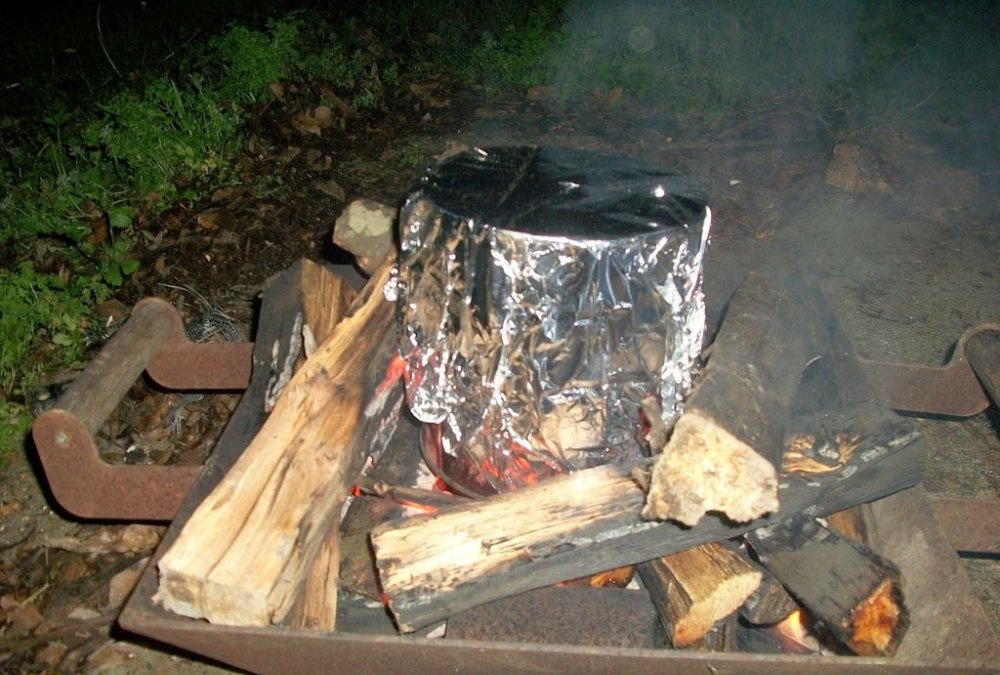
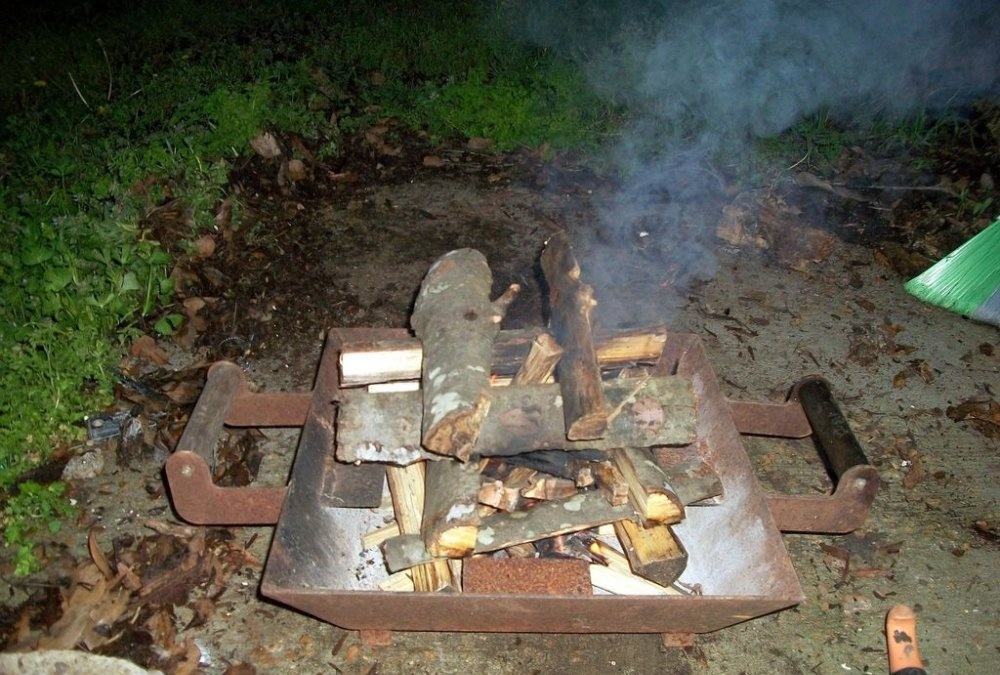
I lined the coffee can with logs and left the fan on to keep the burning temperature high.
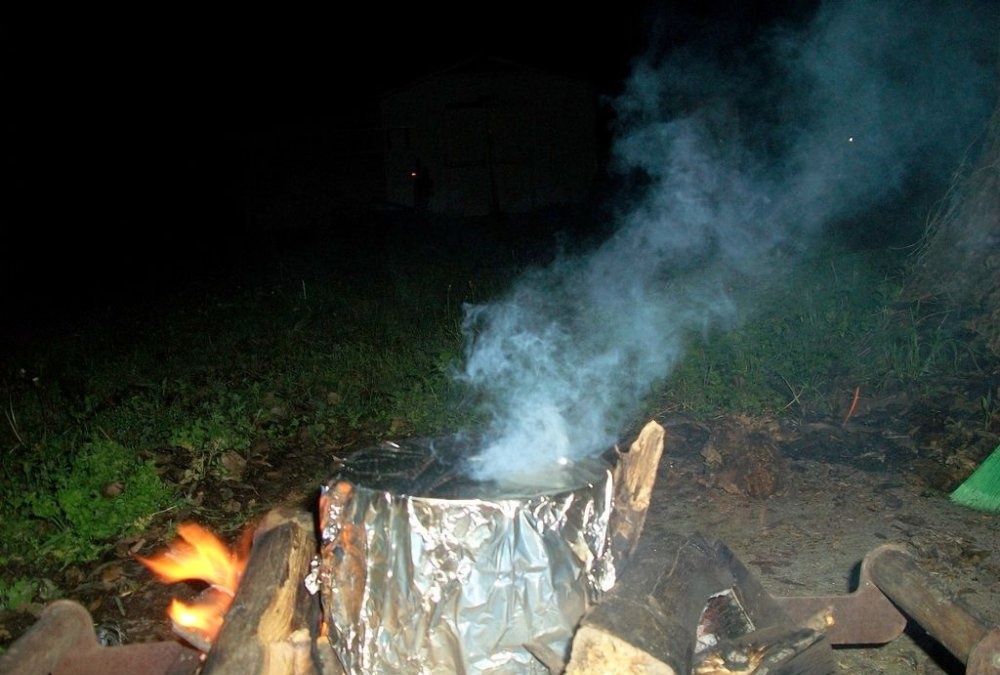
After about 20 minutes, smoke came out of the jar, but it was just the water vapor that I talked about at the beginning.
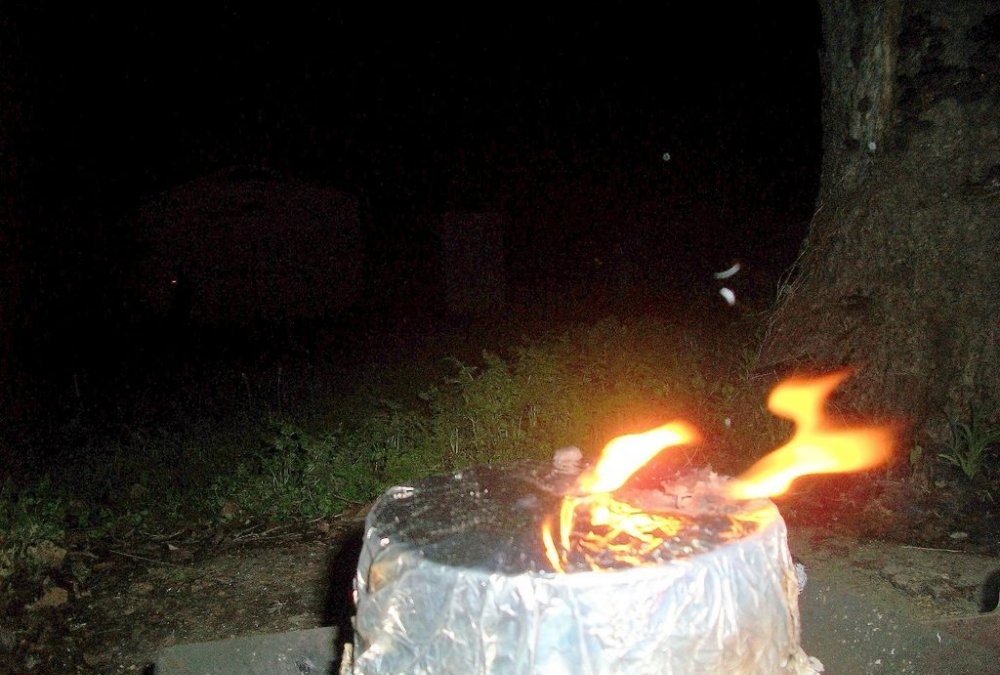
After about an hour, wood gases began to appear.HOORAY! This means everything works as it should and the wood turns into charcoal! After an hour or so the fire was almost gone and I decided to hold some heat to the hole in the foil to make sure the wood gas was no longer escaping. Everything is almost ready!
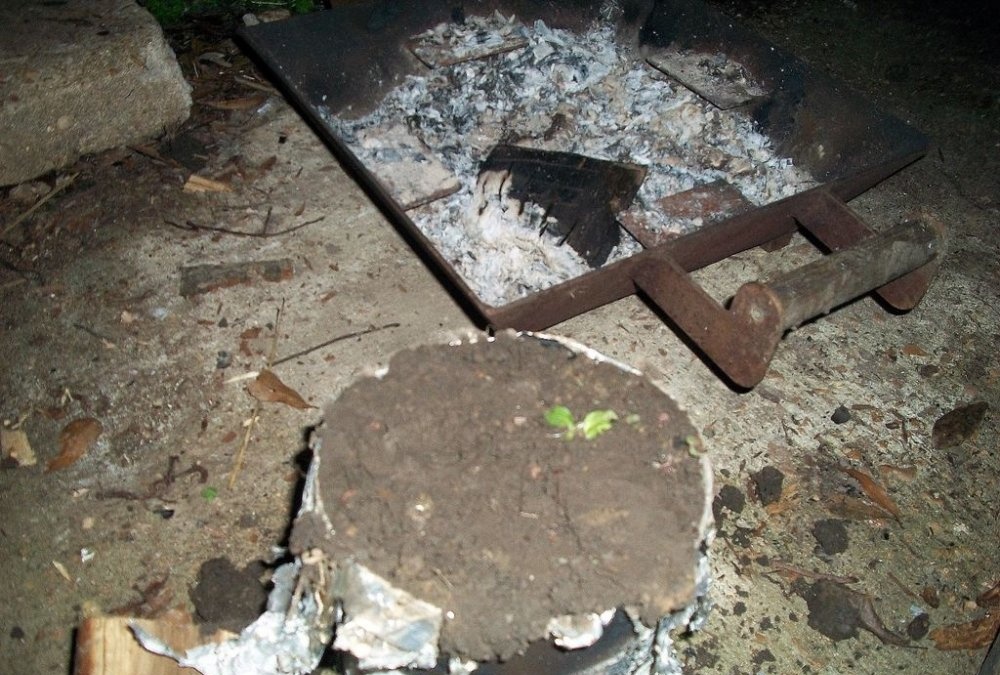
I removed the jar from the fire using two rods and threw a little earth on top to completely seal the container - no air should enter there, otherwise, due to the pressure difference, it will allow the charcoal to smolder further.
I waited another hour or so before opening the jar and seeing the finished product.
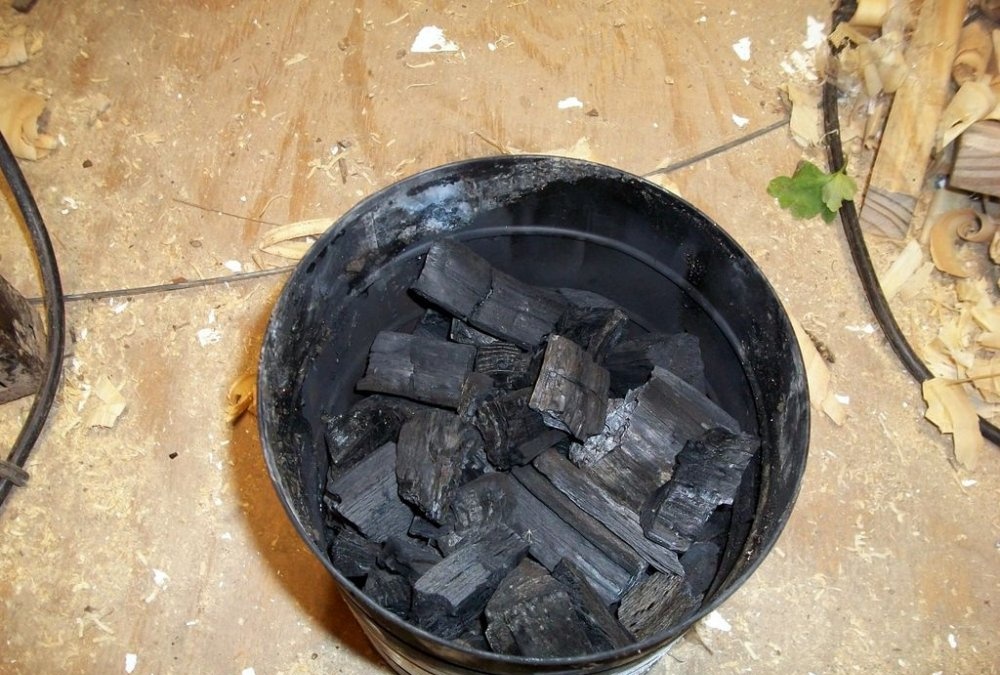
Result and final thoughts
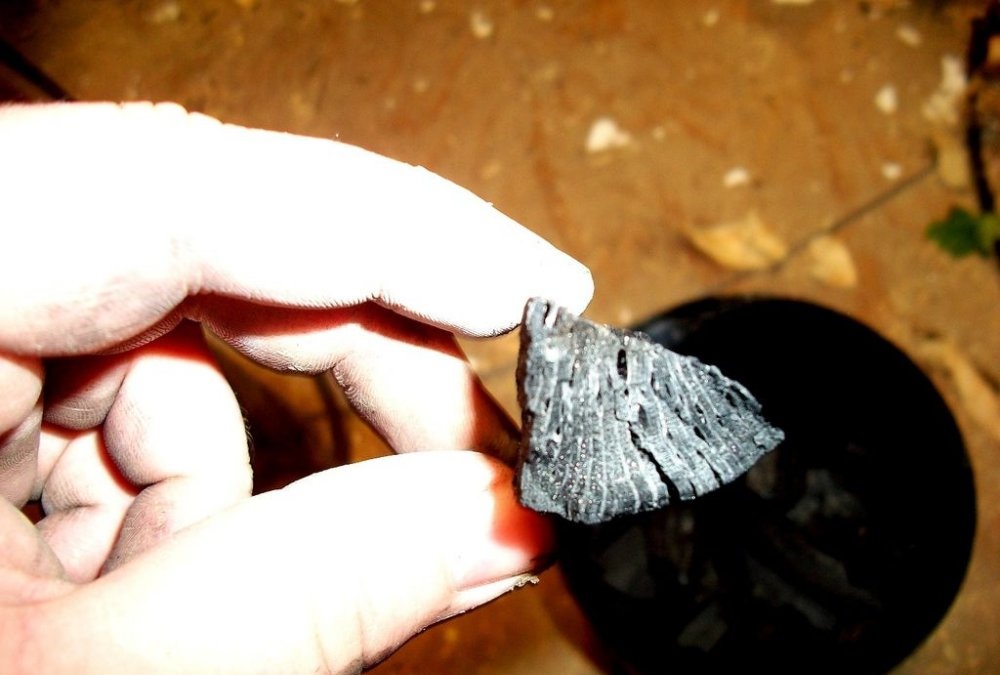
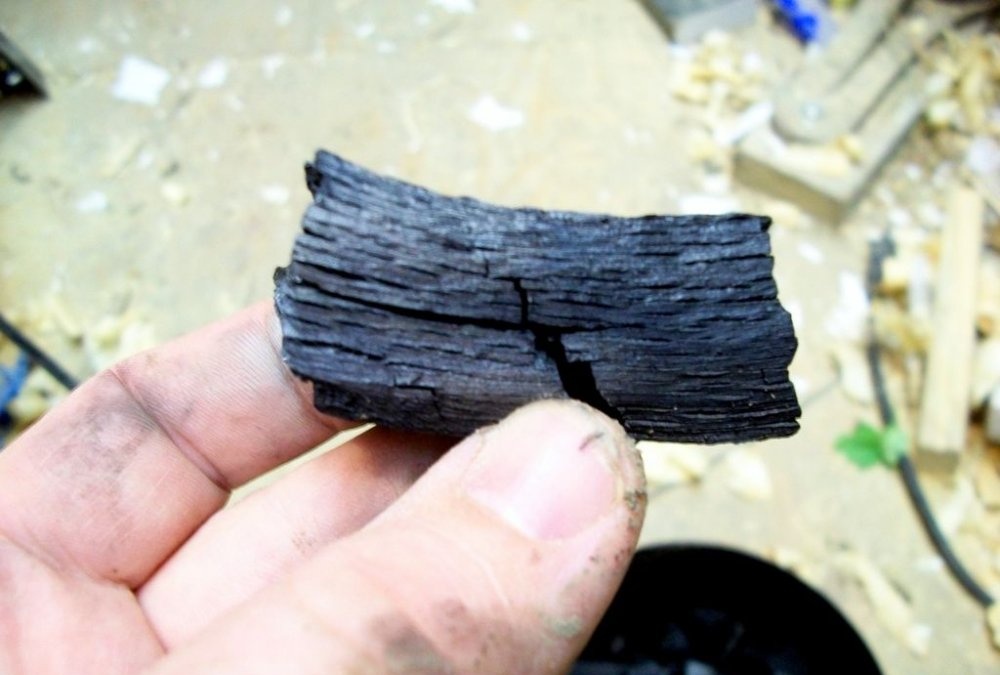
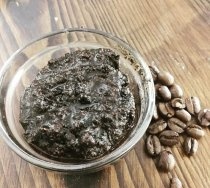
I opened the cooled jar, cleaned off the dirt, dumped the charcoal and broke it into small pieces about 5 cm in length. Really, I just wanted to make sure the wood was charred enough. And I was convinced of this! I ended up with about 3 cubic liters of pure charcoal!
My thoughts on the experience:
Until I complete my forge, I will not be able to say for sure how good this coal is, and the resulting material will clearly not be enough. So I'll have to repeat this process a few more times to replenish my supplies.
In fact, I was surprised at the amount of coal received - after the experiment, the jar was only half filled.
If you don't have a coffee can like this on hand but have some spare cash, you can buy a paint can. I would recommend looking for one of those shiny metal canisters they sell at hardware stores.
I advise you to use hardwoods, since they are usually denser than softwoods, and during smoldering there will not be as much resin and juice released.
I hope you enjoyed my tutorial and I hope someone finds it useful!
I finally finished my forge and used the resulting charcoal. It turned out well - the coal gives off powerful heat, and flares up quite quickly.
Original article in English