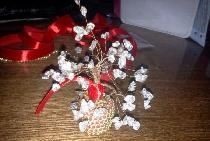
An interesting and inexpensive project for your loved one. Believe me, if she likes to take a bath, then this one present she will really like it.
Shelf dimensions

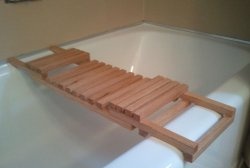
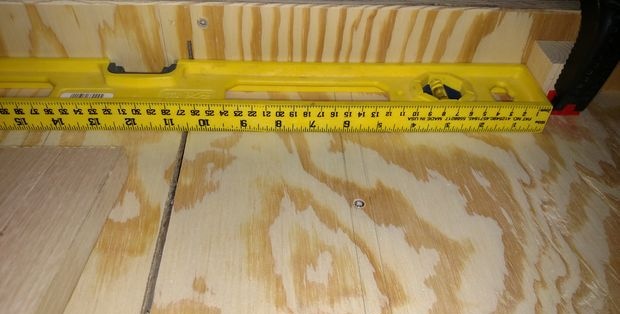
In order for this shelf to be used properly, it must be of the appropriate size. Therefore, we take in our hands a measuring tape, a pencil and paper. Now sit in the bathtub and determine the most convenient range for the shelf location, and measure the widest point between the edges of the bathtub. Imagine that you want to take a glass of wine or beer (in my case) from a shelf, thereby identifying a place that is easiest to reach and where the contents of the shelf will not be accidentally knocked down.
Materials and tools
If the distance between the side edges of the bath is already known, add another 5 cm to it. This will be the length of the shelf. The width of my shelf was 60 cm, I think this size will suit you too. Thickness – 2 cm.
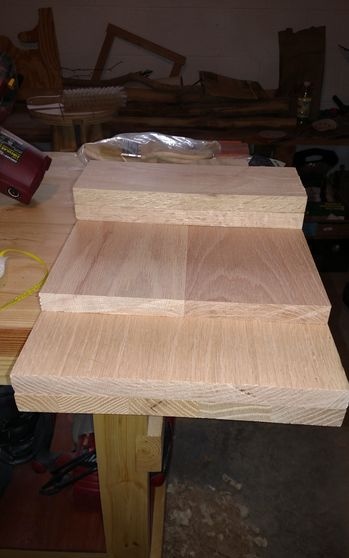
Wood:
Oak or cedar planks will work for this application (I used red oak). Or any other moisture-resistant lumber.
Equipment:
- 2.5 cm and 5 cm wood screws.
- Wood stain of your choice (I used stain and oil).
- Nitroenamel at your discretion (I chose transparent gloss).
Tools:
- Circular saw or cutting machine with table.
- Grinder with abrasive attachment P220.
- A sheet of P220 sandpaper.
- Clamps.
- Drill and drill bits.
Trimming and impregnation treatment
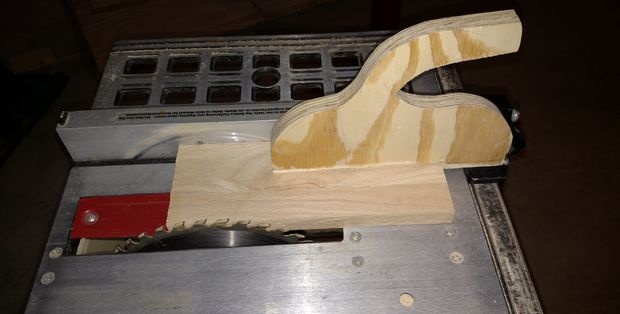
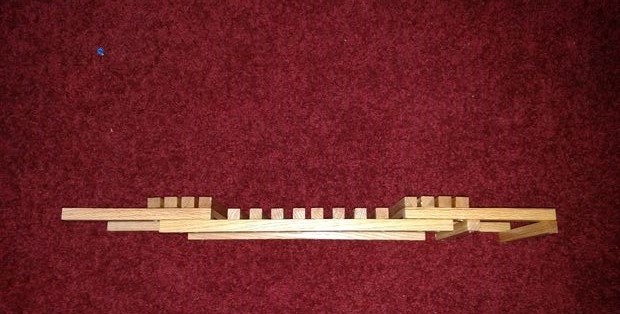
1. Cut the bars to the same size. I made them with a square section with sides of 2 cm. Take your time at this stage. If you have a pusher or comb clamp, use it.
2. To make all the bars the same length, they can be cut at the same time.
It is best to use a limiter for this task. You measure once and use this measurement to cut off all the rest.
3. Sanding, sanding and more sanding.
4. Put all the parts together and apply a layer of your chosen impregnation to them. Now it will be easier to do this, unlike the assembled shelf.
5. After the impregnation is finished, you can open the bars with varnish. The main thing is that the entire surface of the tree is covered.
Assembly
There is a certain complexity here.
Materials:
- Drill and drill bits.
- 2.5 mm screws.
- Clamps.
- A block for leveling gaps.
1. For fastening, you can use wood glue or parquet nails (before varnishing). I didn't do this because I didn't have these tools at the time.
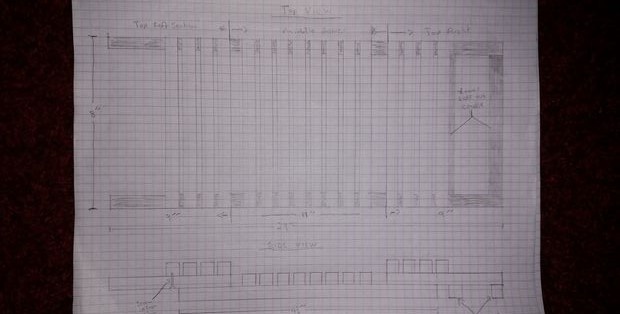
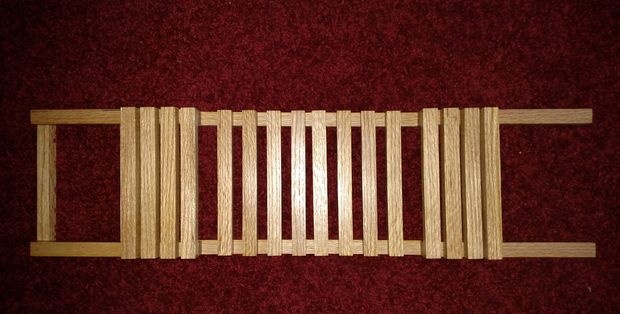
Either way, assemble all the pieces into a shelf. If you use screws, you can do this according to the following scheme.
First make the outer parts of the shelf, then the middle, and after that they need to be connected.
2. Align the crossbar on one side, secure the alignment block and the crossbar with a clamp.
3. Make a preliminary hole for the screw and a thicker recess in which its head will hide. After this, you can begin screwing the crossbar into place.
4.We perform the same actions with the remaining bars.
5. Now you need to cover the screw heads with wood putty. To secure, cover everything with varnish.
Note: I didn't do this and I didn't get any rust. Although the woman uses this shelf in the bathroom all the time.
Congratulations. You've done everything. You did it. Now grab your favorite drink and go to the bathroom for testing. Gift the shelf to your loved one now or hold onto it for Valentine's Day. Valentina. The choice is yours. Hope you enjoyed it.
Original article in English