Based on a conventional 100-watt incandescent bulb.
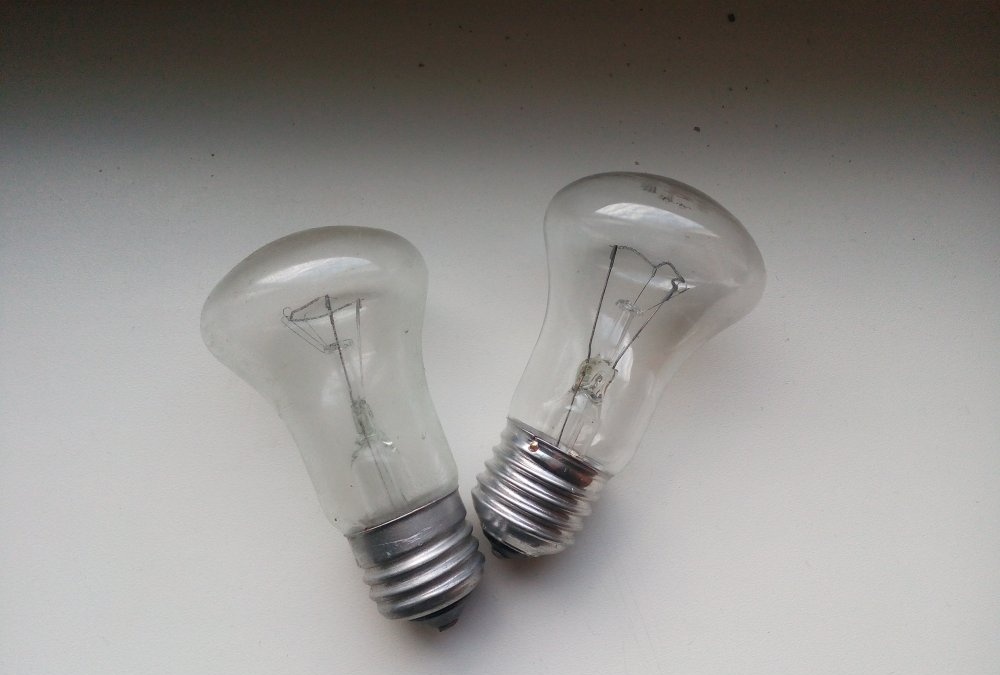
First we need to dismantle the base. This is done as follows:
We pluck the upper contact of the lamp with forceps, then with the help of a screwdriver and the resulting hole we get rid of the black dielectric. After that, we easily “tear off” the thread and the remains of the base. Glue may remain on the glass, no big deal. We will cover it with a new base.
The following is work with glass! Therefore we put on gloves and goggles.
At this stage, we need to remove the inside of the lamp. To do this, gently push a straight screwdriver on the inner walls of the lamp. When the flask with antennae and filament breaks, we take it out with small fragments, wrap it in a napkin and throw it away.
We put the resulting vessel on an unnecessary lid with the hole up. In order not to smudge the desktop, put a napkin under the cover. After all, work with chemical reagents follows. I will say right away - they are safe and accessible to all.
So-called chemical algae will grow in the lamp. To create them, we need liquid glass (sold in construction stores, hereinafter referred to as ZhS) and copper sulfate (can be found in stores for summer cottages, this is fertilizer).
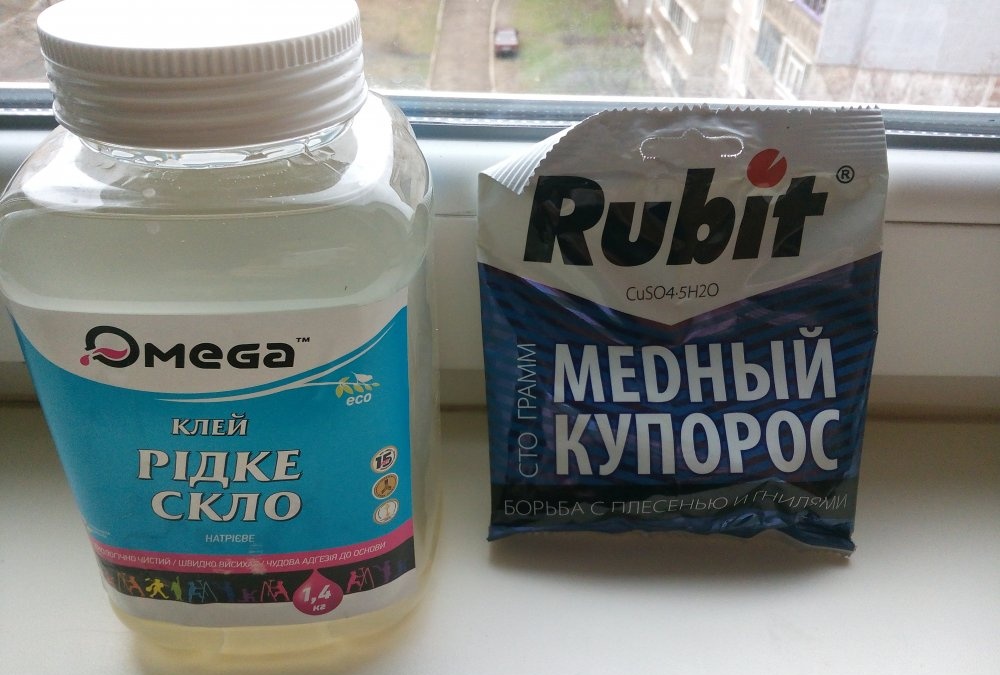
In a separate jar we make a solution: we mix water and ZhS in a proportion 2: 1 (two parts of water, one part of ZhS). By the way, liquid glass can be replaced with silicate glue, in which case the proportion will be as follows: 6 parts of water, 1 part of glue.
Instead of copper sulfate, you can use iron sulfate (also fertilizer) or magnesium sulfate (sold in a pharmacy, this is a powder so that algae grows from it, it must first be moistened with a small amount of water and allowed to evaporate, thanks to this we will increase the size of the crystals, because than they larger, the higher the algae will be). The color of chemical algae depends on the reagent: iron sulfate gives black color, magnesium sulfate gives white, copper sulfate gives nice blue.
So, take a little vitriol.
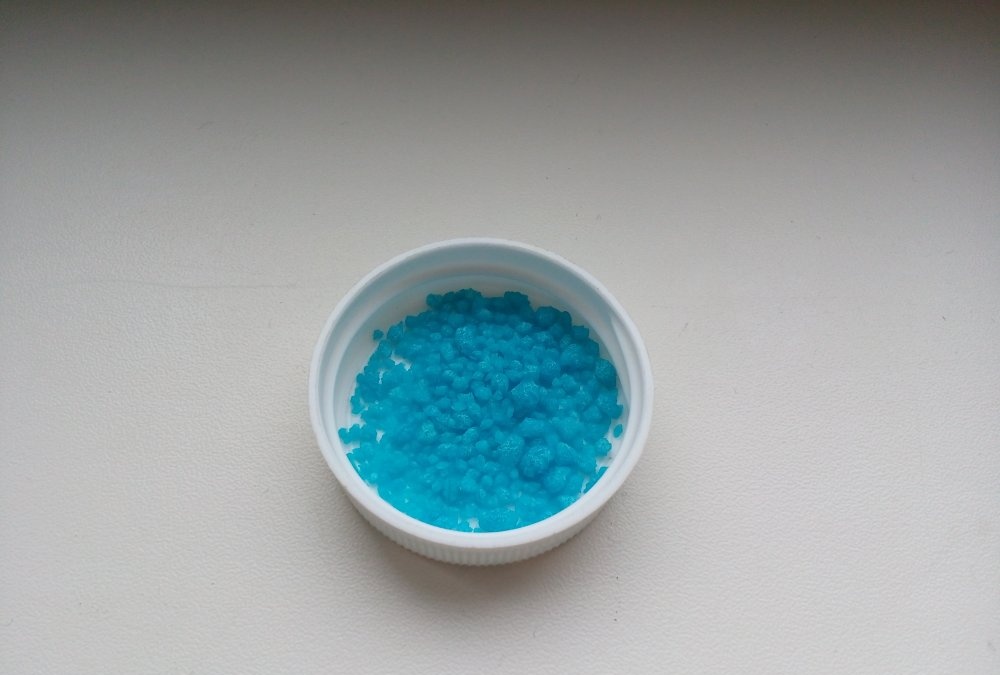
And we fall asleep to the bottom of the lamp.
And fill it with a solution of liquid glass. When you fill, drip a little solution on the lid, it will dry out and add stability to the whole structure. The chemical process has begun; in a few minutes the first algae will begin to form.
They grow due to the fact that water from the solution enters the crystal, changing its structure.
While the algae grows, we will deal with the electrical part.
I fixed the LED on the caps from under the test tube (you can take the cap from under the valerian).
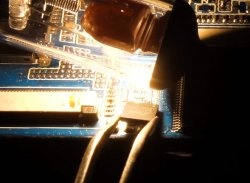
We plug the lamp, we arrange the LED contacts as in the picture below, to the plus, I soldered a short piece of wire to fix the battery.
And do not forget to glue the contacts with tape, the battery should not touch them.
Since in the future access to the battery will be difficult, it is necessary to optimize energy consumption. Yes, you can just put a switch on, but it's too simple and uninteresting. Therefore, I created a simple scheme for adaptive brightness control:
Parts List:
- VT1 - ct315 (or any other transistor of an n-p-n structure);
- VD1 - photodiode, anode (+)
- VD2 - LED;
- R1 is 100kOm;
- S1 - button with fixation (take the smallest that you find);
- BAT - battery type "tablet" (model CR2025).
The positive leg of the photodiode (to which the minus supply is connected) is marked with a white line on the part.
A voltage divider is assembled on the resistor R1 and the photodiode VD1, from the midpoint of which it goes to the base of the transistor VT1. The load is our VD2 LED. The more light falls on the photodiode, the lower the voltage applied to the base (inverse proportionality). Added a button for completeness of functionality.
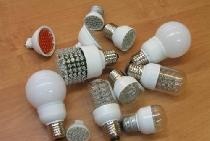
The whole scheme must be placed at the bottom of the cap. I took it from an unusable LED lamp
Its appearance is more beautiful than that of the caps of ordinary lamps. The plastic rim should be disposed of beforehand.
In the upper part of the cap we drill two holes for the legs of the photodiode. They need to be lengthened by about a centimeter. Then we drip a little superglue and fix the photodiode.

Further, already inside the base, we solder the remaining components very compactly.
Three wiring goes to minus the LEDs, to plus and minus power from left to right, respectively. We fix the button with hot glue, the main thing is not to overdo it. We solder the battery quickly with a drop of soldering acid. Solder the wires into place.
We seal the lamp with a lid and cover it with a cap. Due to the remnants of the old glue, the base went in tightly and securely.
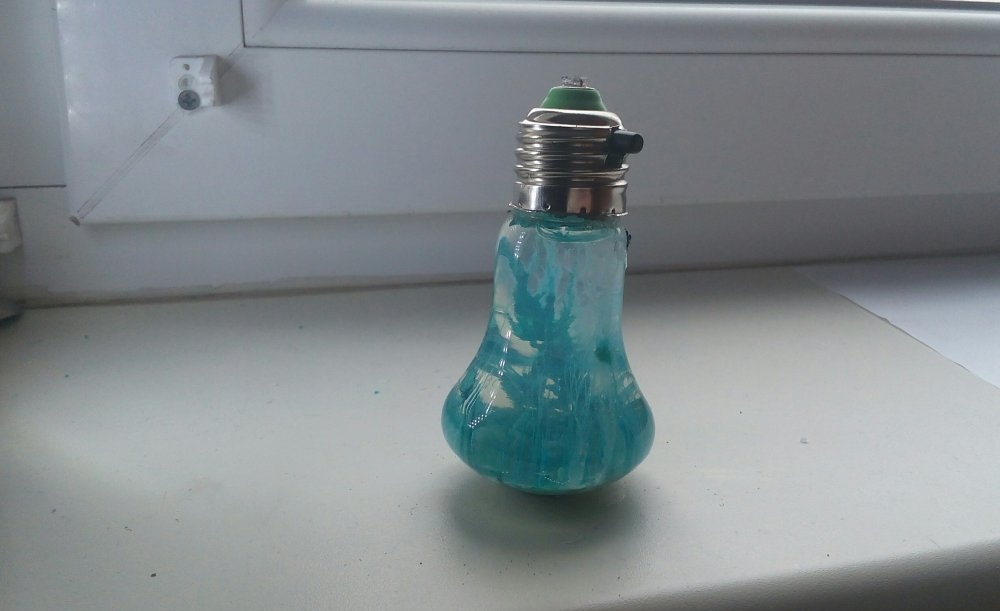
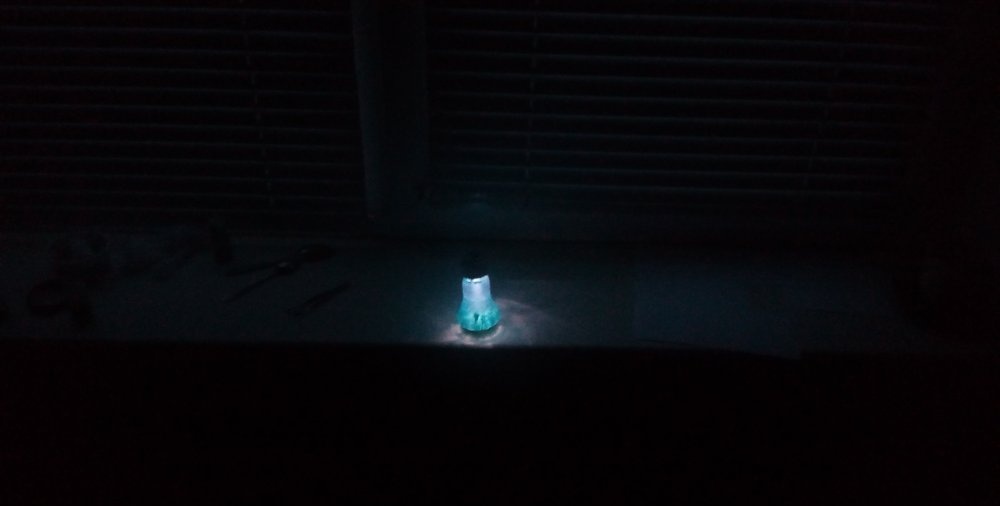
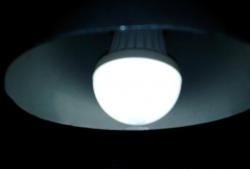
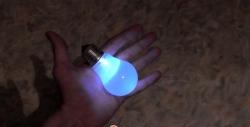
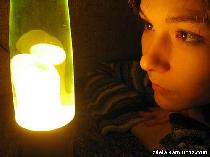
That's all, the nightlight is ready! Thanks to adaptive brightness control, the LED does not light during the day and there is no point in switching it off without need.
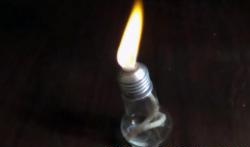
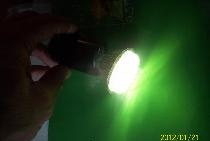
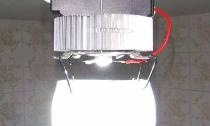
A few photos of the finished product: