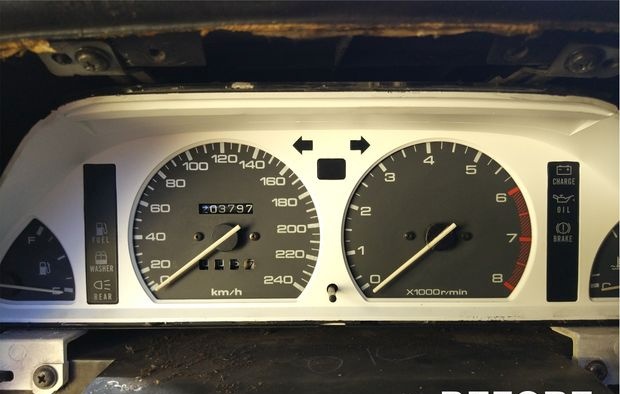
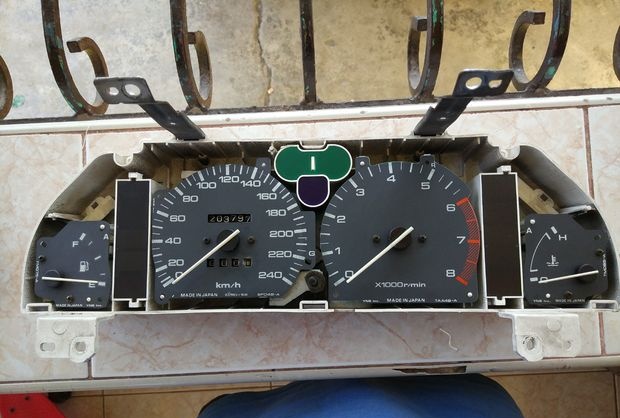
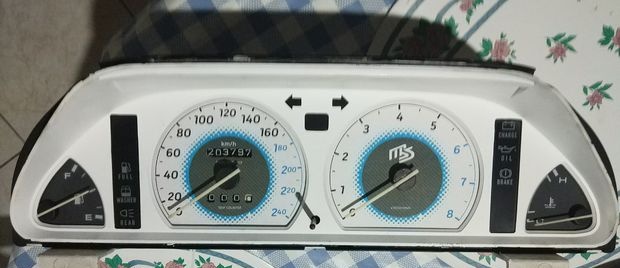
Was:
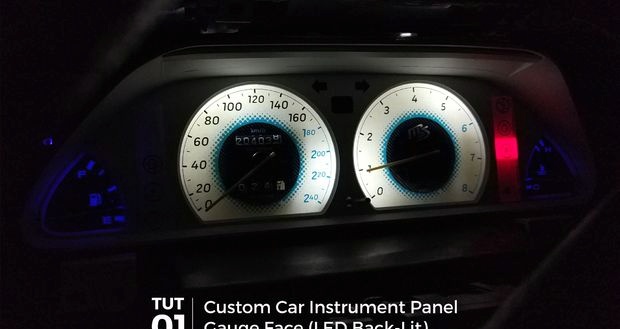
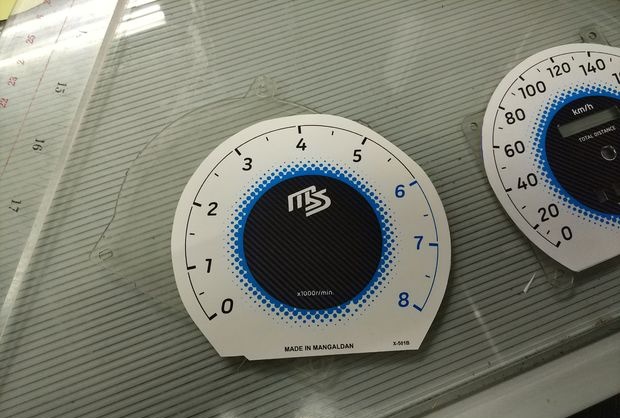
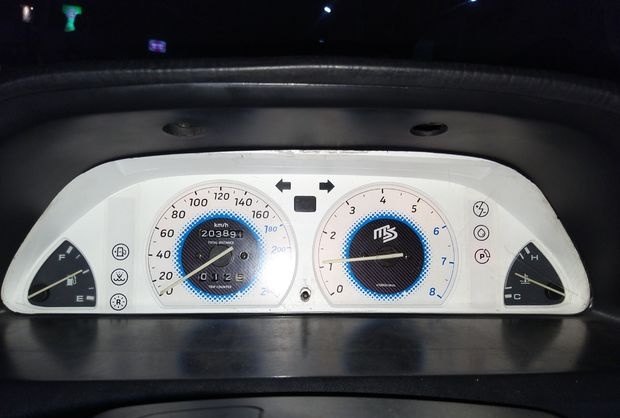
Became:
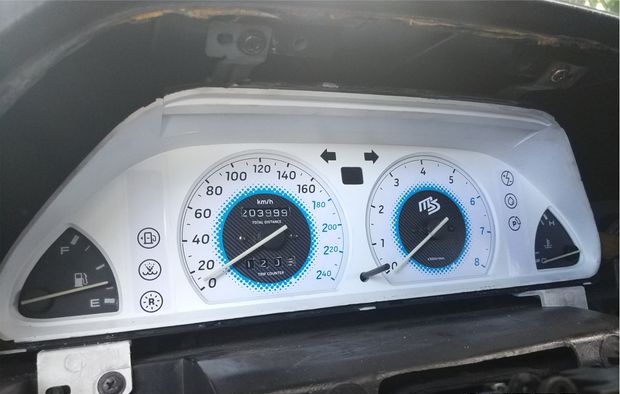
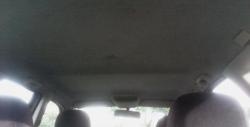
In my reliable but old Mazda, the dashboard began to clearly show its age. Its night lighting is now too dim, and its appearance is clearly out of fashion. So I decided to do something and give her a “facelift” :-)
What you will need:
- Factory user manual for the vehicle.
- Screwdrivers.
- Isopropyl alcohol.
- Matte adhesive paper.
- Scissors or knife.
- Diffusing plate (found on older LCD monitors).
- Instead of a scattering plate, you can also use 2-3 layers of tracing paper.
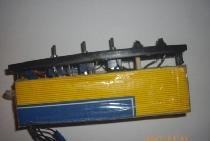
Removing dashboard indicators
Since this is done differently in different cars, I would recommend downloading the factory instructions directly for your model. In some cases, everything is quite simple, but sometimes you have to make an effort.
This tutorial is about how to transform the look of your dashboard dials, so I won't go into detail about how I managed to remove the dashboard.
Removing signs

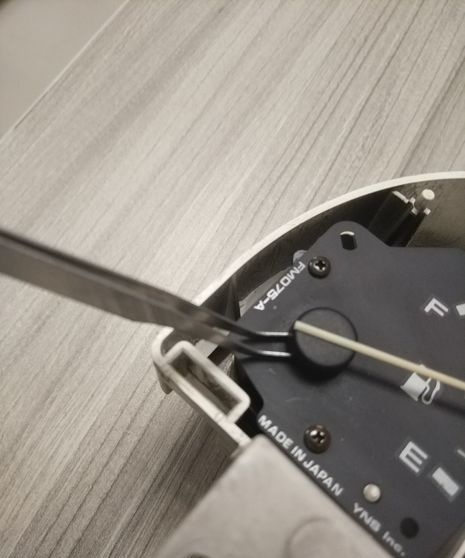

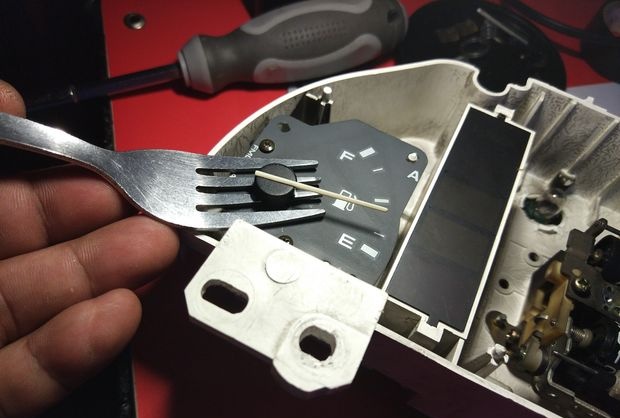
Removing the sensor indicators is quite simple. However, you need to be mindful of the arrows, as they break easily. For convenience, you can use tweezers.The main thing is patience and consistency in actions. Alternatively, you can pry out the arrow with a fork.
If it gets stuck, heat it up using a hair dryer or a regular hair dryer. This will allow the plastic to expand and come off easier.
Removing the dial
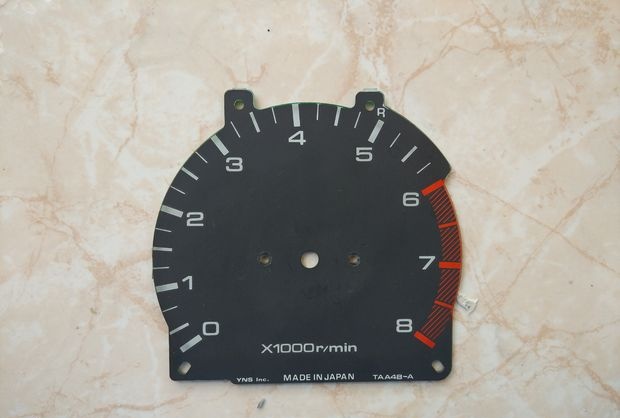
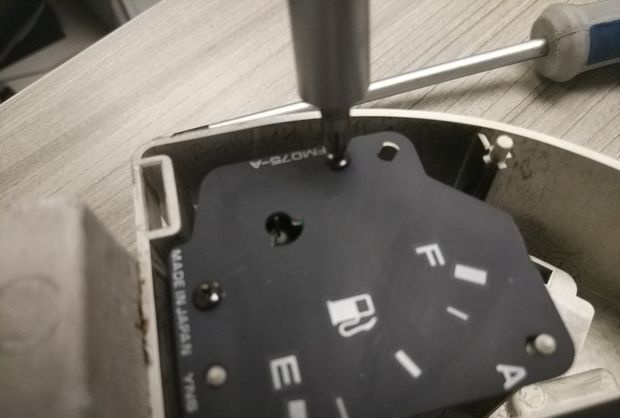
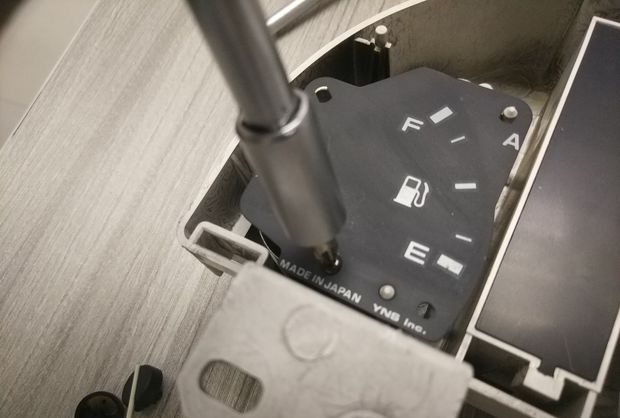
Usually the dial is held on with screws or small bolts. Find them and carefully remove the plate. Additionally, it can be held on by small plastic fasteners that secure it. Understand how the fastening mechanism works and remove the dial.
Draw the appearance of the future dial
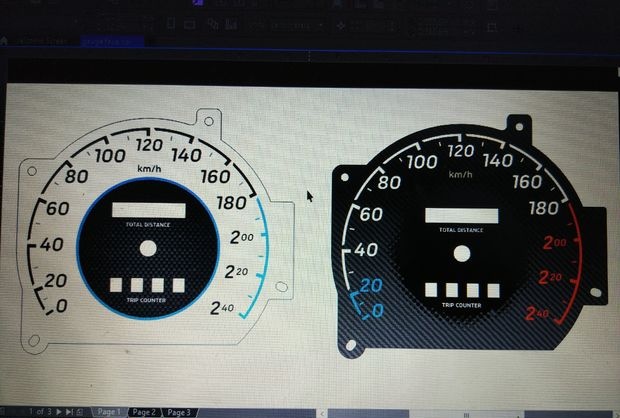
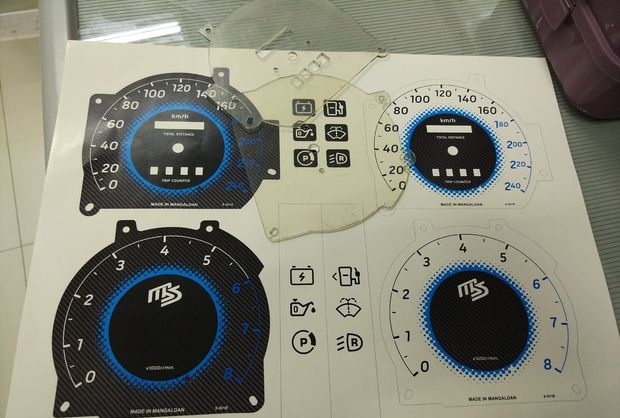
After removing the watch face, the first thing I did was scan it. I then imported the image into a vector graphics editor and traced the outline of the plate. This way I don't have to measure the exact dimensions of the dial. Next, I finished designing the look of the new sign and printed it on adhesive paper. I used paper with a matte surface, and the image was printed with a color laser printer. You can also use an inkjet printer with photo paper, but the laser image will be of higher quality.
It's time to clean out the old dial
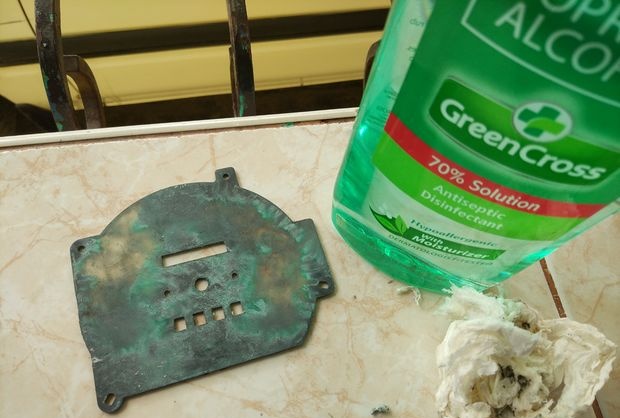
You need to remove paint from the dial. To avoid damaging the plastic the dial is made from, I used 70% isopropyl alcohol. The use of solvents for this work is undesirable. Soaking the dial in alcohol softened the paint, and after a few minutes it came off easily, leaving me with two clean plates.
Making stickers
It's time to cut out the stickers. Take scissors and carefully cut out the desired shape. Now let's glue it.
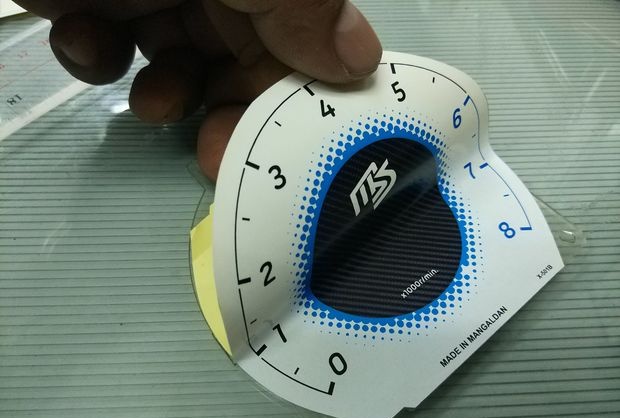
To prevent bubbles from forming during gluing, you need to thoroughly clean the surface of the dial. Peel a small portion of the sticker off the paper and line it up with your watch face.Gradually apply the adhesive paper. To do this, you can swipe it with your index finger or a plastic card.
After the paper has been completely glued, you need to cut the corresponding holes in it.
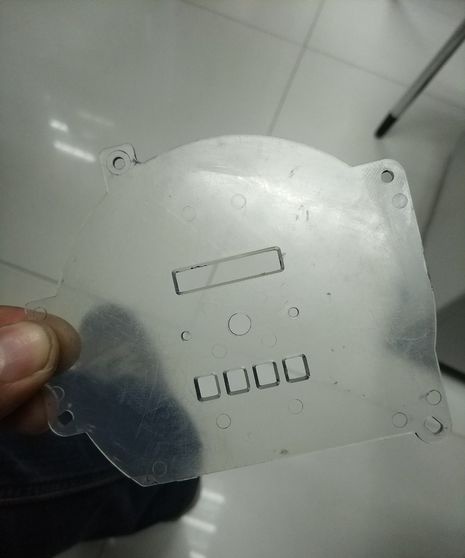
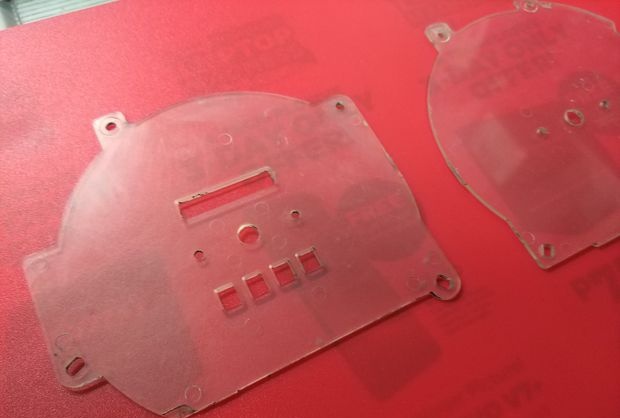
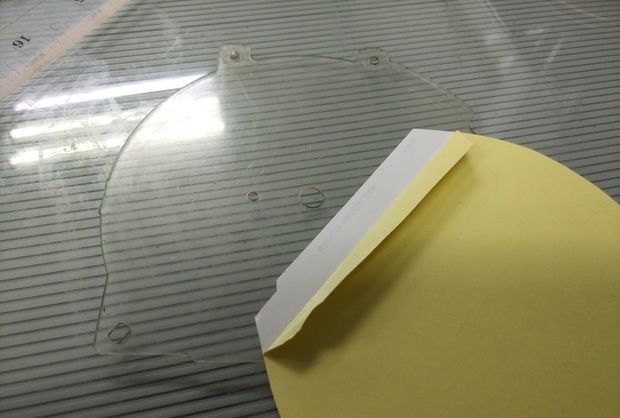
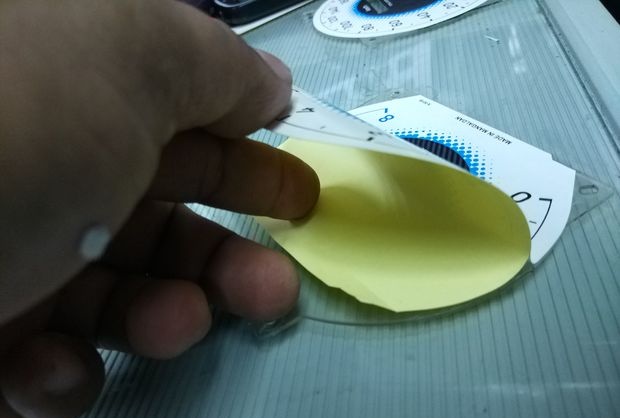
Attach the diffusion plate to the dial
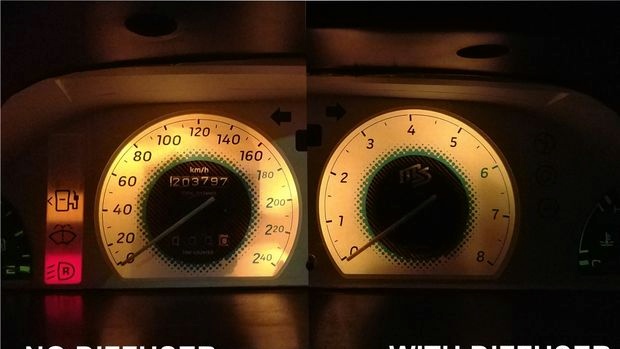

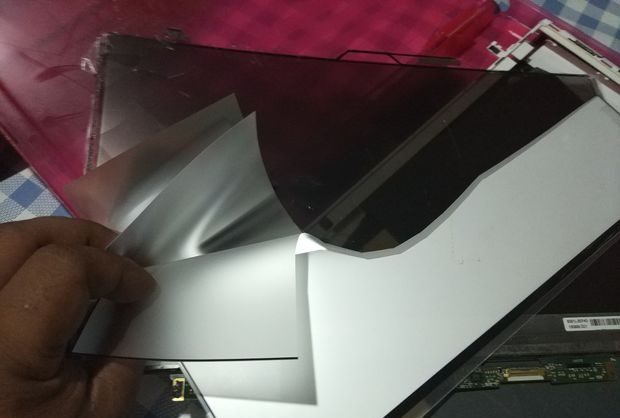
Light from dashboard lights may be distributed unevenly, making some parts of the dial appear brighter. To ensure that the light falls uniformly, you need to attach a diffusion plate to the dial. In my case, I used a plate taken from a cracked LCD monitor. After cutting out the desired shapes, I glued them to the back of the dials.
Note: You can also add a few additional LED lamps, but this is a topic for another master class.
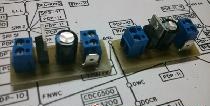
Replacing lamps
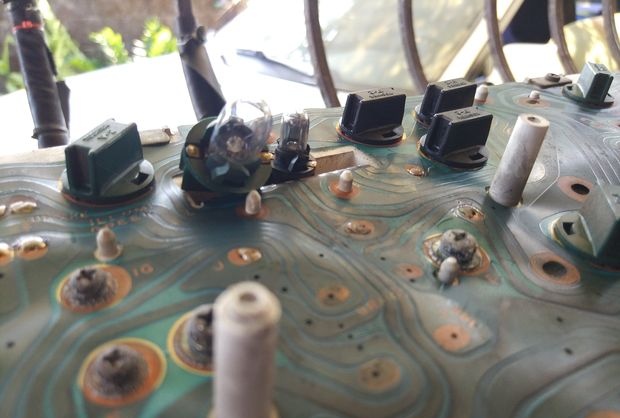
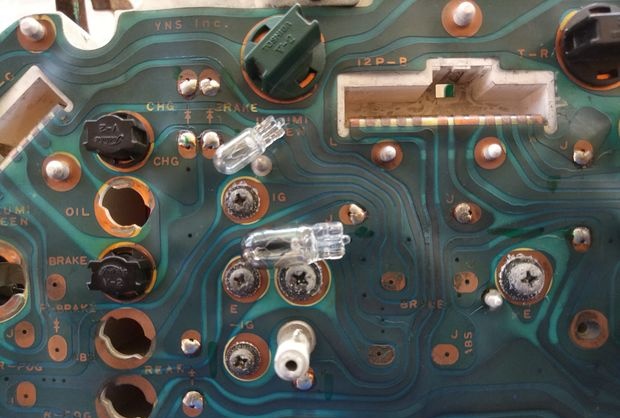
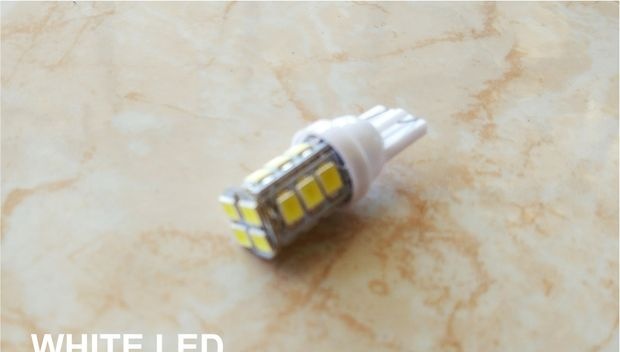
Since we're making our dashboard look nicer, it's time to change the bulbs. It's quite easy to do. You just need to turn the lamp holder counterclockwise a little and then pull the lamp out of it. In my car, the panel was illuminated by five lamps with a yellow glow. I replaced them with LED ones.
Putting everything back
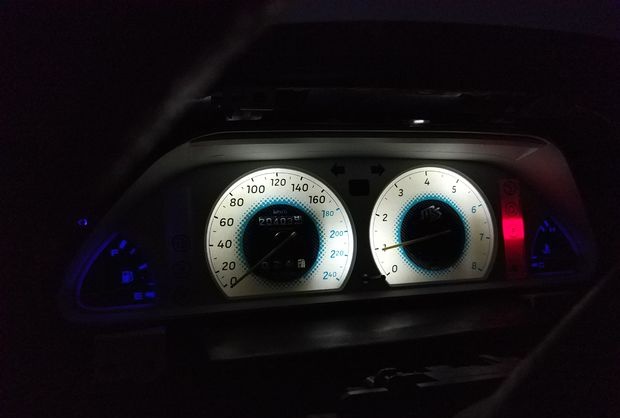
After checking the lighting operation, it was time to assemble the panel. Just do everything in reverse order.
Thank you for your attention.
Original article in English