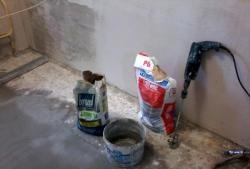
Then an adhesive solution is prepared, during the preparation of which the proportions of water and glue must be correctly observed. The mixture is prepared using a technical mixer and gradually adding dry glue. If you prepare too liquid glue, it will float down the wall, and too thick a consistency will not be possible to uniformly distribute on the wall.
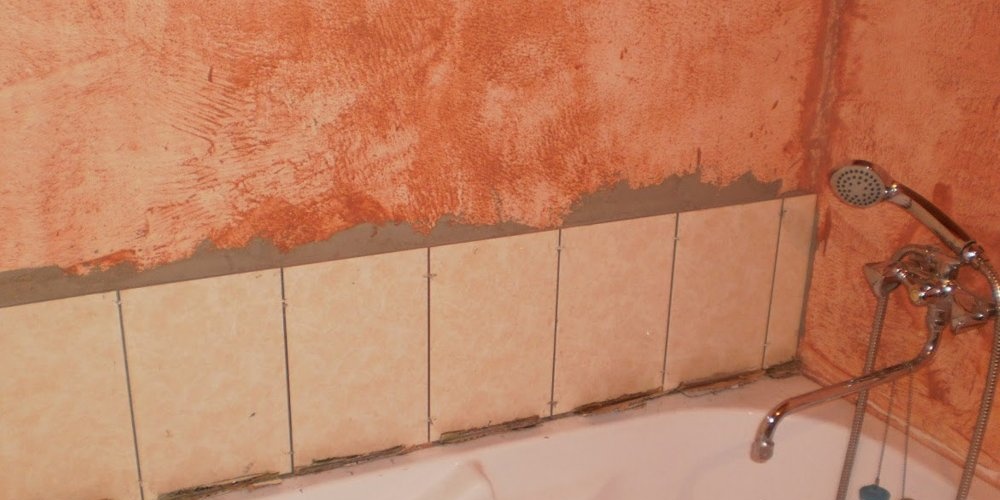
Laying tiles starts from bottom to top. The first row of tiles is laid out above the floor with the use of a wooden lath, the horizontal of which is aligned with the level. In order for each subsequent row to come out horizontally even, it is necessary to nail the vertical bars into the corners, after having aligned them with a plumb line. Further, nails are hammered into the slats, and a strong kapron thread is stretched between them. Using this thread, the horizontal layout of the next rows is controlled.
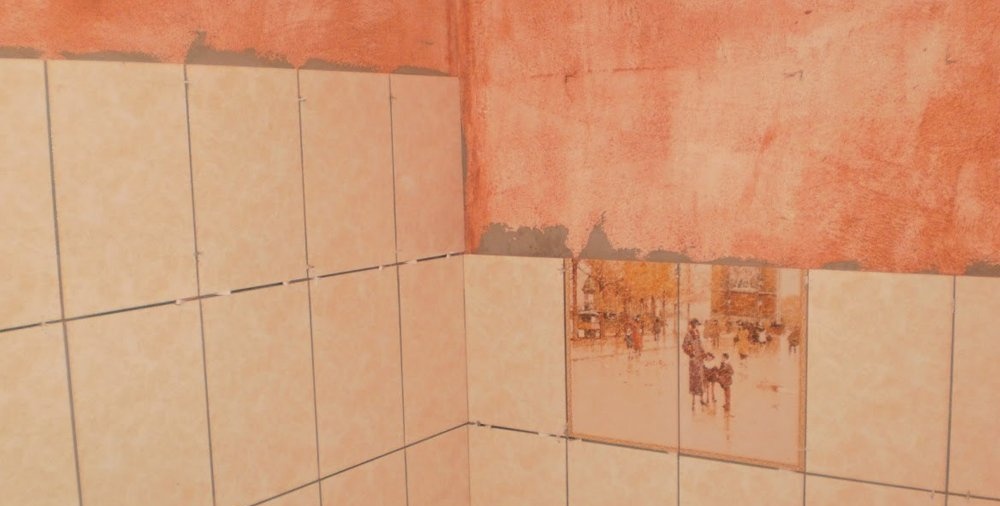
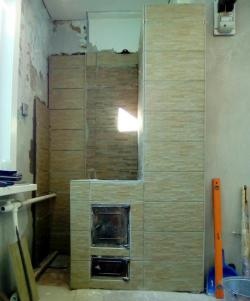
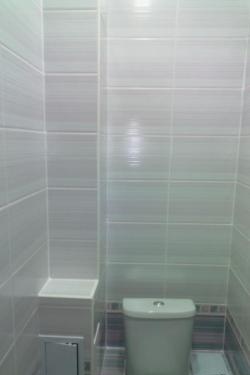
Stages of wall installation of ceramic tiles
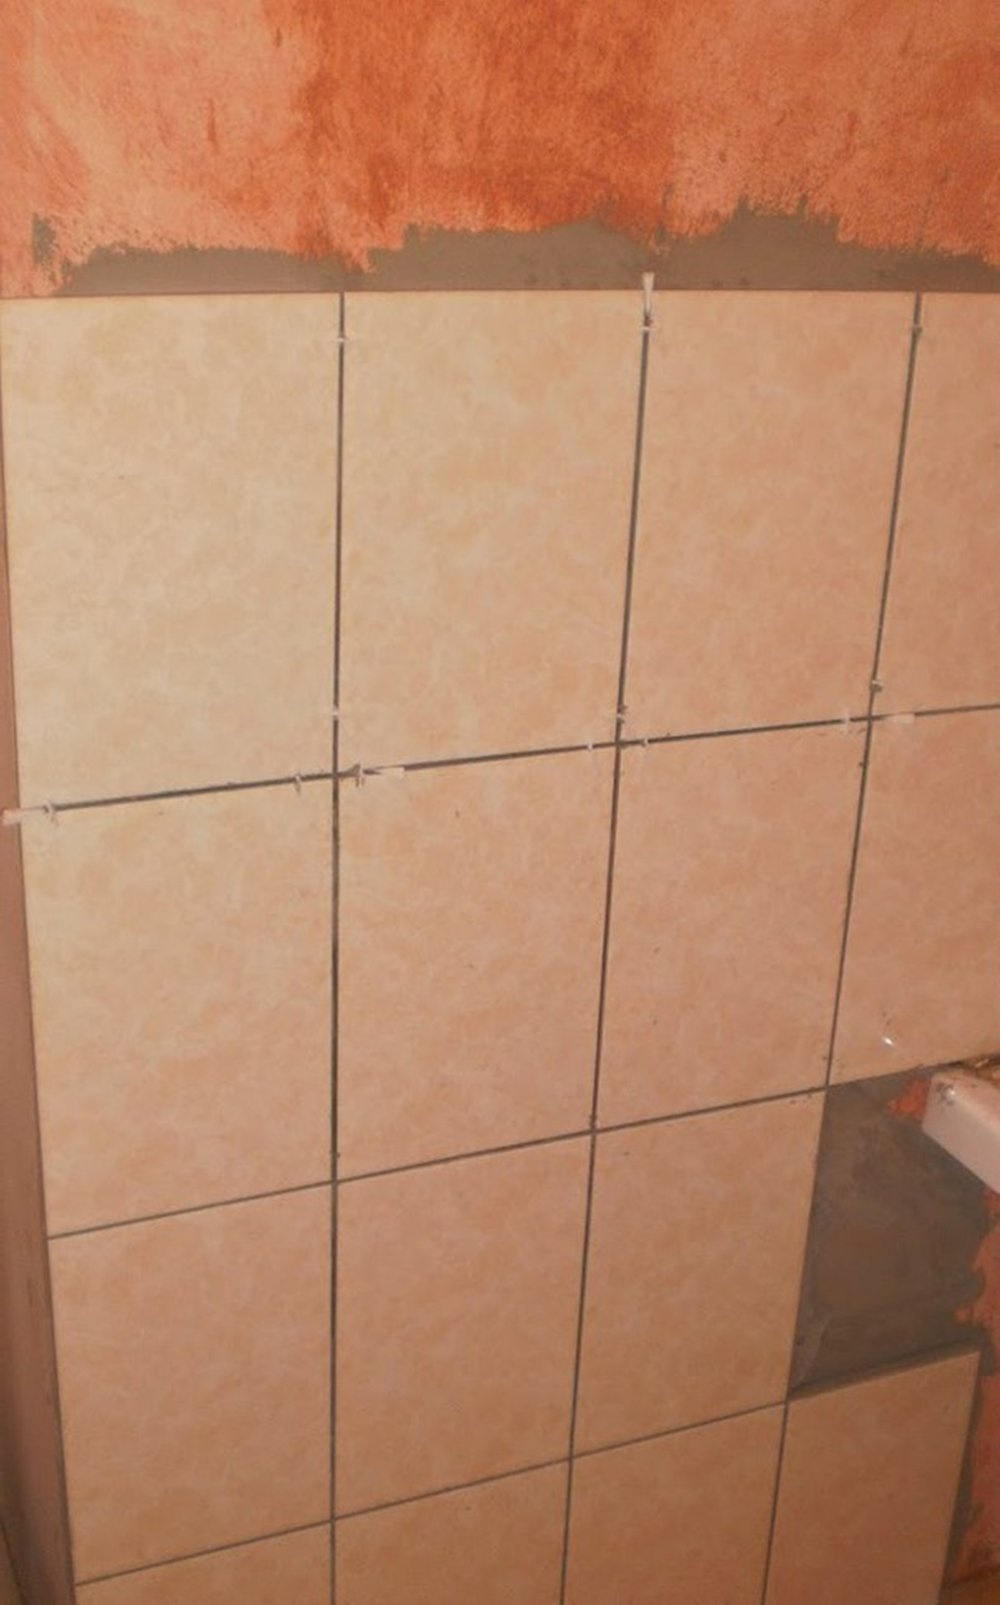
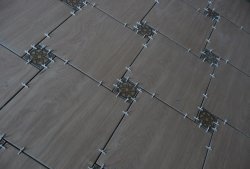
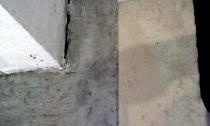
Glue on the tile is applied using a notched trowel. Further, the tile with glue is gently pressed against the wall, observing a gap thickness of 2-4 mm. The use of dividing crosses simplifies control over gaps, the task of which is to prevent the tile from peeling off during thermal expansion. In order for the tile masonry to be perfectly smooth, you must use a level in the work.
To cut tiles, you need a tile cutter. It will be difficult for an inexperienced person to work with a tile cutter. Therefore, to simplify the task, you can use the grinder or pliers. Tiles with trimmed edges are recommended to be hidden under furniture or accessories.
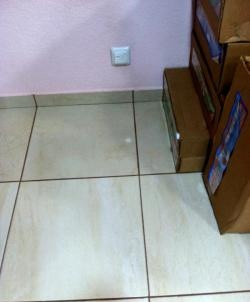
Ceramic tile flooring
It is recommended to start laying tiles on the floor from a far corner towards the door, marking the floor with a thread. The evenness of the calculation is controlled by the level. After completing the laying work, it is necessary to clean the surface of the tile from the particles of the adhesive solution and grout the joints. For this case, a rubber spatula is required. When choosing a grout, it is better not to save on material, because the appearance of the entire laying will depend on the quality of the grout. Its color does not need to be tied to the tone of the tile, however this is already a matter of taste.
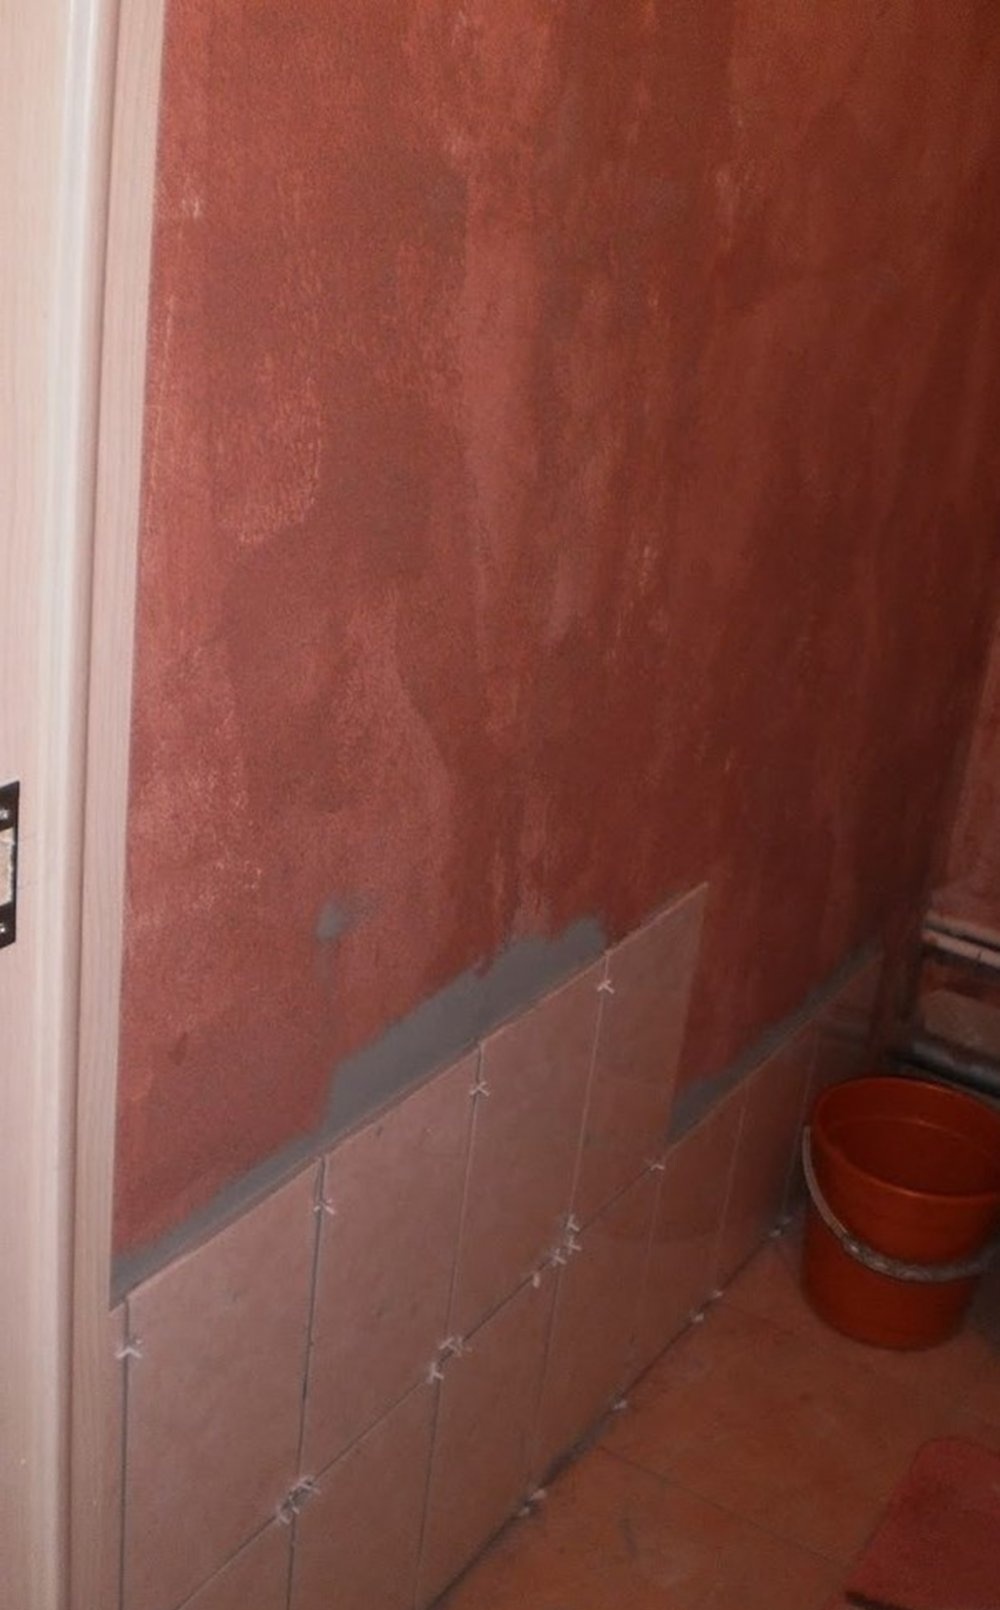
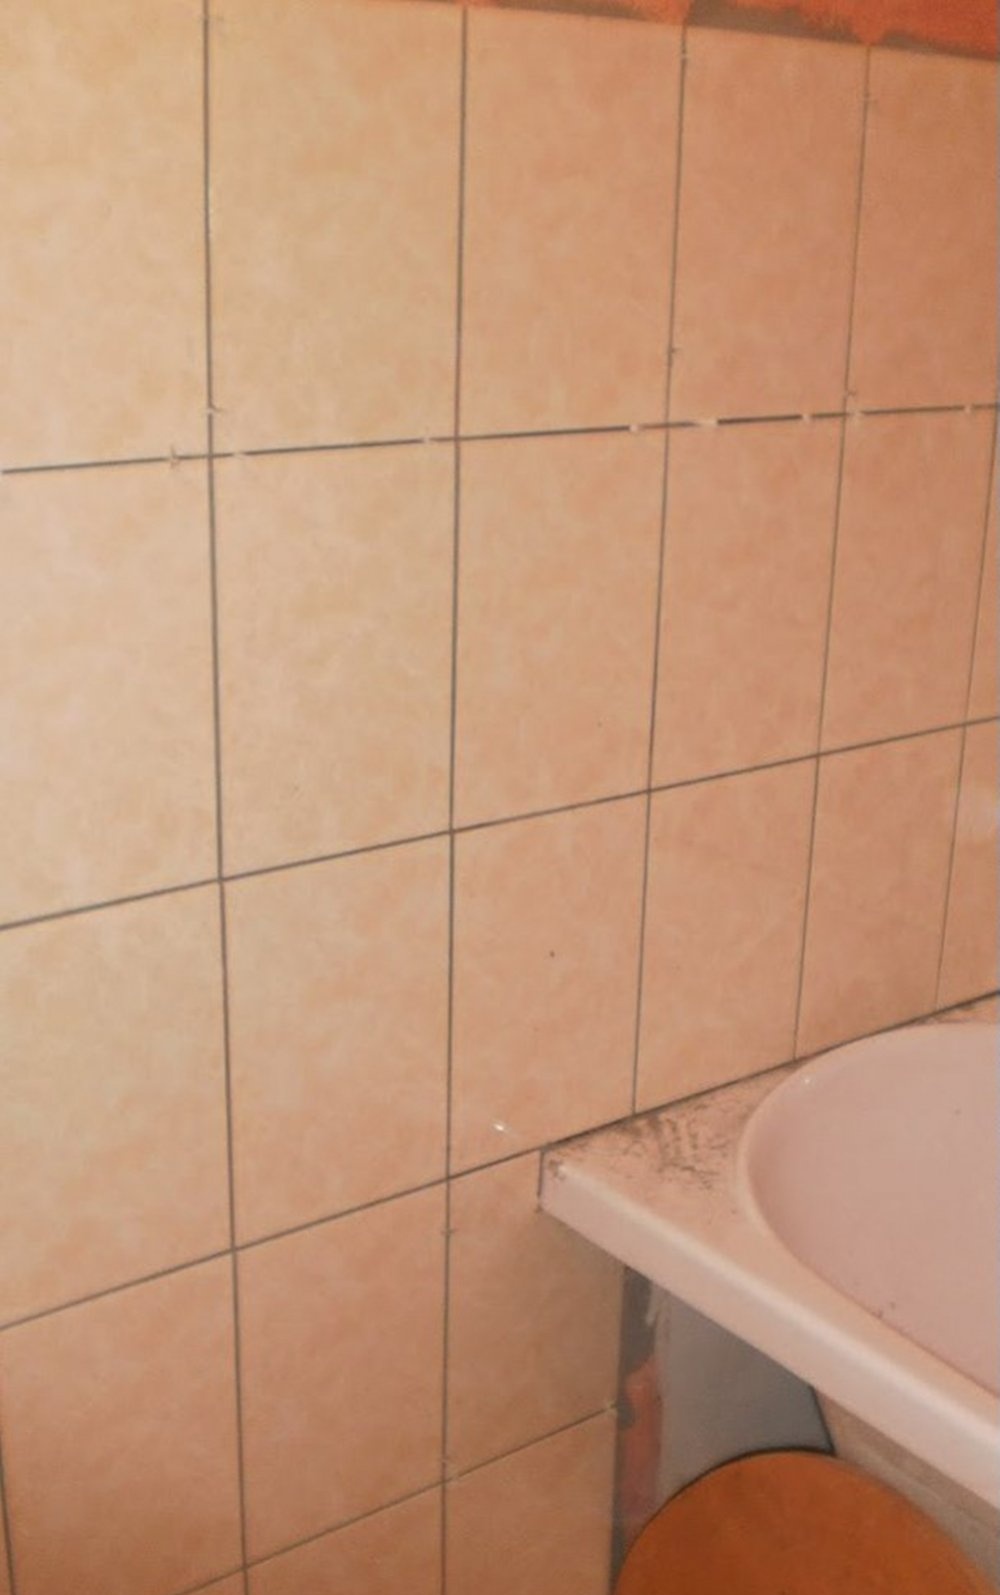
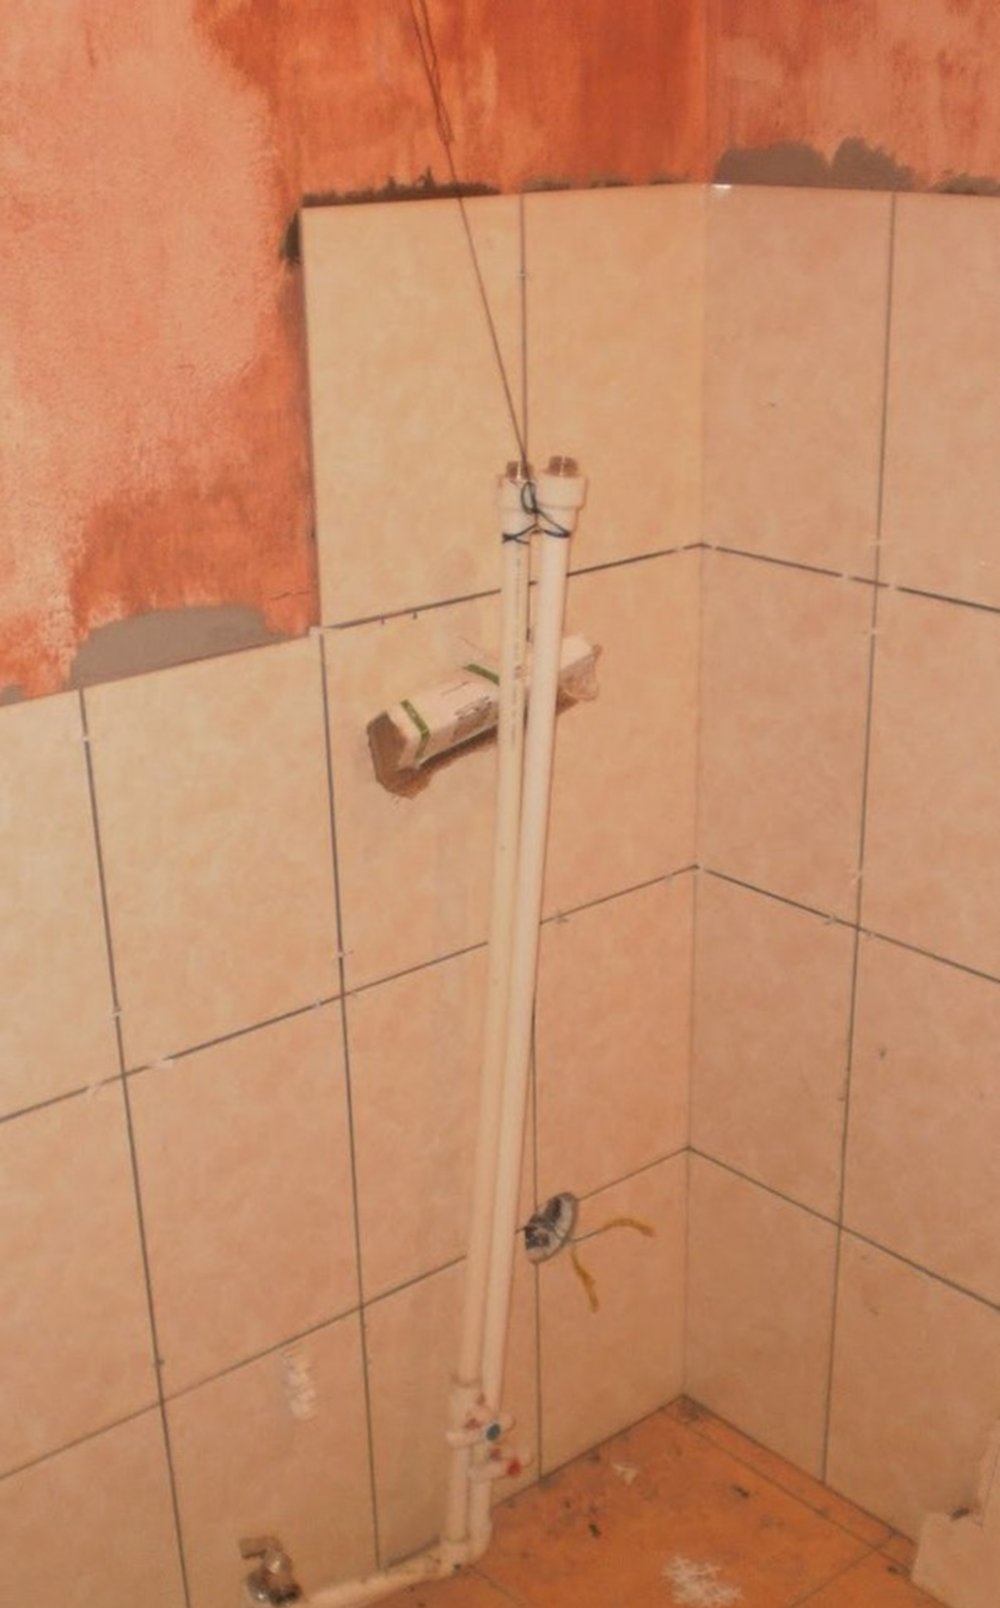
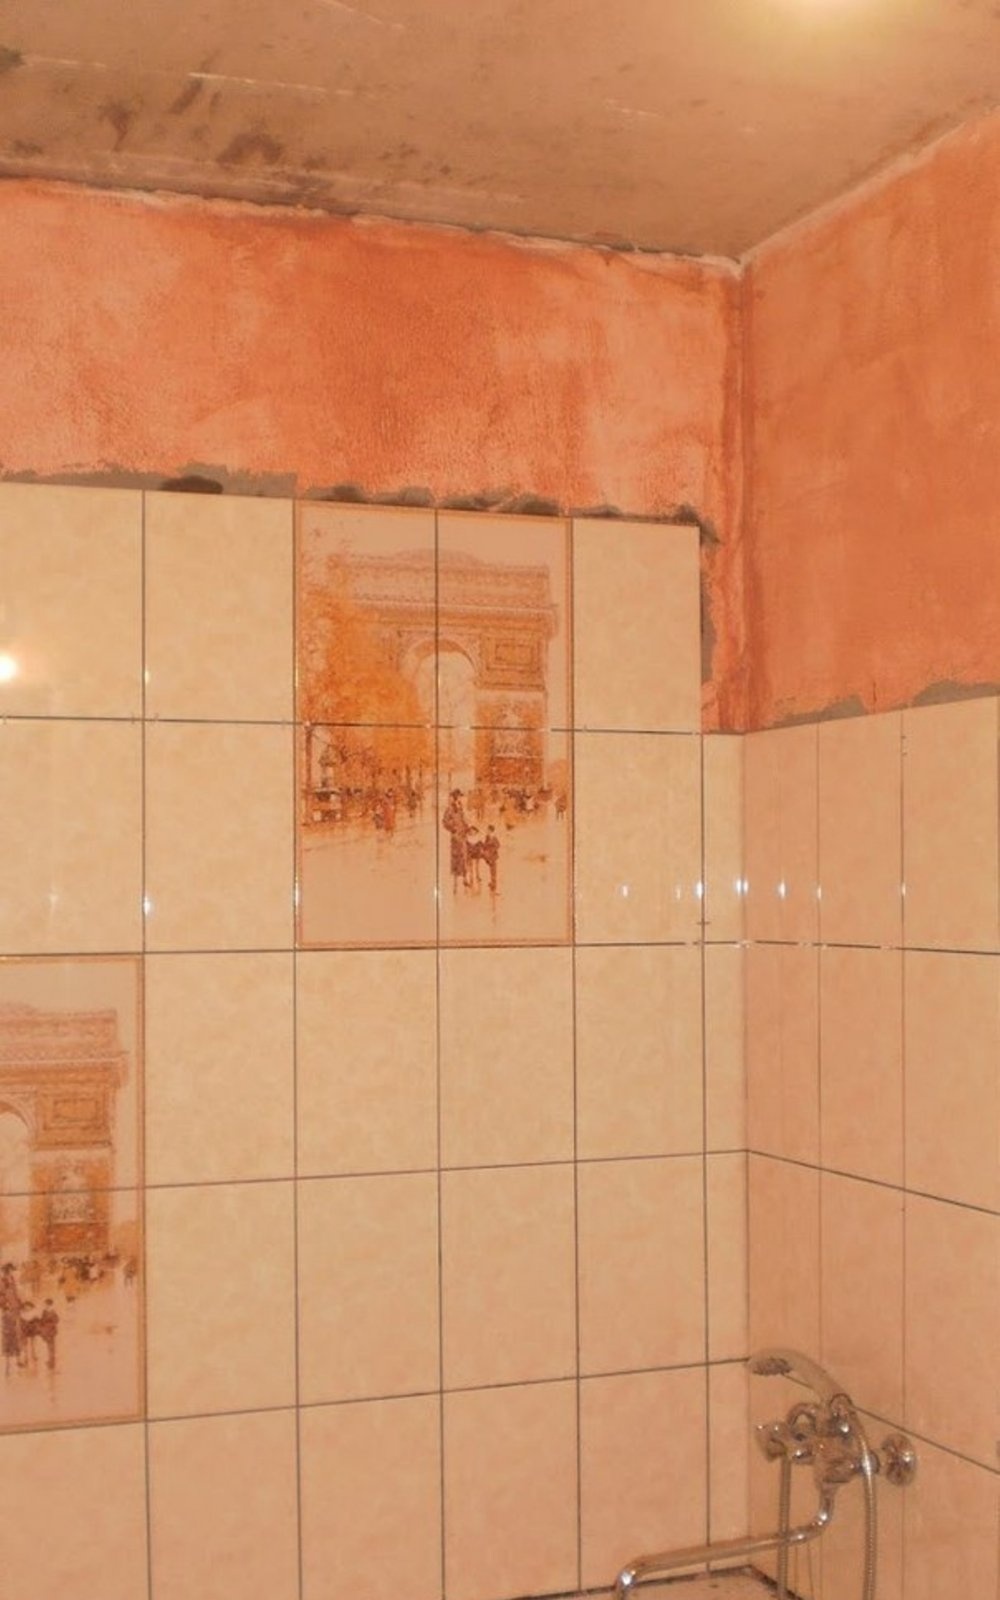
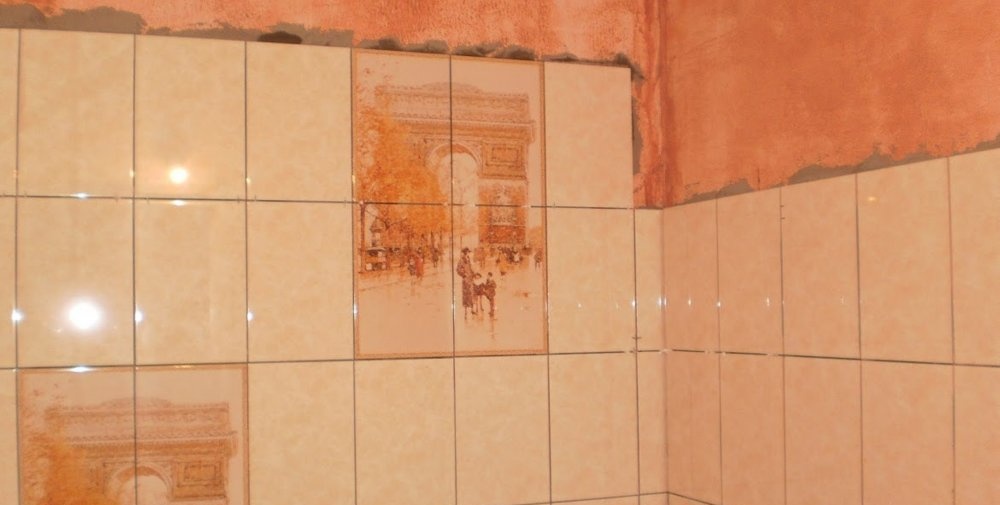
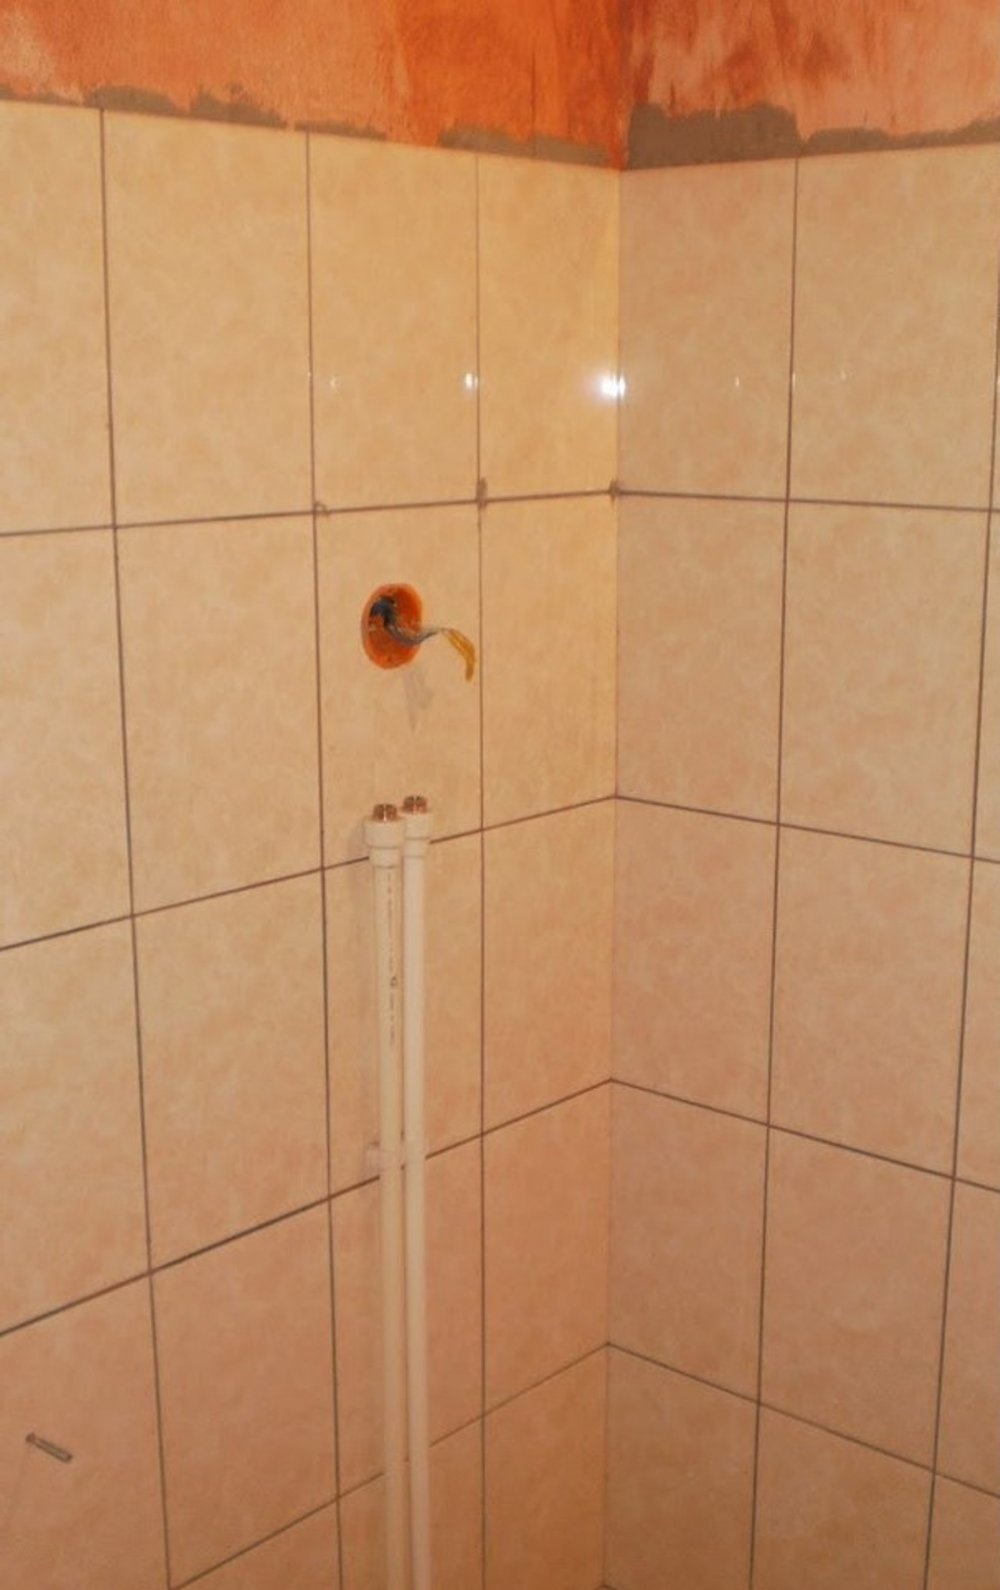
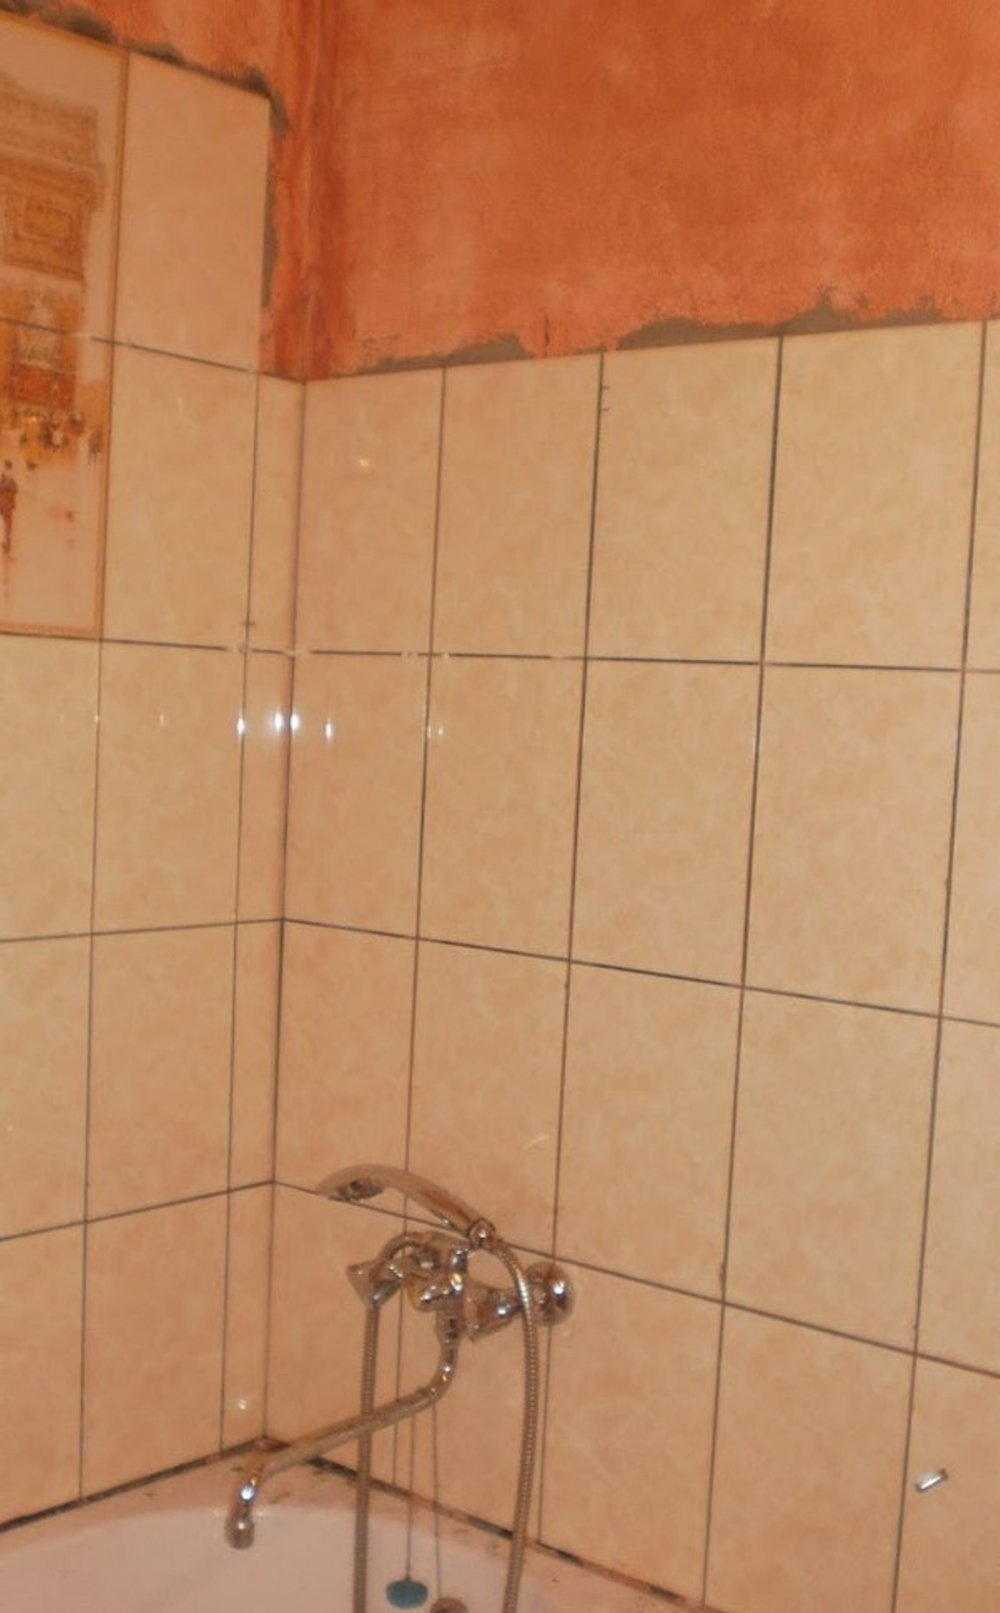
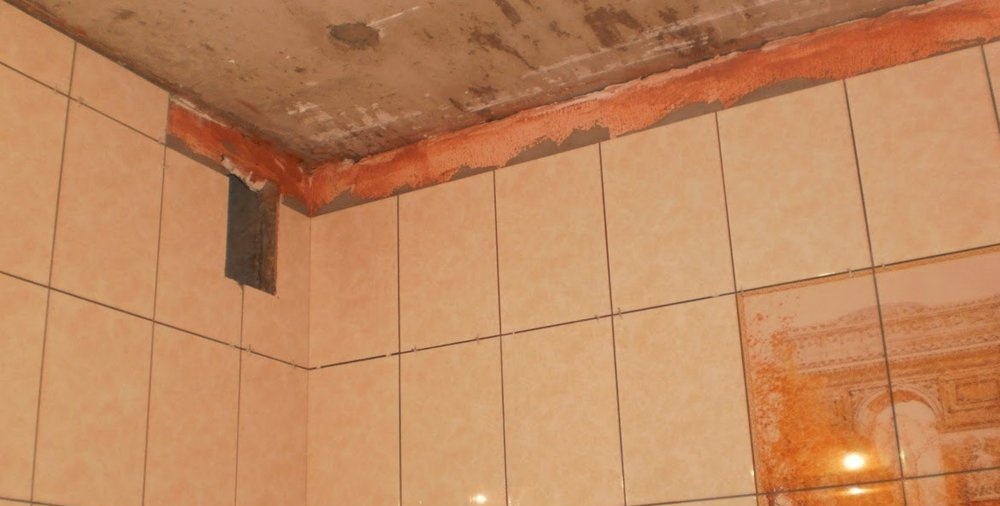
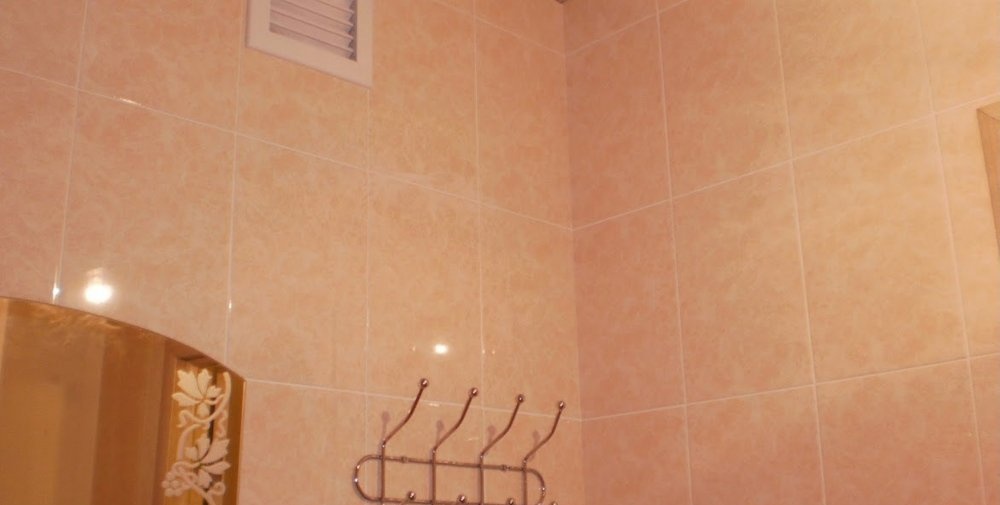
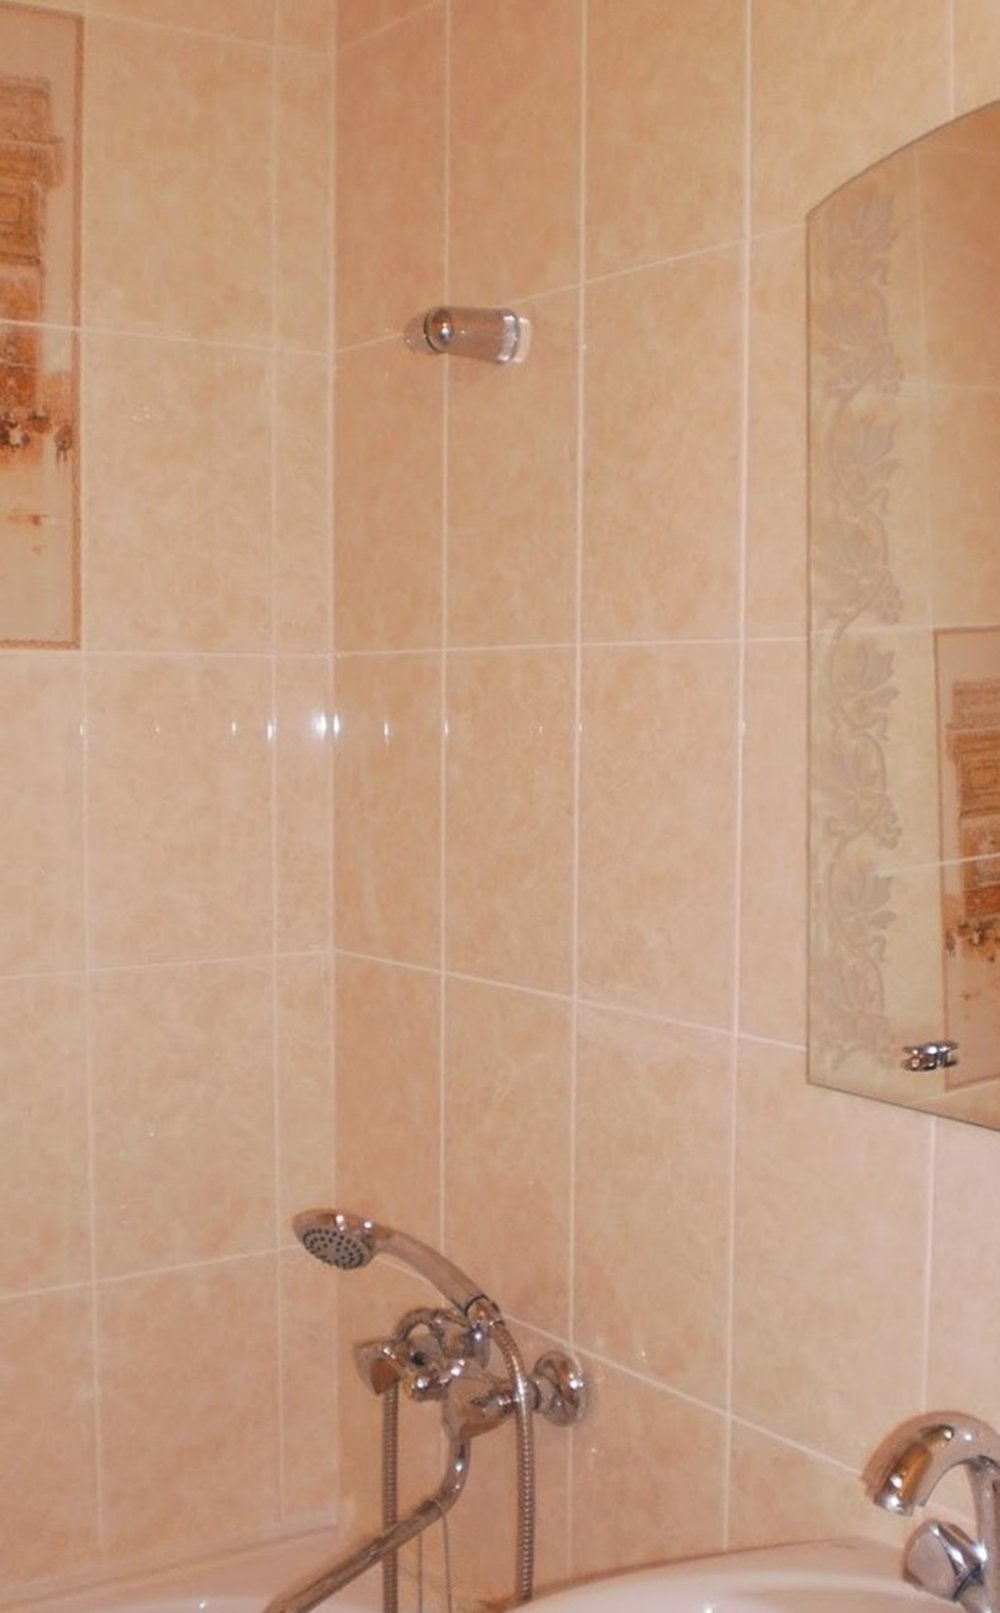
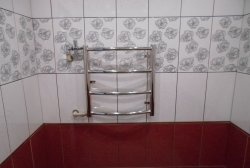
Photo report of the process of laying tiles in the bathroom