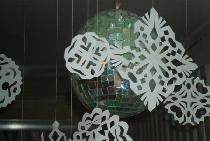
Instructions for making a mirror disco ball

Materials and tools
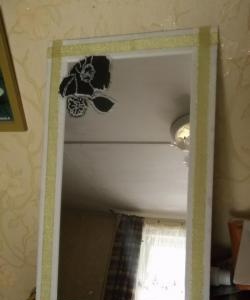
Mirror
Glass cutter
Ruler
Newspapers
Paste
Any adhesive suitable for attaching a mirror to a mold will do. papier mache, I suggest adhesive for ceiling tiles.
Technology
First you need to decide on the size of your ball. There are no restrictions here, only the amount of material used and time.
Be sure to prepare the room for working with glass. During work, small mirror shavings will definitely appear - cover the floor with newspapers, cover the interior items with suitable material.
Choose a mirror, preferably a thin one (any mirror will do, but a thin one is easier to cut). Using a glass cutter, the mirror is cut into squares measuring approximately 1 cm by 1 cm.
Cutting the mirror
The mirror is placed on a flat, hard surface. Next, a ruler is applied to it, along which the mirror is cut into long strips (cut from the front side).
The finished strips are divided into squares of 1 cm by 1 cm in a similar way.
After this, the squares are carefully knocked out from the back of the mirror with a glass cutter.
Tip: When dividing the mirror into small squares, mark several squares at once, it will be faster.
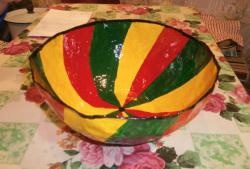
Making the base (ball)
The ball will be made of papier-mâché
Preparing the paste. There are many recipes, personally I used the following. Boil 5 parts of water, pour ? parts flour diluted in one part cold water, boil for 2 minutes.
Inflate the balloon of the required size (it is important that the balloon itself is round).
Cut paper (preferably newspaper) into strips.
We begin to glue paper soaked in paste onto the dry ball (you don’t need to wet the paper too much, it will take a long time to dry). Make as many layers as possible, let the layers dry, and apply the next ones. The ball should be strong enough to hold the mirror on itself.
After waiting for the paper to dry, pierce the inner ball and remove it.
The base is ready.
Final stage
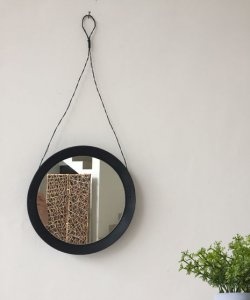
We make fasteners with which the ball will be attached to the desired surface. For this purpose, you need to wrap the ball in several places with a nylon rope (imagine the ball as a globe and wrap it with rope along the meridians and the equator). All threads must be coated with glue, and at the top of the head, the threads must be collected into one bundle, which will become the fastener. Options with fastening according to the principle of Christmas tree decorations, using wire, are also possible.
We hang the ball on the mount (so that it is convenient for you to work with it).
We glue the ball with mirror squares using glue (I suggest glue for ceiling tiles) - we start from the “top” of the ball. Paste in horizontal rows. Try to place the mirror pieces as close to each other as possible - the amount of light reflected from the ball and the appearance of the decoration will depend on this.
We hang the ball in the place you need, spin it, shine the light on it and turn on the hits of the 80s! The disco begins!