DIY laminate flooring
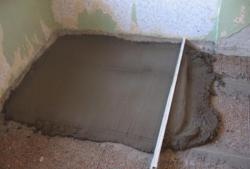
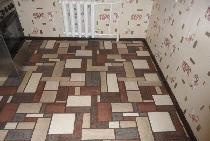
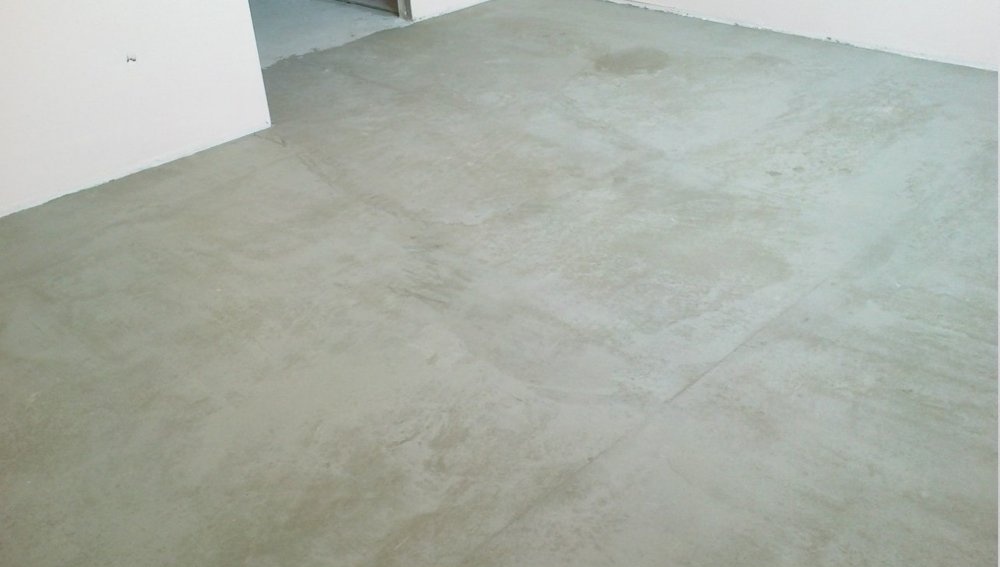
The initial stage is the mandatory preparation of the surface. It must be cleaned of dirt and dust. The best way is to clean it with a special construction vacuum cleaner. After that, the floor is primed, regardless of the type of flooring (wood or concrete). If it is made of wood, then in addition to processing with a primer mixture, it is exposed to an antiseptic solution.

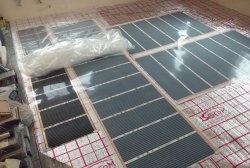
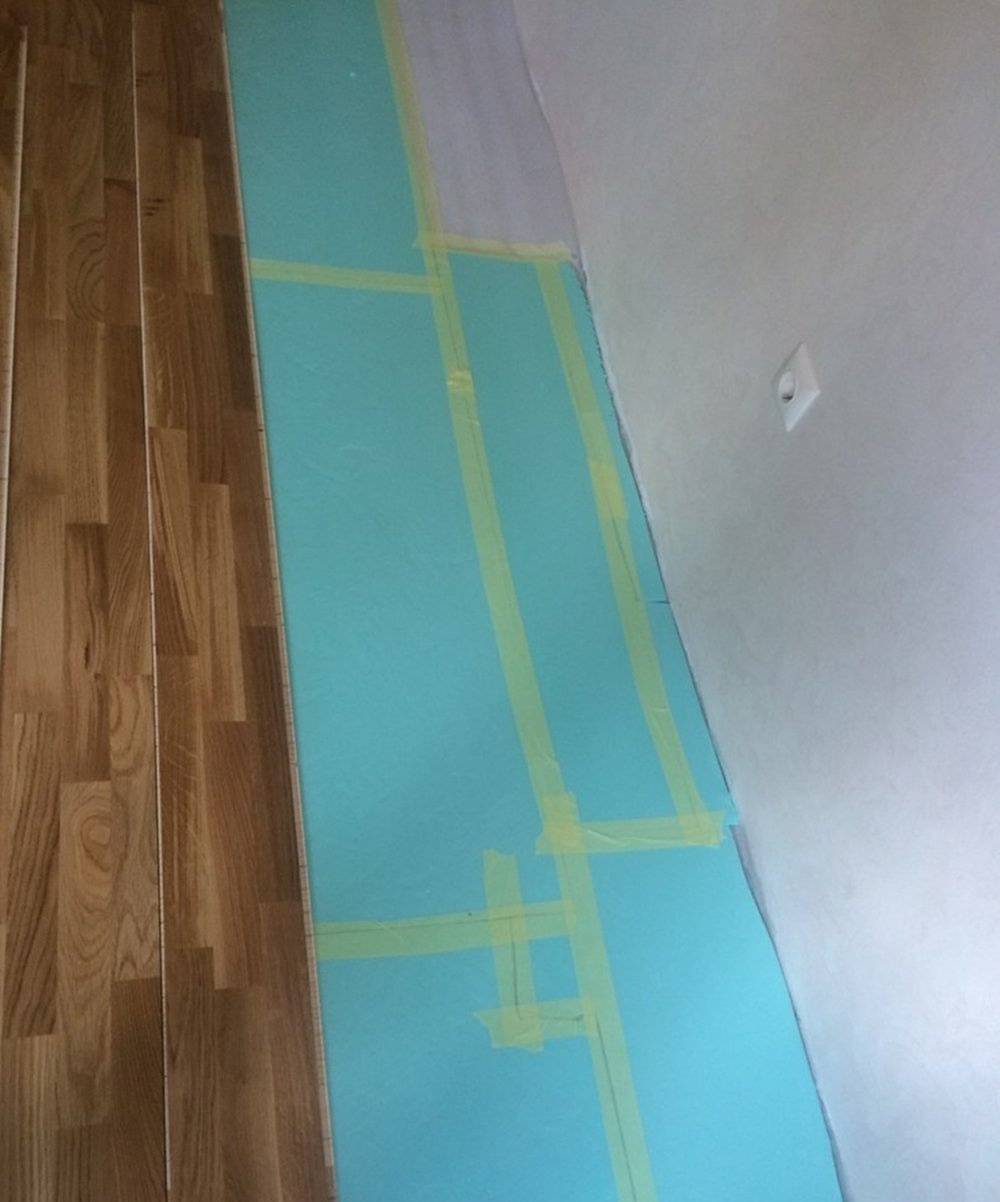
The concrete base is covered with a waterproofing film. It will provide protection not only against moisture, but will also serve as a heat-insulating material. The polyethylene cloth is overlapped, and all the seams are glued with construction tape.
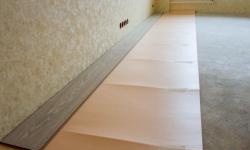
The next layer as a sound insulating component will serve as foamed cellophane. Since laying the laminate with your own hands is carried out from the window, the lining is done only in the area where the flooring is formed. This will allow you to get a complete coating and ensure cleanliness when performing work on their own. All subsequent parts of the substrate are laid butt to back and fixed with adhesive tape. There are such types of coatings that already contain a soundproof layer in their structure. In this case, the need for a substrate of foamed cellophane disappears.
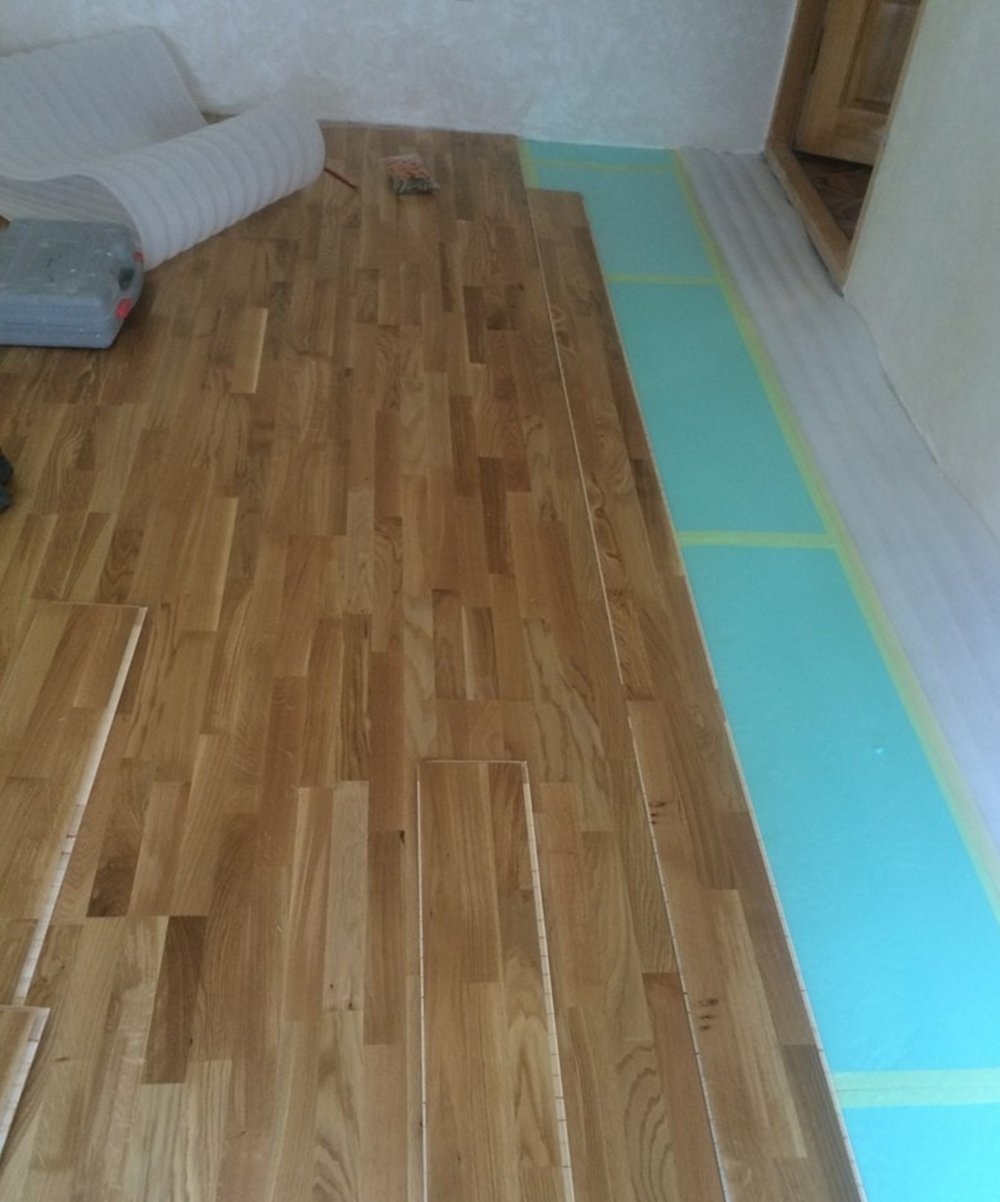
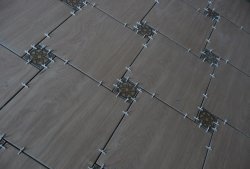
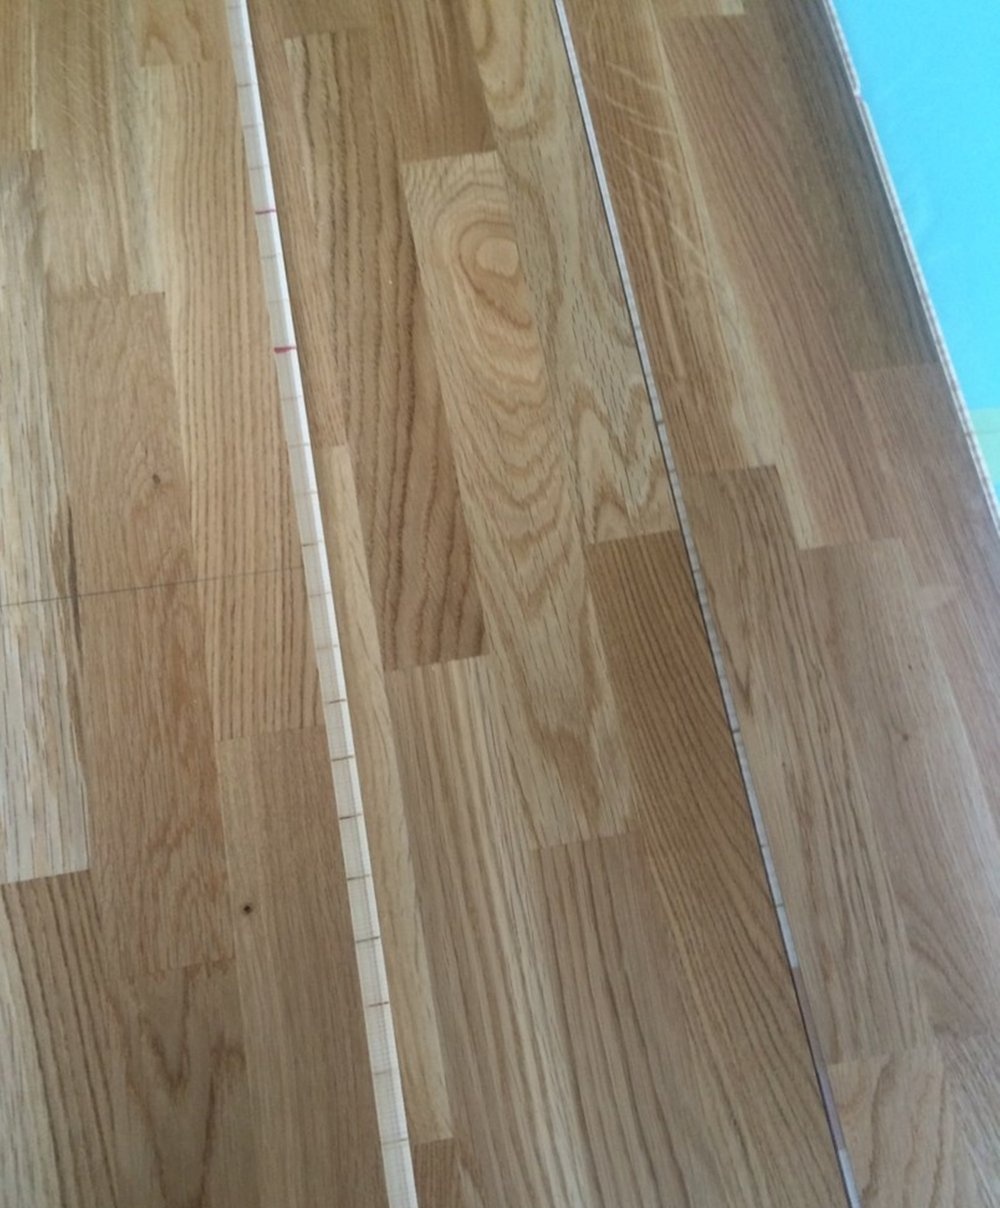
Installation of the first lamella starts from the corner of the room near the window. In this case, wedges are installed between it and the wall. Subsequent parts are placed end to end in whole strips. It is important to observe the correct connection of all components of the structure.
At the ends of the lamella there are special grooves in which adjacent elements are installed. If you need to fit an incomplete sheet, then you can use the segment. To do this, you need to turn the whole strip with a short end to the wall and mark the cut line. The necessary clearance between the coating and the wall must be observed. According to the made measurement, the desired length is cut and inserted into the overall structure.
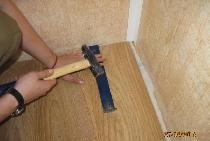
The second and subsequent rows begin with the remaining cut lamella, but only if it is at least 30 cm in length. In all other cases, a cut is made from the new sheet. All elements of this series are assembled without a lock connection with the previous one. Only after full docking of the second row does the whole structure snap into place. It is not recommended to use a hammer for tight adhesion of elements. However, if the need arises, you can attach a wooden block in places of loose connection and secure the locks with light strokes.
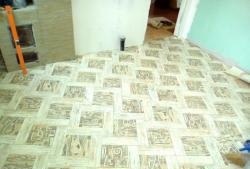
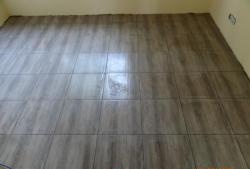
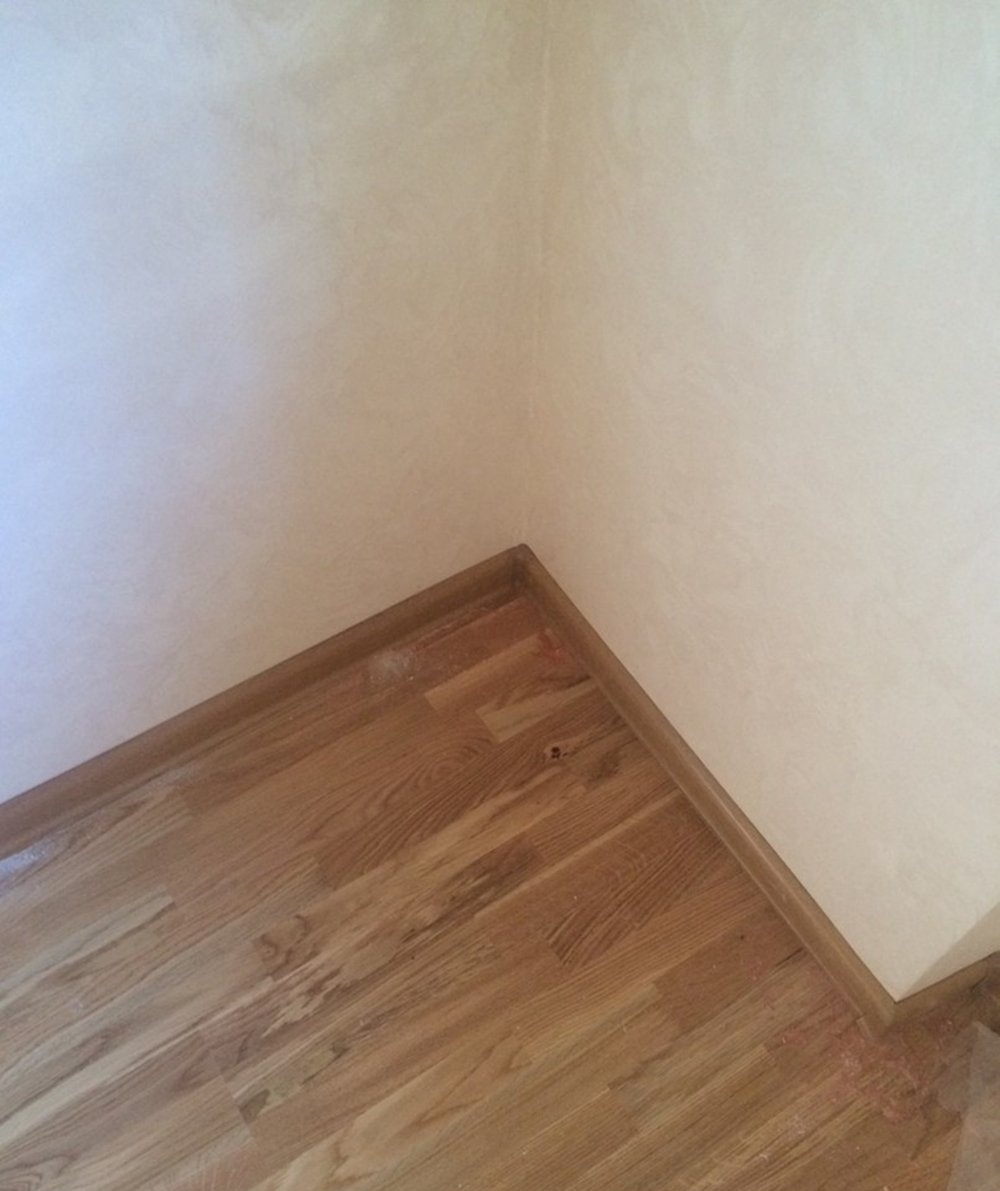
Following the basic recommendations, it is necessary to fill all the space on the floor. Particular attention should be paid only to areas with uneven surfaces or containing elements of communication.

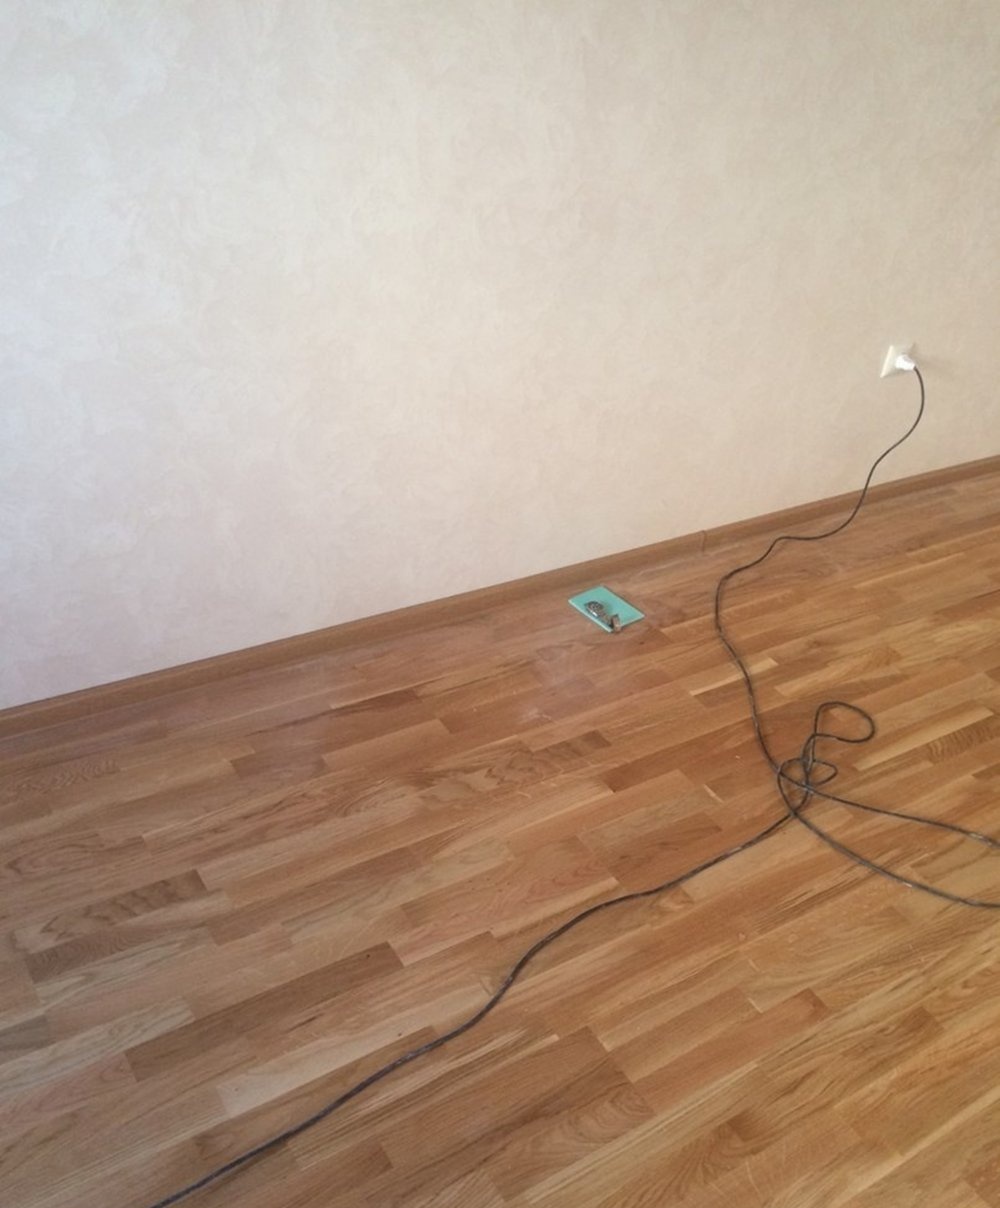
Following all of the above tips, laying a laminate with your own hands will not be a painful test for you.