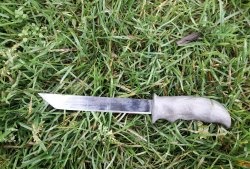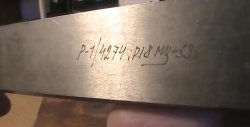


I found an old file at a flea market and decided to make a knife out of it. I had no desire to heat treat it or spend hours grinding the blade. Therefore, with minimal processing, I constantly kept the temperature of the blade cold. The work took about 2 days (including the glue drying time).
Knife design
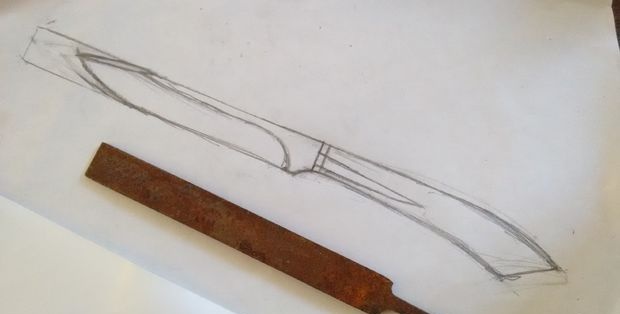
I manually sketched out the design of the future knife (taking into account the width and thickness of the file). But I didn’t put an end to it, and was ready to adjust the shape in the process.
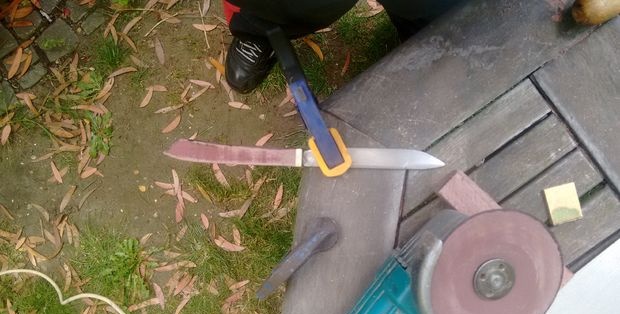
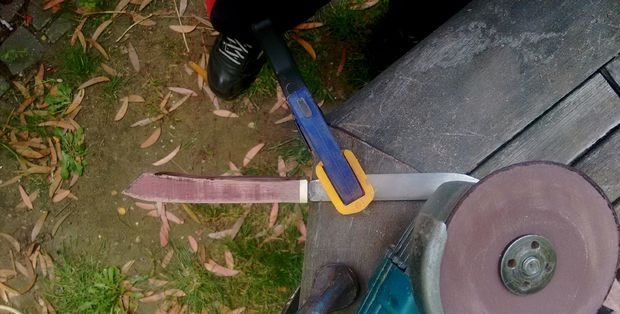
File processing

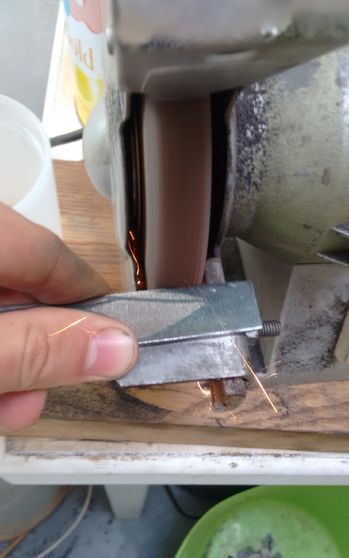
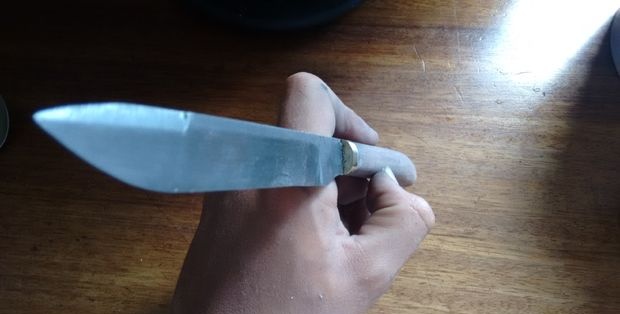
First I processed the shank, then moved on to the tip. I did all this on a grinding machine. Then I began to grind the escapement by eye, which came out well - not perfect, but I liked it. During the processing process, I kept the file from heating up, dipping it in a glass of water from time to time to prevent the steel from becoming soft. This was easy to do, since the thinner the file became, the faster it heated up. Something attracted the butterfly and it stayed on my hand throughout the entire process.
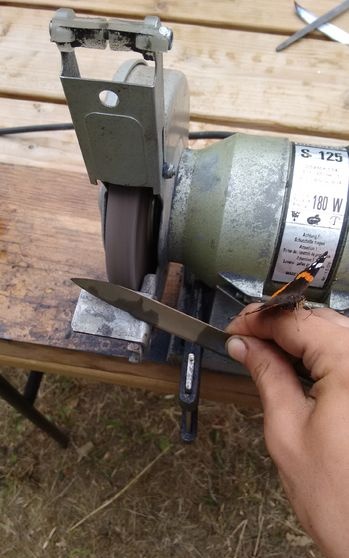
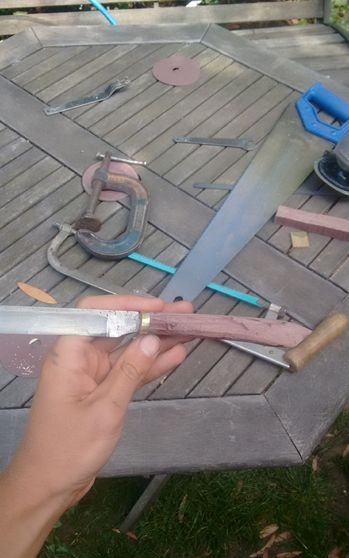
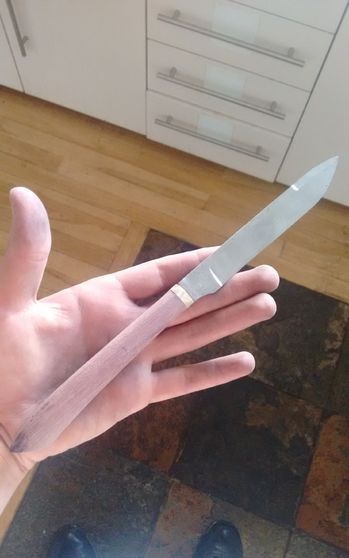
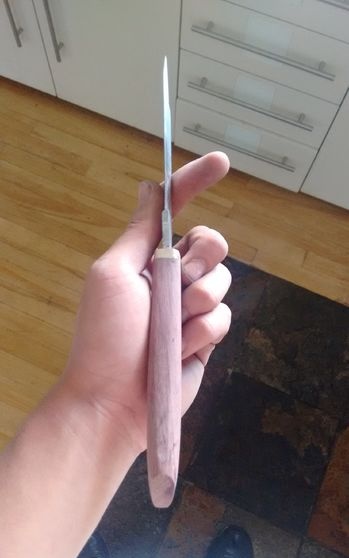
Knife blade processing
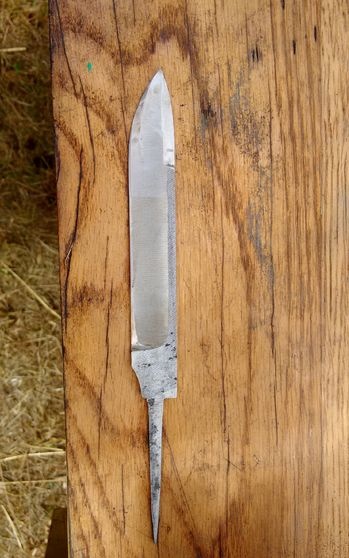


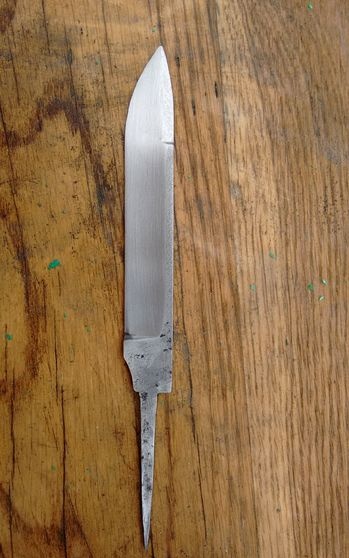
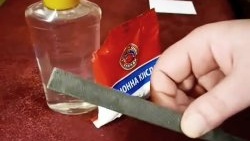
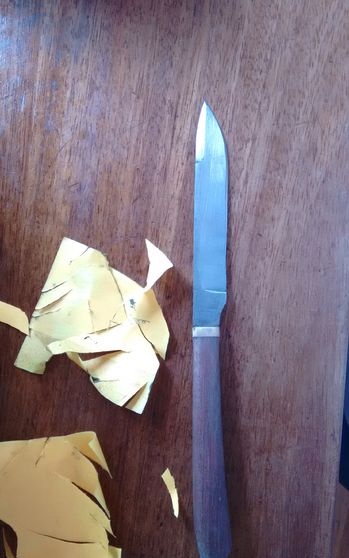
Then, using P60 sandpaper, I smoothed out the surface. The notches were left in because sanding them would take a long time.The blade turned out to have concave slopes, because sharpening was carried out on the wheel of a sharpening machine. I didn't expect the surface to be any smoother.
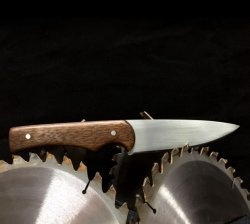
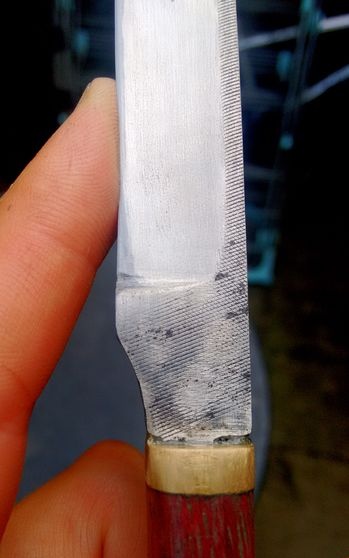
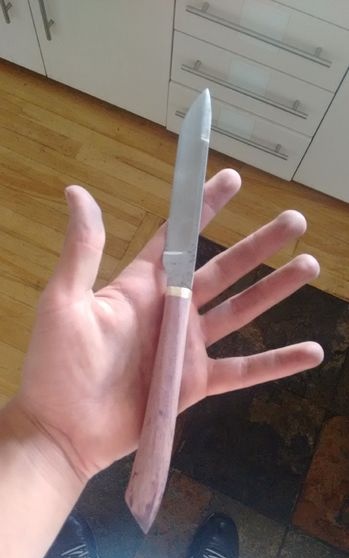
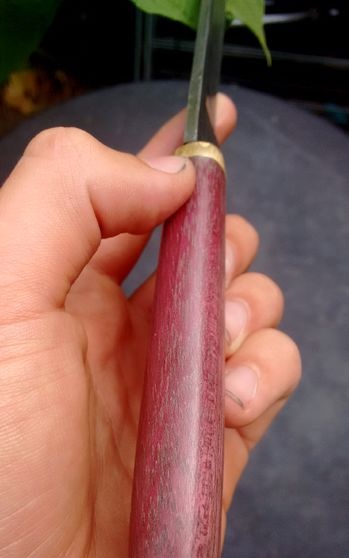
Handle
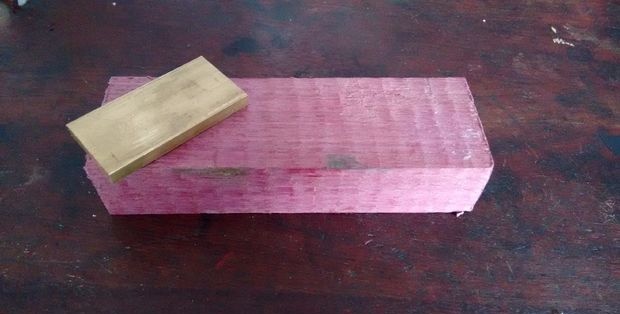
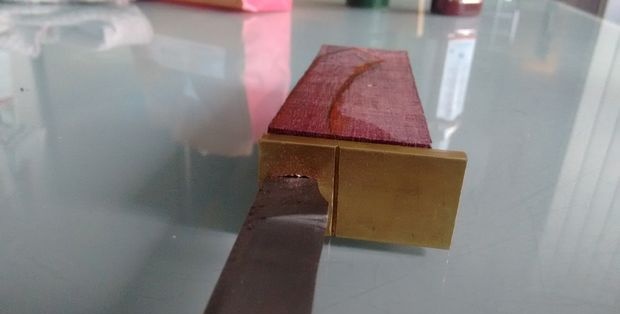
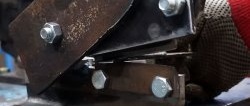
The handle is made of a 6 mm thick brass plate and a purple amaranth block. I chose these because brass and purple go well together. I drilled two 5mm holes in the brass and connected them using a drill and a hacksaw blade. Usually in such cases people use different needle files, but I don’t have them, and I didn’t strive for perfection. The shank was inserted through a bolster into a 5 mm hole in the wood, previously filled with epoxy resin.
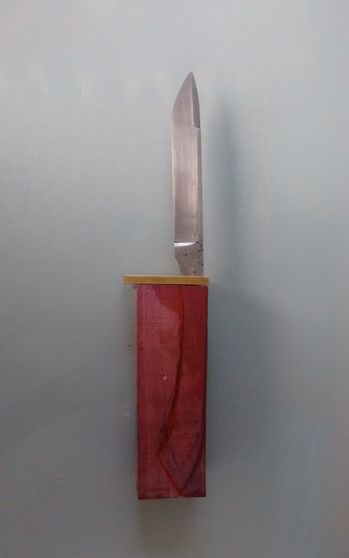
Shaping
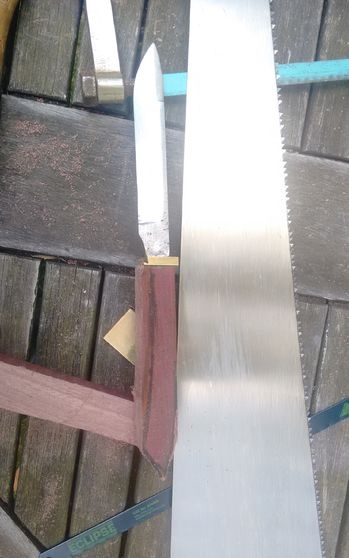

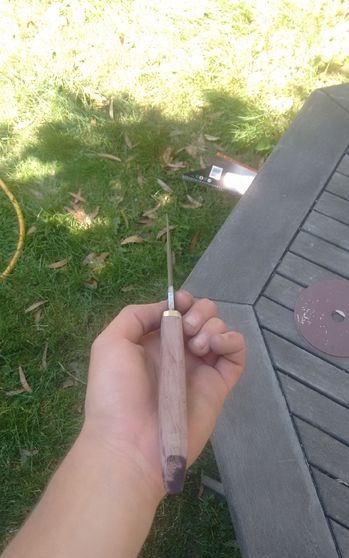
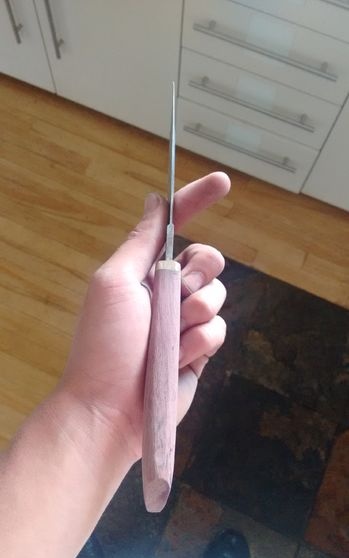
I let the glue dry overnight and then started working on the handle. First, I cut the block in half, bringing it closer to the desired length. After that, I clamped the knife with a clamp and started processing using a sanding disc with P120 grit. When working with a bolster, you need to be careful, since wood wears down much faster than brass. Once the profile was the shape I wanted, I began sanding the sides to give them a rounded look. The whole process took about an hour.
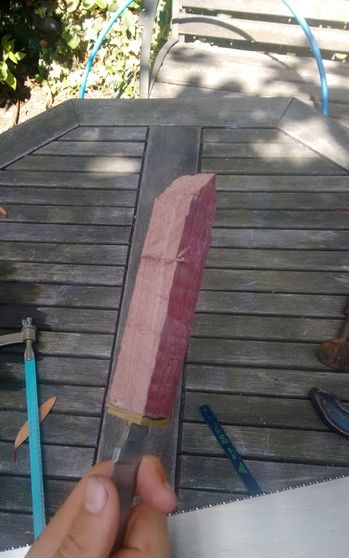
Polishing

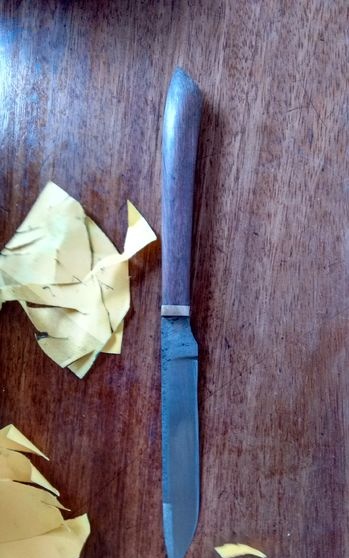
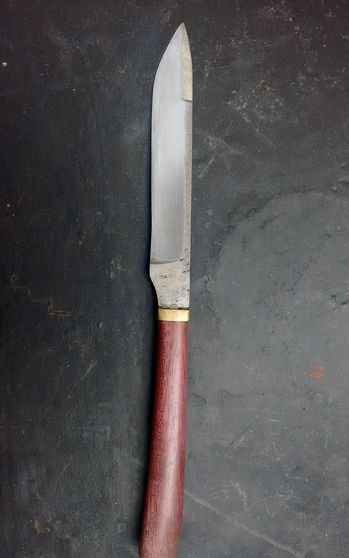
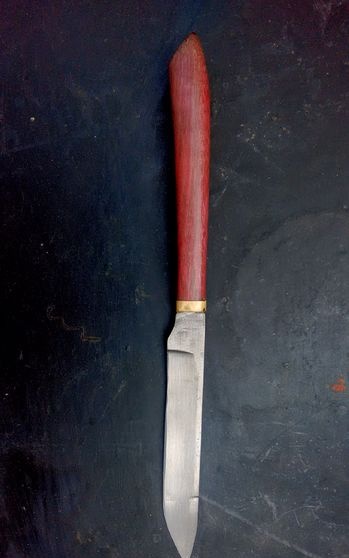
I sanded the handle with P240 grit sandpaper and a buffing wheel to smooth out the surface. There were still some scratches on it, but I liked them. The wood was then soaked in Danish oil (4 coats with light sanding in between). Then I sharpened the end of the handle with a whetstone.
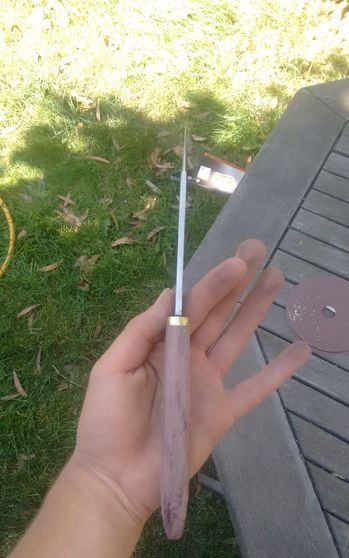
Amaranth wood, as it oxidizes over time, becomes more purple, and in the photo it appears even redder.
Thank you for your attention!
Original article in English