Although there are many varieties of instant coffee on store shelves, true connoisseurs of this drink are not entirely satisfied with this product. So, as the main invigorating substance - caffeine, practically no remains in it after processing and extraction.
Therefore, in order to get a drink with higher quality ingredients, you need to have a coffee machine, which is not entirely accessible, or grind the roasted beans in a coffee grinder and then cook them in a Turk on the stove.
This option is not new and does not require large financial outlays. Many people still have Soviet coffee grinders, and imported, more practical devices for everyday use have appeared in household appliance stores.
Almost nothing has changed in modern coffee grinders compared to their domestic counterparts. The principle of operation remains the same, the only thing added is electronic control.
If we talk about the quality of the products, it does not particularly shine, so the device periodically needs repairs of varying complexity.
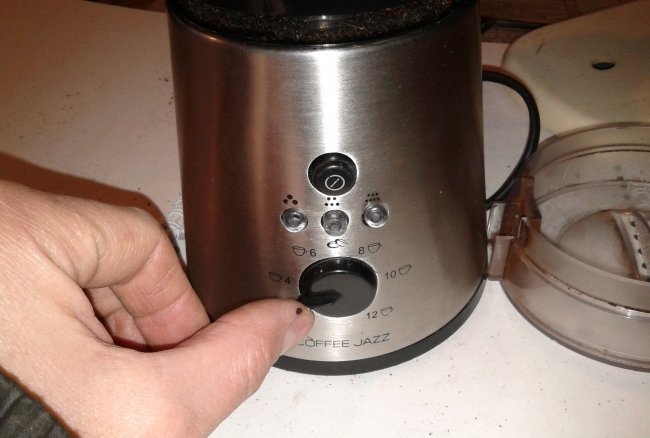
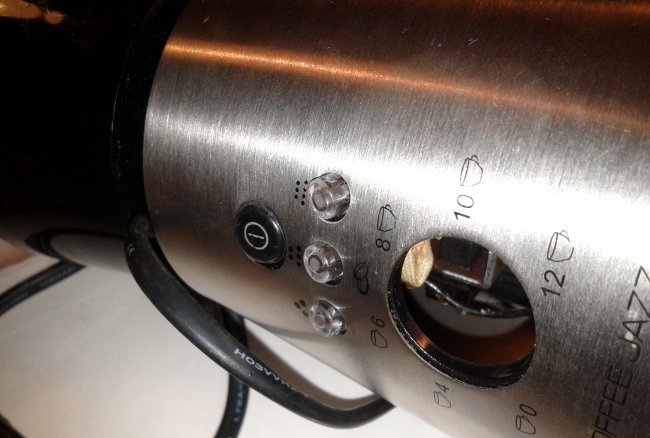
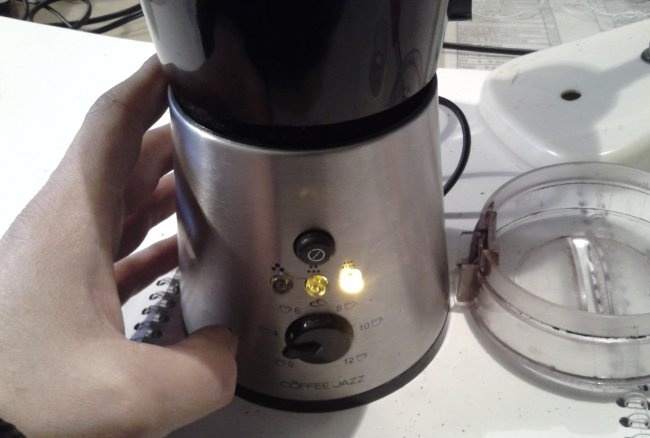
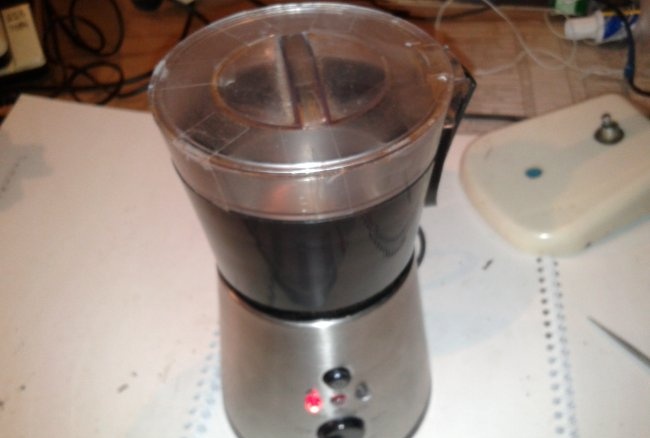
Here, in the photo, there is a coffee grinder with a problem in operation, that is, it does not react in any way to being plugged into the network or pressing the control buttons.
There were no short circuits, crackling or smoke from it. It just stopped working.
Let's start disassembling.
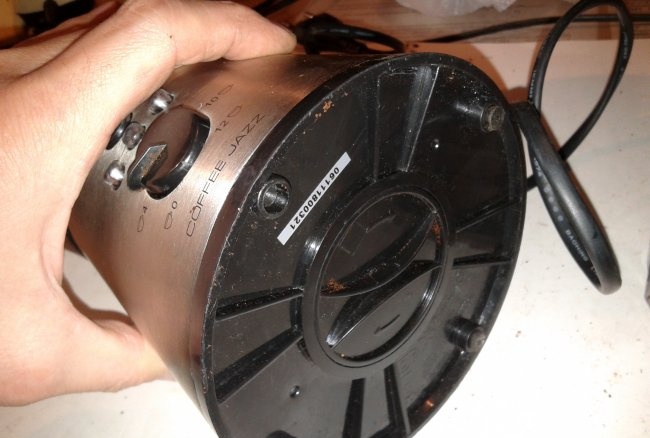
We place the device on its side and, wrapping our fingers around the regulator slide, remove it.
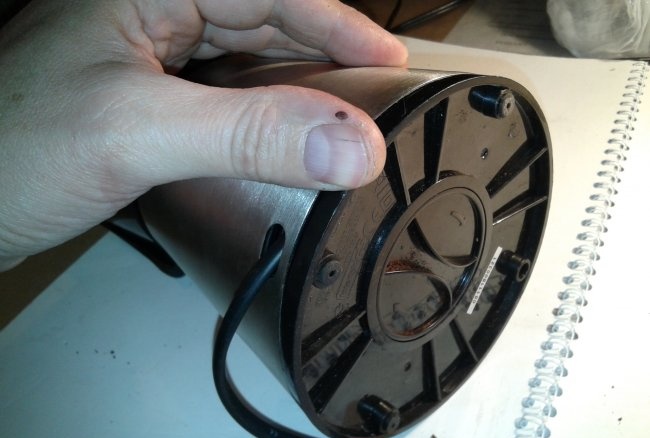
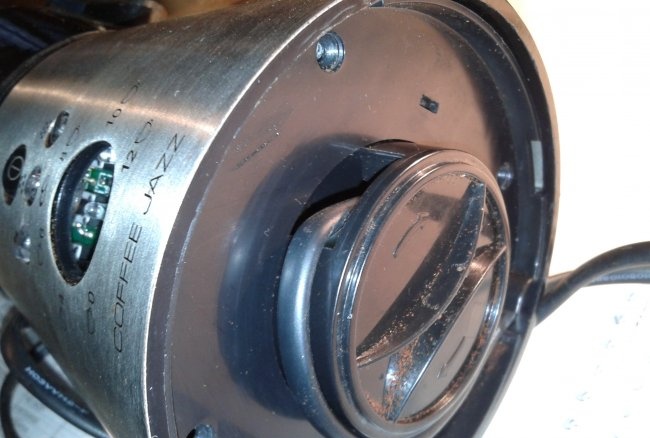
Next, using a thin screwdriver, remove the bottom from the latches.
It is held on by four latches and grooves in the body.
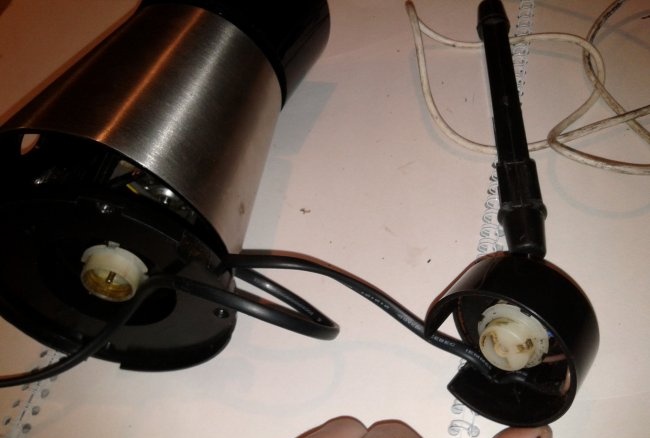
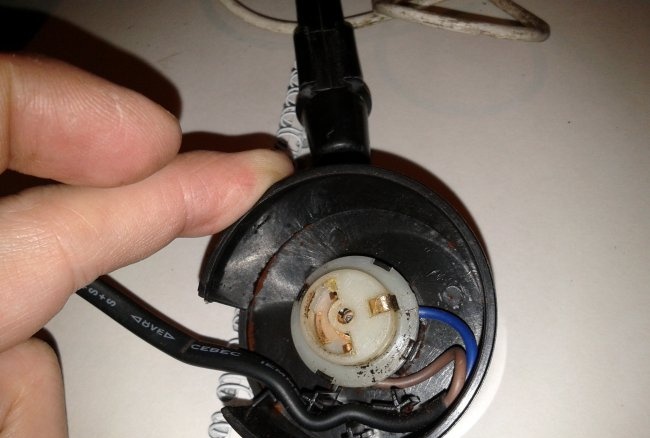
This coffee grinder has a reel with a handle for rotation, with the help of which the wire is “hidden” inside the body for convenience. In this regard, the power cable has rotating contacts on the bottom.
These contacts are in the form of a block and are removed along with the cable.
Then, unscrew the four screws securing the additional sole.
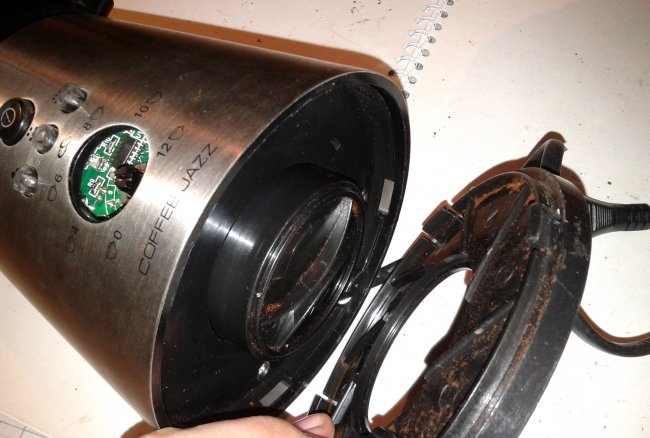
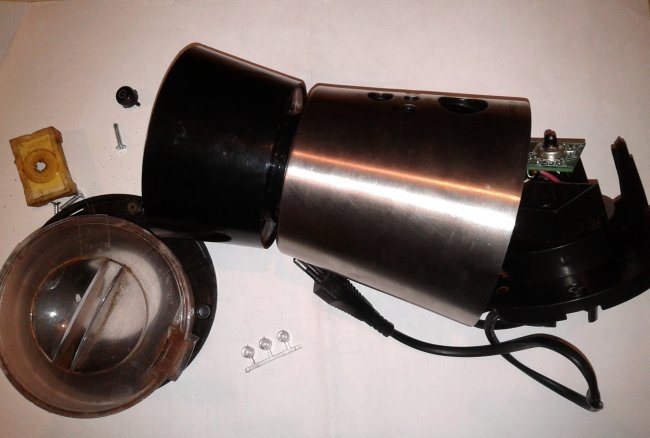
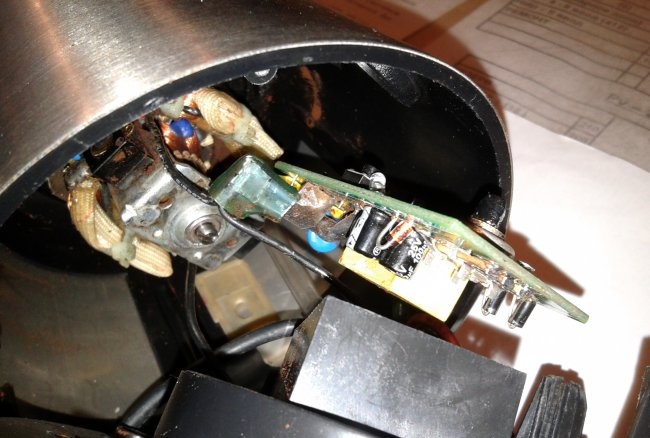
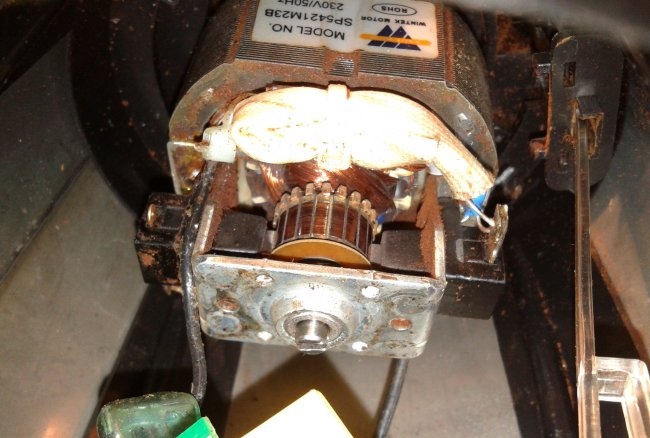
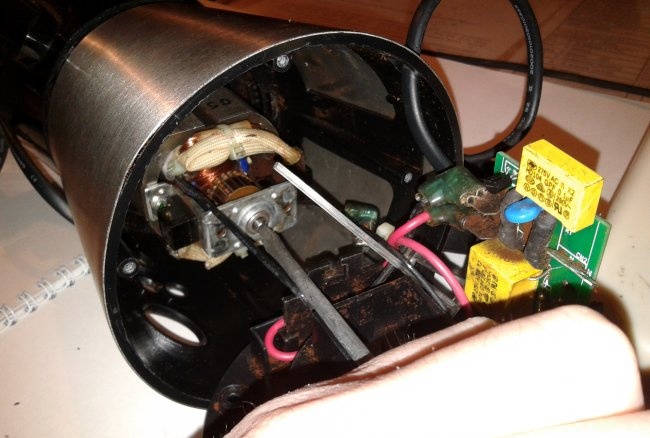
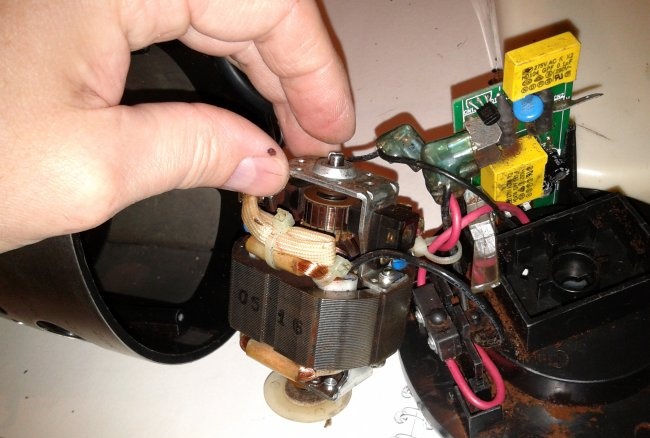
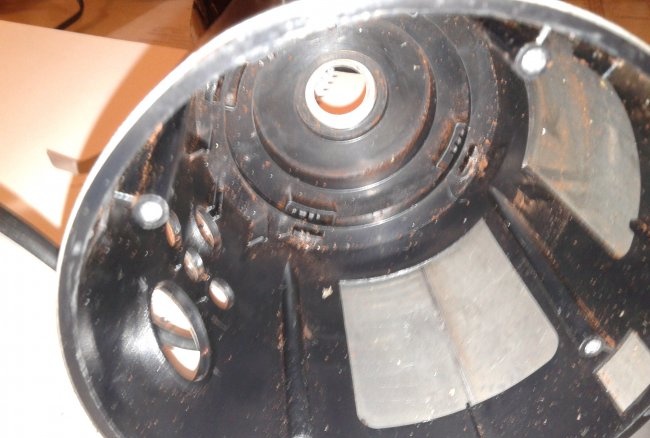
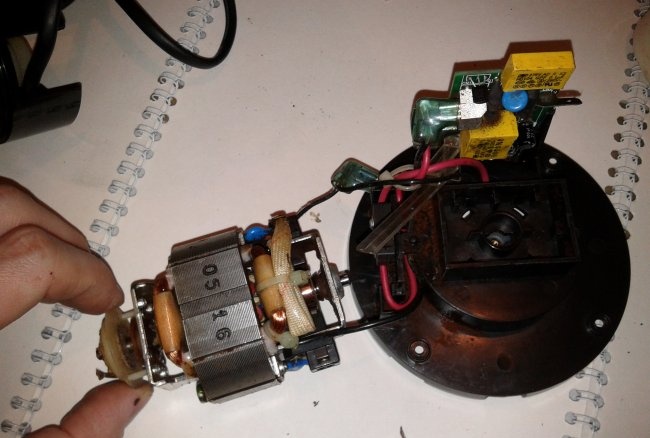
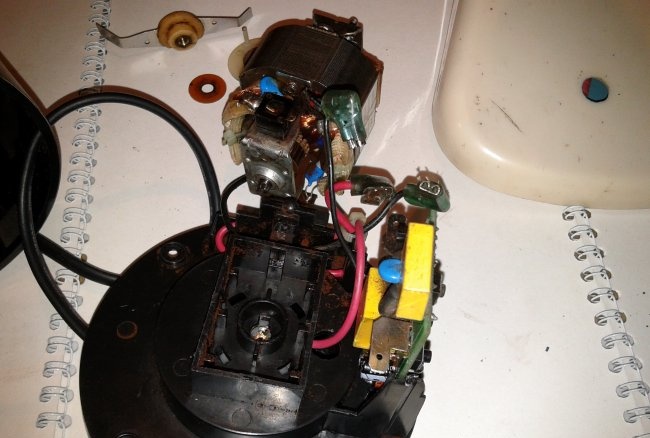
By removing it, you can see the engine itself, the electronic circuit and other parts necessary for diagnostics.
I would like to immediately note the extreme inconvenience of inspection and diagnostics in general, since the wires are very short and thin, and everything is done compactly and concisely.
Mostly the wires going to the board and one wire from the motor are in the way.
To continue working, you need to disconnect the wires from the board and this can be done without a soldering iron, since the connection is made on the connectors.
But it is not so easy to remove these connections with your fingers; a screwdriver with a straight tip will help here.
We do the same with other connections.
It would be a good idea to sketch or photograph before removing the color of the wires, where each is located, so that during subsequent connections you do not confuse them.
When the wires are removed, the electronic board can be pulled out of the housing and free access to the engine.
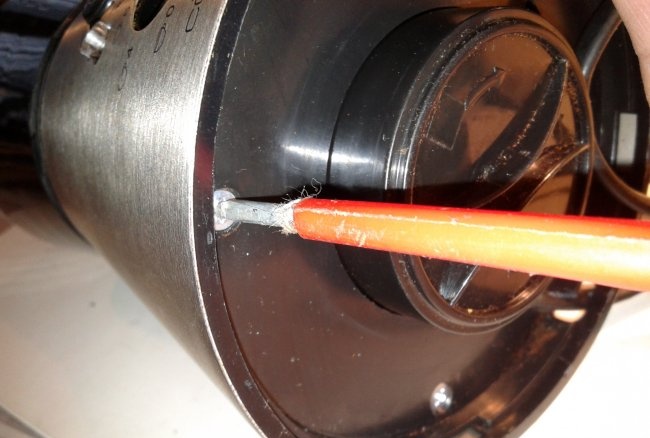
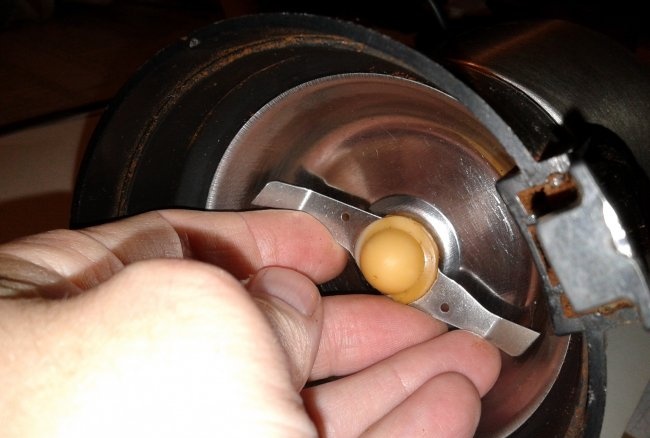
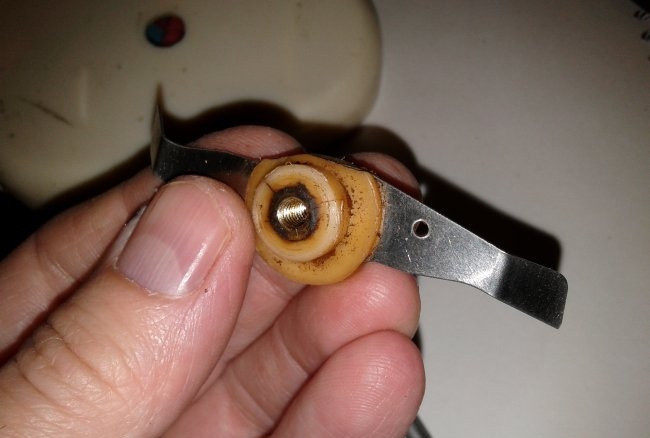
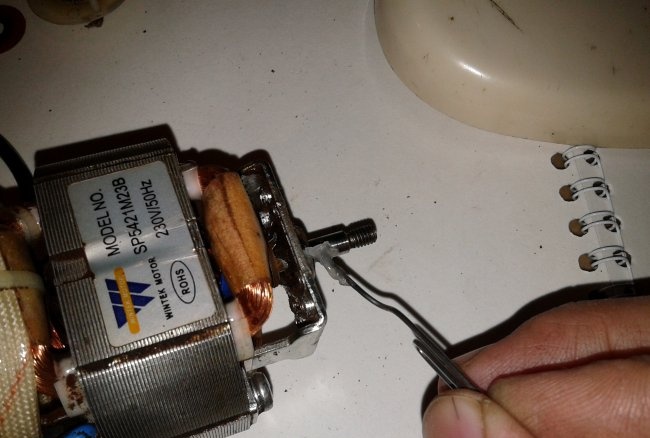
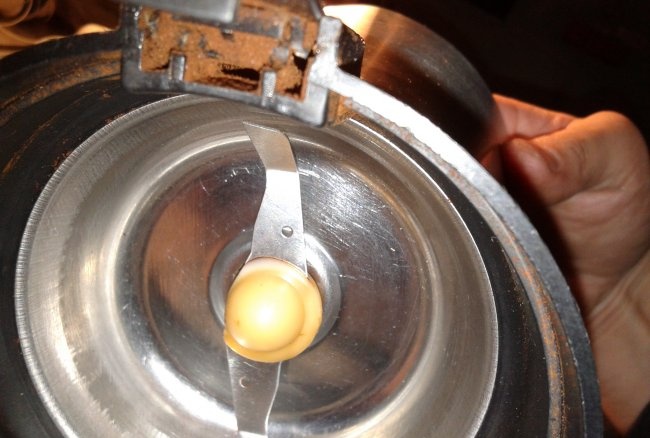
The motor cannot be pulled out while the knife is attached to its axis. It is screwed counterclockwise, since the thread is left-handed.Therefore, you should unscrew the knife clockwise, and to fix the motor axis, insert a screwdriver into a special slot, as shown in the photo.
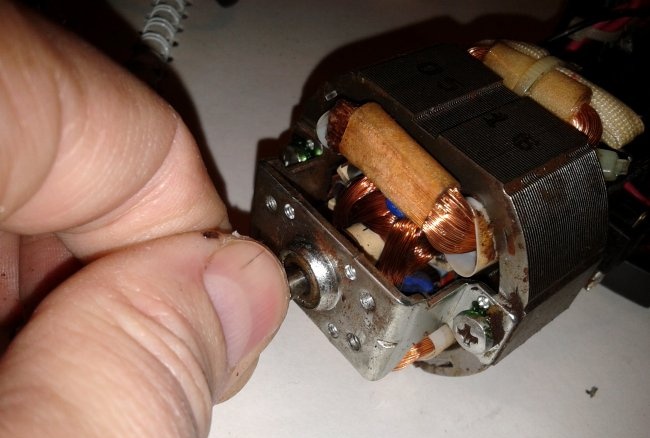
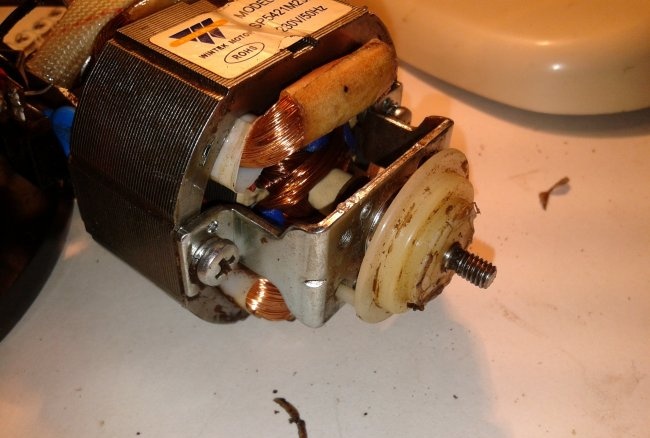
Once the knife is removed, the engine will easily come out of the housing.
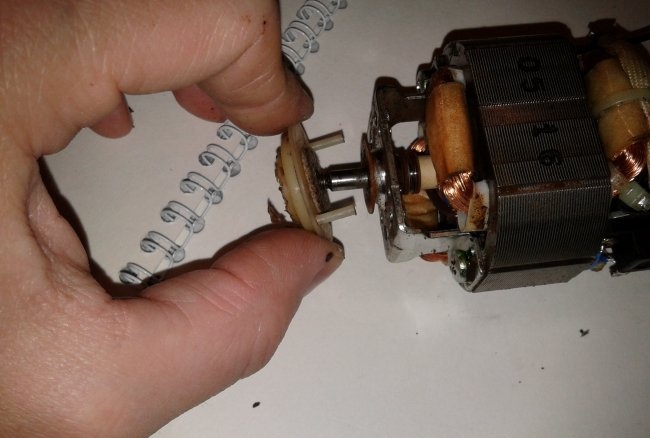
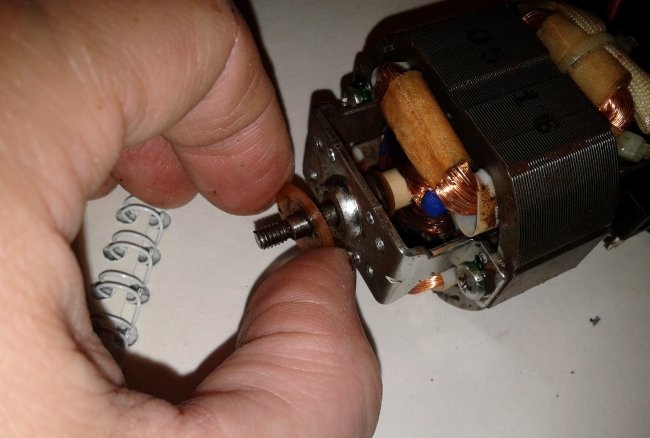
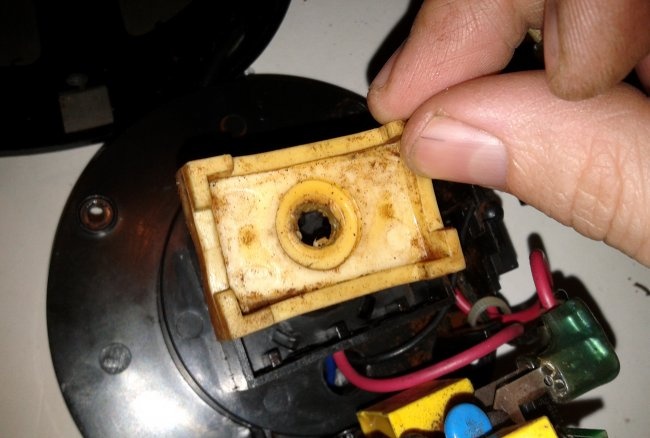
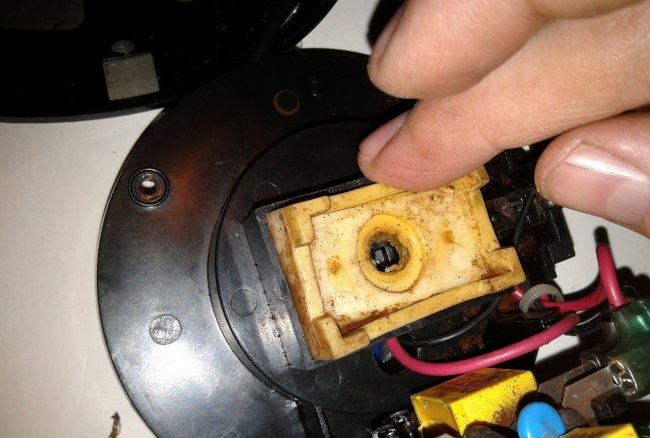
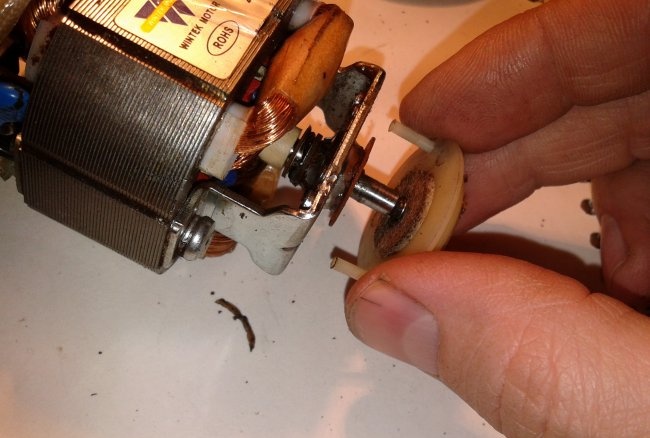
Now we remove additional parts from the rotor, remembering the sequence of their installation.
We try to rotate the motor rotor with our fingers. If rotation is difficult, then it is necessary to disassemble the engine, wipe and lubricate the rubbing parts.
In our case, the rotor rotates freely, but additional lubrication will not hurt. This can be done without disassembling the engine.
We take grease onto the tip of a screwdriver and apply it to the axle, next to the bearing. Next, we move the rotor axis from top to bottom. This way, some of the lubricant will get inside the bushing. This will give better glide, which won’t hurt at all, especially since it’s possible to do it.
After this, check the length of the commutator brushes. If they are short and practically fall out of the inserts, then they should be replaced.
Next, we move on to checking the integrity of the cord and power connector.
Coffee grinder repair
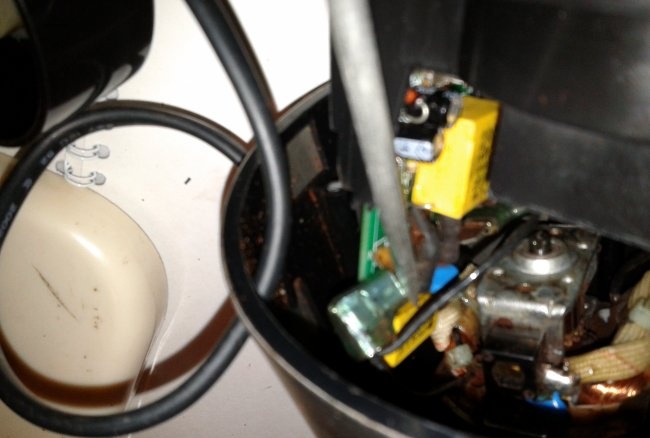
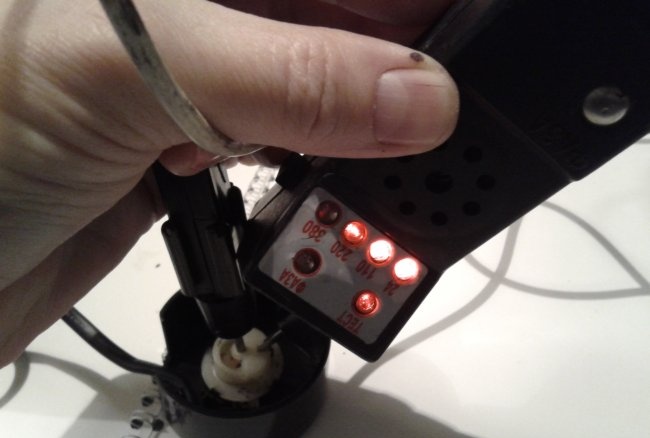
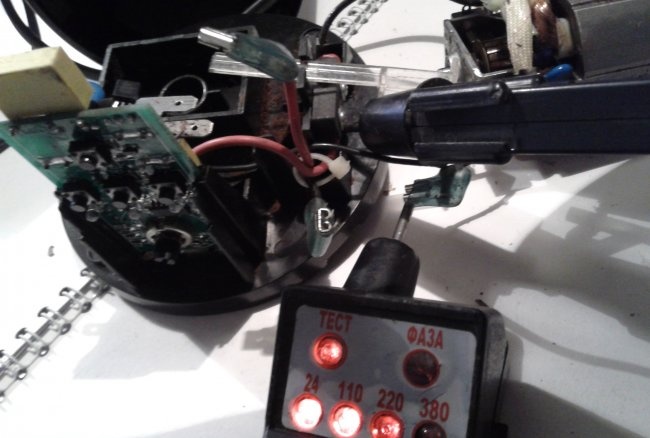
To do this, disconnect it from the sole and plug in the plug. Using a voltage indicator or an AC voltmeter, measure the voltage at the contacts. How to do this can be seen in the photo.
The indicator shows 220 volts, which means the cord and connector are in order.
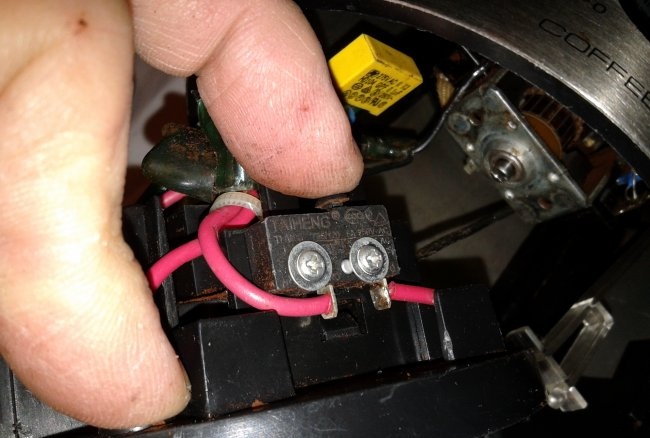
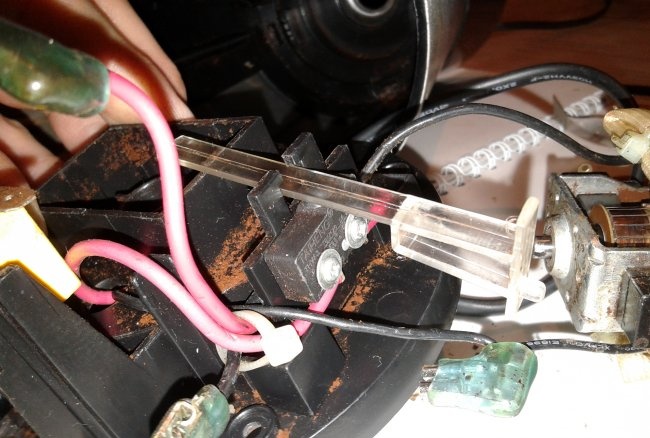
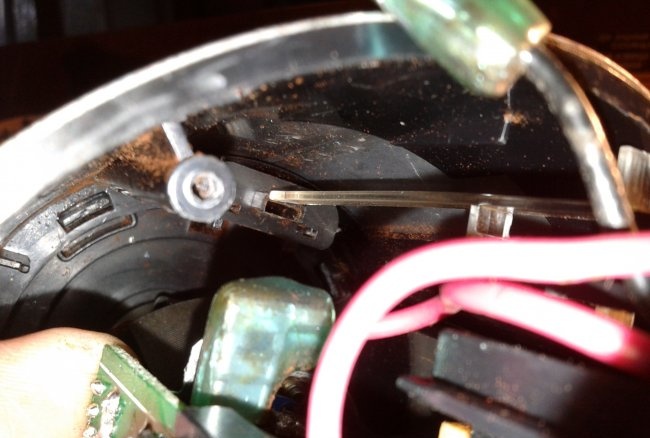
Now, let's check the operation of the protection switch against accidental activation. While the coffee grinder is operating, its closed lid presses on the glass rod, which in turn presses on the switch and closes its contacts.
Therefore, we connect the ends of the device to the switch terminals and press its button.
During normal operation, the device will indicate a short circuit.If it’s not there, then it’s the problem, that is, replacement cannot be avoided.
Now let's move on to checking the engine. We insert the board into special slots, and place the engine next to it on its side.
Also, insert the power connector with the cord into its place (at the bottom of the case) and plug in the power plug.
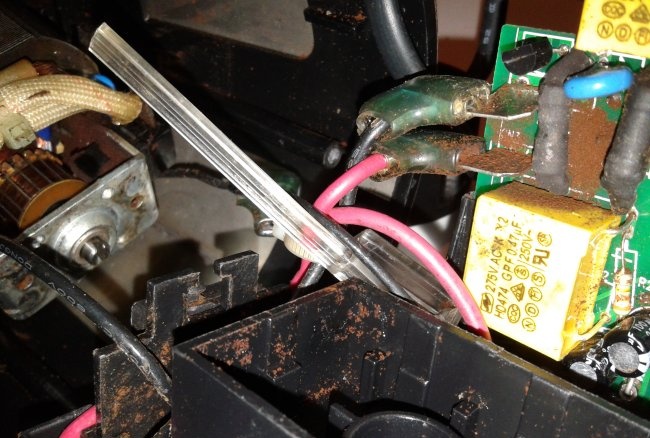
It is also necessary that the switch contacts are closed at the time of testing; this can be done by inserting a plastic rod in the same way as in the photo.
You can, of course, hold the button with your finger at the time of start-up, but this is not entirely safe in the event of a short circuit in the motor winding.
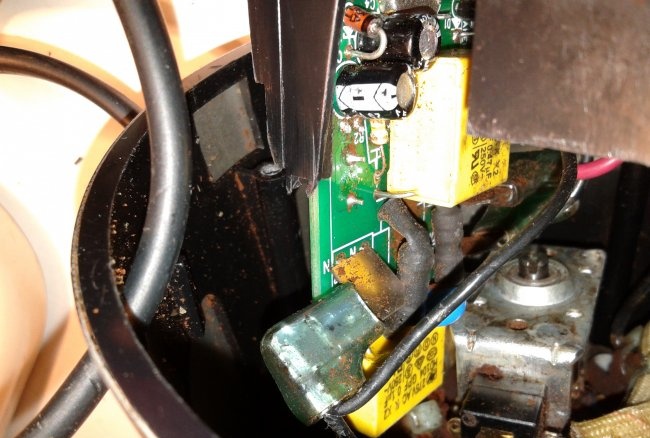
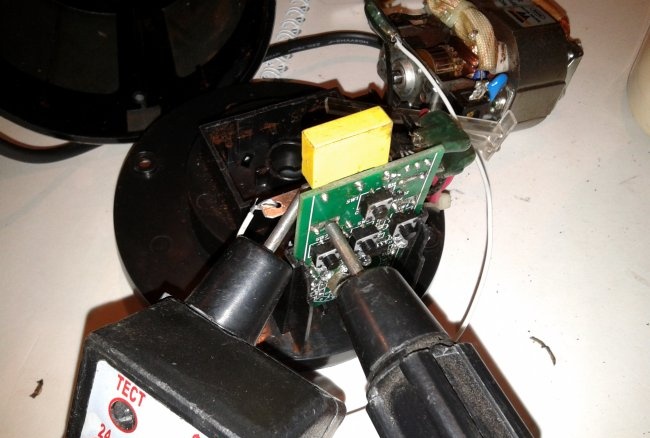
To now check whether voltage is coming to the motor and the board, we connect one end of the pointer to the common wire, and the other to the switch terminal.
The indicator should show the presence of voltage, as in the photo.
If there is no voltage, then the problem should be looked for in the power connector of the sole.
Disconnect the power plug from the network.
When we have checked the presence of voltage, and it is there, we connect the connectors to the corresponding contacts on the board.
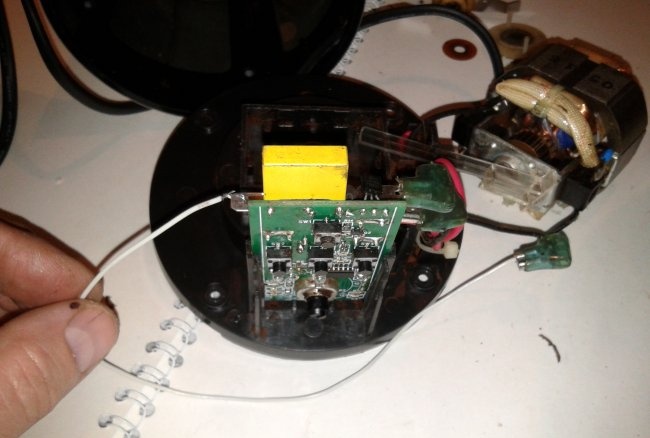
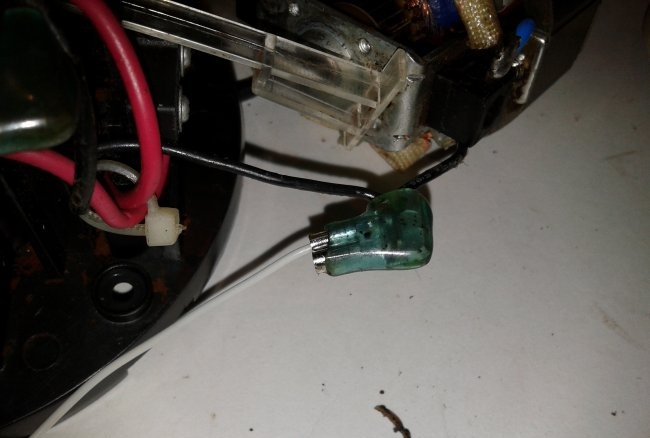
We connect the one that goes from the engine and to the board (common) with a piece of copper wire, from the connector to the corresponding contact. This must be done so that the engine can be checked in a lying position, as this is more convenient and safer.
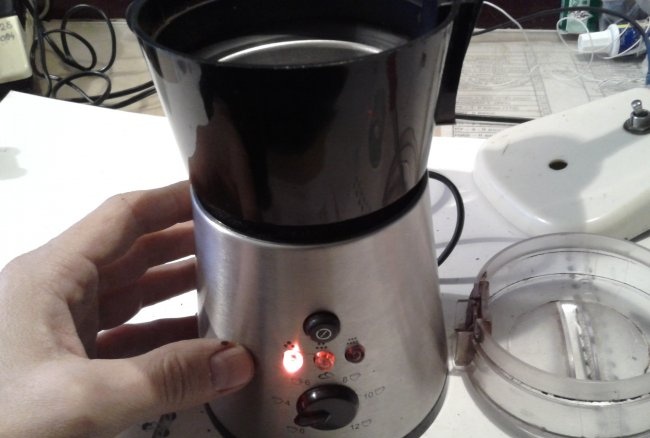
When the chain is assembled, turn on the power plug, and carefully holding the motor, press the button for selecting the grinding degree (one of three).
One of them should light up LEDs on the control board. Next, press the start button.
The motor does not rotate, but when one of the connectors on the board was moved, the rotation periodically appeared and disappeared.
This was exactly the connector where we connected the motor to the board via wire.
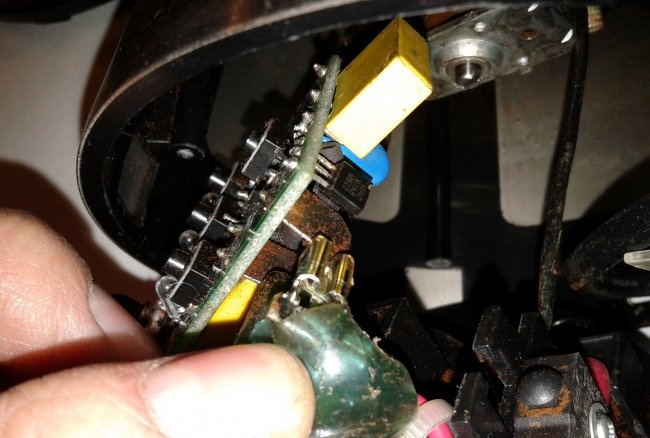
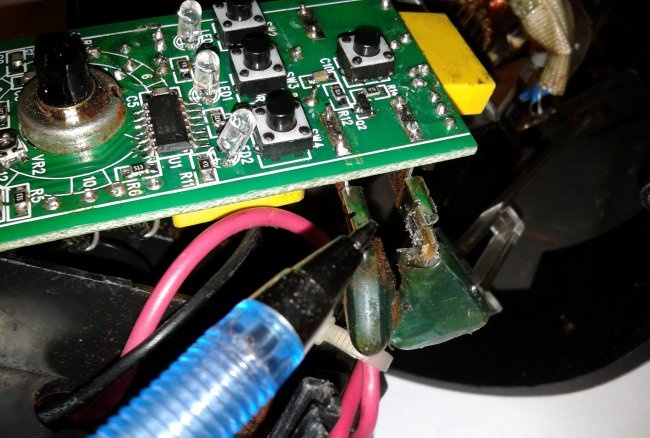
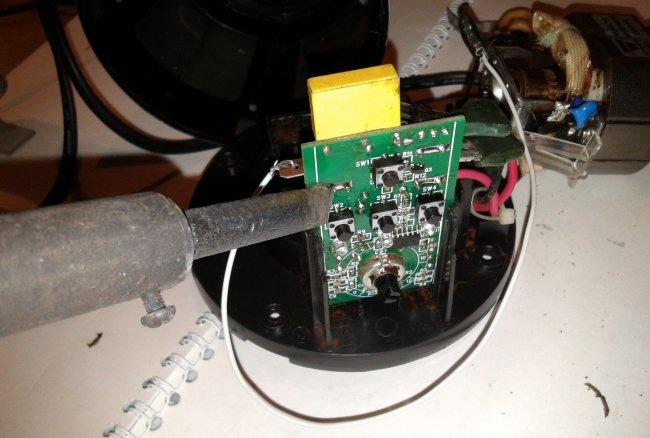
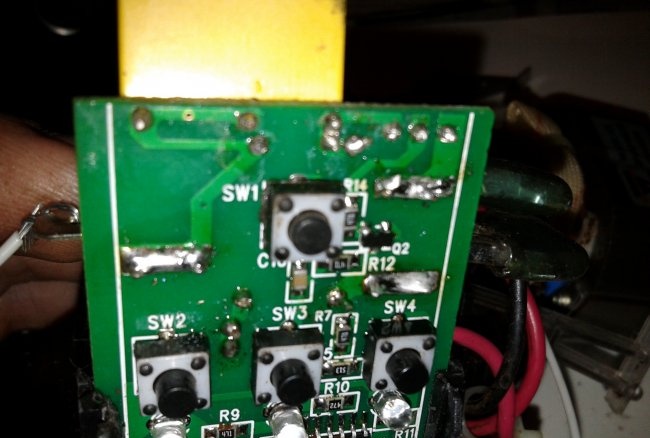
Subsequent inspection of the circuit in this section showed that at the place where the plug was soldered, microcracks had formed on the board and there was no good contact, and therefore there was no good contact. The device did not show the circuit, from the plug to the place where it is soldered on the board.
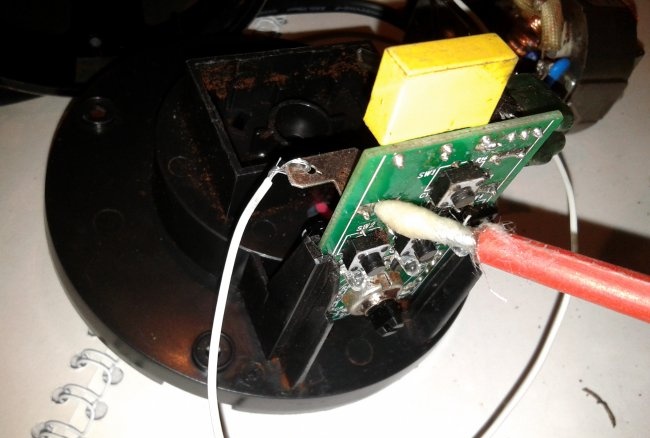
The problem was solved by soldering this place; it is also advisable to solder the other two plugs using flux and tin.
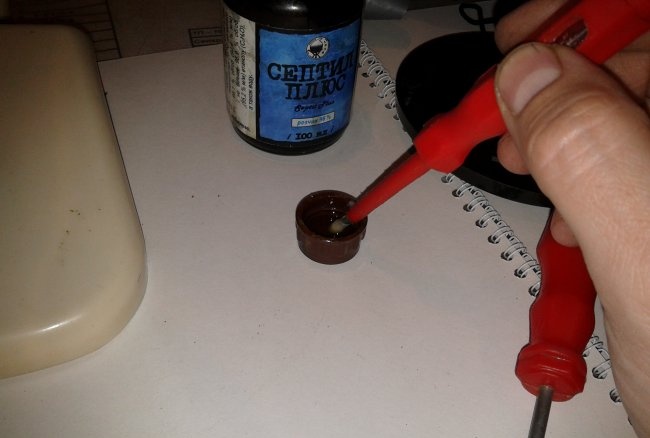
Flux made from 30% crushed rosin and 70% alcohol gives very good results. It cleans the soldering area well, and with its help the connection is quite reliable.
During assembly, disconnect all the wires from the engine, find and install the rubber gasket in its place. It must be installed exactly in the specified location.
Next, we put washers and a brass bushing on the engine axle.
Now, we are trying to insert the motor into the coffee grinder body without breaking the wires, and so that its axis goes into the hole in the working bowl.
When this happens, holding the engine with your right hand, twist the working knife counterclockwise.
Now the engine is supported on its axis from above, and from below it should be fixed with a sole with a rubber gasket.
Before you put the bottom on, you need to connect all three connectors on the board. This is inconvenient to do, but possible.
We also insert the “START/STOP” button and the glass caps of the operating mode indicator into the corresponding holes of the housing.
After this, having aligned the engine housing approximately to the gasket seat, we put on the pan.
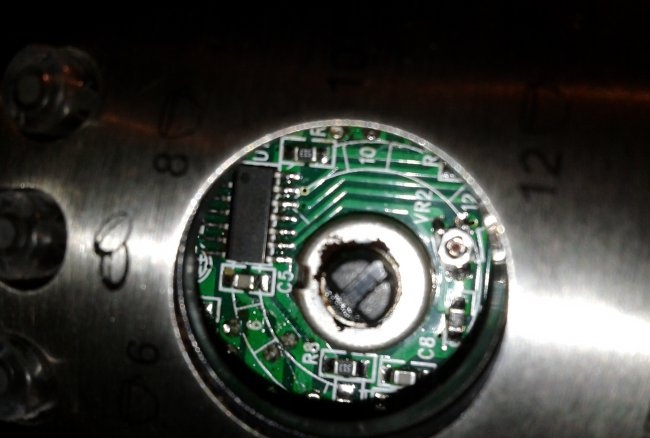
The axis of the grinding time adjustment resistor should be located approximately in the center of the hole in the device body.
Next, we fix the lower part of the coffee grinder body with a plastic sole.
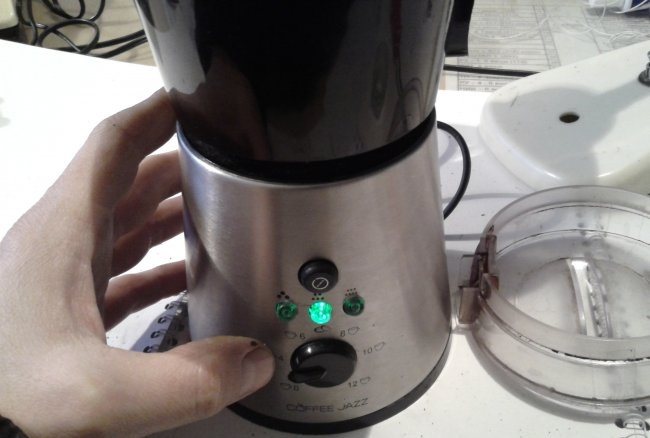
We put the regulator on and plug the coffee grinder into the mains and check the operation of the electronics.To do this, put on the cover or press the rod of the protective switch with your finger, and try to select the operating mode.
Different operating modes should be illuminated by appropriate LEDs.
Having selected the mode, press the “START” button.
The coffee grinder should work for a certain time and turn off on its own. The operating time depends on the degree of grinding. The larger it is, the less time it takes.
At this point, the repair is complete and now you can again enjoy the taste of your favorite drink.
