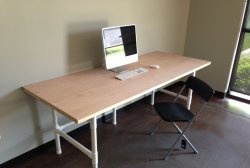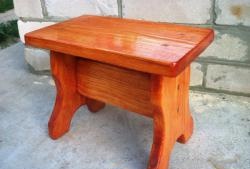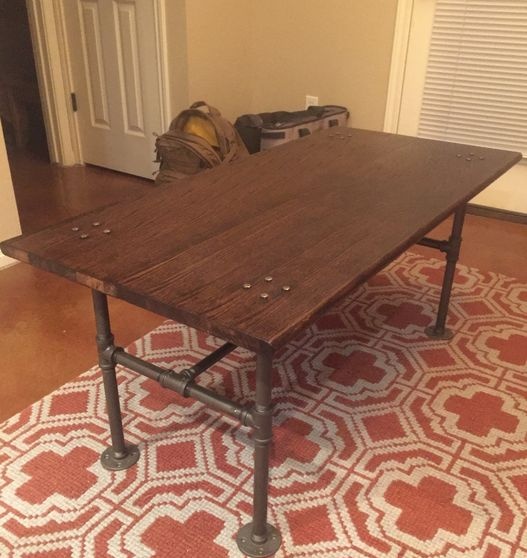

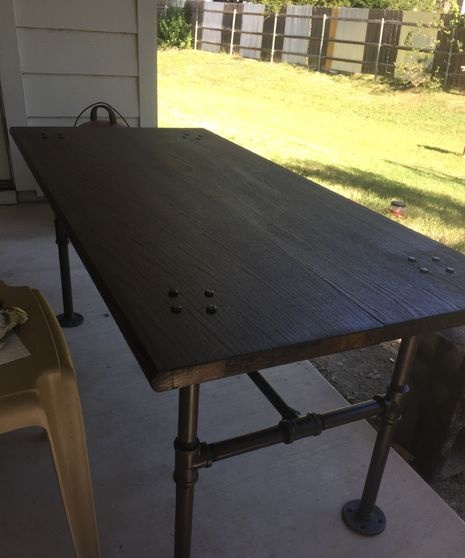
This master class will reveal my ability to make a table with a base made of iron pipes. This was my first time making a table and it came out quite charming. I hope you like it too.
Necessary materials


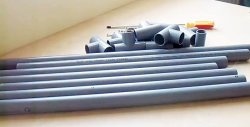
To make the table I used:
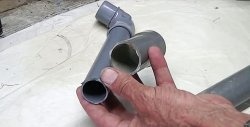
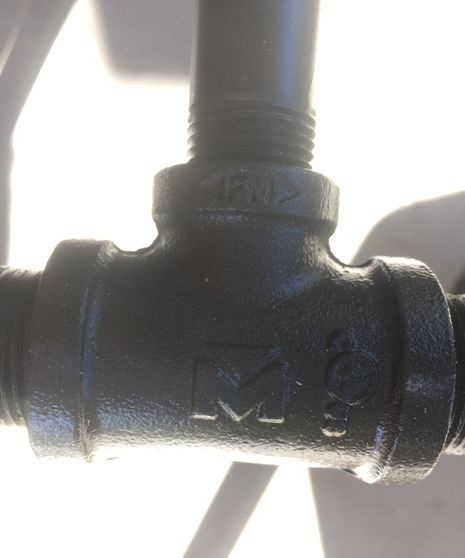
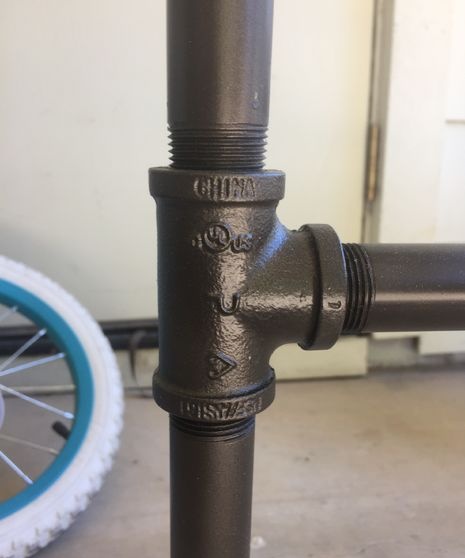
Pipes with a diameter of 20 mm: 8 pieces of 15 cm, 4 pieces of 10 cm, 8 bases, 6 T-couplings and one 80 cm pipe.
Also needed:
- Clear nail polish.
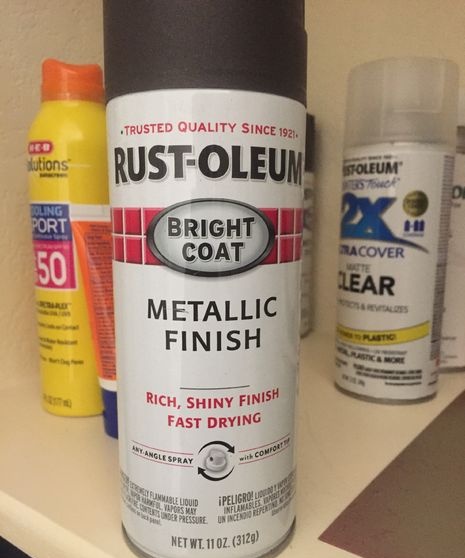
- Gray paint.
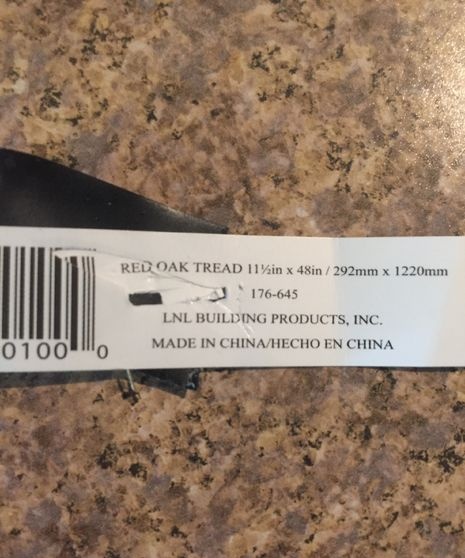
- Two boards 300 x 15 x 1200 mm.
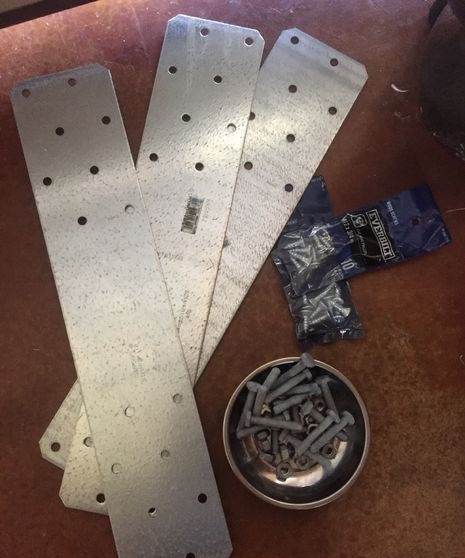
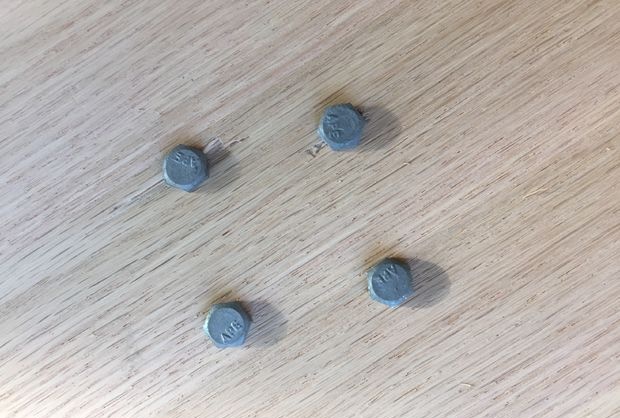
- 6 mm bolts 16 pieces.
- 3 metal mounting plates.
- 20 short screws.
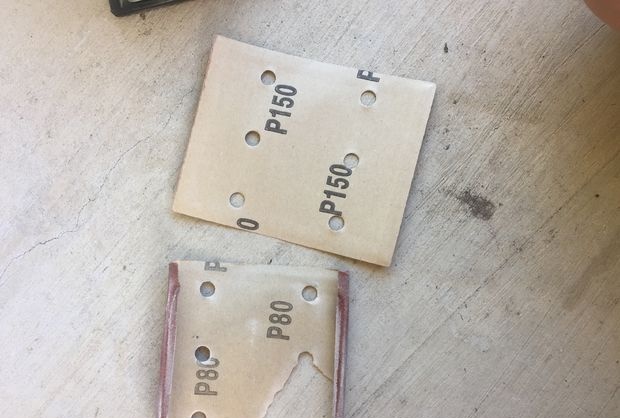
- Sandpaper with grit from P80 to P220.
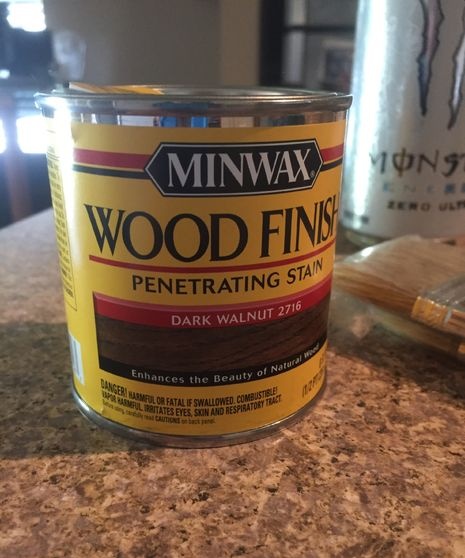
- Stain.
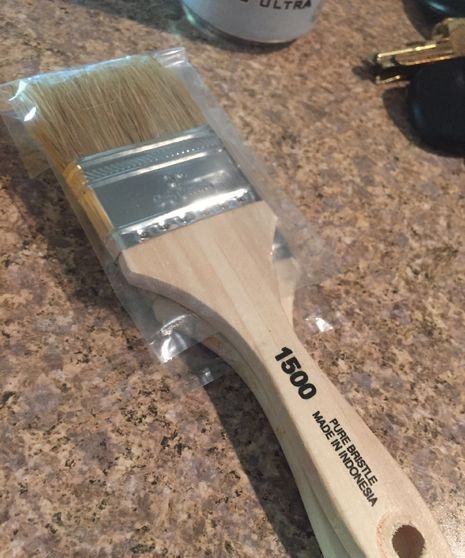
- Another brush and gloves.
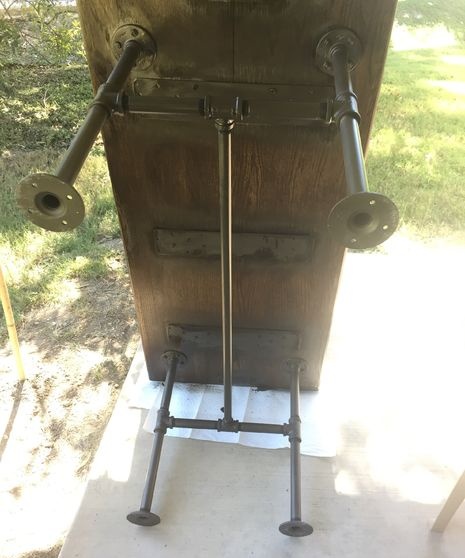
Base assembly
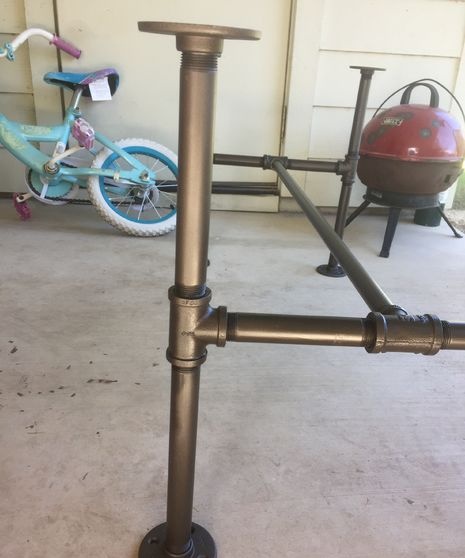
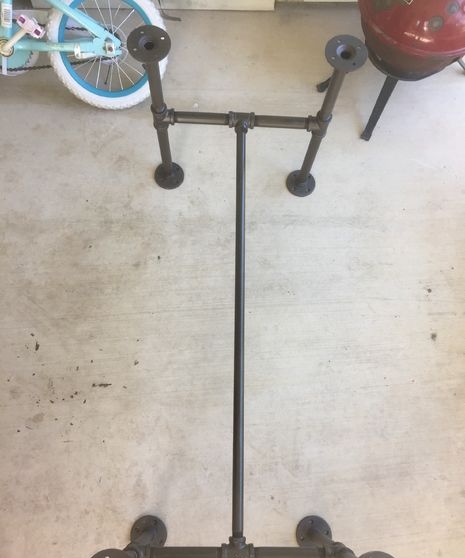
I assembled a frame that consisted of 4 bases. Two 15 cm lengths were attached to each base, forming one line, with a T-shaped coupling between them. This coupling included a 10 cm pipe, which ended in another T-shaped coupling. And this last coupling had to be connected to a similar coupling on the other side of the table base. You should end up with two pairs of legs connected to each other by a large 80 cm pipe. I recommend painting the pipe base to make it look more interesting, but if you don't want to, you can skip this procedure.
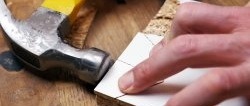
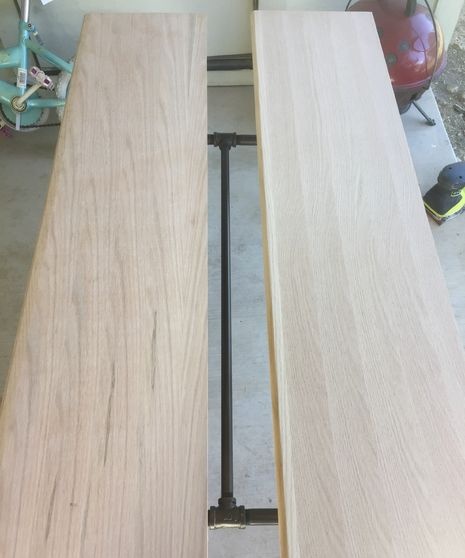
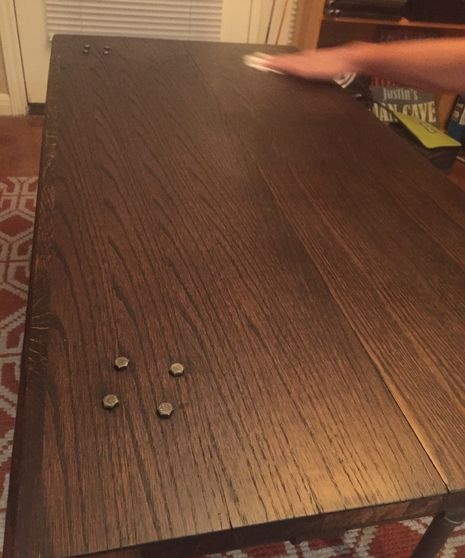
Preparing the countertop


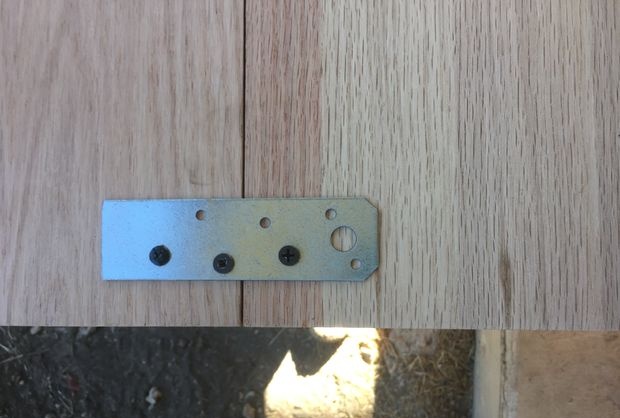
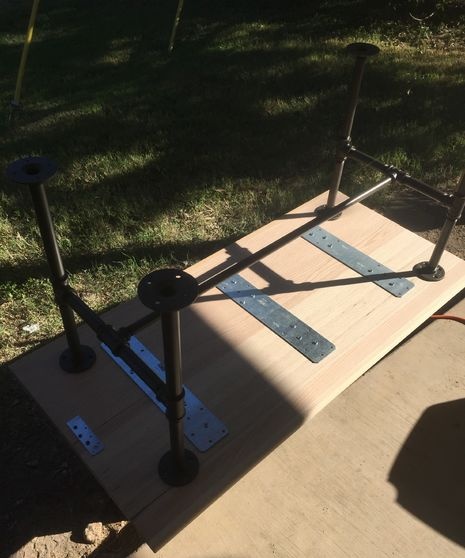
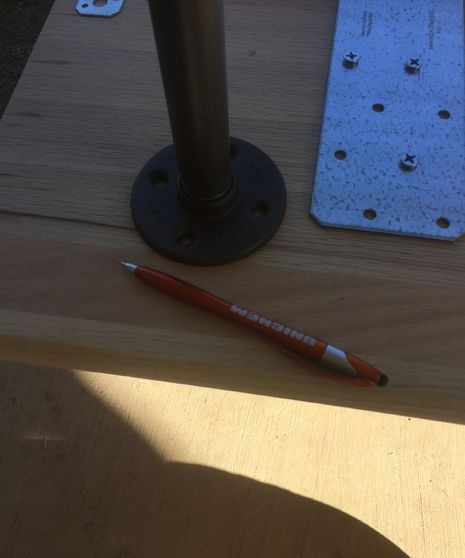
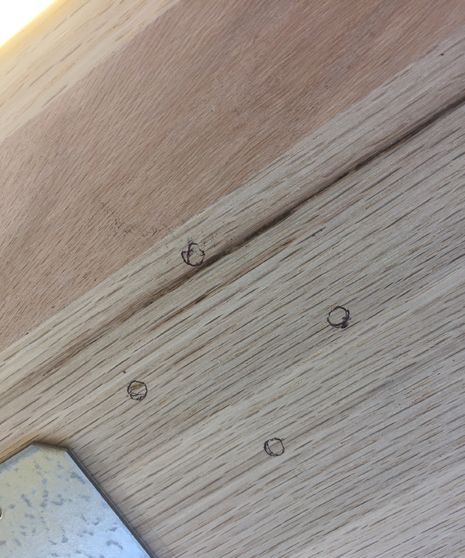
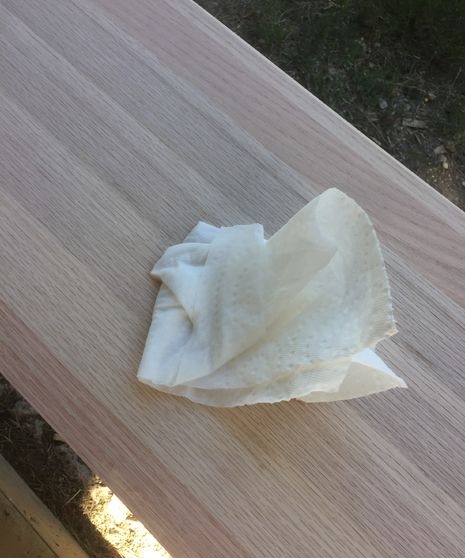
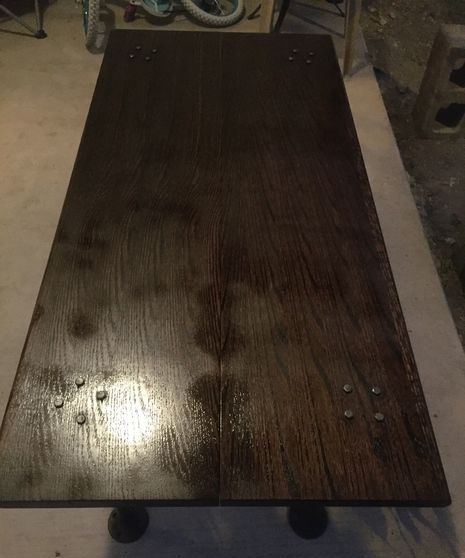
The next thing to do is to thoroughly process the wood chosen for the countertop. I started with P80 grit and worked my way up to P220. After using each type of sandpaper, wipe off any wood dust with a damp towel. The entire wood sanding will take about two hours because you will want the surface of the tabletop to be very smooth. Then, using metal fastening plates, connect the two boards (I couldn't find one wide enough, so I used two). Once they are secured, make holes in the bottom of the tabletop. But, if you don’t want to use bolts, you can use short screws. Next, connect the tabletop to the base.
Stain treatment
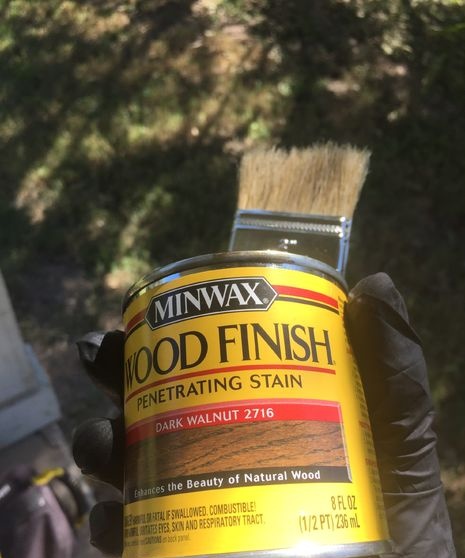
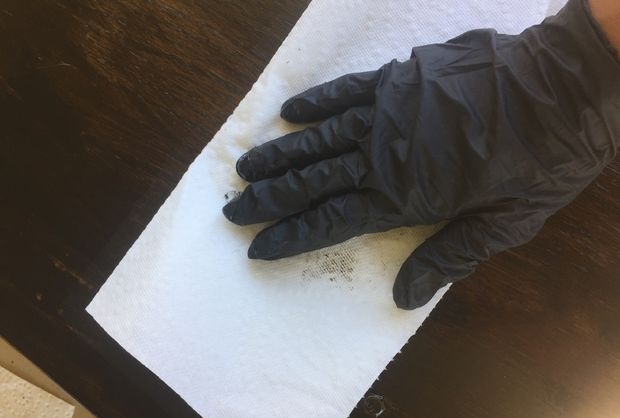
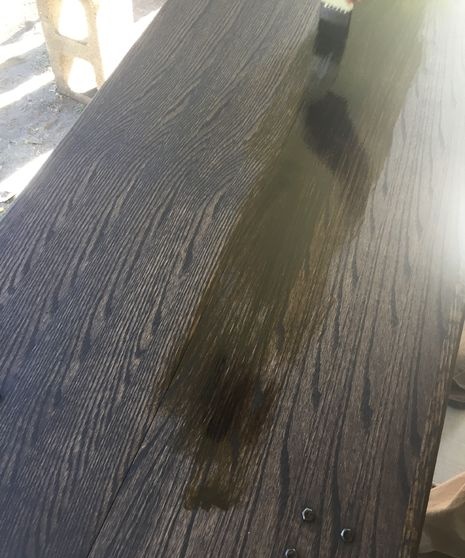
Now it's time to take out the stain and apply it to the countertop. When using stain, you need to wear gloves, otherwise stains may remain on the leather. Immediately after application, excess stain must be removed immediately. If you want the wood to be darker, apply more coats to it; if it is lighter, two coats will be enough. Three layers suited me.
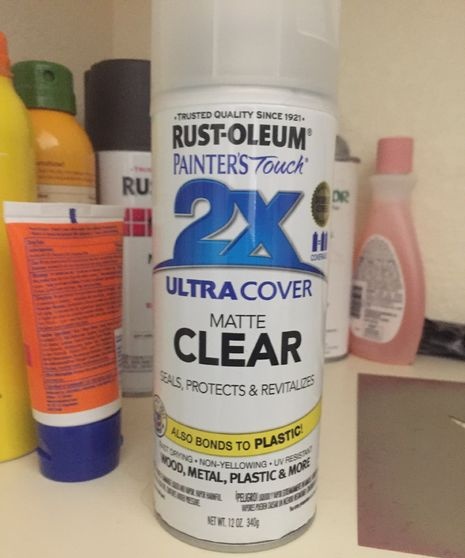
Varnishing
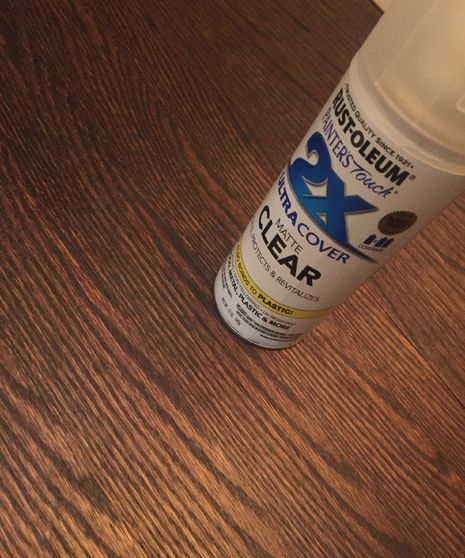

To add shine to the table, apply clear or any other varnish to the tabletop. Just make sure you don't leave anything out, otherwise the spaces may ruin the look of the table. After that you're done.
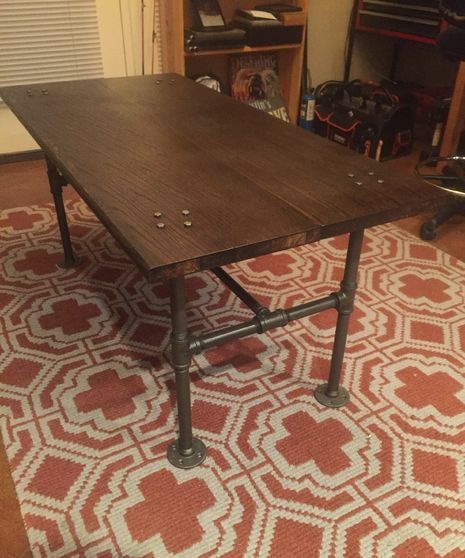
Bottom line

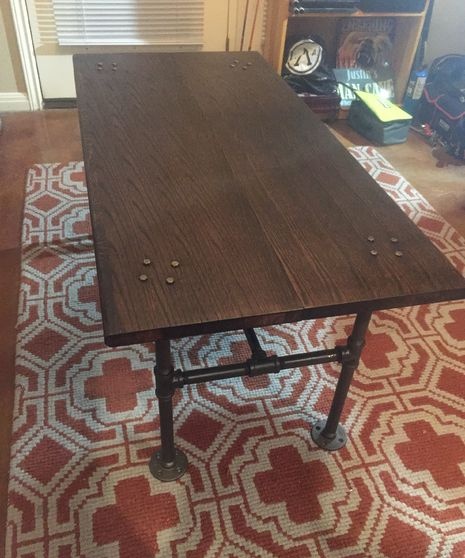

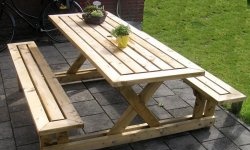
My overall impressions of the table were positive, and I recommend making yourself something similar. I decided to paint the metal mounting plates so they wouldn't stand out against the countertop. This table was intended as a coffee table, but if you want something larger, for example, a dining table, you will have to take larger boards and pipes. But the design itself may remain the same.Thank you for reading.
Original article in English