You've probably already watched the infectious video, which featured floors, bar counters, and countertops made from coins.
As you can see, the idea caused a stir and everyone wanted to have their own floor made of coins.
We decided to share a master class in which we will tell you how to do this.
Materials


What you will need:
- Transparent epoxy resin.
- Glue.
- Black grout for seams.
- Scraper with rubber nozzle.
- 2 buckets.
- Spatula for distributing resin.
- Protective gloves, glasses, clothing.
- Coins - count how many you'll need and decide whether you want old, shiny, or mixed coins.
For this master class, we decorated an imitation floor - in your case, make sure that the floor is absolutely flat and clean. And you can start!
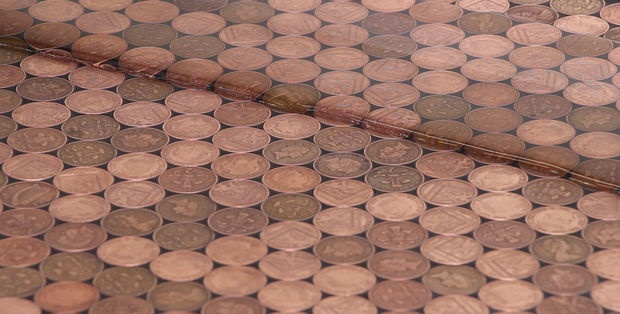
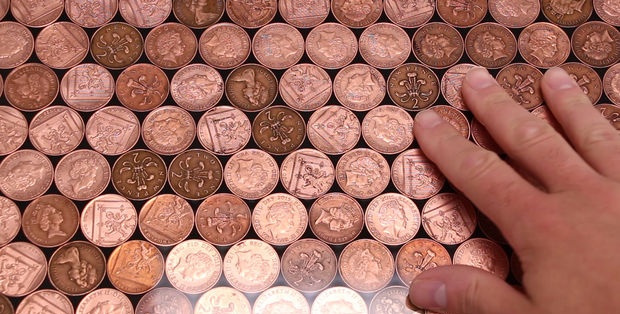
Coins, coins and more coins
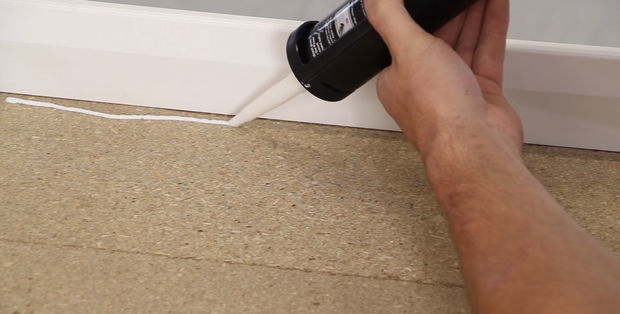
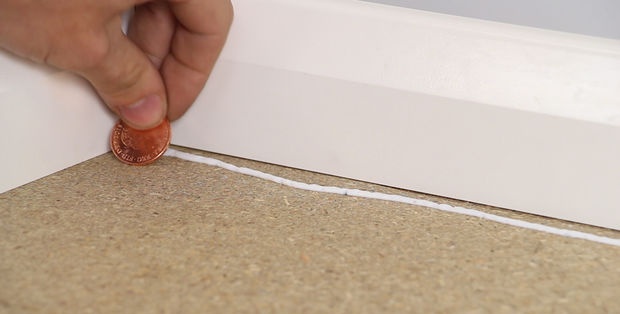
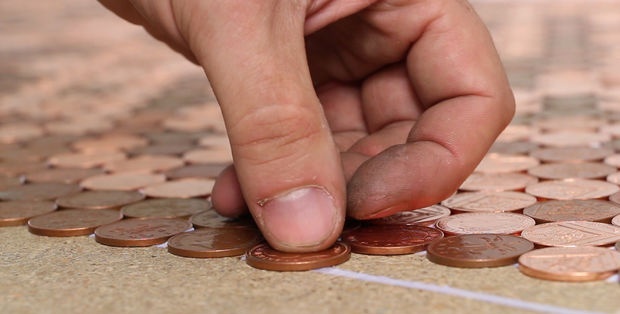
First draw a line of glue, then start placing coins next to it.
Find a comfortable position in which you can work for a long time.
Continue adding coins until you have covered the entire surface. Now let the glue dry thoroughly (ideally overnight).
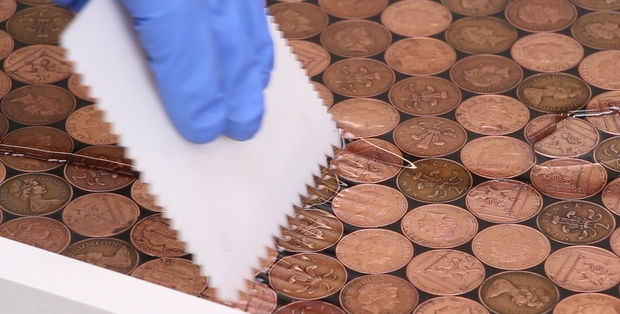
Grout treatment
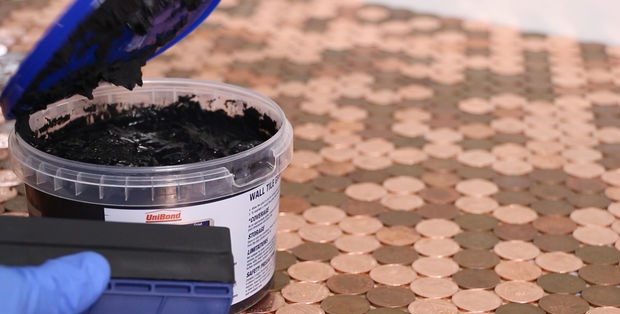
Now, using a scraper with a rubber nozzle, cover the coins with black grout.
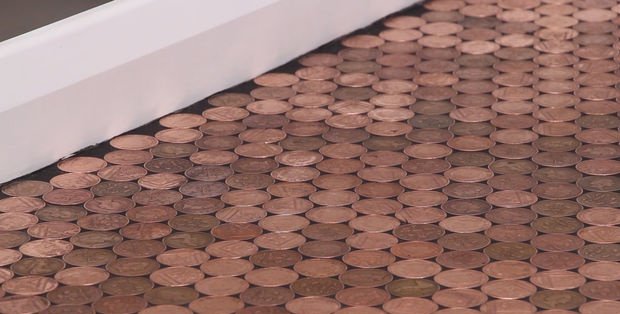
The mixture should end up in the spaces between the coins (all the way to the baseboard).
Let it harden a little.
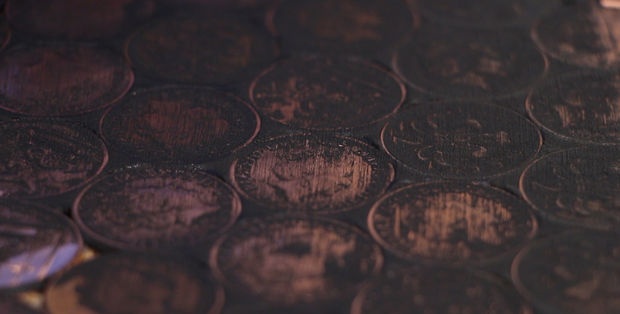
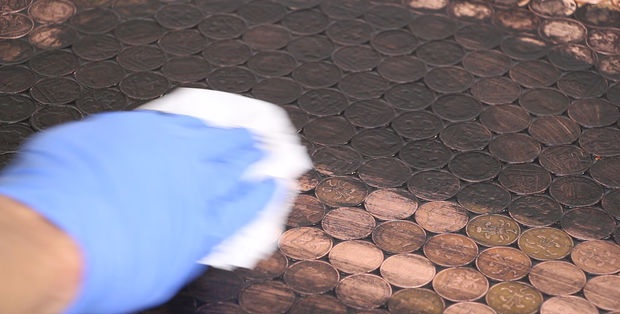
Remove excess grout using a cloth. Please note that grout can, to a certain extent, serve as an abrasive material. Therefore, if you want to emphasize the antiquity of the coins, then you should not rub too hard.
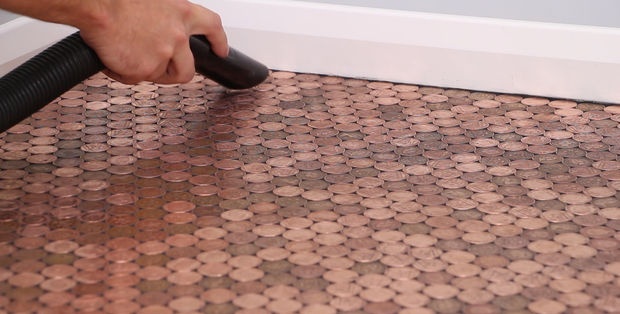
Then we leave the floor until the grout has completely hardened and then remove excess material with a vacuum cleaner.
Calculation of the amount of epoxy resin and its preparation
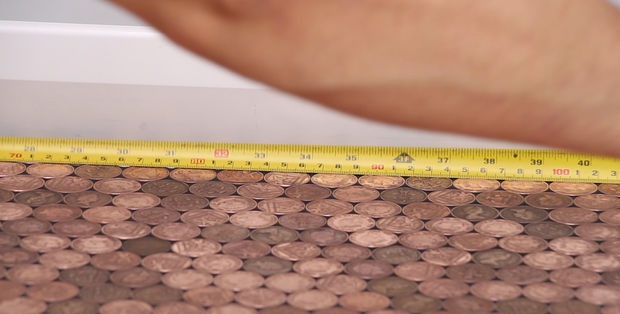
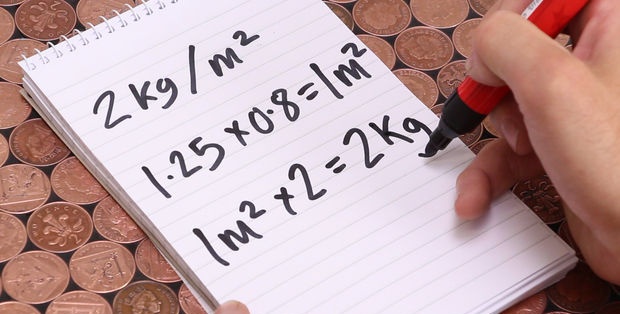

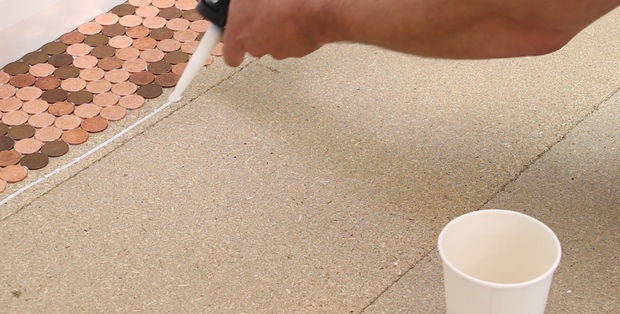
To know how much resin you need, you first need to accurately calculate your floor area.
For a coin covered floor, the minimum recommended thickness of epoxy should be 2mm.
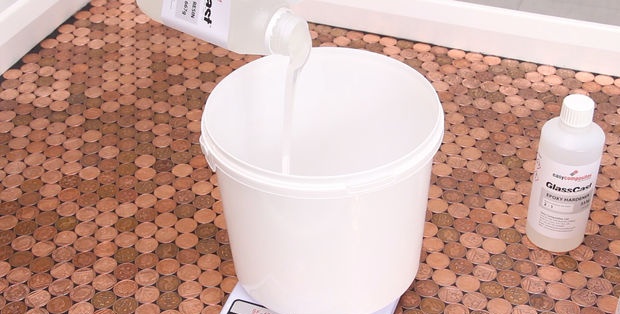
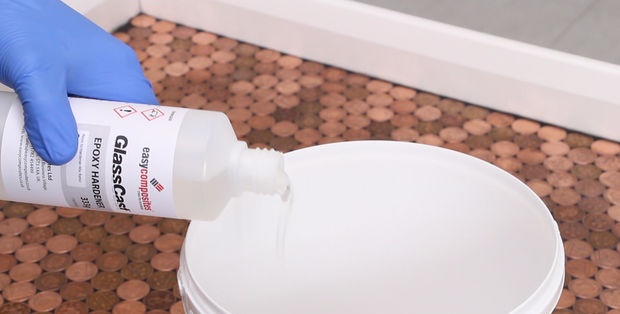
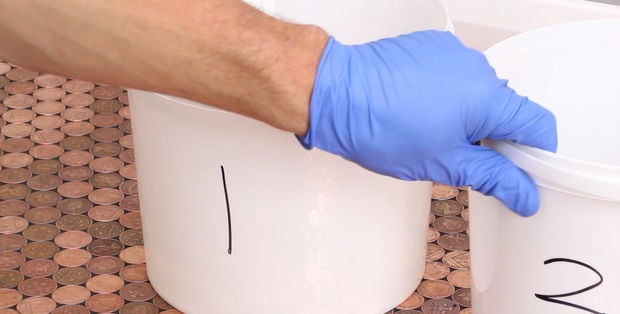
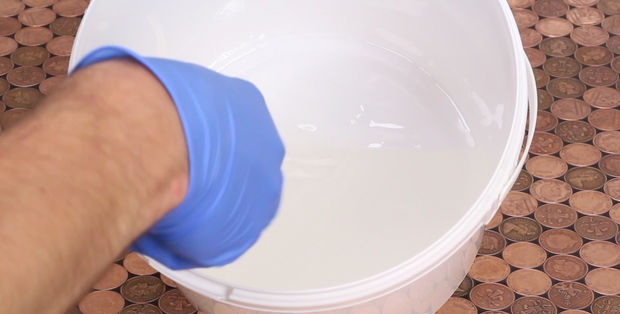
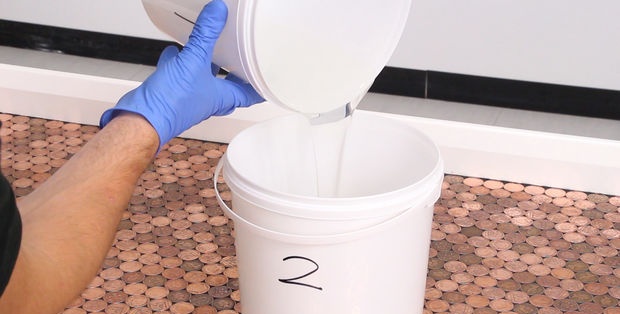
You need to have 2 mixing buckets. To work with resin, you must wear protective clothing, gloves and goggles.
Separately, calculate the required amount of pure epoxy resin.
And separately calculate the amount of hardener for it.
Mix the epoxy resin ingredients thoroughly in the first bucket.
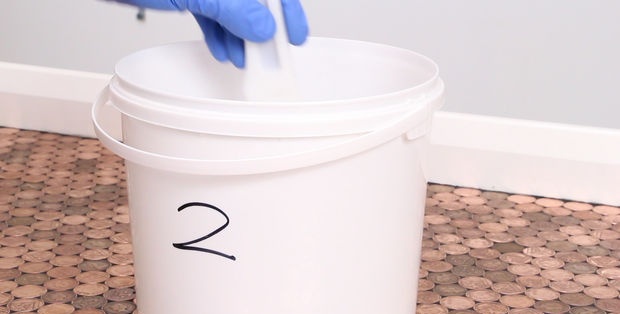
Pour the mixture into a second bucket and stir again.
It is recommended to mix no more than 5 kg of resin at a time. And if you need more, then repeat the process. This allows you to accurately calculate the amount, and thoroughly mix and disperse the resin before it begins to noticeably harden.
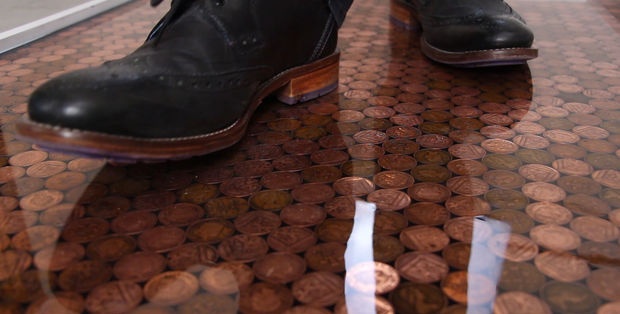
Pouring epoxy resin and dispersing it
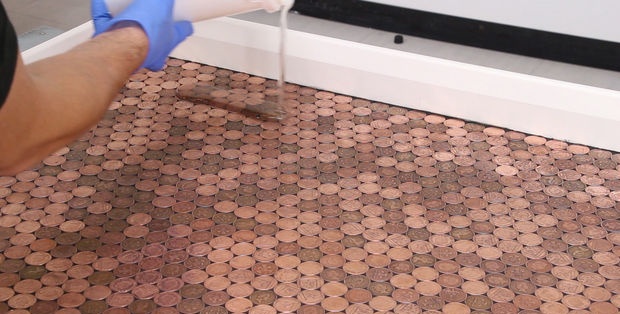

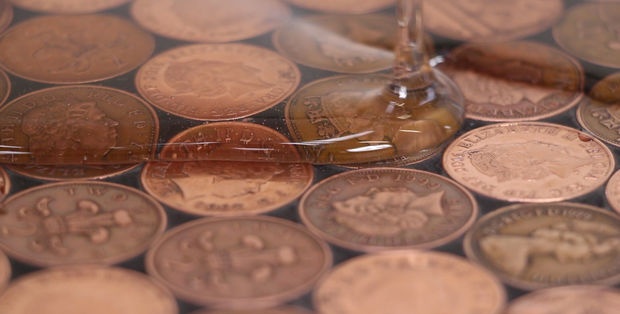
Now you can start pouring the epoxy resin into the floor. We start from the far corner and help it spread with a spatula.
Most epoxy resins do not form gas bubbles. But if such appear, they can be removed with a hairdryer.
If there is not enough resin on the surface, you can repeat the process and pour the required additional amount on top of the treated surface.Once the floor surface is completely covered, allow it to cure (per manufacturer's instructions).
Final stage
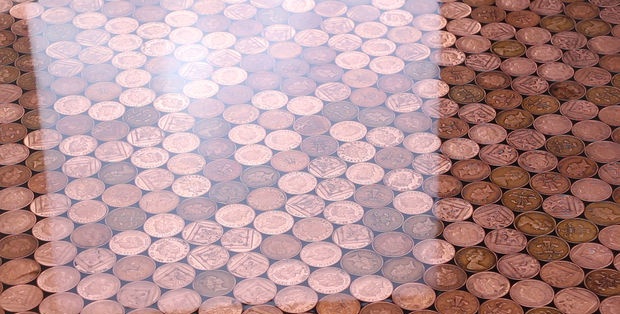
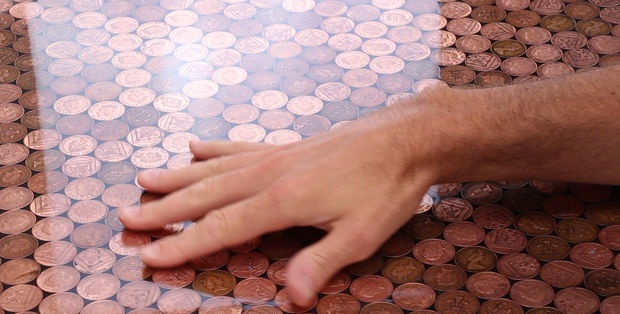
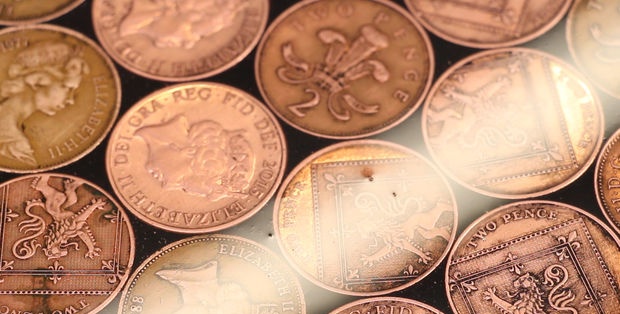
When the floor becomes completely hard, you will see a beautiful glass-like surface.
The time spent on the job depends on the surface area to be coated, plus additional time for drying and hardening.
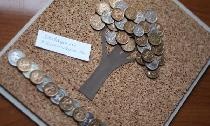
Ideas
You can use a similar technique for the top of a tabletop or bar, furniture, trays, stands for hot dishes. You can pour resin into bottle caps, glass shards, stones, wood and many other things. Small scratches can be easily removed using abrasive paper and polishing compounds. However, the surface should not be exposed to open fire or heavy loads.
Original article in English