What manufacturers offer
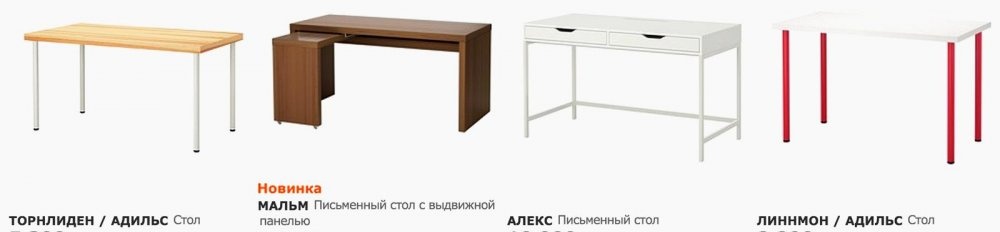
Before you start working on your own project, you should familiarize yourself with the proposals on the furniture market, among which you can find a lot of interesting ideas. As a platform for finding inspiration, we take IKEA hypermarket, where there is always a huge selection of products from different price categories. The desks available in the catalog of the largest furniture retailer look concise and high-quality, but lack some special “zest”.

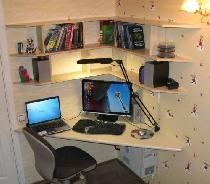
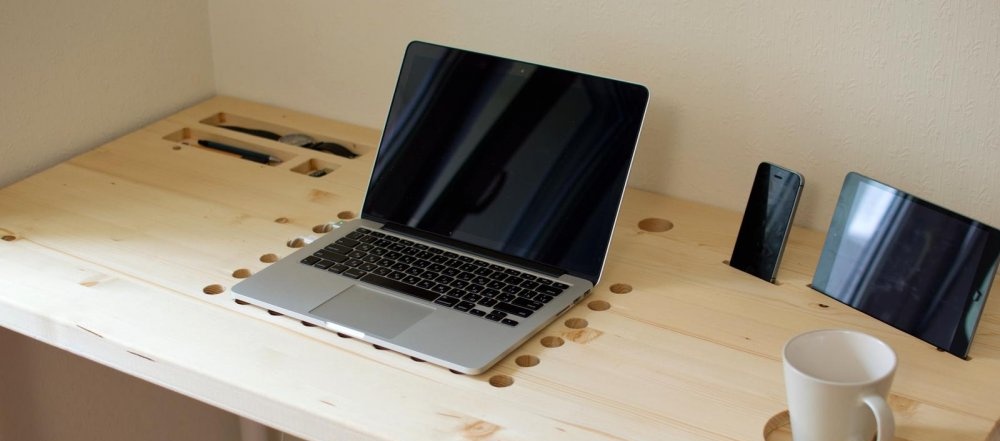
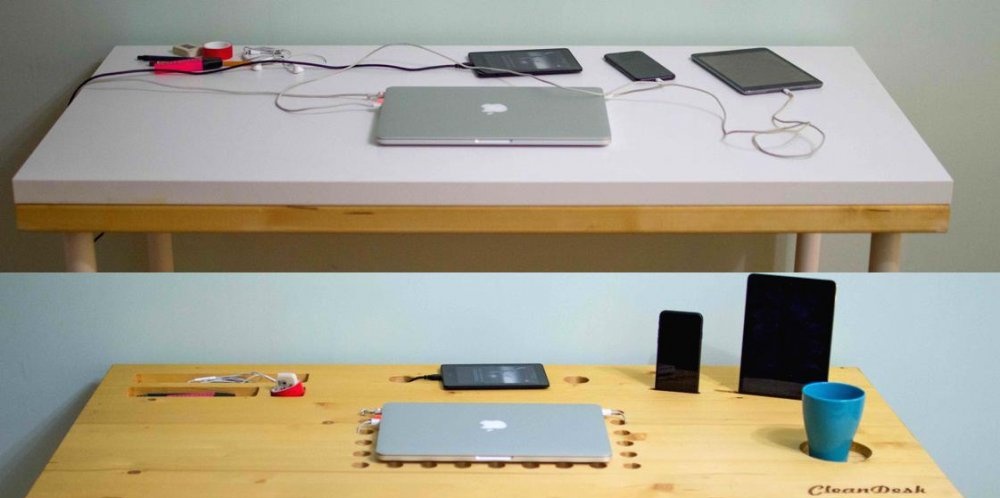
Other manufacturers are not doing better - either the design frankly “gives away” to the last century, or the design is too bulky for modern interiors. However, among all the variety, there are also original models that are not overloaded with unnecessary details and convenient in operation. For example, a countertop adapted to accommodate a laptop, tablet and other gadgets looks very stylish and ergonomic, but not all users can afford it. However, this is not a reason to abandon the table you like, because you can build something similar with your own hands.
Drawing up an engineering project
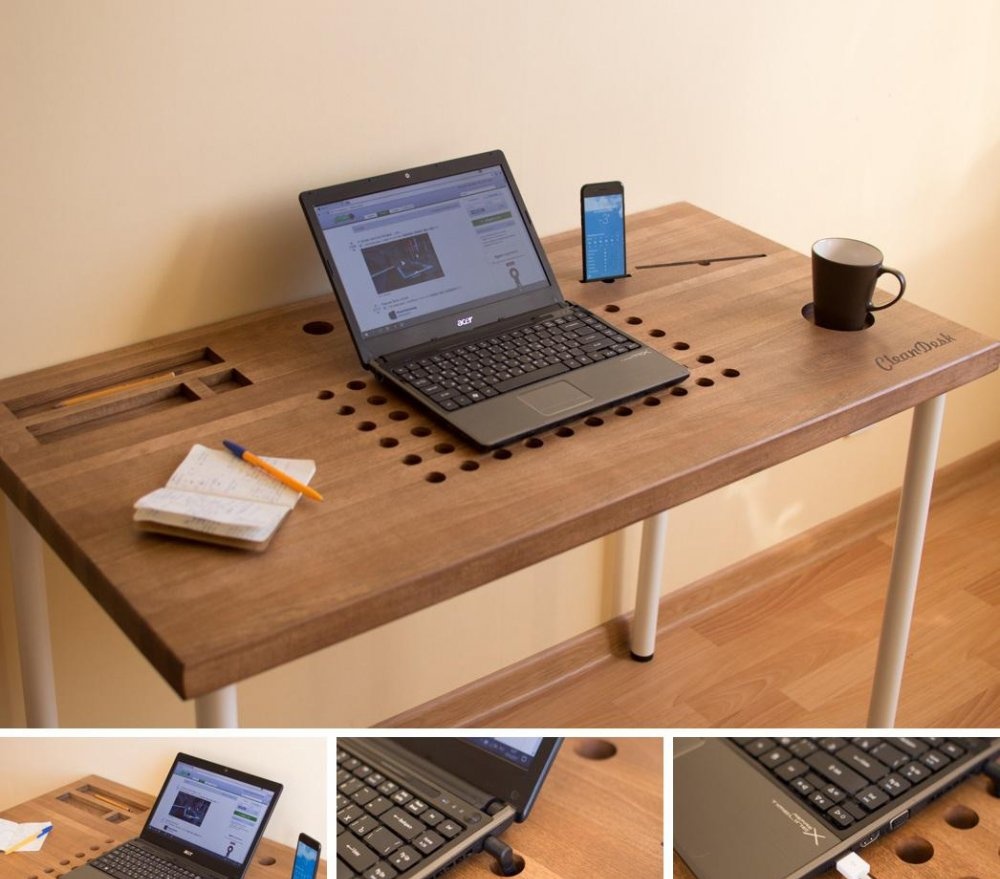
The first thing to decide at the design stage is the functionality of the future table. Among the proposed options may be the placement on the countertop of a contactless phone charger, a built-in pilot with an extension cord passed through the table leg, areas for a marker board and glass for notes, holes for various types of gadgets and much more.
For your future table, we dwell on the following functional elements and details:
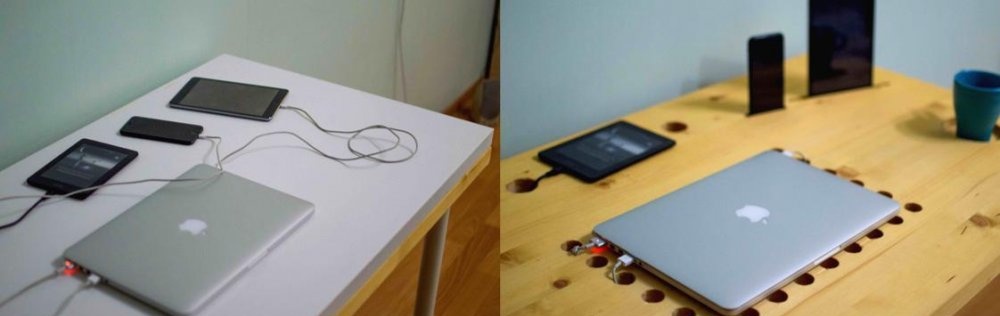
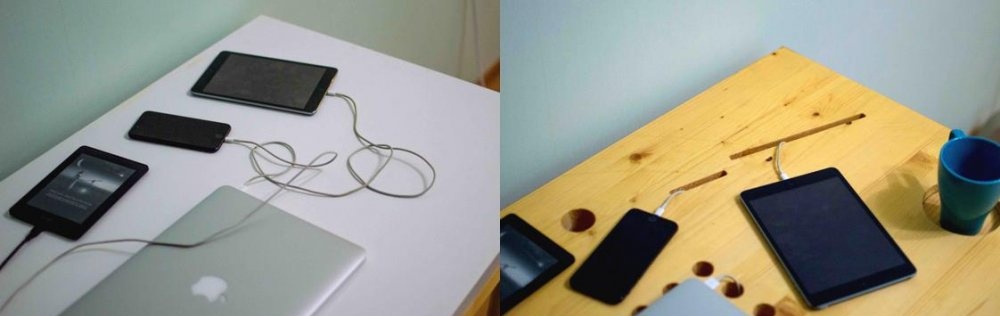
- central holes for removing wires from the laptop and additional passive cooling;
- in-depth recess for a coffee cup;
- space for a tablet and smartphone with holes for connecting a charger;
- small coasters for various little things - pencils, pens, flash drives, etc.
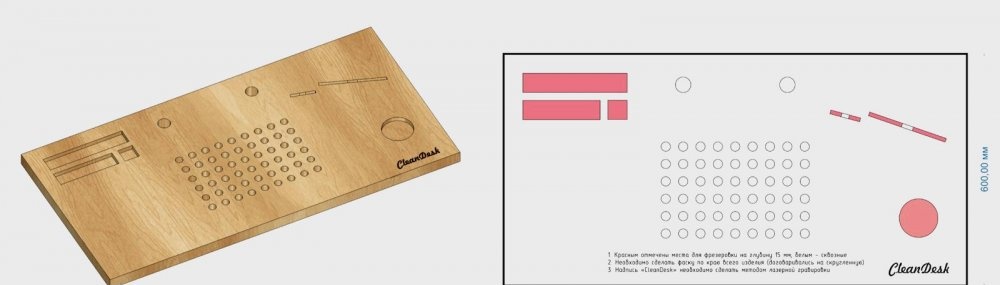
Having decided on the list of necessary functions, you can begin to draw up working drawings, according to which our table will be made. For greater convenience, it is worth using useful computer programs - SketchUp and CorelDraw. These software products allow you to perform not only technically competent drawing, but also create 3D 3D models of the future work area.


Prototype manufacturing
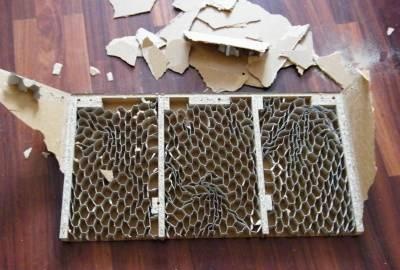
After drawing up a virtual layout, an idea may come to mind, to use for its implementation a ready-made, inexpensive table, for example, from the same IKEA.However, this trick will not work, since almost all inexpensive countertops are hollow inside, and it is technically impossible to make the necessary grooves and holes in them.
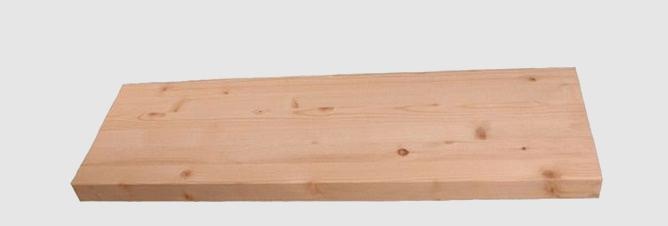
Another option is to buy a shield of a given size (1200 mm x 600 mm x 40 mm) made of solid wood. Here you need to understand that not all tree species are suitable for our purposes. For example, the pine will be too soft for the countertop, as a result of which chips and cracks may appear on its surface during processing. To prevent this from happening, experts recommend choosing solid varieties of wood, such as beech, oak and ash.
The following is the most difficult stage in the manufacture of the table - the search for a company engaged in milling and laser engraving of wood. Despite the apparent simplicity of the task, far from all masters are ready to take up its implementation, so you will have to spend time looking for craftsmen who will not “raise” the price of their services at the space level. We managed to find such wonderful guys who, moreover, helped with the completion of the project and gave useful recommendations and advice.
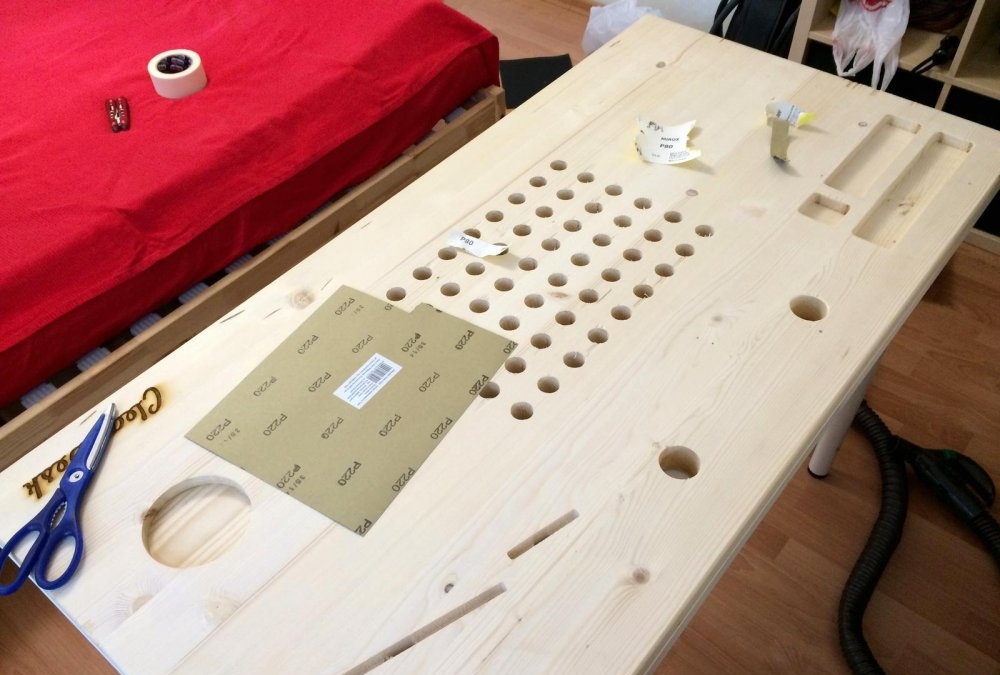
Worktop processing step
After all the holes, grooves and recesses have been realized, according to the original plan, the countertop must be properly processed to bring it into working form. First, all surfaces are ground with sandpaper, including the inside of the holes. To achieve perfect smoothness, you will need different types of grit “sandpaper” - 100, 280 and 360. The process of manual skinning can take several hours, as it requires special care during execution.
After obtaining a flat surface without roughness and burrs, you can proceed to the final processing of wood. To do this, you can use varnish, paint or oil, depending on the personal preferences of the user. We opted for the latter option, inspired by the many advantages of the oil:
- absence of harmful fumes, environmental friendliness;
- resistance to high temperatures and moisture;
- quick drying in a few hours;
- preservation of the natural structure of the wood surface;
- ease of use and subsequent operation.
In addition, the application of even several layers of oil does not form a glossy film visible to the eye on the surface and does not give a luscious shine.
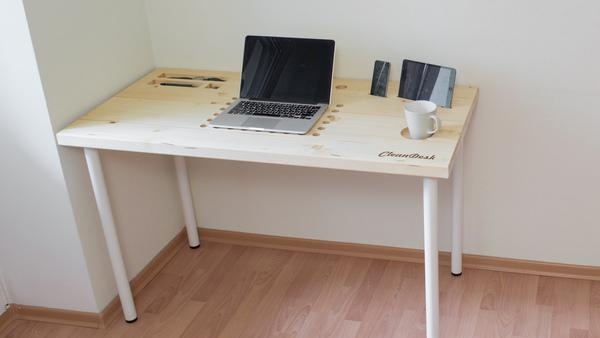
Each layer of the oil coating should be dried for two hours, after which you can proceed with the installation of the support legs. For our model, we used ready-made ikeev legs, and their installation was perhaps the easiest step from the whole idea of making a table.

Summarizing
One month was spent on implementing the idea from scratch, during which the following tasks were successively implemented:
- 1 week - designing your own ideas, forming a list of necessary functions, drawing up ideas about the appearance of the future table;
- 2 week - production of 3D layout and drawings using computer programs, search for suitable masters who are professionally engaged in milling;
- 3 week - milling and engraving work;
- Week 4 - work on finishing the countertop, installation of legs.
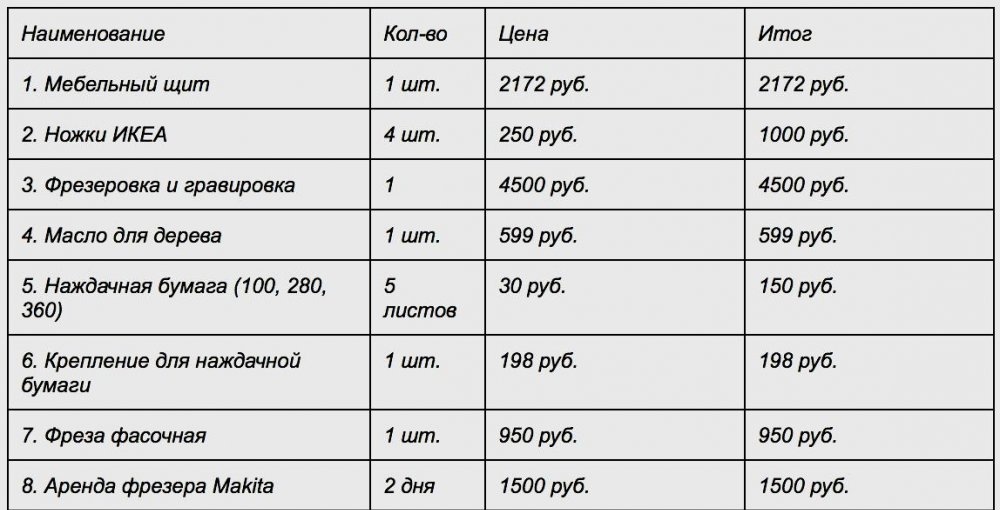
In terms of price, the most costly moments were milling and engraving services, as well as the purchase of a furniture panel from solid wood. All other stages were carried out on their own, which ultimately allowed to meet the total amount slightly exceeding 10 thousand rubles.
The acquired experience in the independent manufacture of a modern computer table has allowed us to draw a number of important practical conclusions:
- it’s hard to find a suitable desktop model in retail;
- when purchasing a furniture board for a countertop, you should give preference to solid varieties of wood;
- when searching for services for milling cutting, you may encounter difficulties;
- oil coating is a good finish for wood.
Using these tips, you can try your own hand in the manufacture of other types of furniture, which will fully satisfy all your needs and requirements.
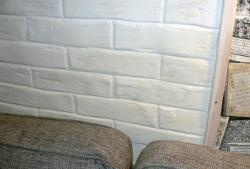
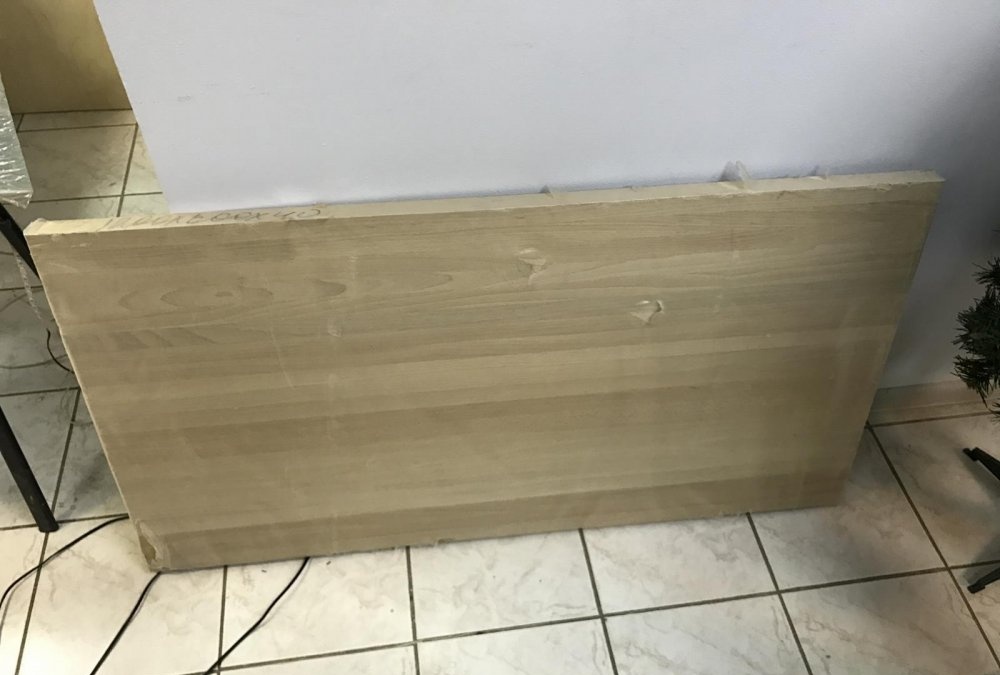
After some time, I corrected the mistakes and make another table, but from beech. This is the pre-purchased material:
And here is the table itself marked with version 2.0.