And I prefer to sew from scraps. The products turn out to be more original, more interesting and unique than those sewn from ordinary measured fabrics.

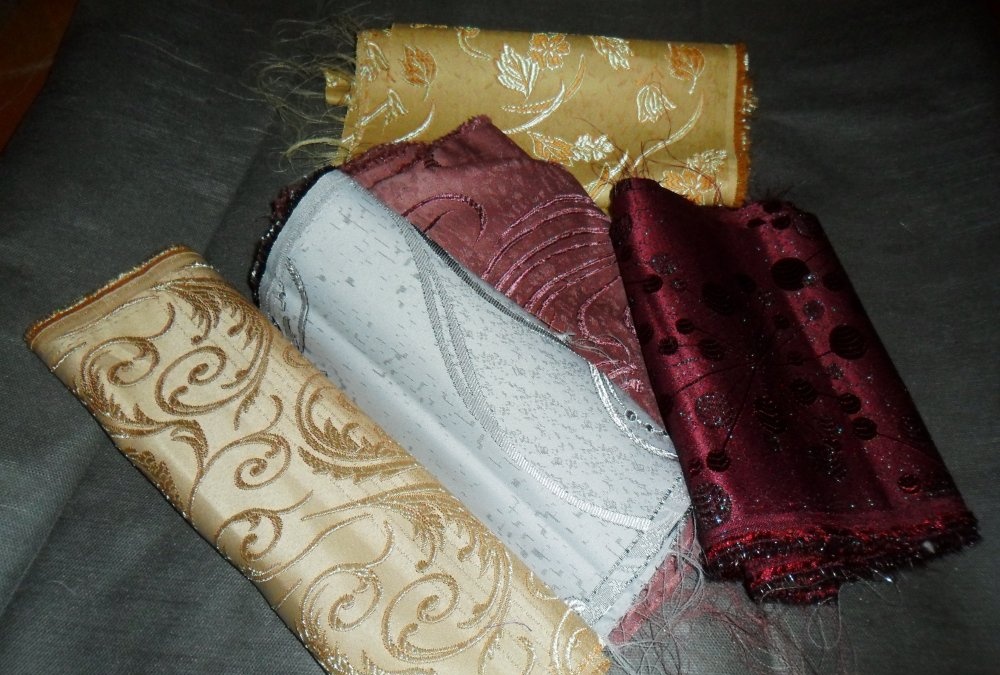
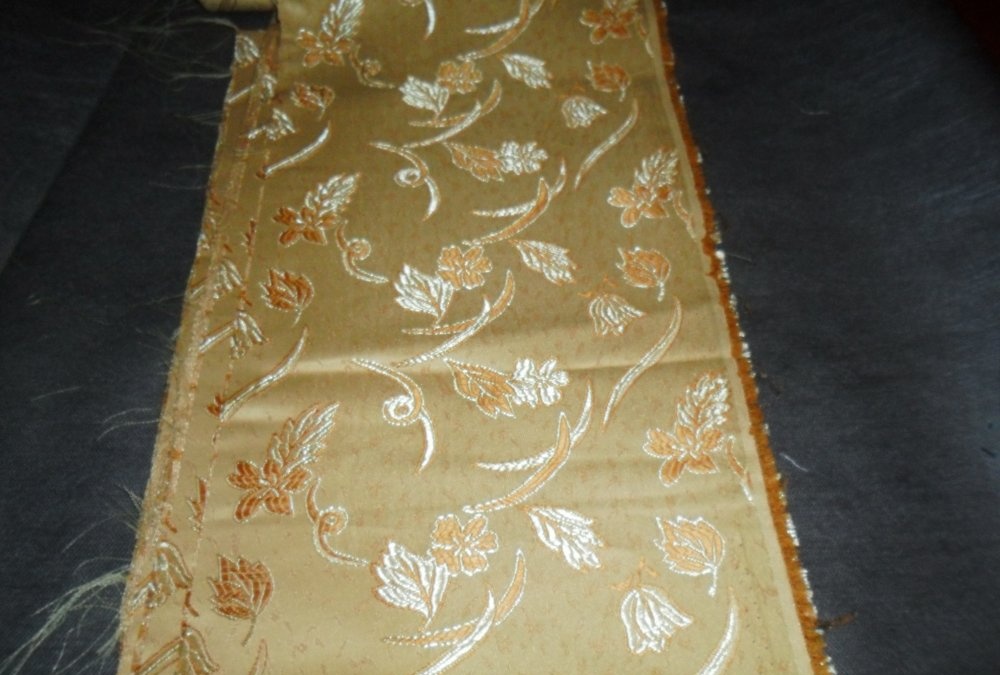
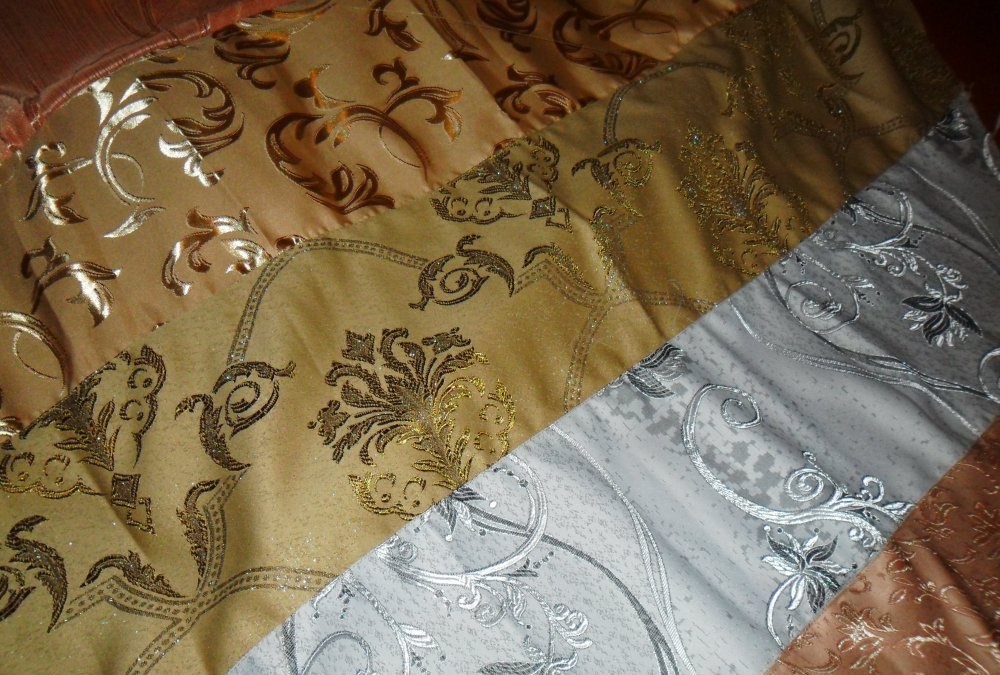
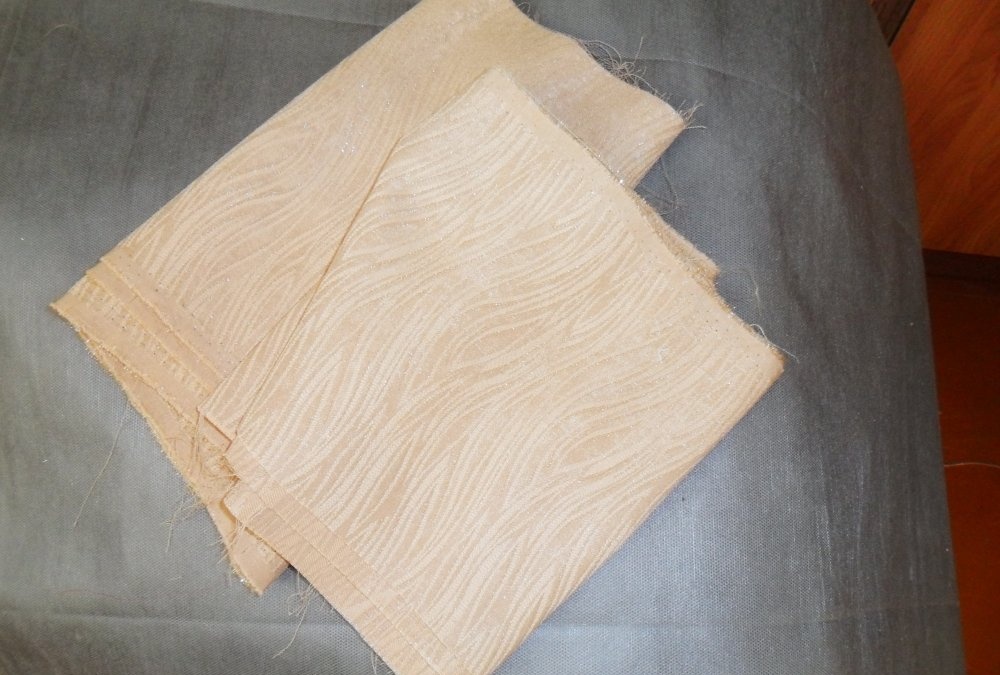
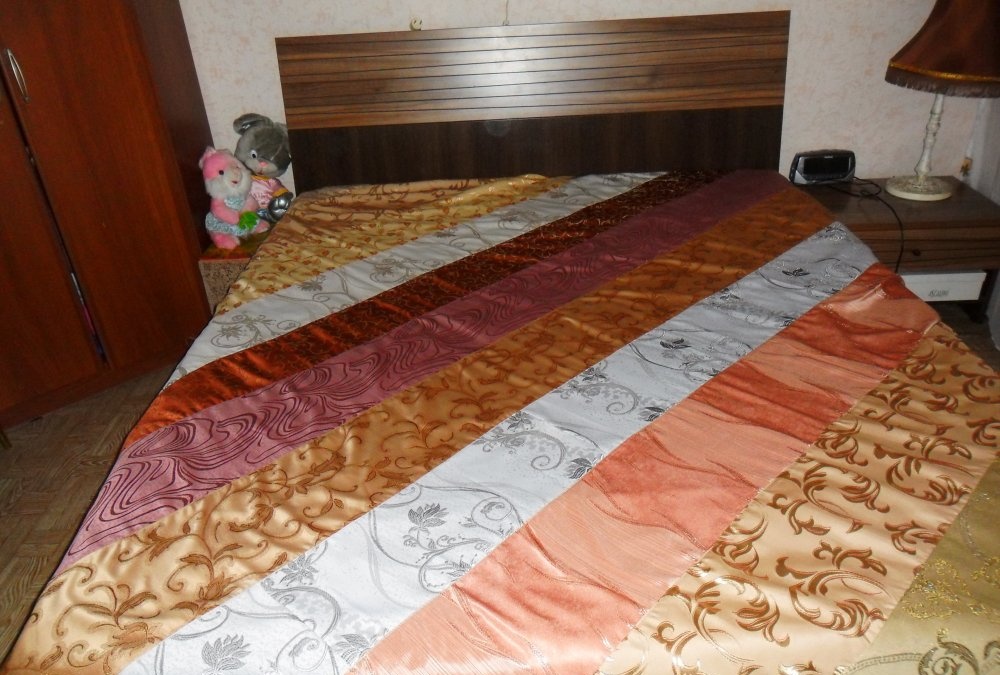
And now, having accumulated several strips of curtain satin, I decided to sew a new bedspread for my large bed. I bought these strips at a studio for a small amount. They are long, smooth, but of different widths. The color and texture of the fabrics are also different.
In addition to strips of fabric, you will also need:
- ruler, chalk, scissors, needles for chopping fabric;
- threads to match the main color of the fabrics (I have more beige ones, which means the threads are the same);
- sewing machine, overlock, iron.
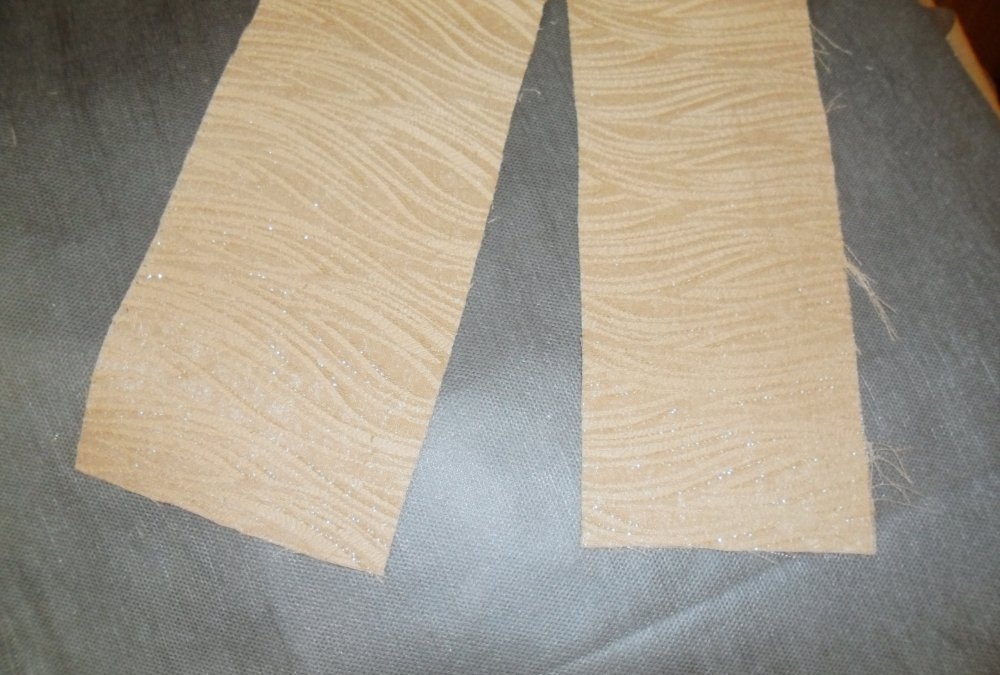
Still a great desire and 5 hours of time. Since the flap is already cut, there is almost no need to cut it. Time will be spent only on sewing.
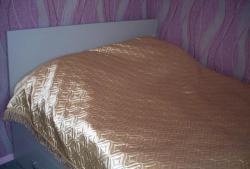
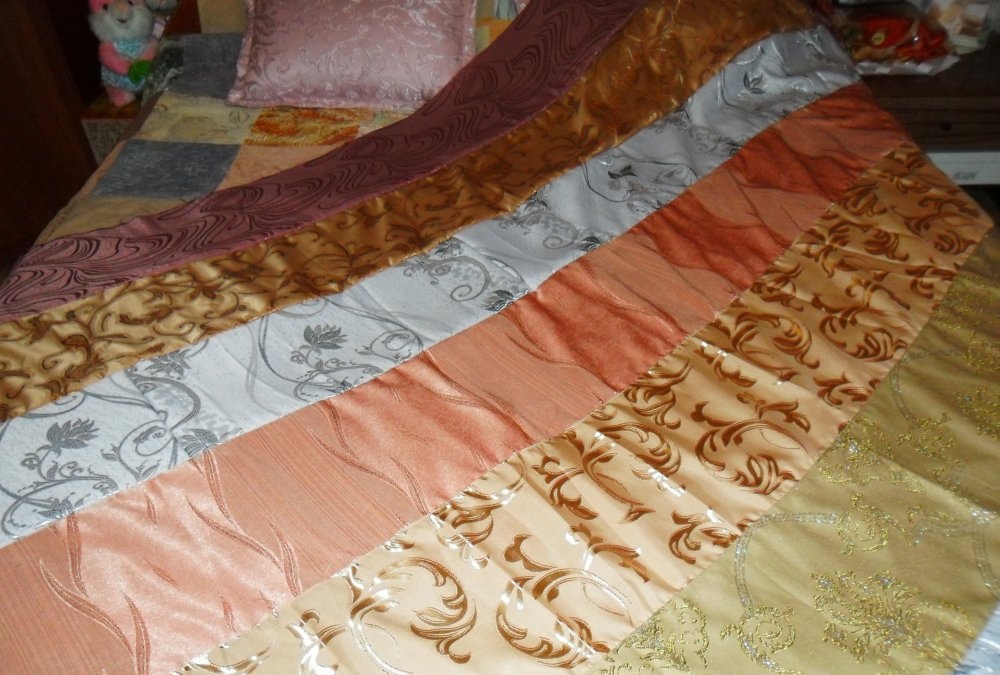
My bed measures 160 by 200 cm (or 1.6 by 2.0 meters). The bedspread should be larger so that it hangs over the edges on three sides, except the one where the headboard is, and hides the mattress with the bed.
It would have been easier to sew the bedspread by arranging the strips simply along their length.But it wouldn't be so beautiful and fun. I also have fabric strips of different lengths. Therefore, I decided to place them diagonally on the bedspread. To begin with, I cut a right triangle with equal sides from one strip.
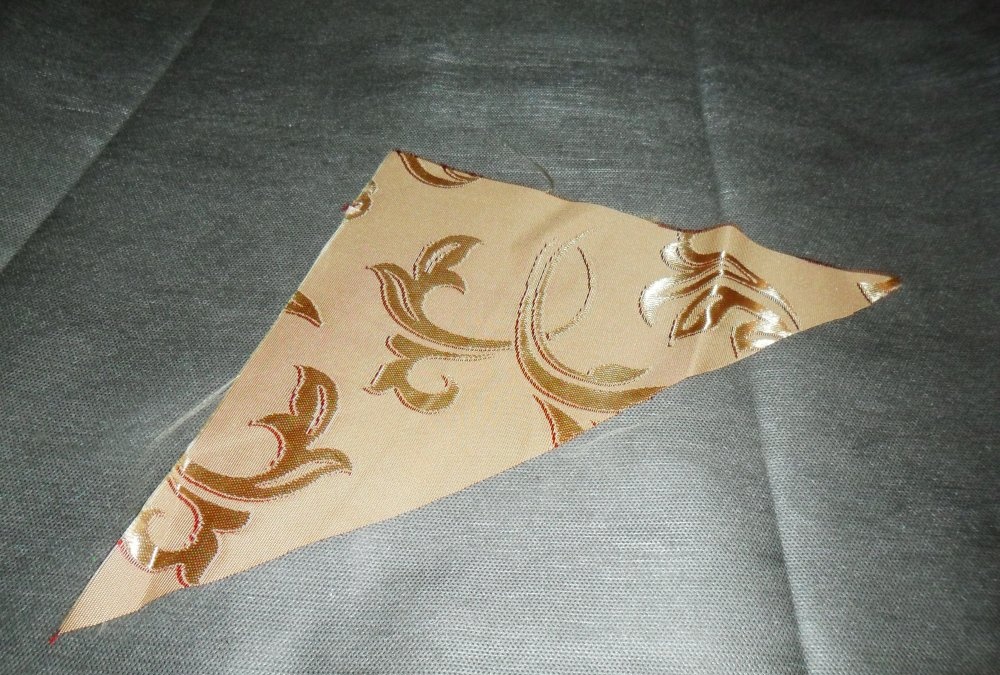
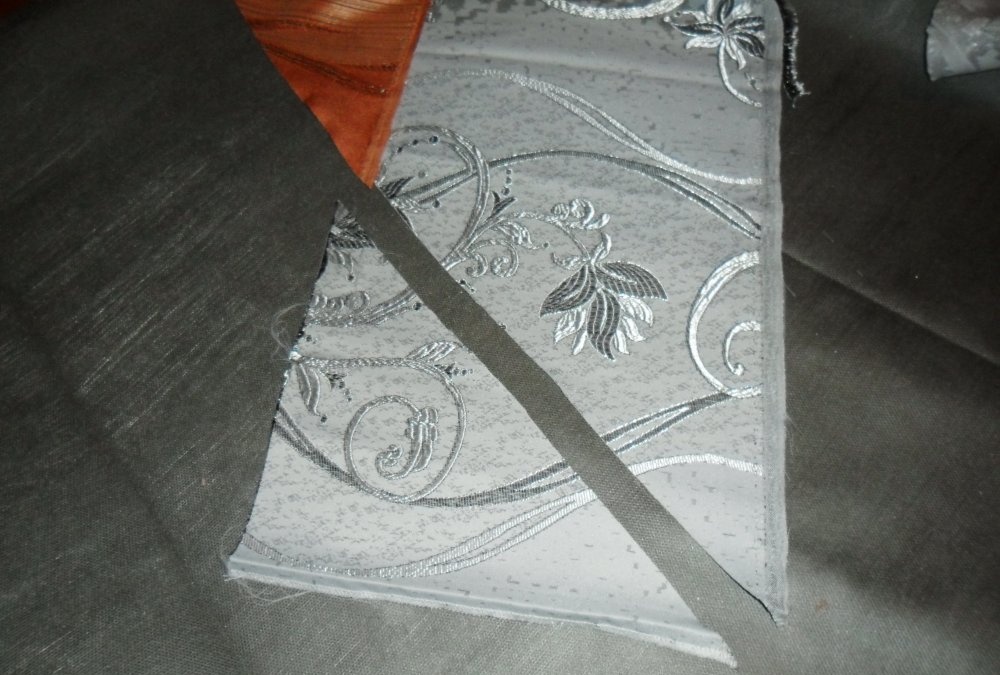
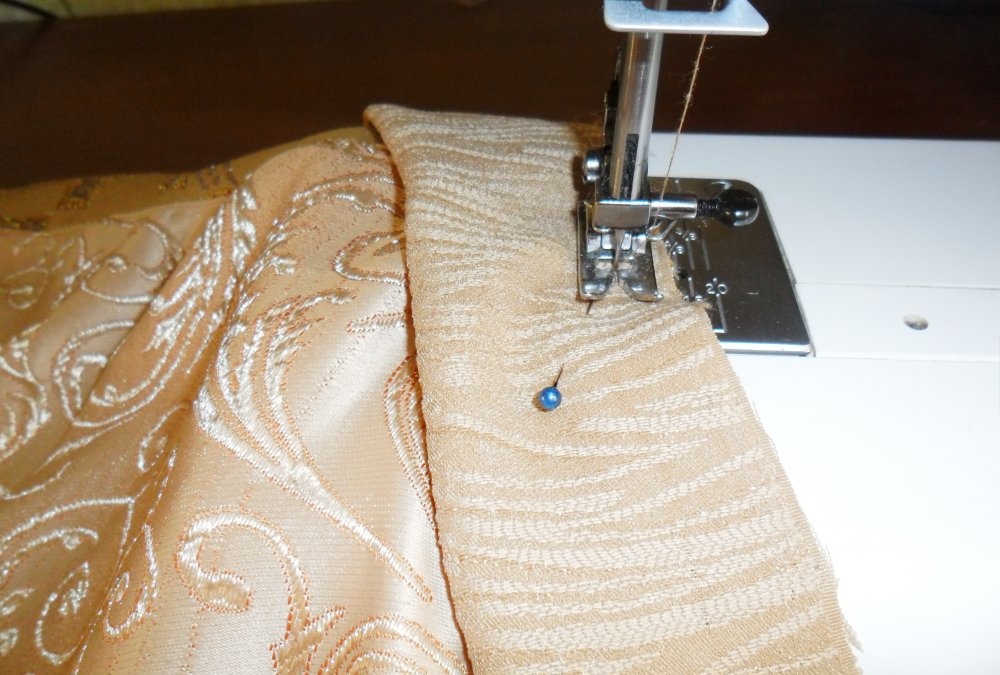
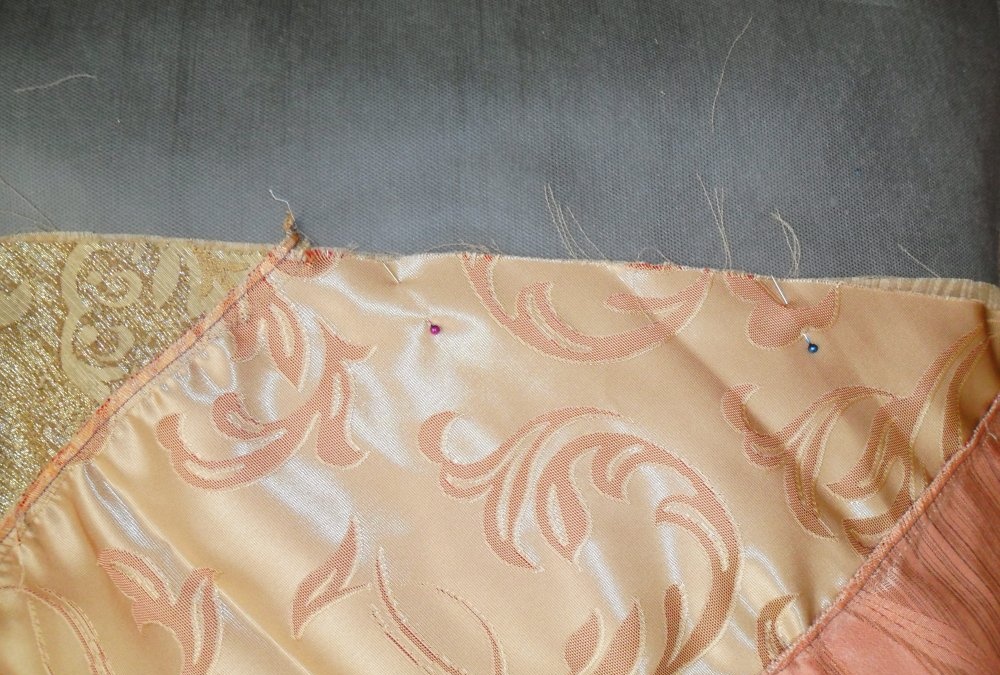
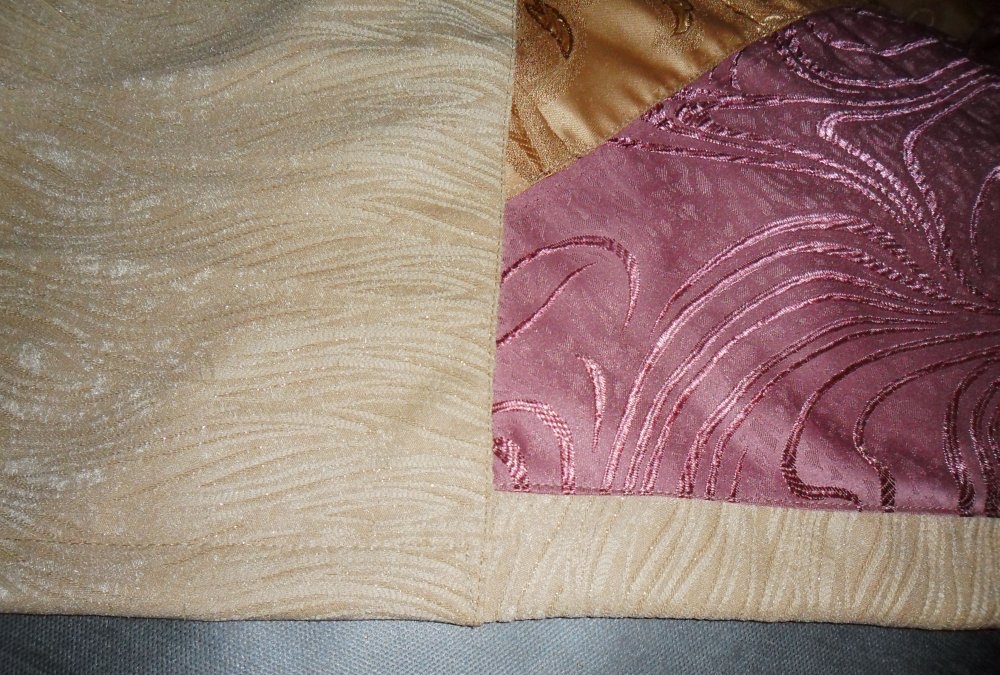
I sewed a strip of fabric to the long side of this triangle (it’s called the hypotenuse, if you remember the geometry). Before sewing, this strip must be applied so that a square remains at the edge, the sides of which are equal to the width of the strip being sewn. If my strip of fabric is 23 cm wide, then I need to leave a square whose sides are equal to 23 cm. On the other side of the fabric there should be a piece no less long than the width of this square. If there is more, it's okay.
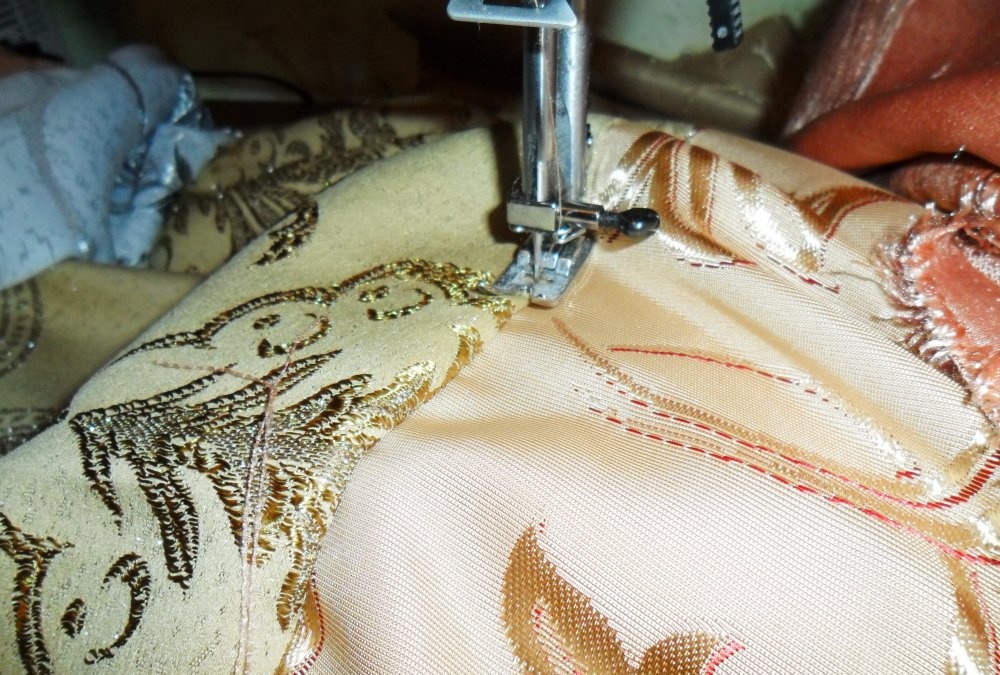
After sewing the strip on, I cut the fabric off both edges. I folded the same square diagonally into a triangle and cut off this triangle. She did the same on the other side of the strip. That is, you should always get a right triangle. It’s just that it should increase with each subsequent strip of fabric being sewn on. When cutting, you need to be careful not to cut the triangle in the wrong direction.
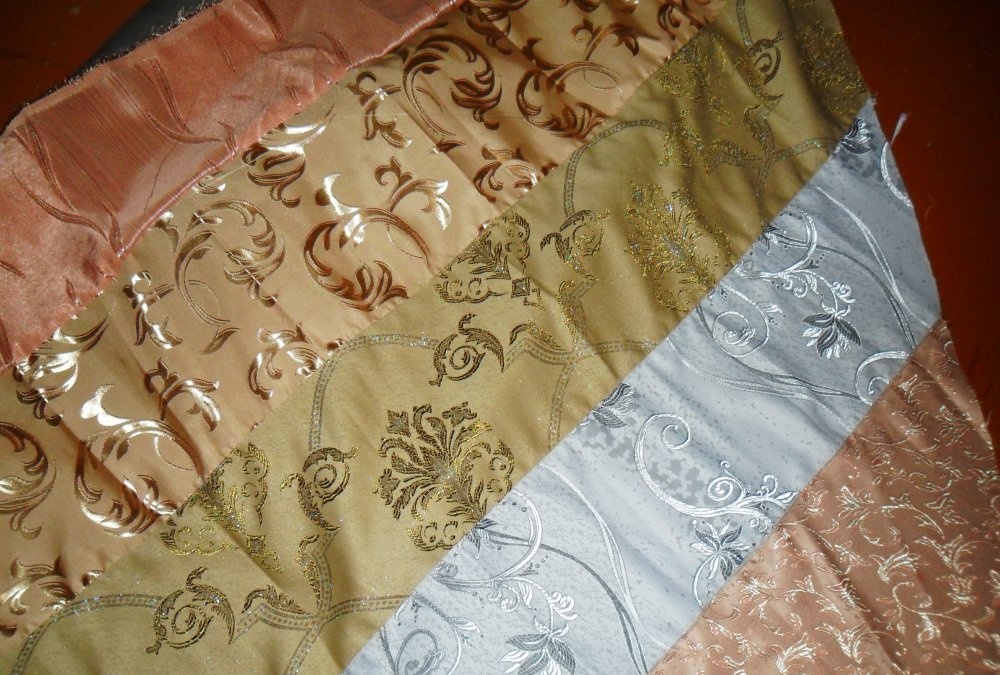
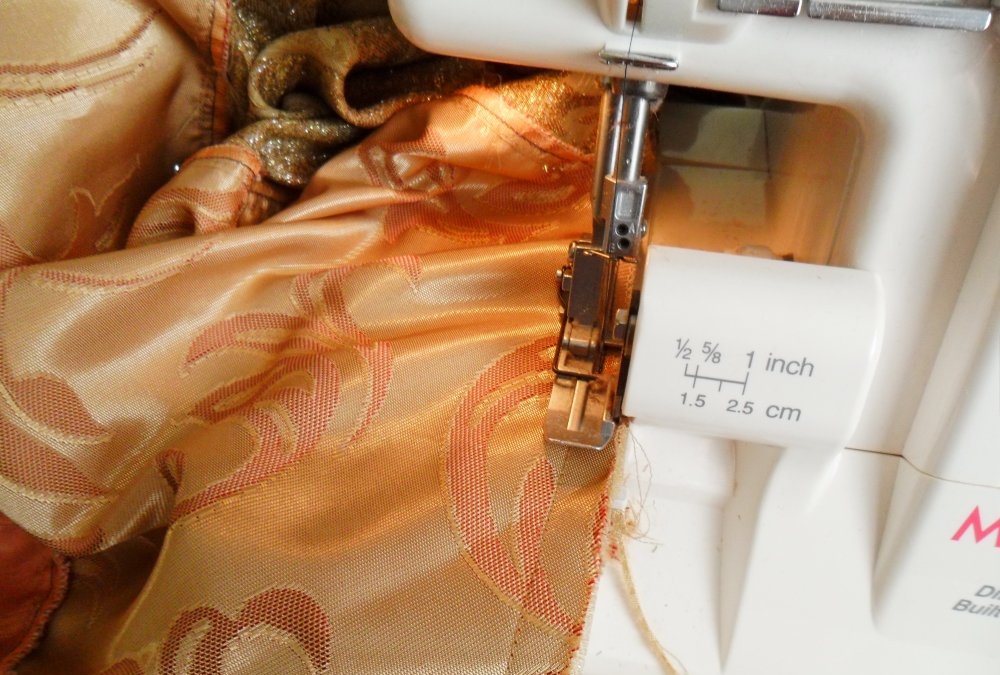
In the same way I sew and cut off the corners of the next strips.
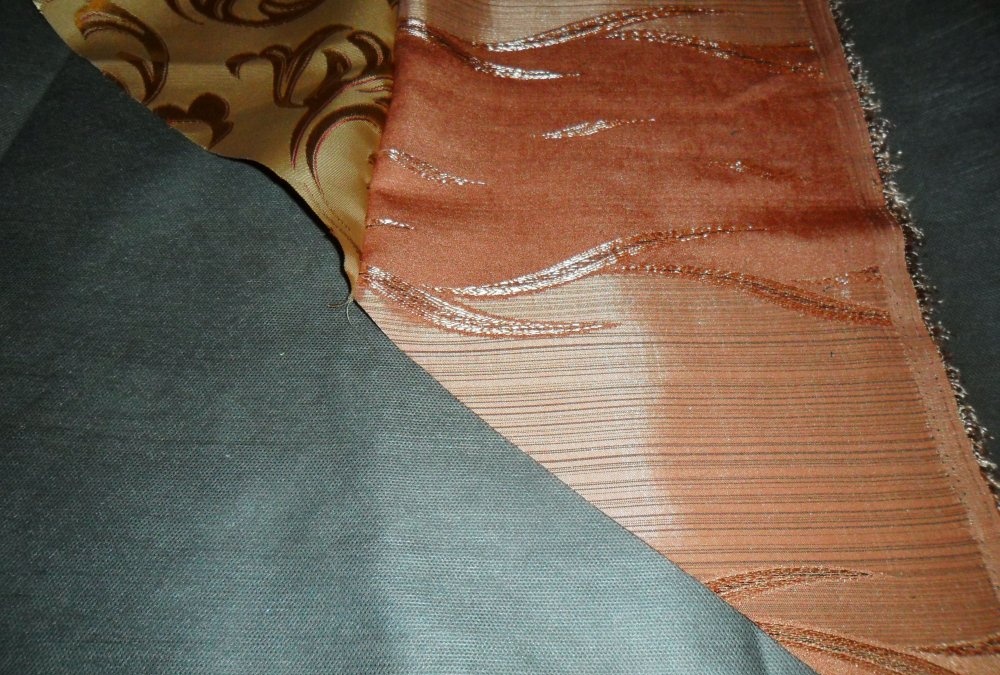
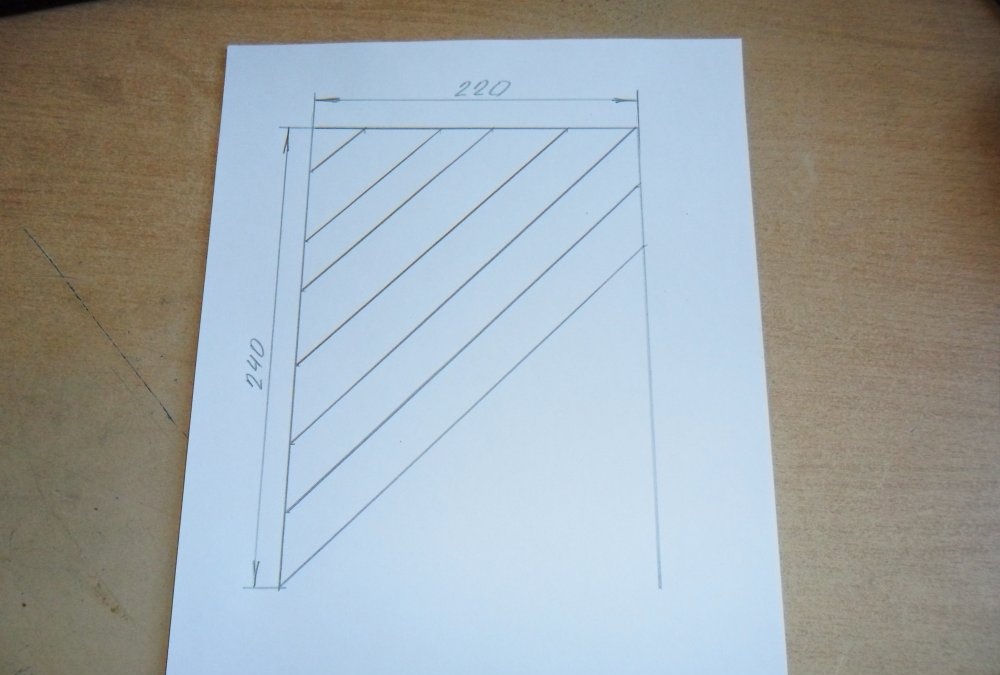
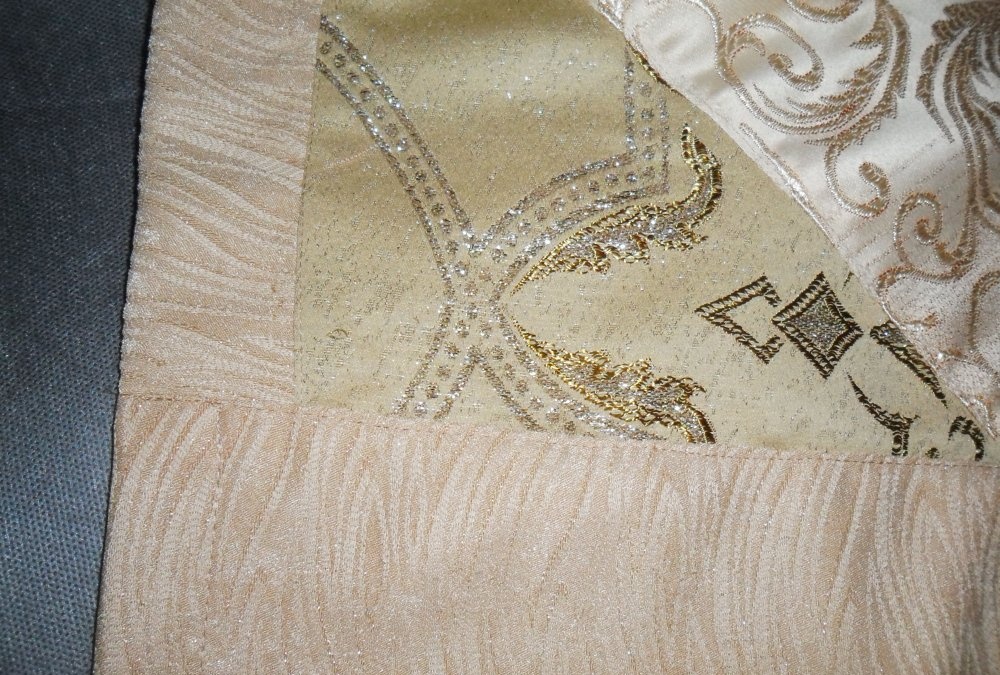
When the sides of the triangle have reached a size of 220 cm (this will be the width of the bedspread), I cut the strip so that it forms a right angle (as in the diagram).
Next you need to sew the strips until the other side reaches a length of 240 cm. I only needed one strip. I also cut the fabric so that it turns out to be a right angle.
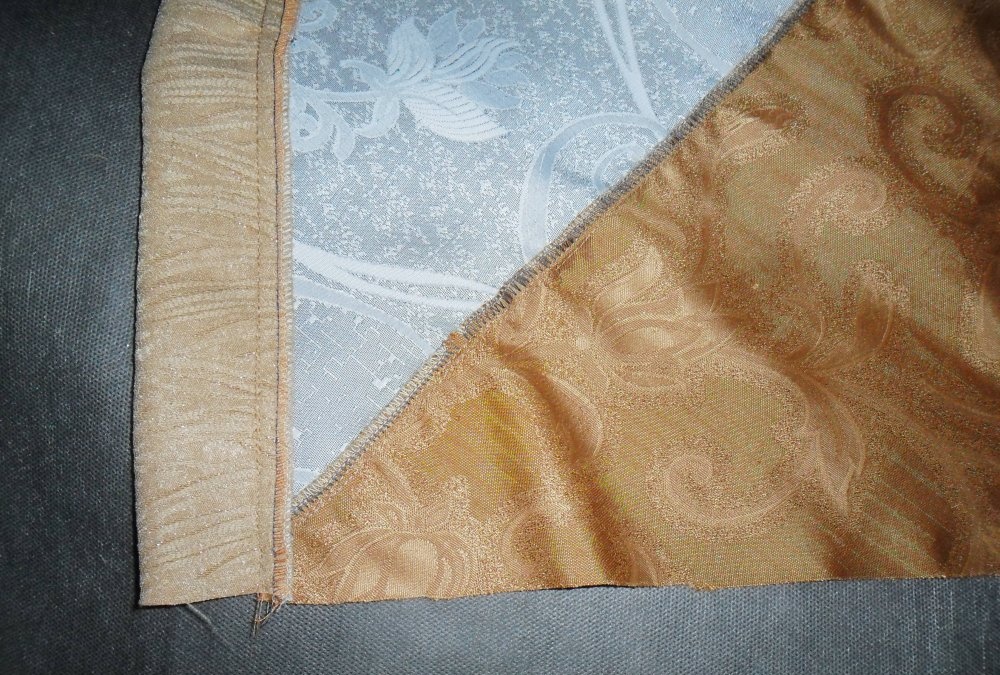
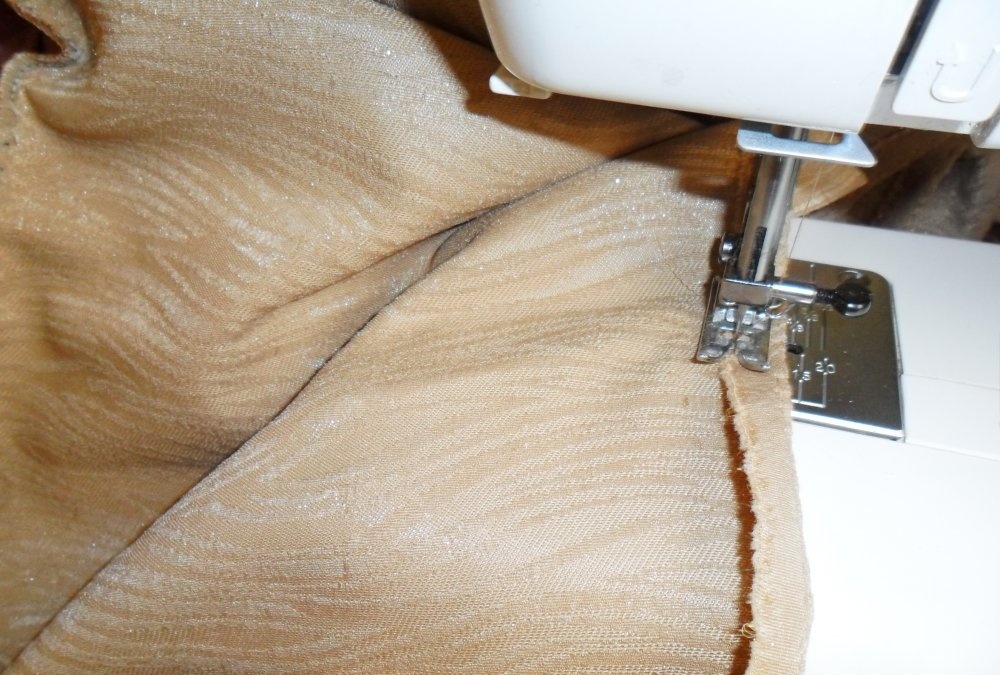
I sew the strips until I get a rectangular fabric. The work also ends with a triangle. During the cutting and sewing process, it is necessary to ensure that the two opposite sides of the rectangle are parallel to each other.
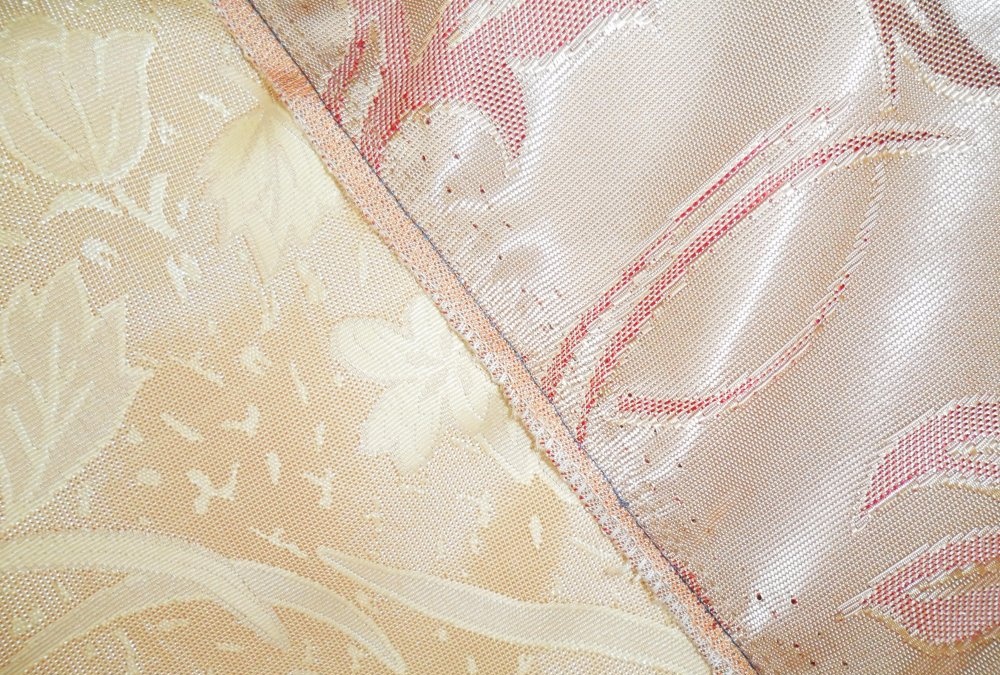
I process all seams on an overlocker and stitch along the front side.This can also be done while working, as you sew on the strips.
The main part of the work has been completed. It remains to process the bedspread on the sides. Give it a tougher look and finish.
I decided to sew finishing stripes on all sides. It would be possible not to sew at the headboard, but then the bedspreads would not be able to be turned over. And so you can lay it on either side to the headboard.
To finish the edges, I found strips of the same beige fabric, but of different widths. I cut a strip 20 cm wide in half, folded it in half, pinned it with pins with a side length of 220 cm and sewed it on. I did this on the opposite side as well. The seams were finished with an overlocker and stitched.
Then I sewed strips of fabric 23 cm wide to the long sides. For a neat finish, I left an allowance of 5 centimeters along the edges of the bedspread. I finished the seam. I folded the left seam allowances inside twice and stitched at all four ends. I simply turned the edge of the bedspread (where the edge of the fabric turned out) 1 cm and also stitched it.
The bedspread is ready. All that remains is to iron it and lay it on the bed. It would have been possible to sew on a lining to make the cover more dense, but I decided not to waste fabric on this. The seams on the back side are all finished, they look good, the fabric will not fray. The finished bedspread measures 260 by 260 cm (or 2.6 by 2.6 m), that is, on all three sides it will hang from the bed to a length of 50 cm (or 0.50 m) and cover everything that needs to be covered.
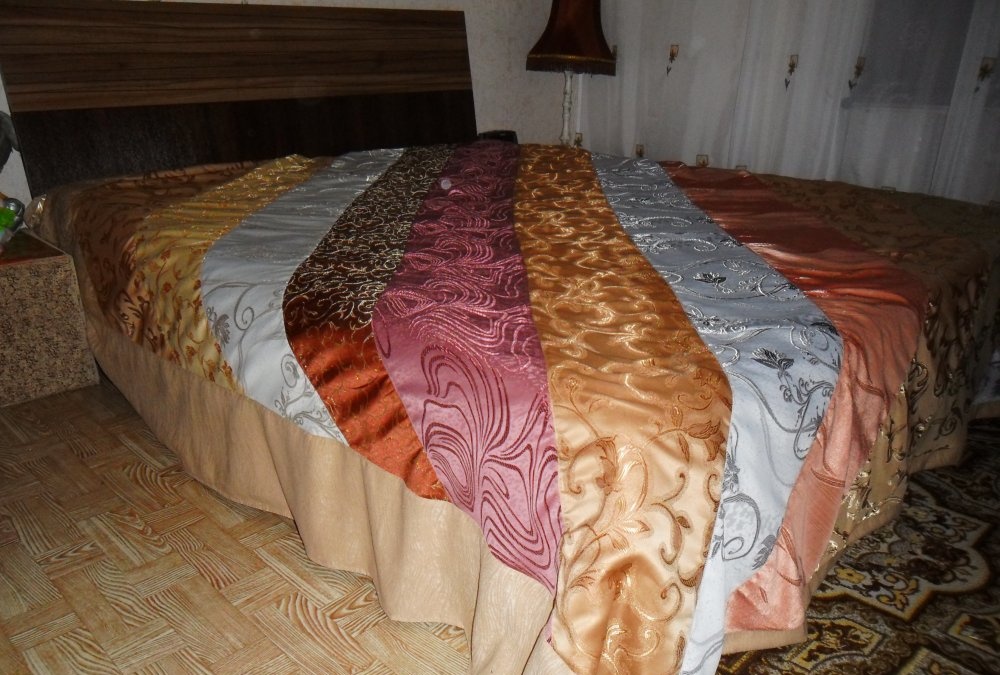
This is the unique beauty I got. Try it too, as they say: the one who walks can master the road.