LED lamp repair
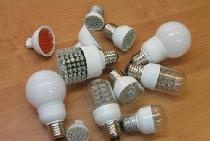
Light-emitting diode (LED) lamps have recently become widespread in our lives. And this is not surprising, since they have many advantages compared to other artificial light sources.
Here are a few of them:1. Cost-effective.
2. Durability.
3. Security.
Both the price and quality of these lamps may vary depending on their manufacturer. They are not very different in design, the components are the same, but the difference may be in quality.
This is especially true for themselves LEDs and cooling systems. Although the lamp does not overheat significantly, heating is still present, which has a detrimental effect on the electronics.
Therefore, breakdowns of these devices also occur. This is very unpleasant, especially when the lamp has not lasted even a couple of months. However, do not rush to throw it away. There is a way to repair the lamp, thereby saving your money.
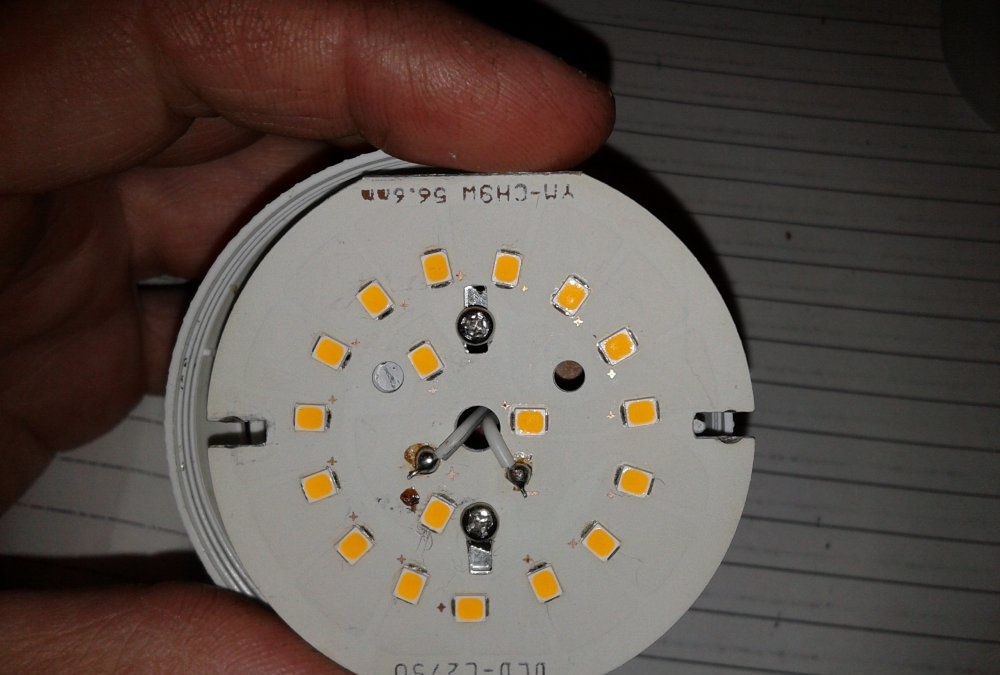
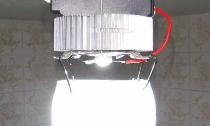
Here, in the photo, is a lamp of average quality.
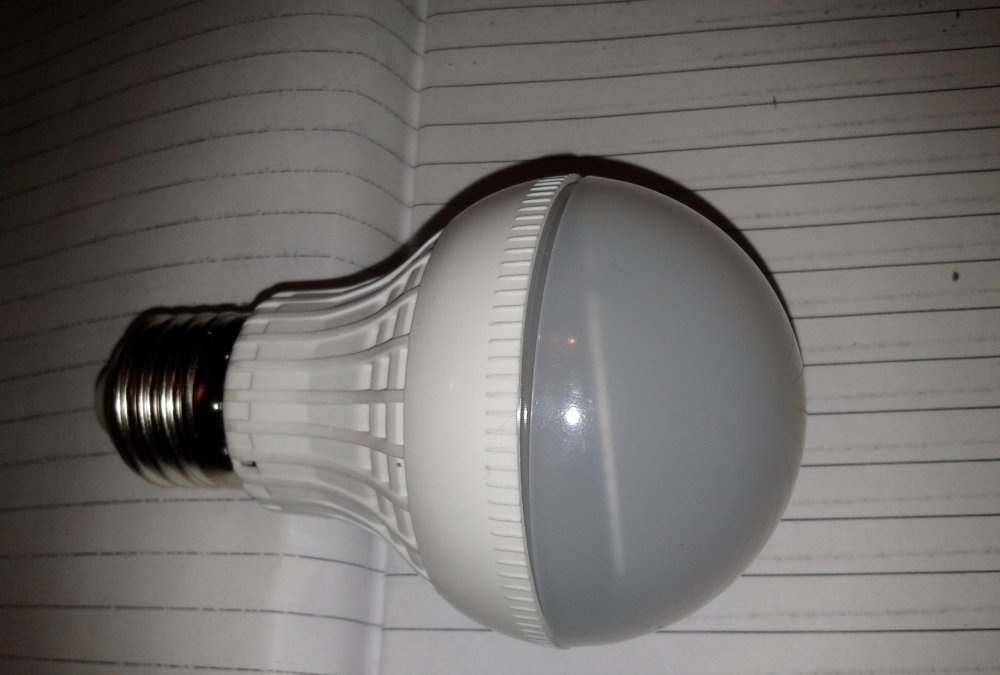
One fine day it stopped working, although the lamp itself was fully operational.
It is clear that the problem lies precisely in the lamp, or more precisely in one of its components.
DIY LED lamp repair
So, let's start repairing the lamp.
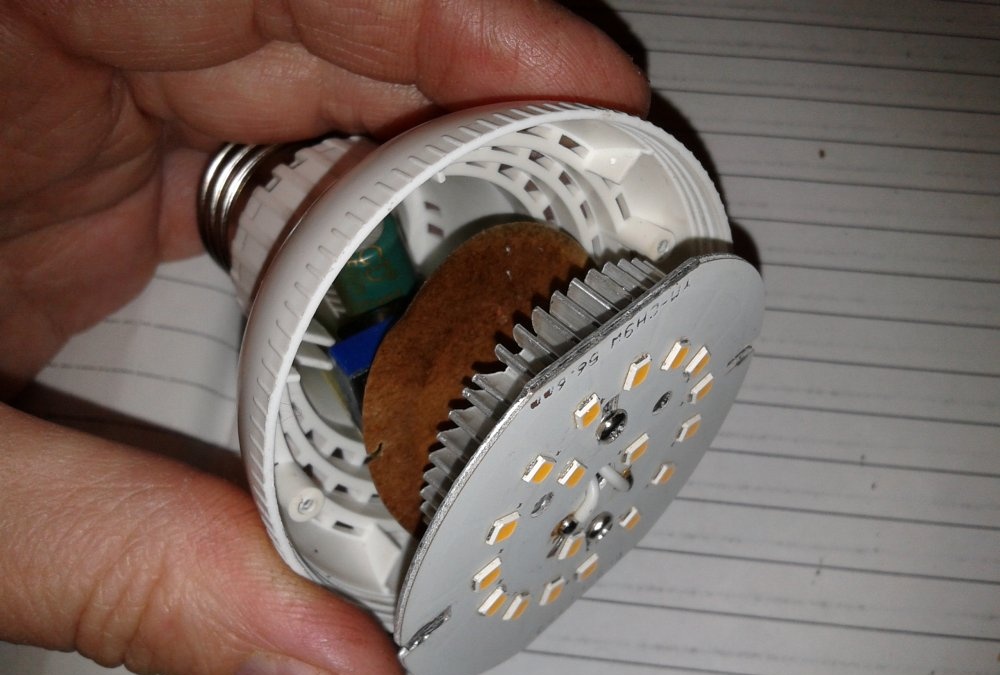
To disassemble it, you need to remove the diffuser.
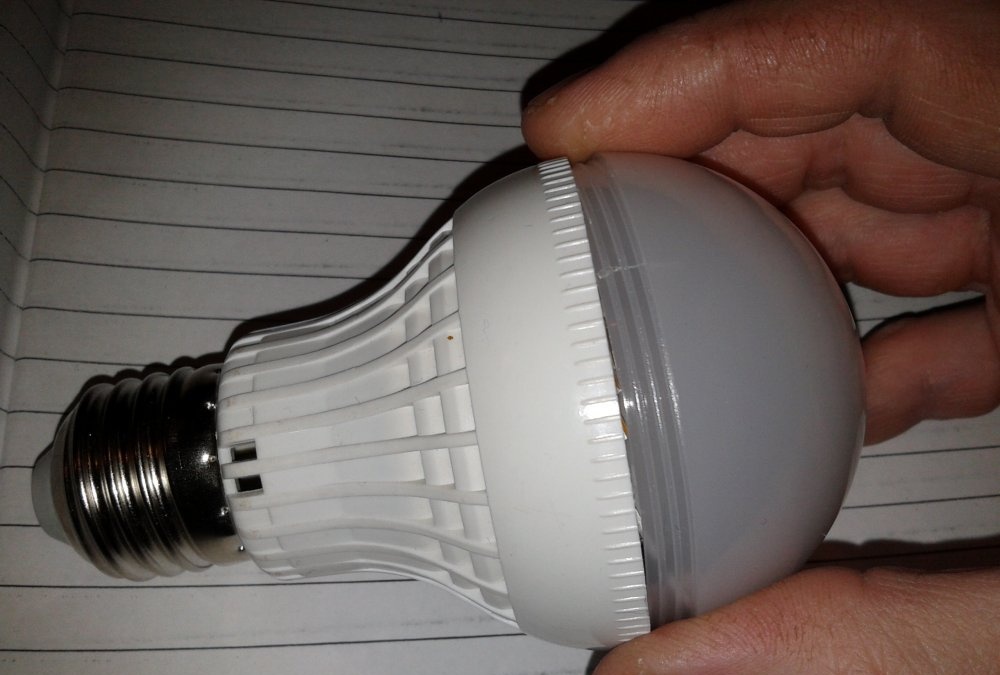
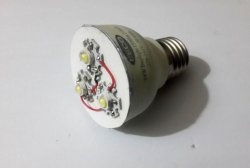
Below it is an LED panel and an electronic converter. The diffuser can be snap-on or screw-on.
This lamp uses a threaded connection, and this is the best option for repairs, as it does not require much effort or special tools for dismantling.
Simply twist it counterclockwise and the matte cap will come off without any problems.
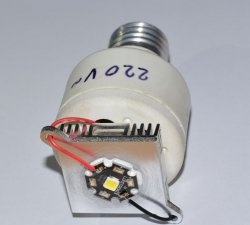
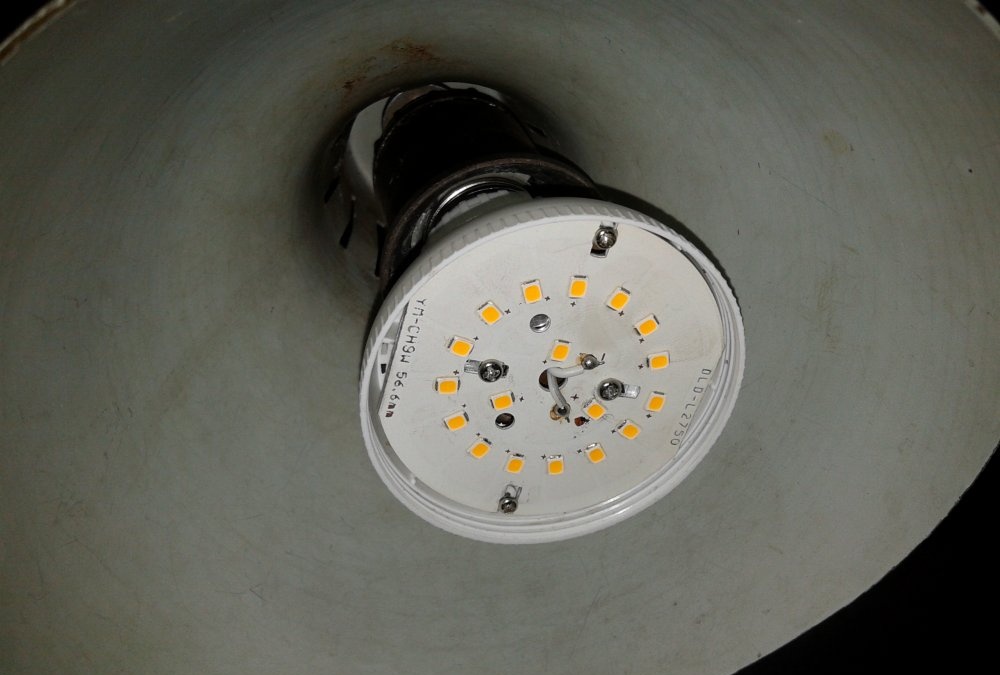
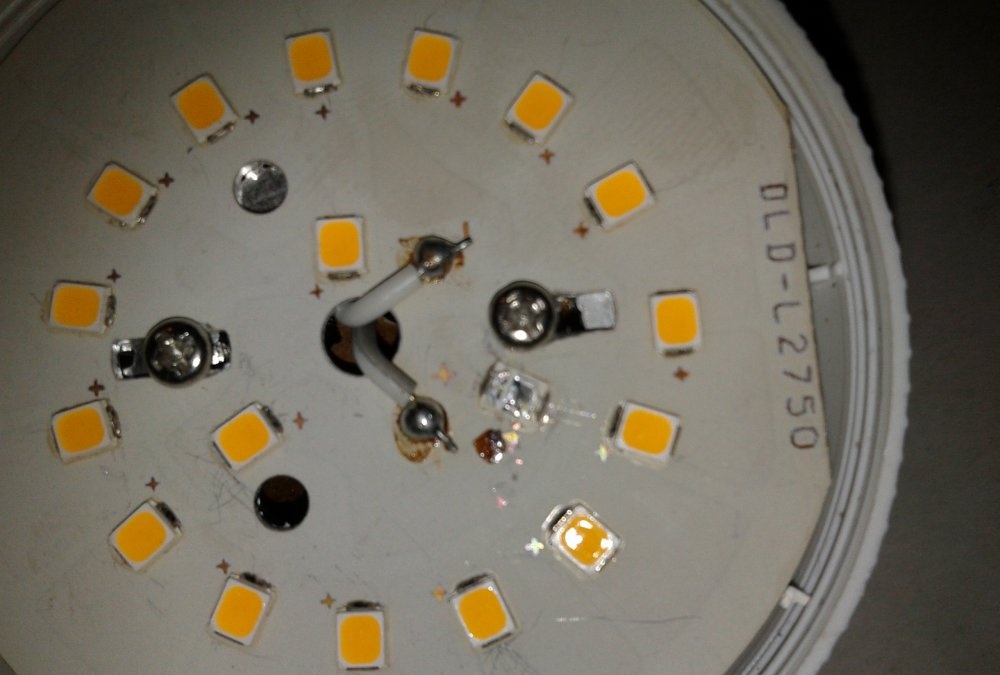
Under it, as already described above, there is a panel with several dozen LED elements.
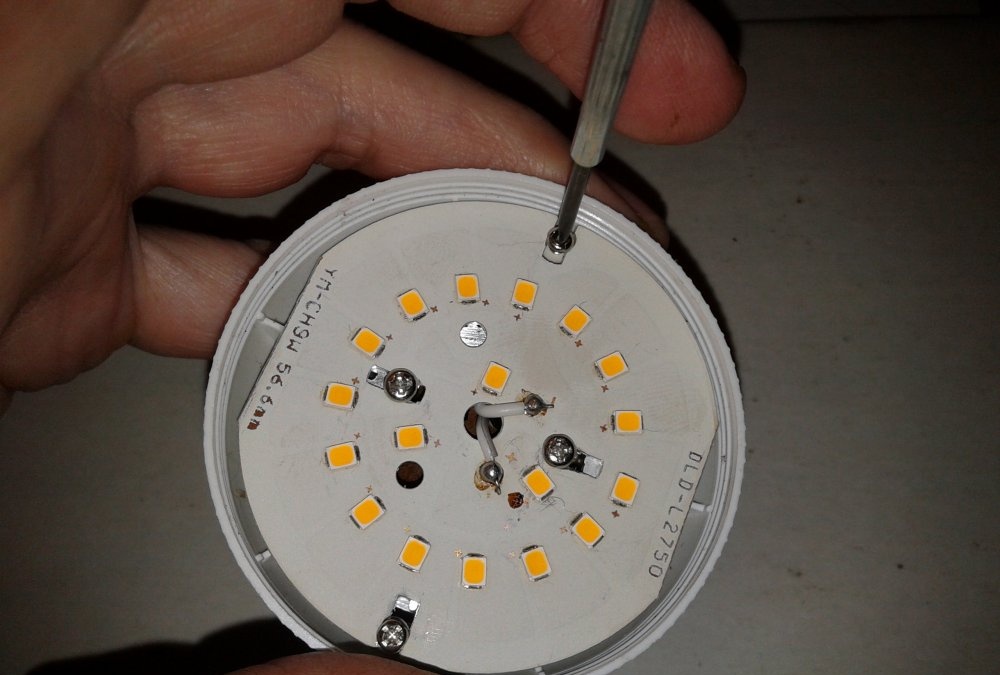
To begin with, you can look at the external state of each electronic component on the converter itself.
Sometimes this may be the cause of the breakdown. Most often this is a swelling of a high-capacity electrolytic capacitor. If traces of deformation are visible on its upper or lower part, then it definitely needs to be changed.
Also, there may be a regular fuse on this board, which could have blown due to a voltage drop. Then the problem is solved by replacing it.
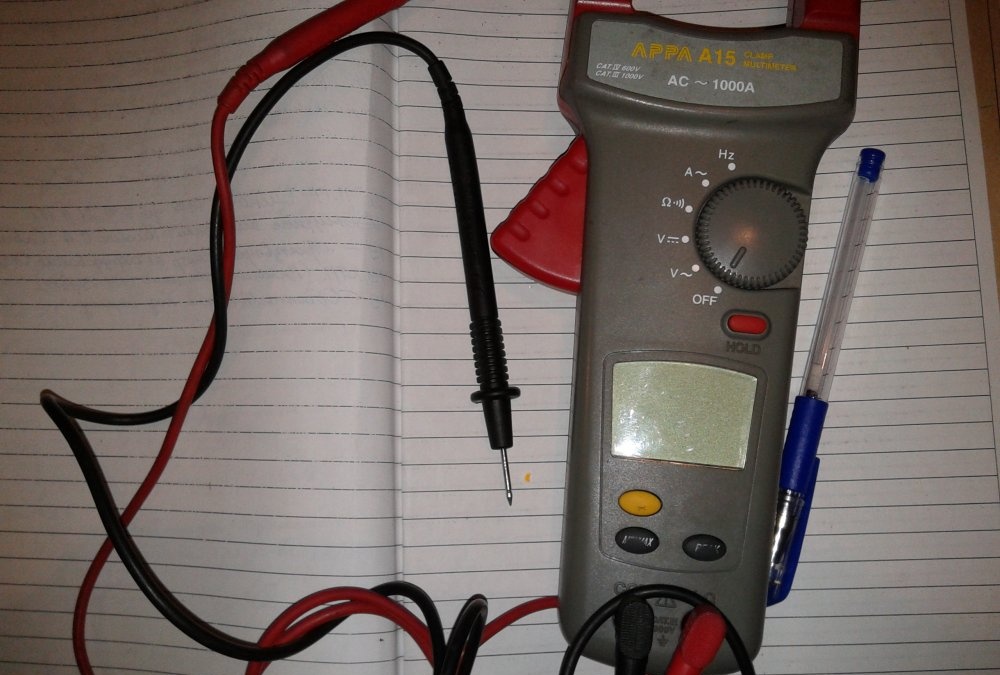
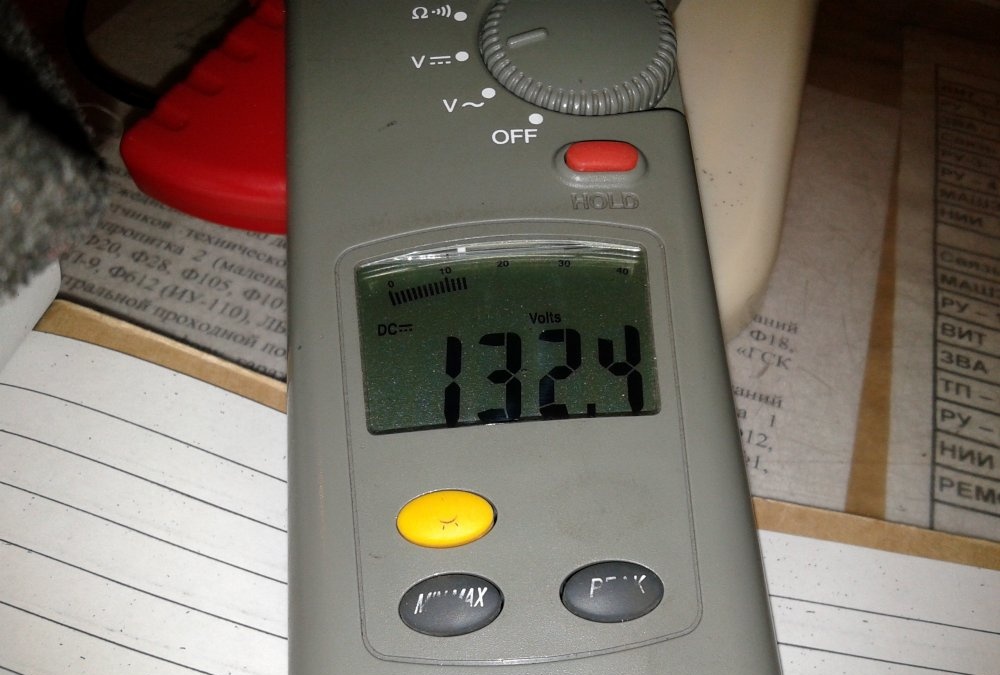
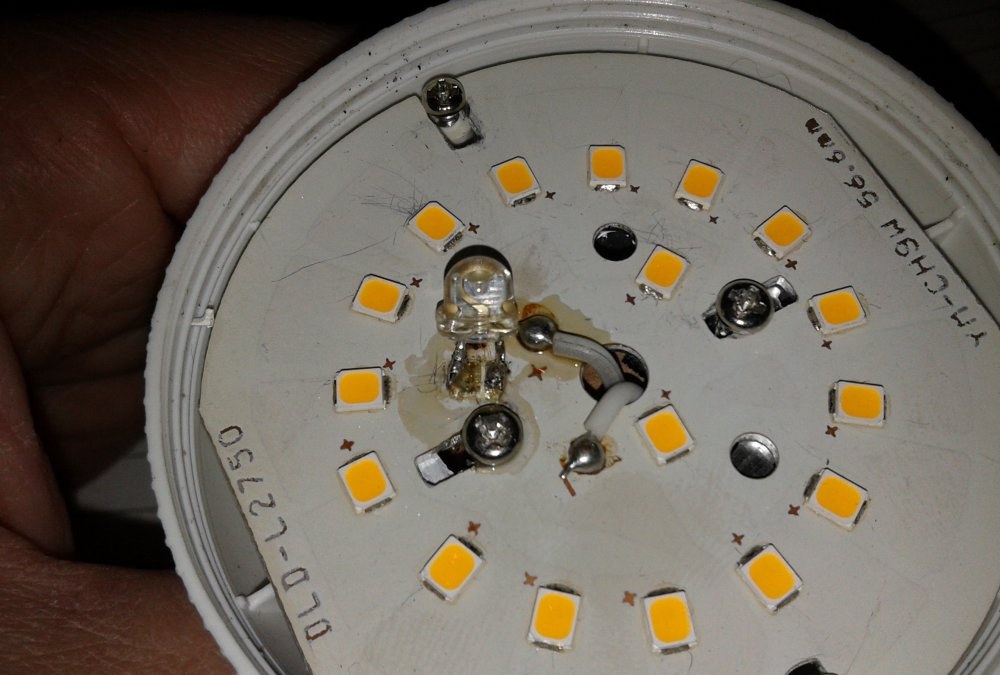
If no external defects are found on the converter, we measure the voltage at its output. This can be done with a multimeter or a simple DC voltmeter.
By the way, you can measure the voltage at the output of the converter without removing the LED panel. This should be done on the two wires coming out of the hole. But first you need to insert the lamp into the socket of some table or other lamp.
As shown by the voltmeter, the output voltage is approximately 132 volts. And this means that the converter itself is in good condition and the problem is in the LEDs.
Since their connection is serial, failure of at least one of them will lead to complete inoperability of the entire panel.
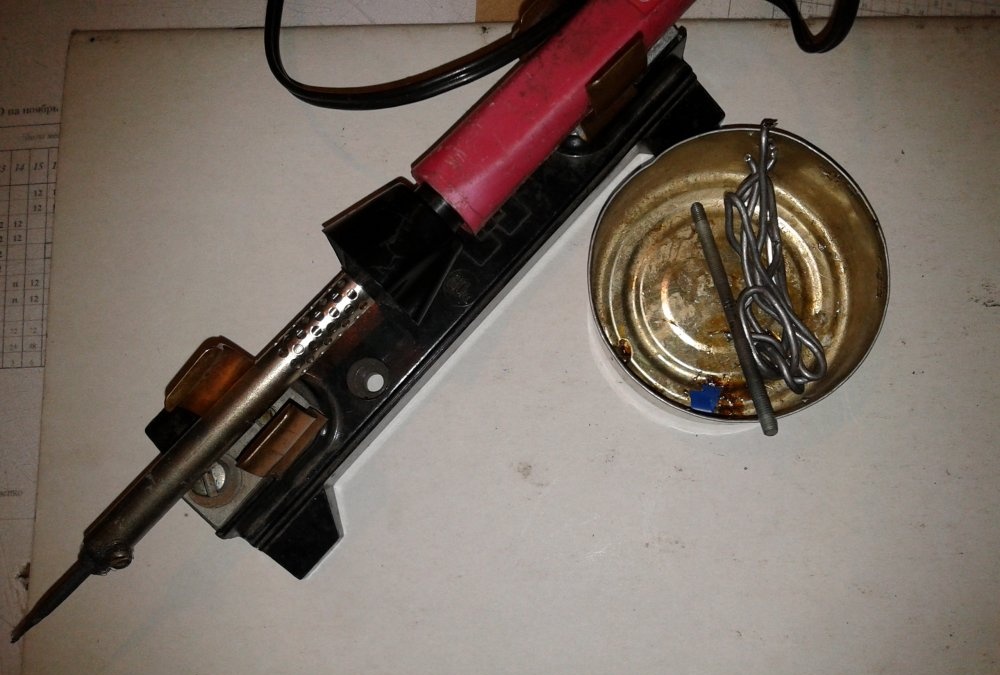
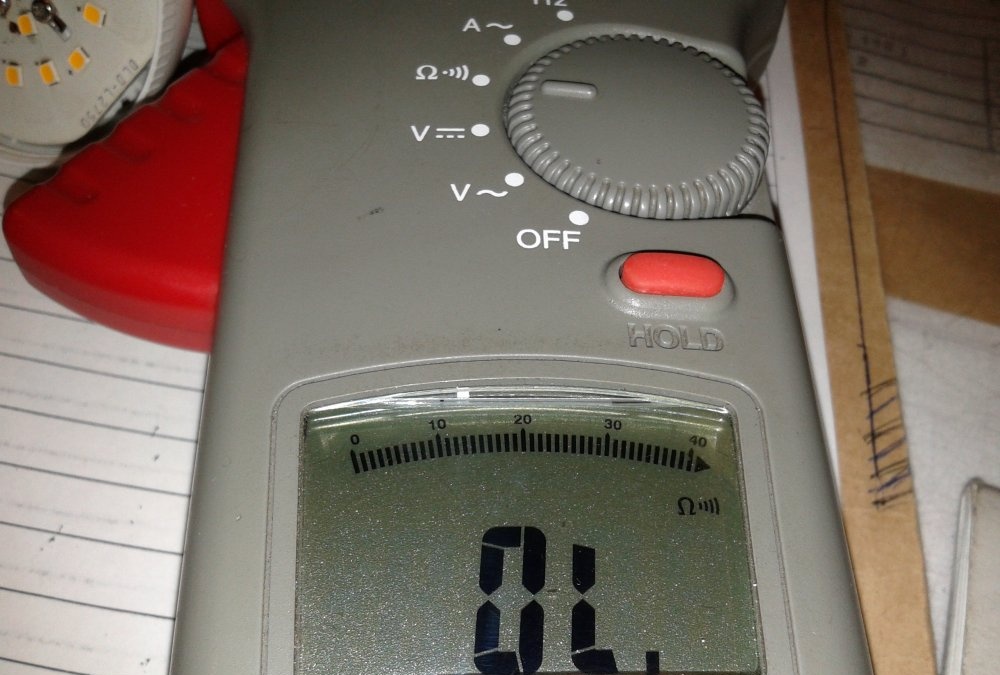
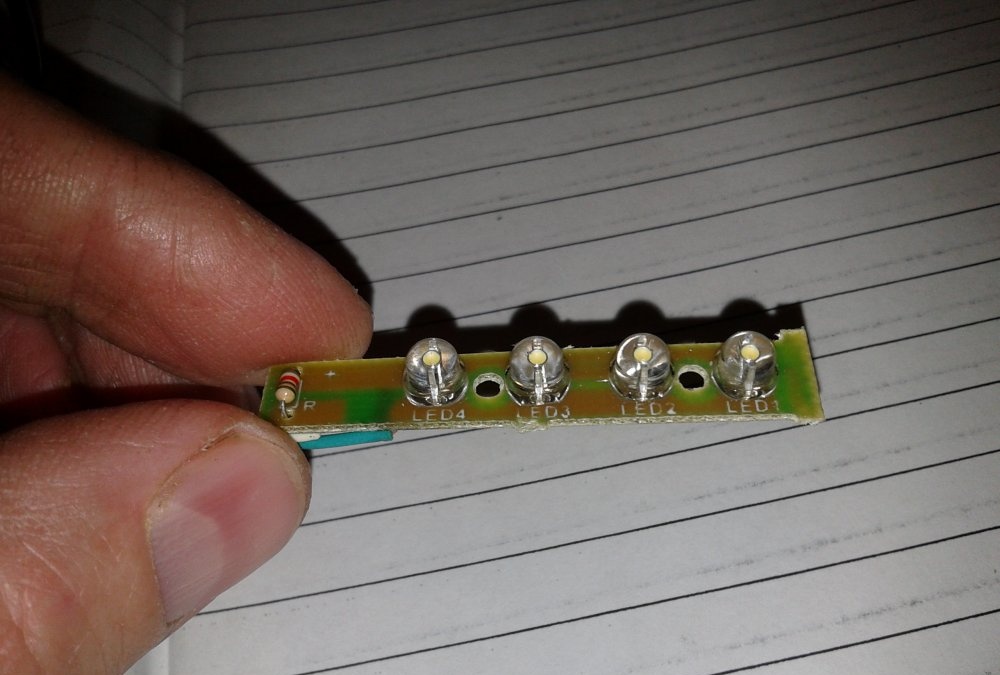
How can you find the one that is faulty? If this is not visible externally, there is an effective method to find the problematic diode.
We translate multimeter into the dialing mode and connect its probes one by one, in parallel with each LED, moreover, the positive (red) probe of the device must be applied to the “-” terminal.
On the panel diagram, the “minus” is not indicated, only the “plus” is marked. Therefore, it is not marked, and there is a cathode.

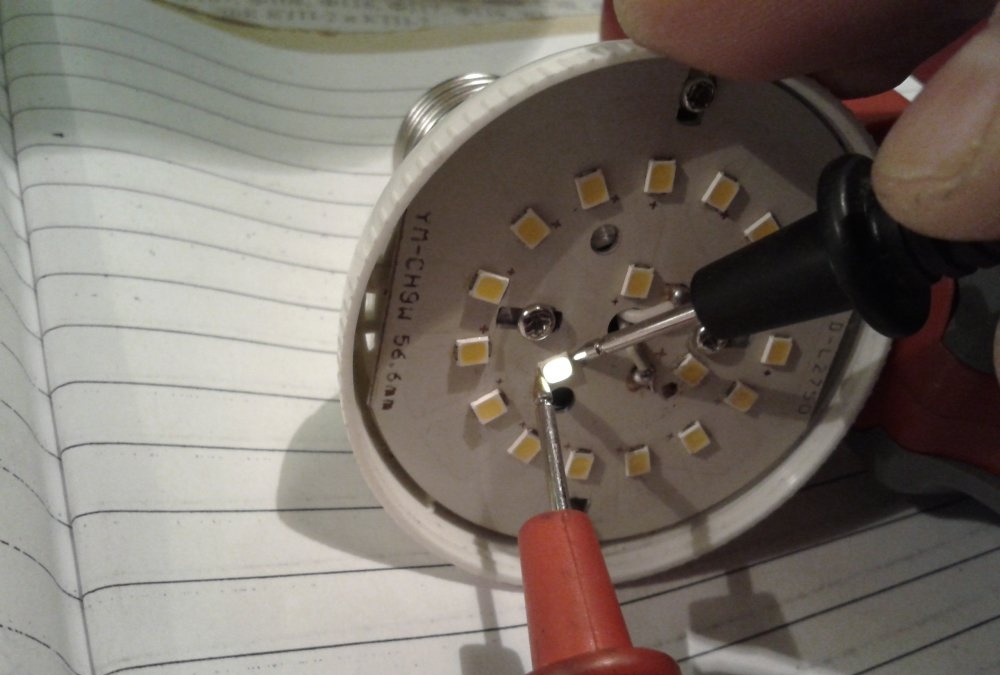
If Light-emitting diode serviceable, when the probes are connected to it, a faint glow appears. The element that does not light up is faulty.
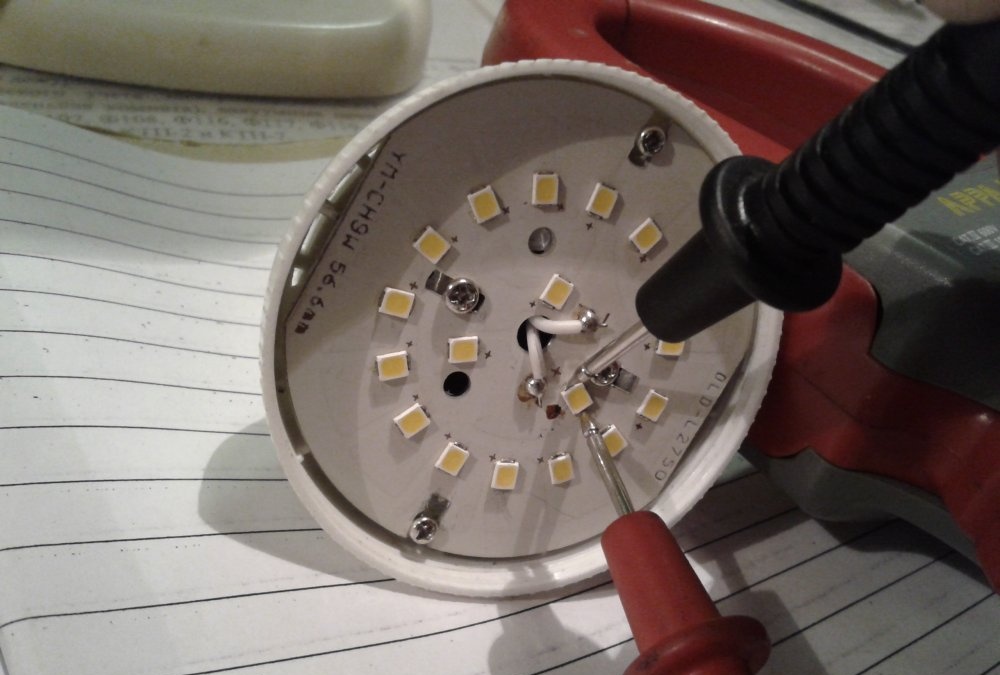
Next, delete this Light-emitting diode, prying it out with a thin screwdriver.
Afterwards, we carefully tin its seats.
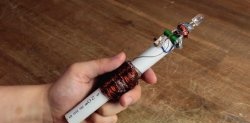
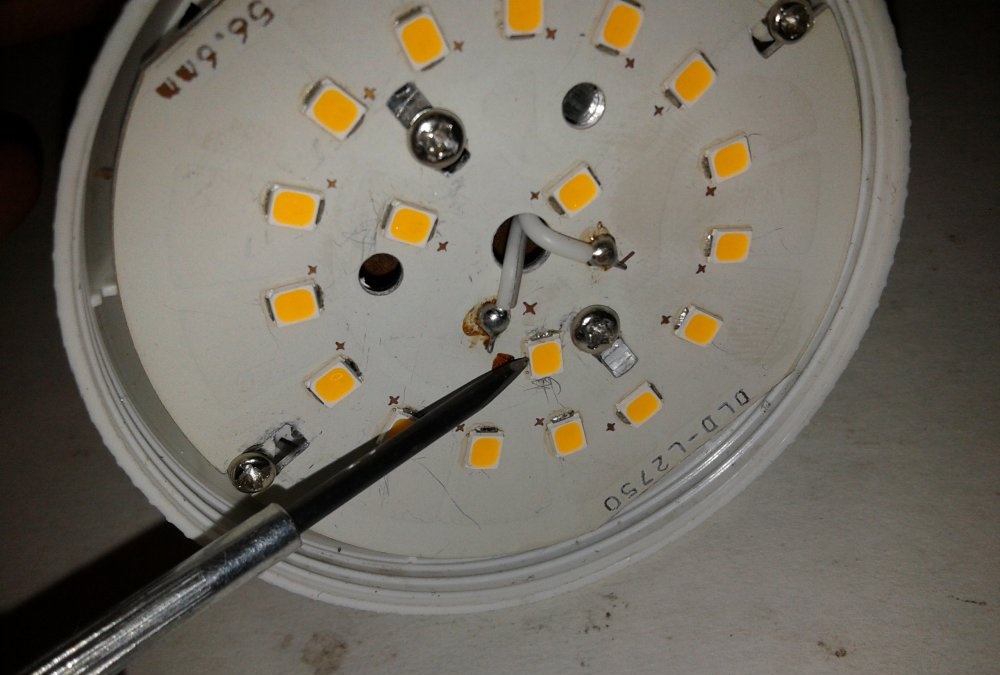
Now you need to find Light-emitting diode to replace the burnt one.
Any working element will do for this, for example, from a flashlight with a problem battery or even from a backlit lighter.
Now they are not used anywhere, so there should be no problems with this.

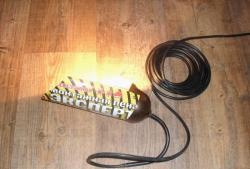
In the same way as when searching for a faulty one, we find positive and negative conclusions. Now we solder the new one to the board according to the polarity Light-emitting diode.
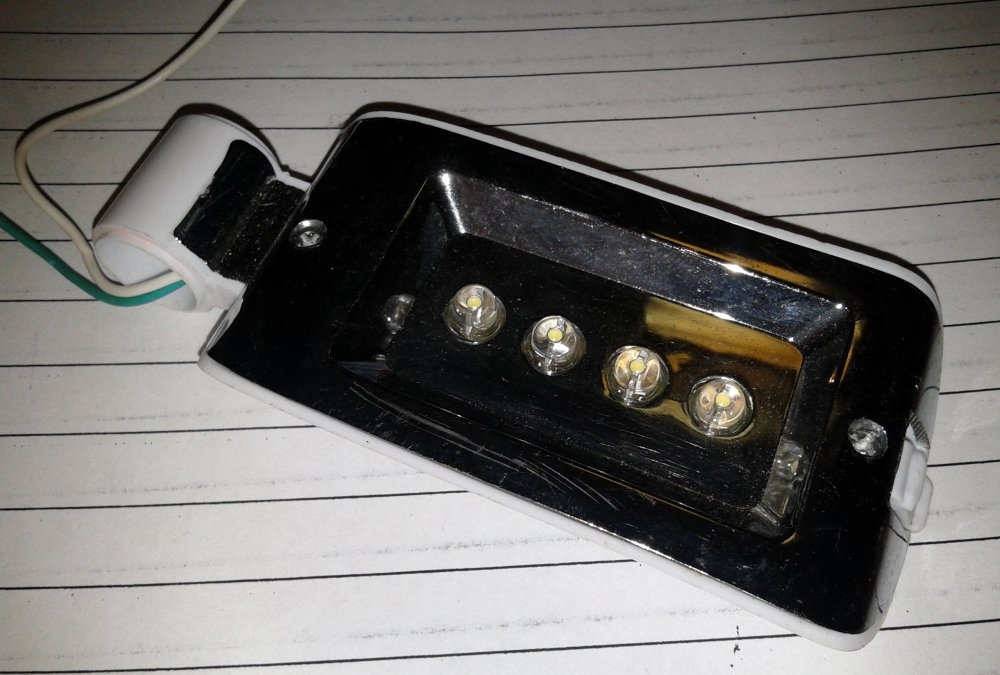
It can be seen that when voltage is applied to the lamp, it glows.

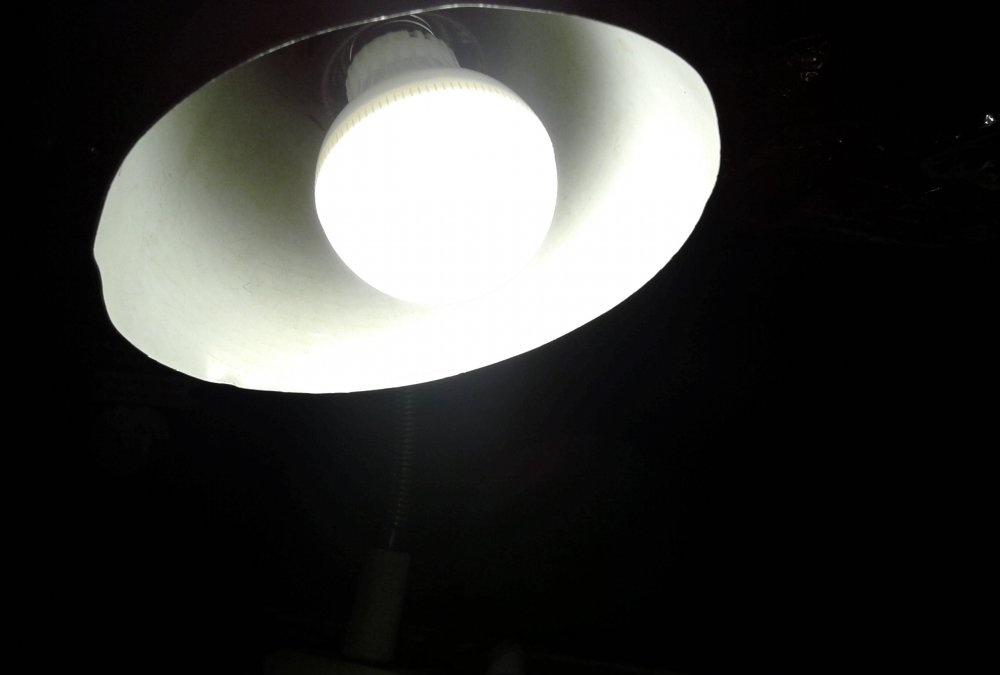
Thus, the repair was successful and the lamp can last for several more months, and possibly years.
Similar master classes

Particularly interesting