Do it yourself
Life hacks, master classes, useful tips, recipes.
home » Construction and repair » Repair » Installation of infrared film floor
Fashion for today's interior design dictates its own rules and conditions. Therefore, many, without thinking at all about the consequences, following modern trends, and in order to increase living space, combine a balcony with a room, removing interior doors and completely removing partitions. On the one hand, the space increases significantly, which is a definite plus, but on the other hand, with the arrival of cold weather, the room becomes significantly cooler than before. To create a comfortable temperature regime, many use electric heating devices, such as fireplaces, heaters, etc., as additional heating. But the thermal effect from them is not significant, and the electricity consumption is substantial. Installing an infrared film floor will quickly and efficiently help solve the problem, provided that laminate flooring is installed in the room. This type of heating can be put into operation in just one day, without causing serious damage to the appearance of the room.
Installation of the film floor in this case will look like this:
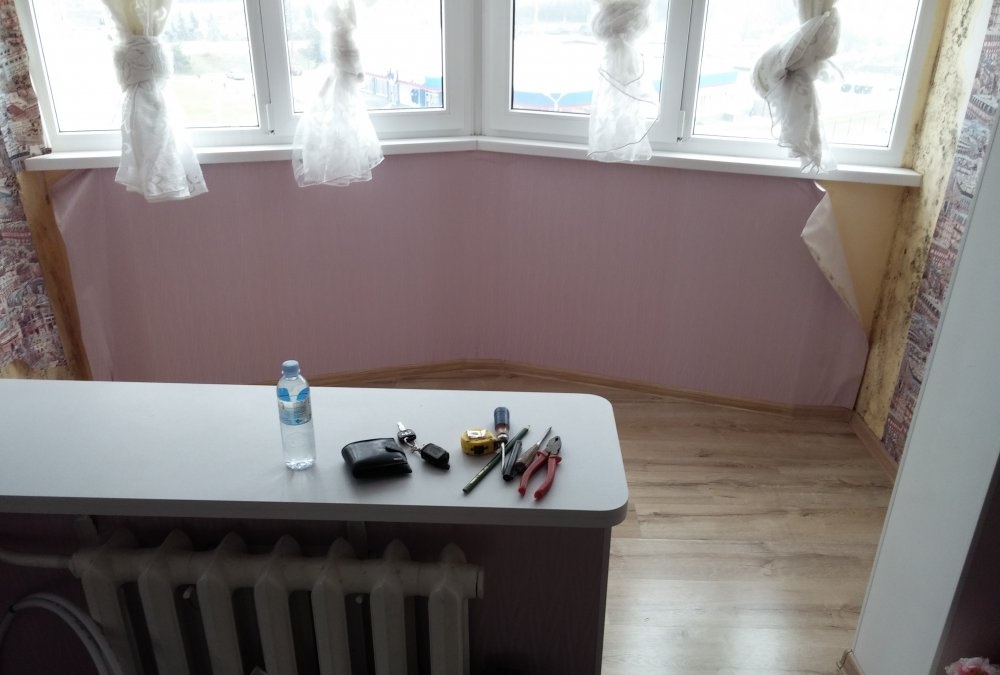
1) Free the entire space of the balcony from furniture.
Installation of infrared film floor

Installation of infrared film floor

Installation of infrared film floor

Installation of infrared film floor

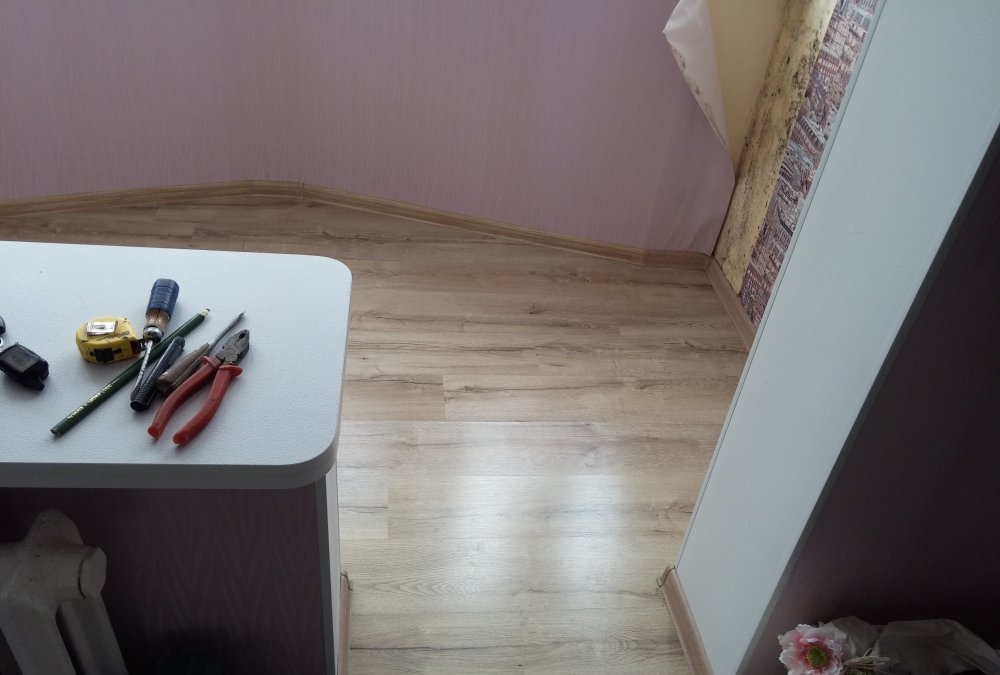
2) Remove the baseboards around the perimeter of the room.
Installation of infrared film floor

Installation of infrared film floor

Installation of infrared film floor

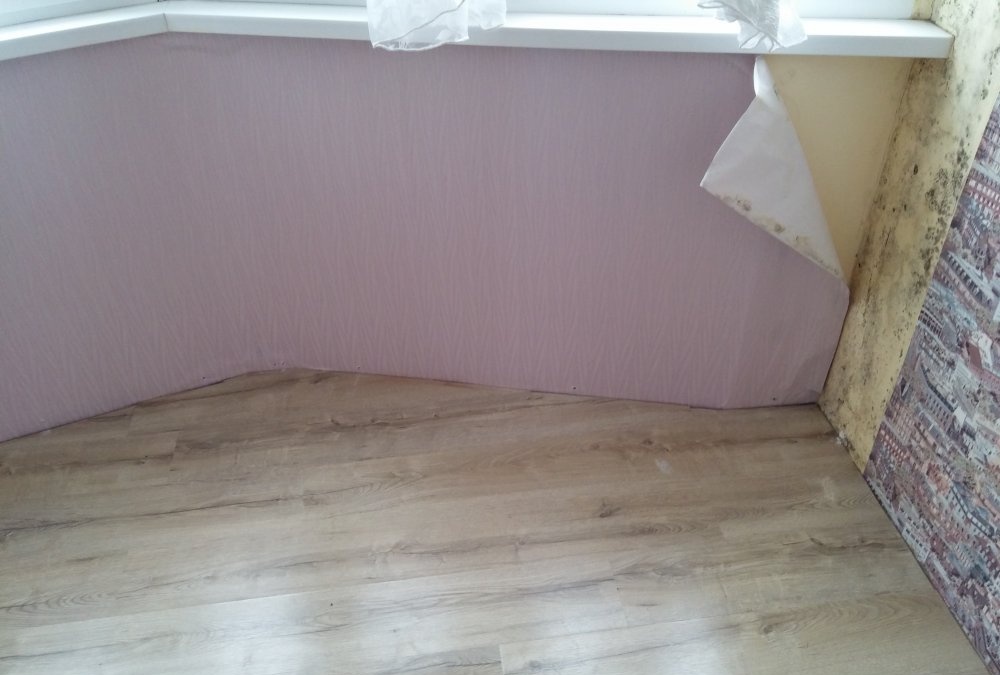
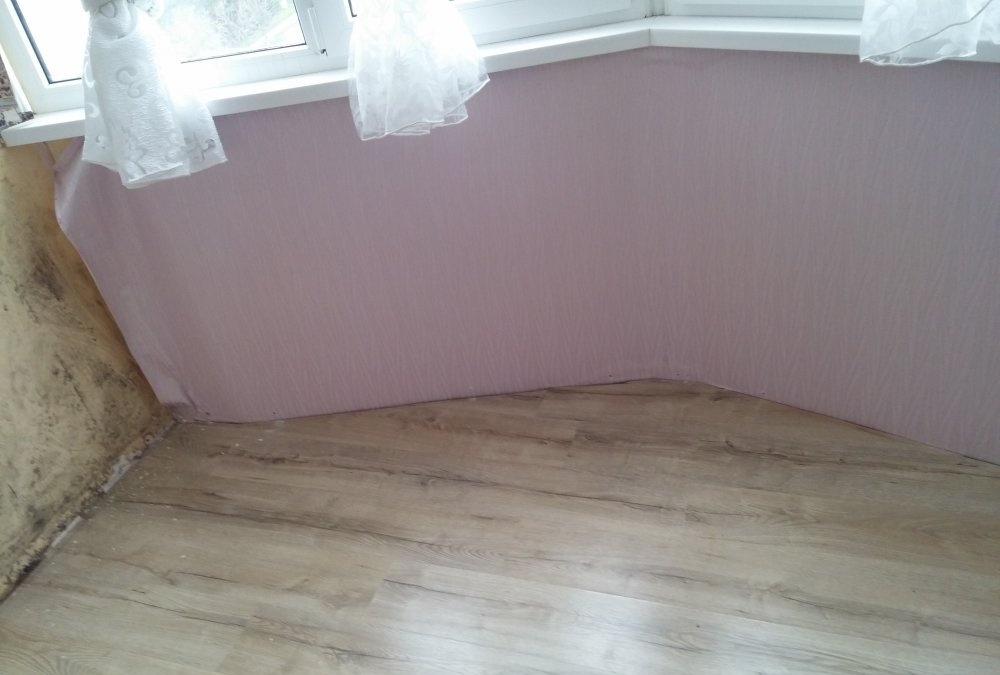
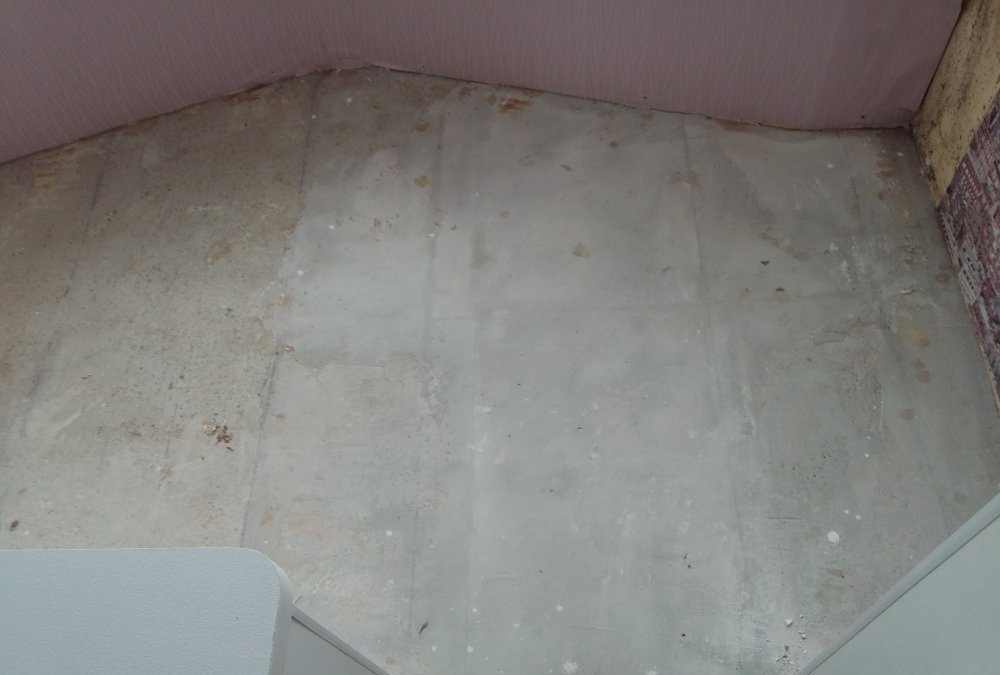
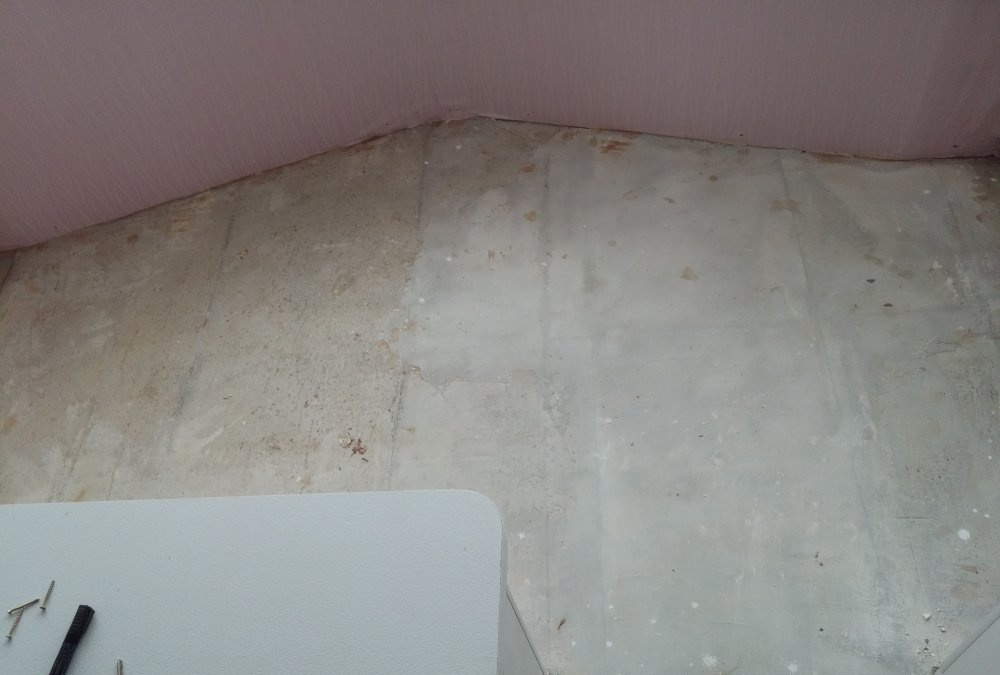
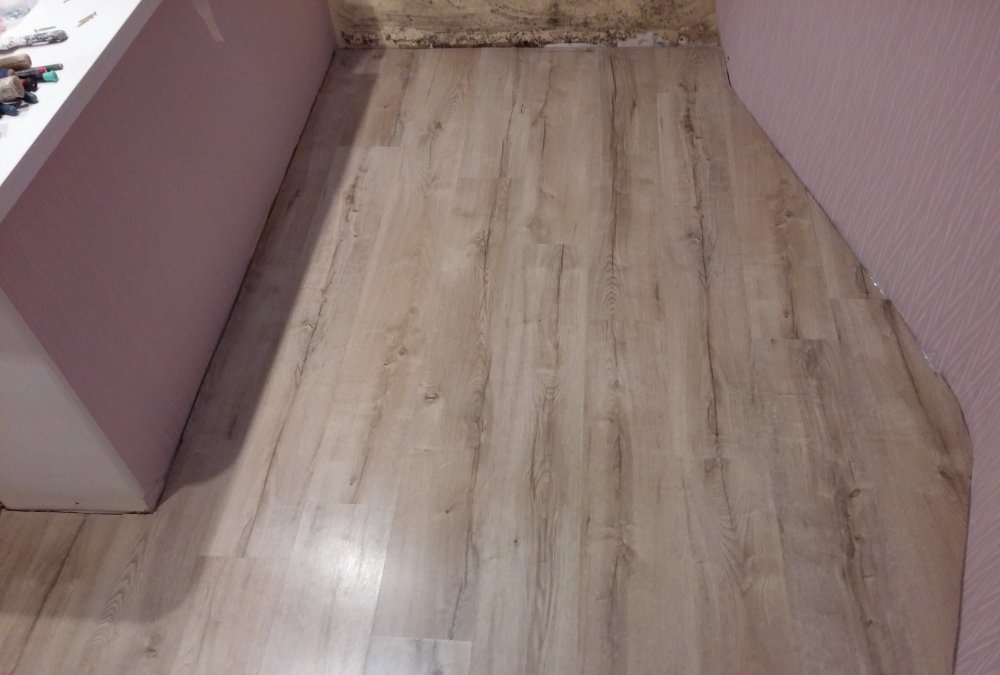
3) Carefully dismantle the laminate, signing each board to make it easier to put it back.
Installation of infrared film floor

Installation of infrared film floor

Installation of infrared film floor

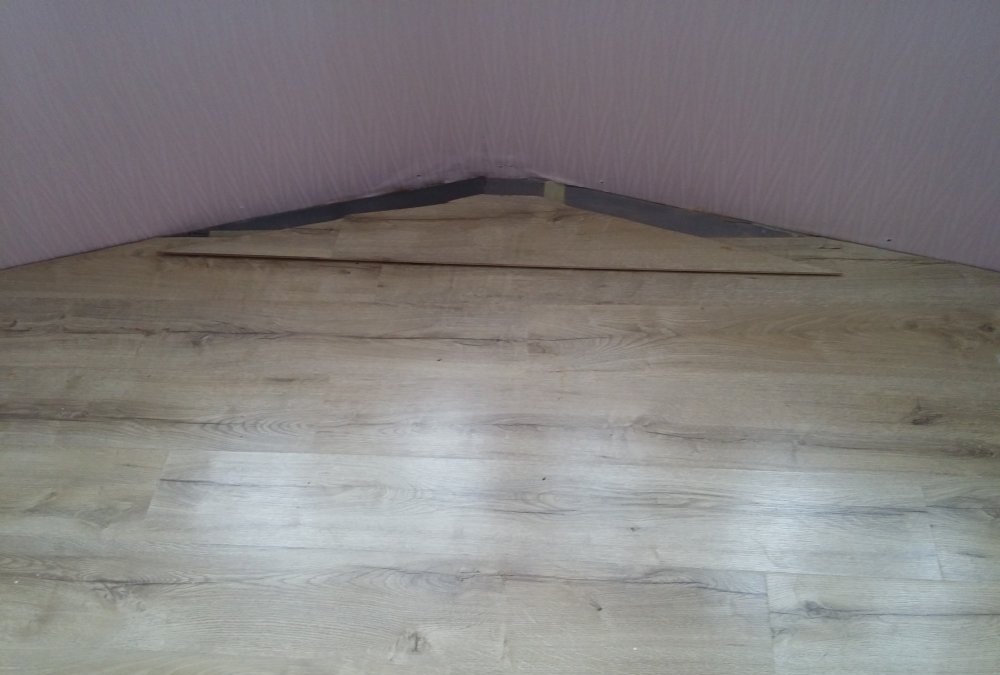
4) Remove the entire backing underneath the laminate.
Installation of infrared film floor

Installation of infrared film floor

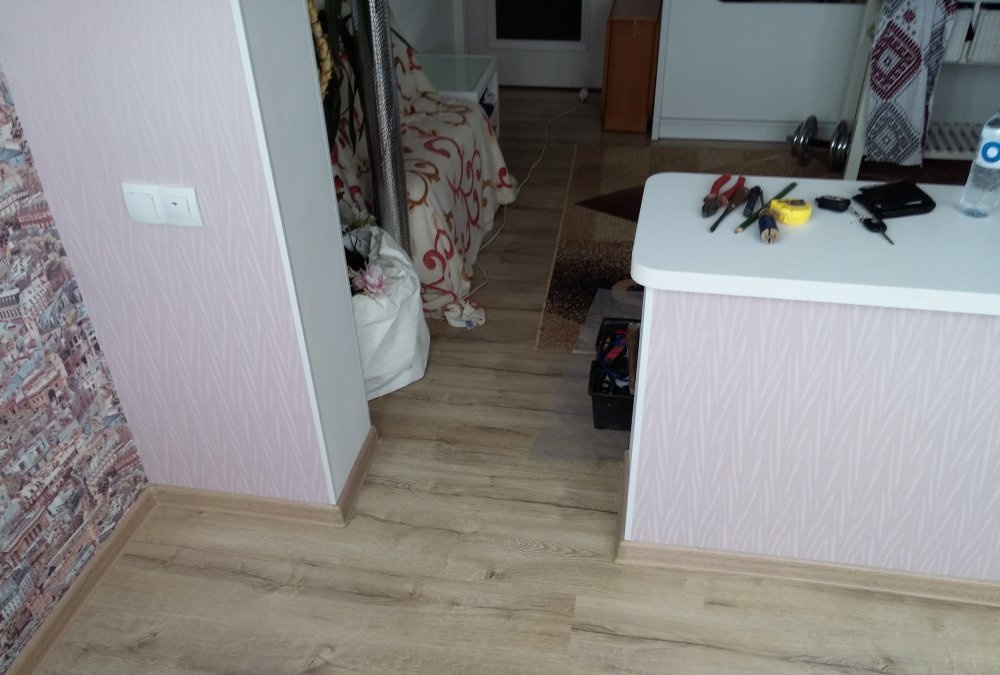
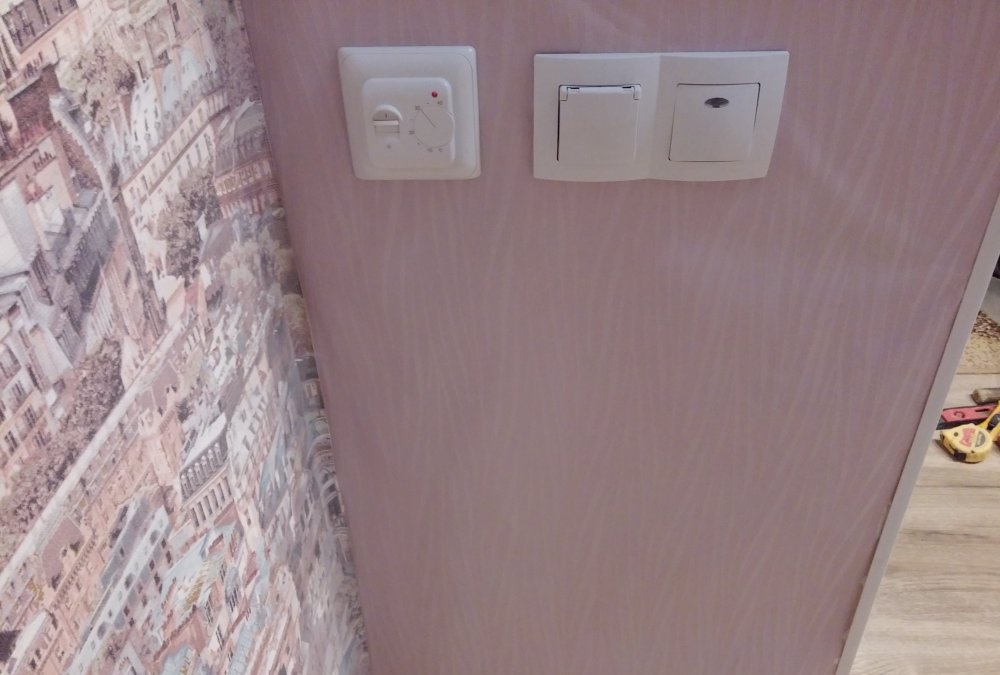
5) Decide on the installation location of the socket box. If the number of shoulder floor strips is small, you can take power for the thermostat from a nearby outlet. For clarity, mark the diameter of the future hole on the wall, and also apply markings for the floor sensor and connecting cable.
Installation of infrared film floor

Installation of infrared film floor

Installation of infrared film floor

Installation of infrared film floor

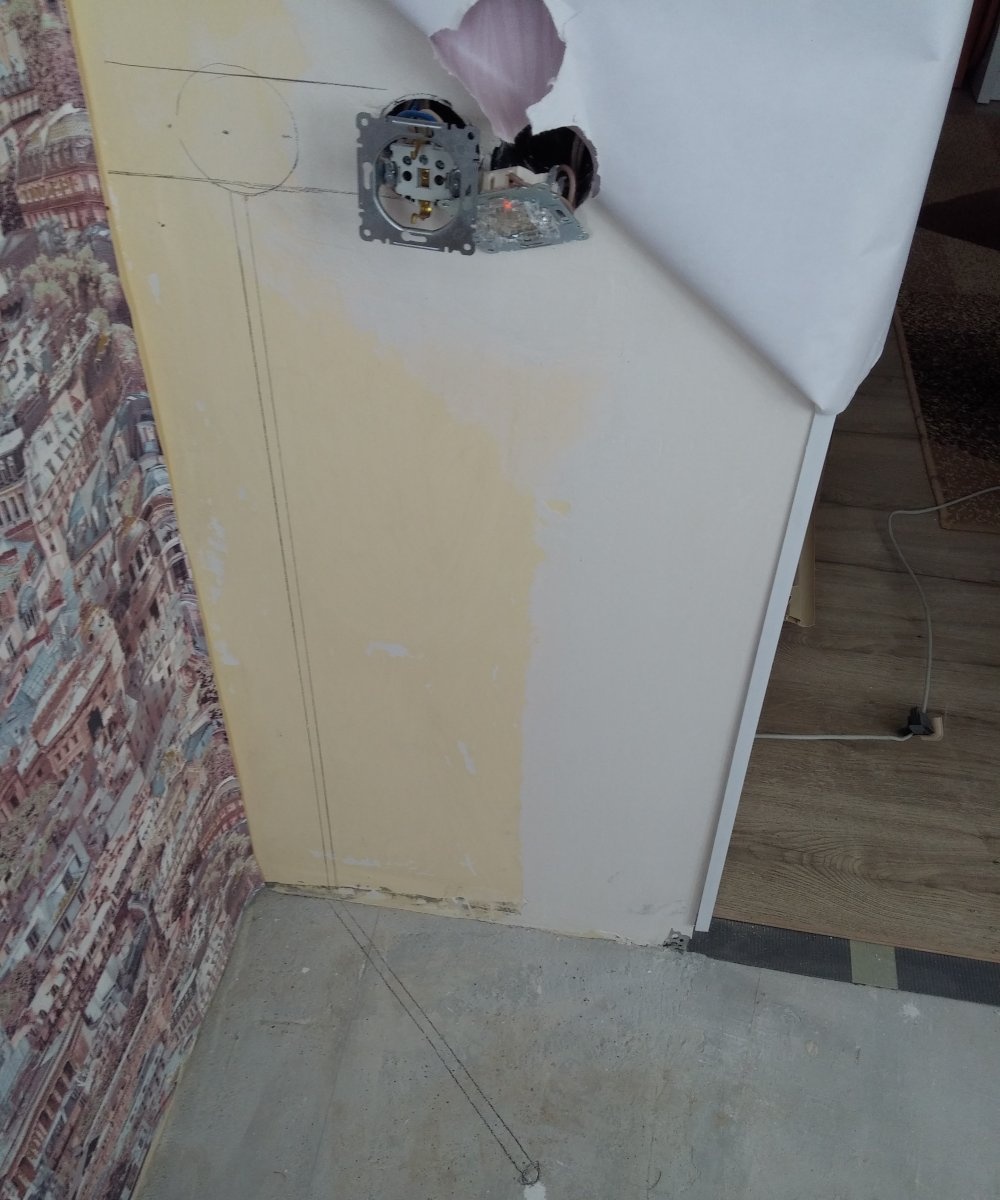
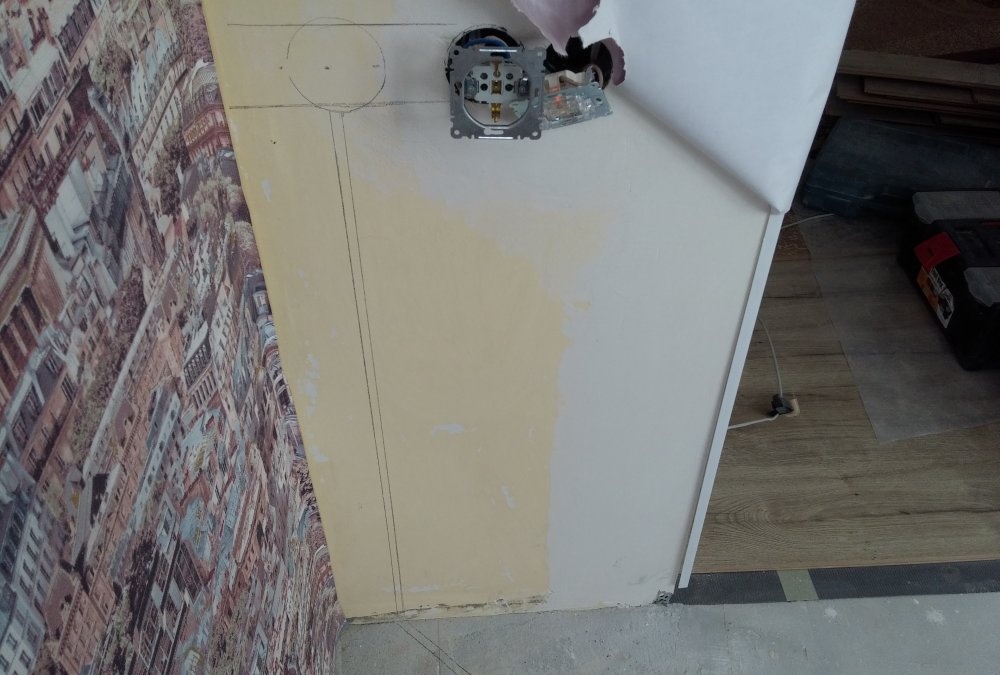
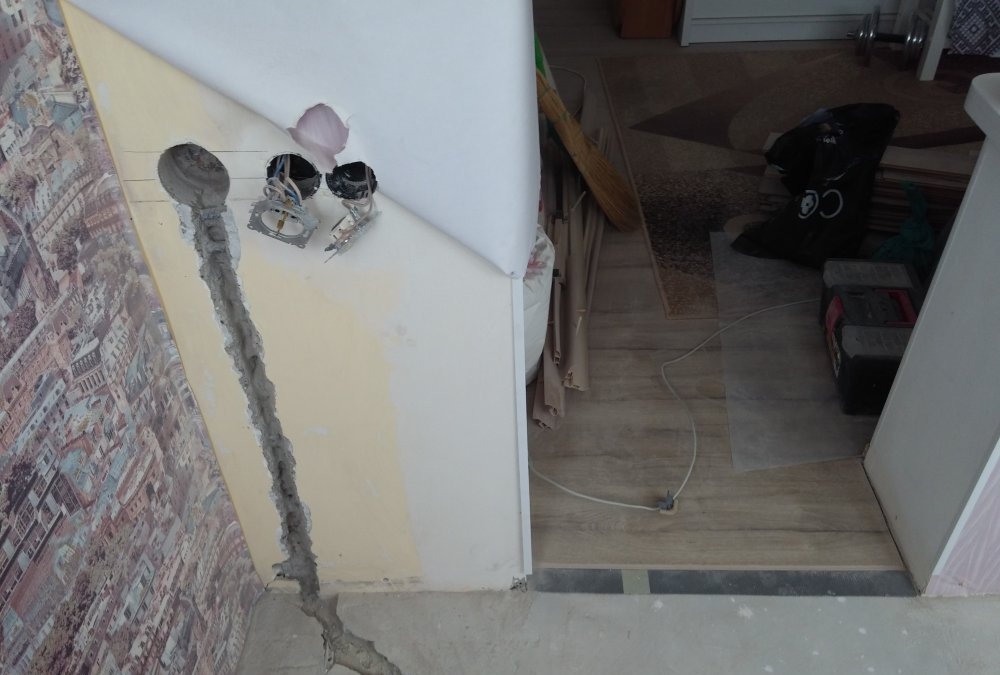
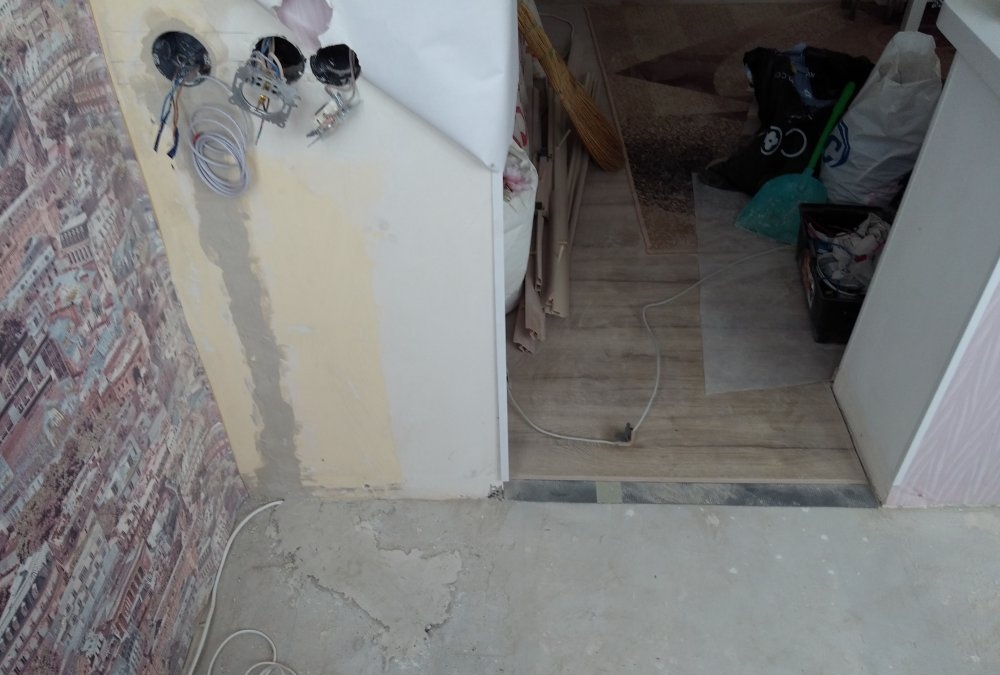
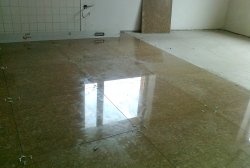
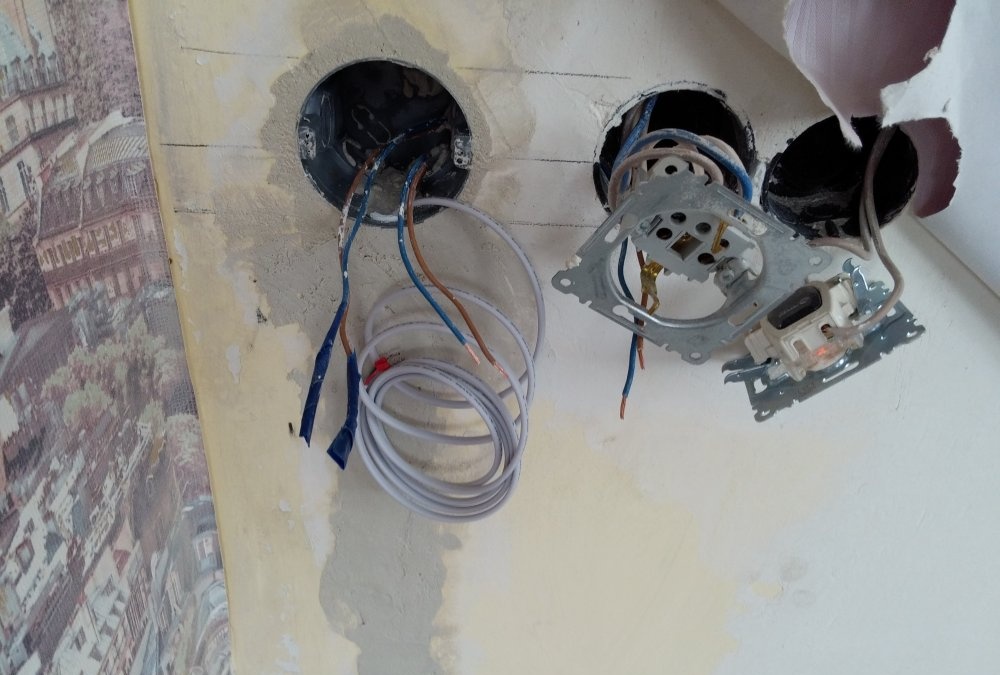
6) Drill a canvas of the required size and a hole for the future thermostat. Connect all necessary wires. To speed up drying, cover the canvas with gypsum plaster.
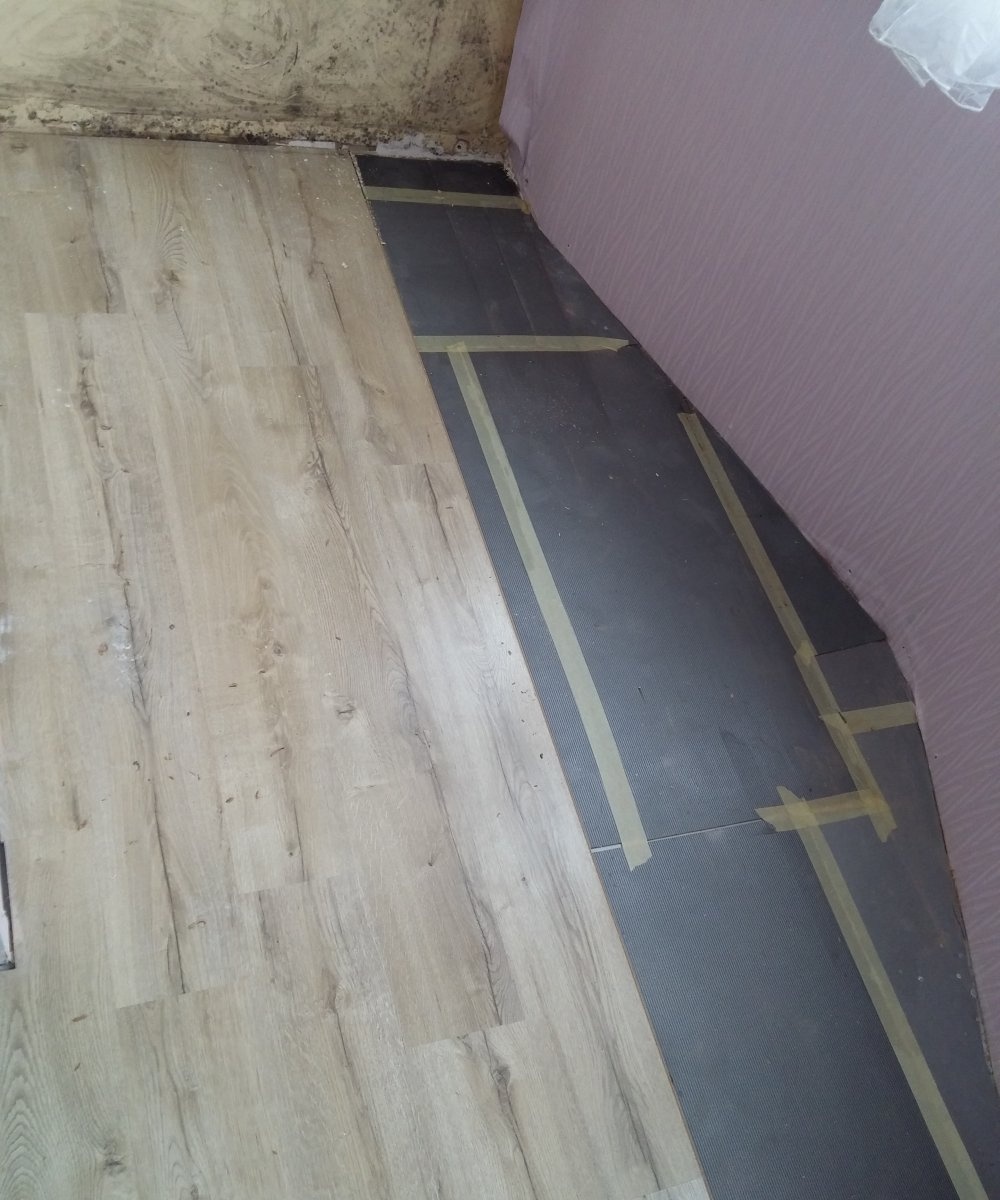
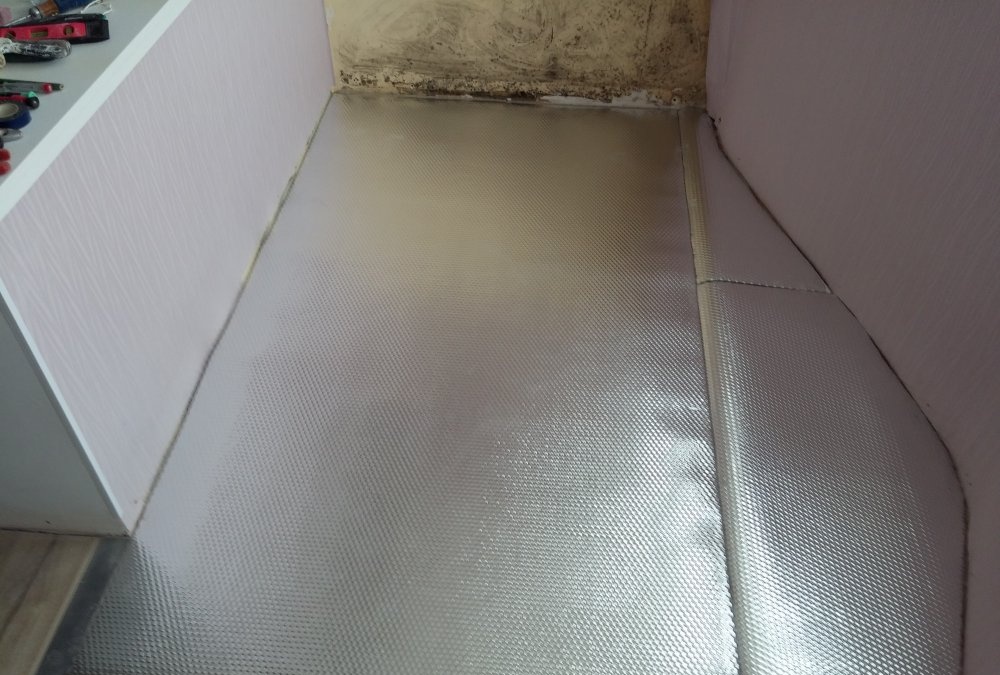
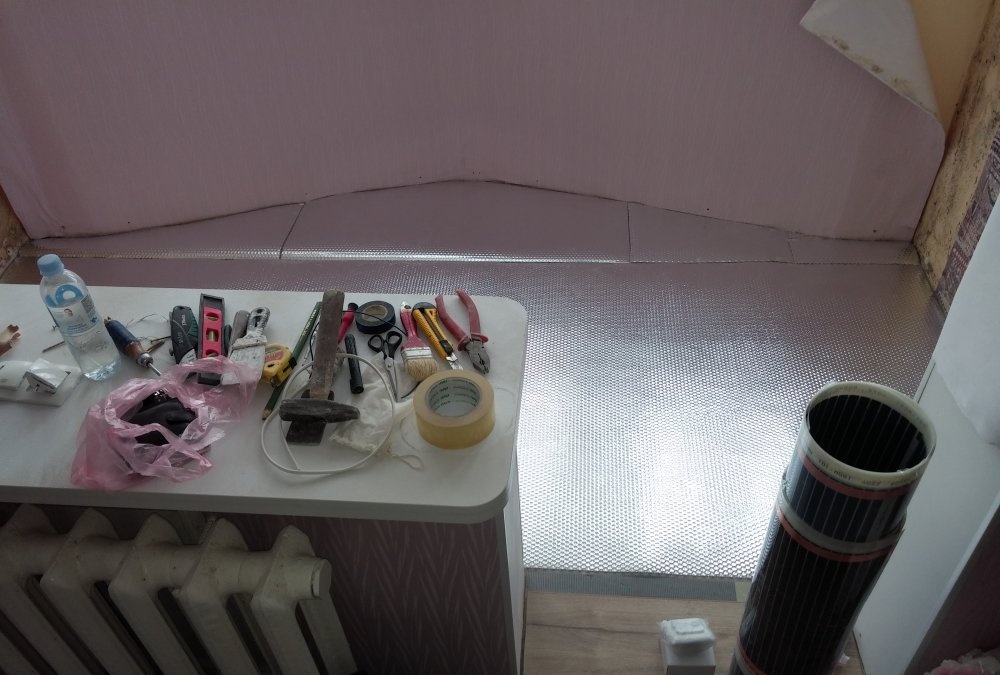
7) Select a specialized underlay for a heated floor, equal in thickness to the previous one. This will prevent the formation of unevenness when laying the laminate back (transition from a thinner substrate to a thicker one). Spread the substrate over the entire free area. If necessary, connect its individual parts with reflective tape.
Installation of infrared film floor

Installation of infrared film floor

Installation of infrared film floor

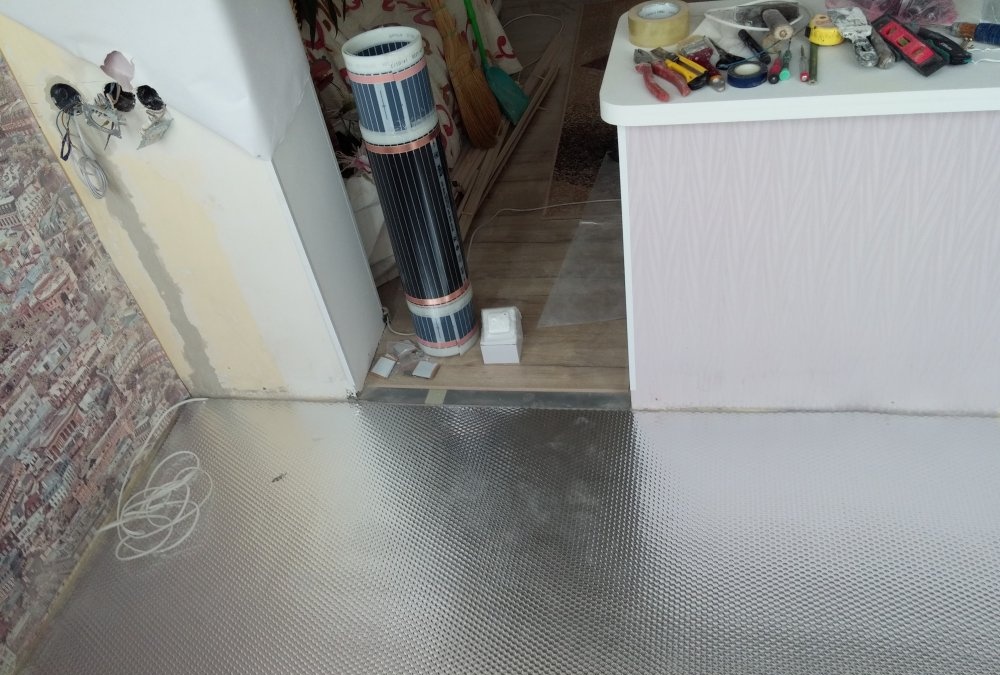
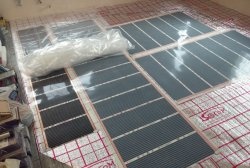
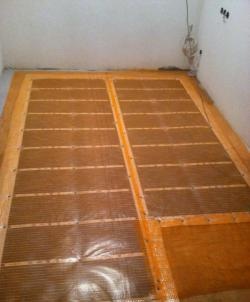
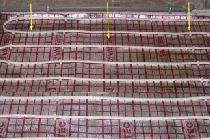
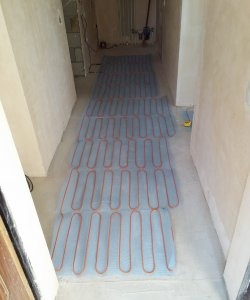
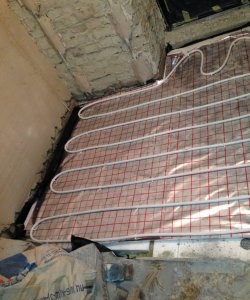
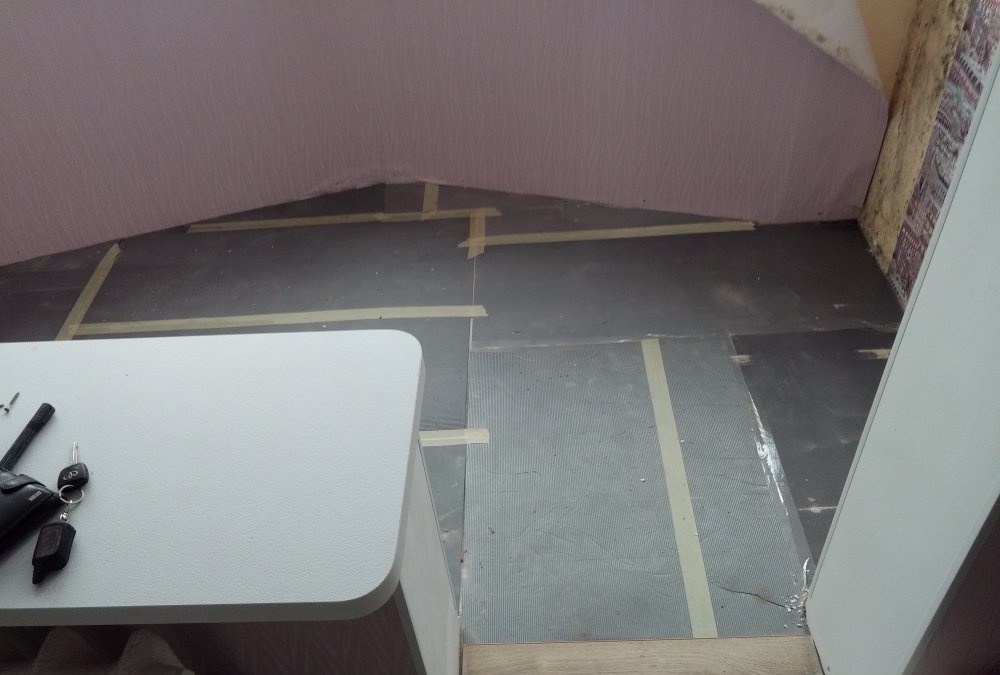
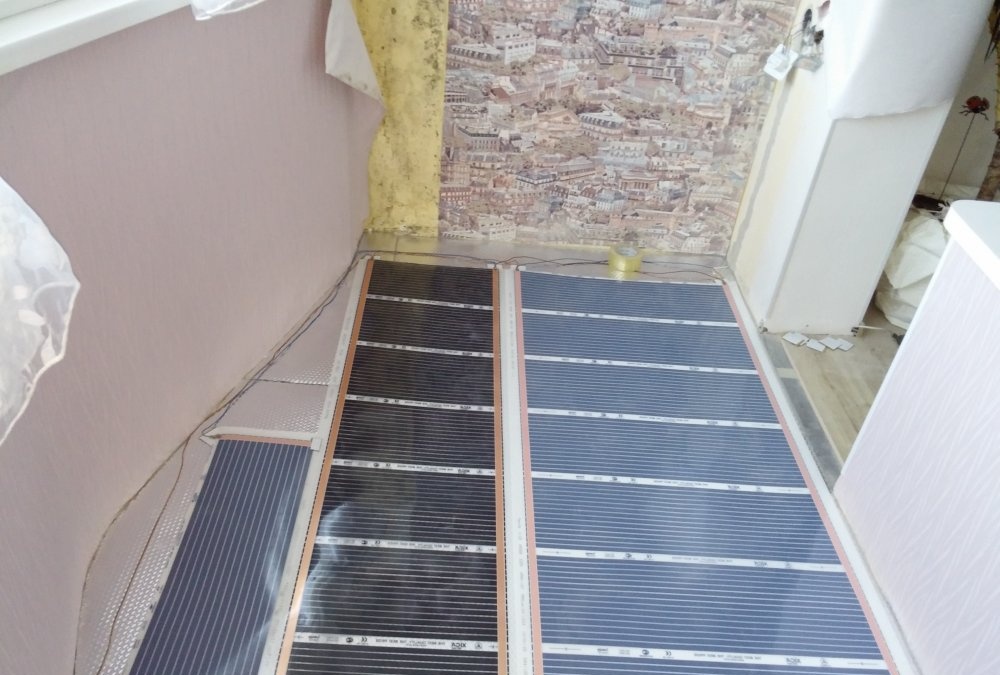
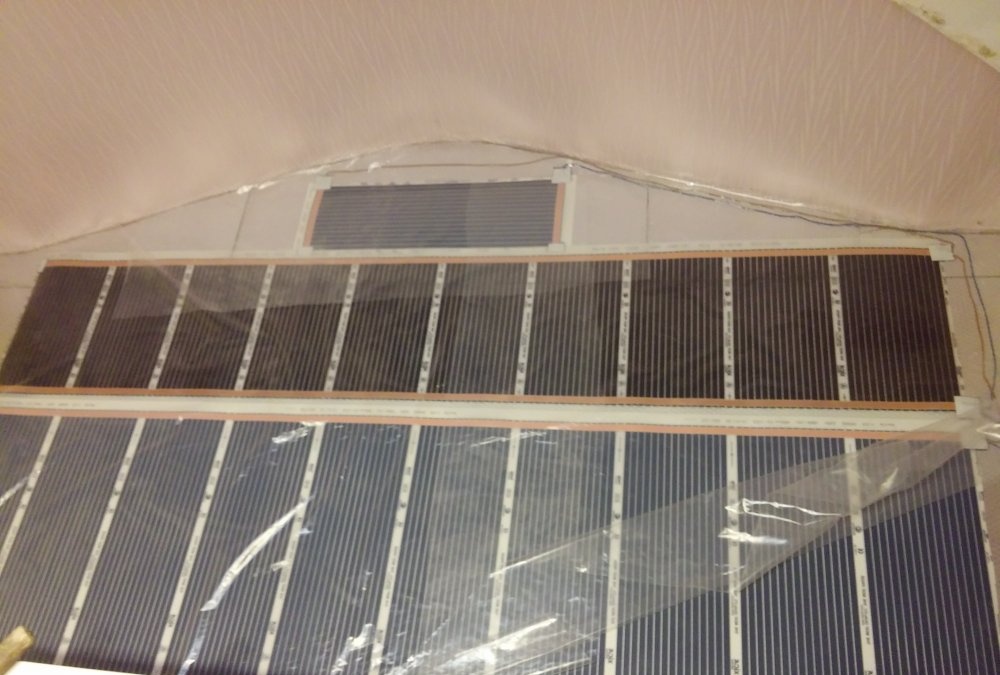
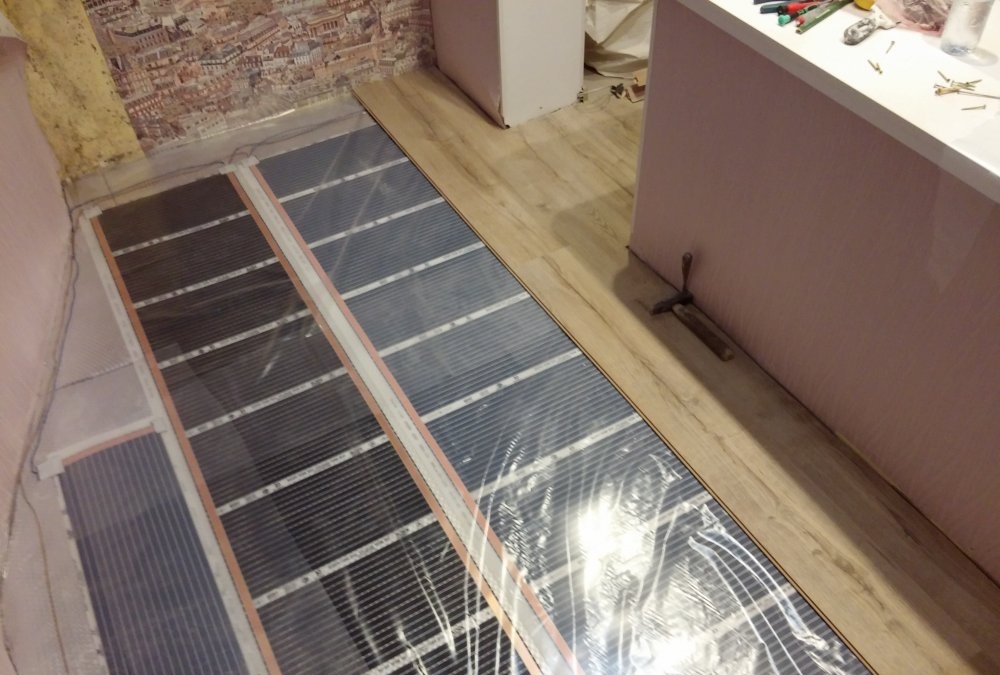
8) Lay strips of infrared captive flooring on the free area of ​​the room according to the instructions.
Installation of infrared film floor

Installation of infrared film floor

Installation of infrared film floor

Installation of infrared film floor

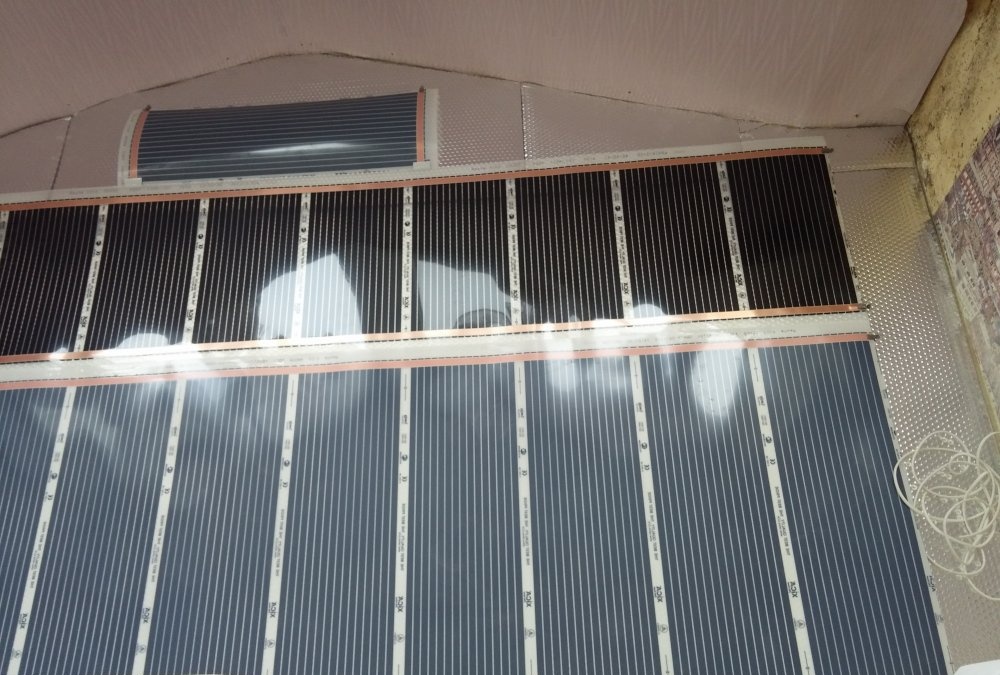
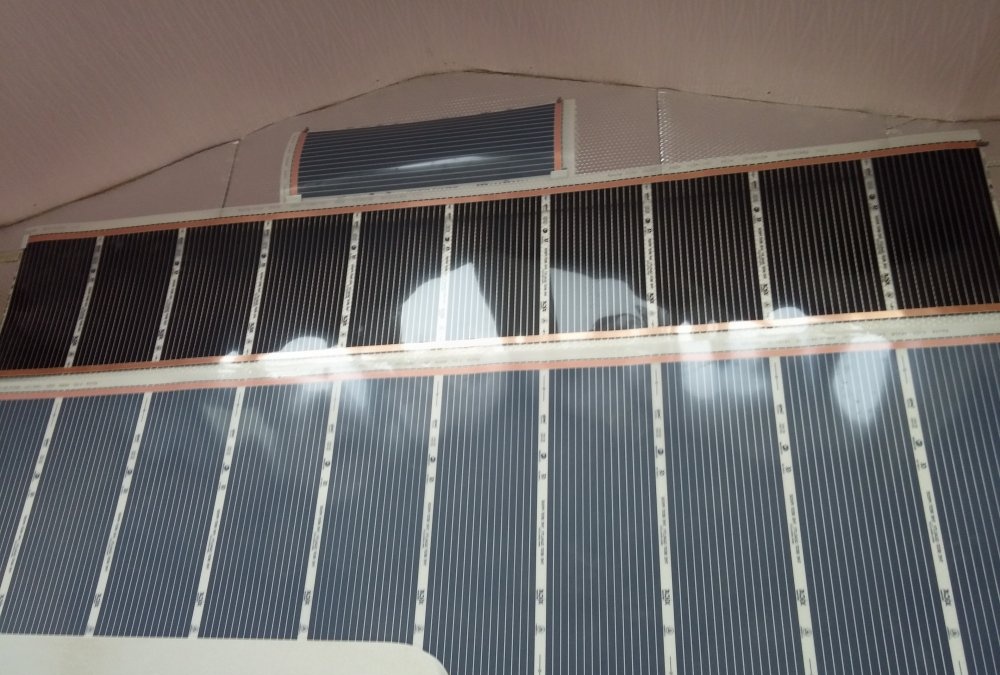
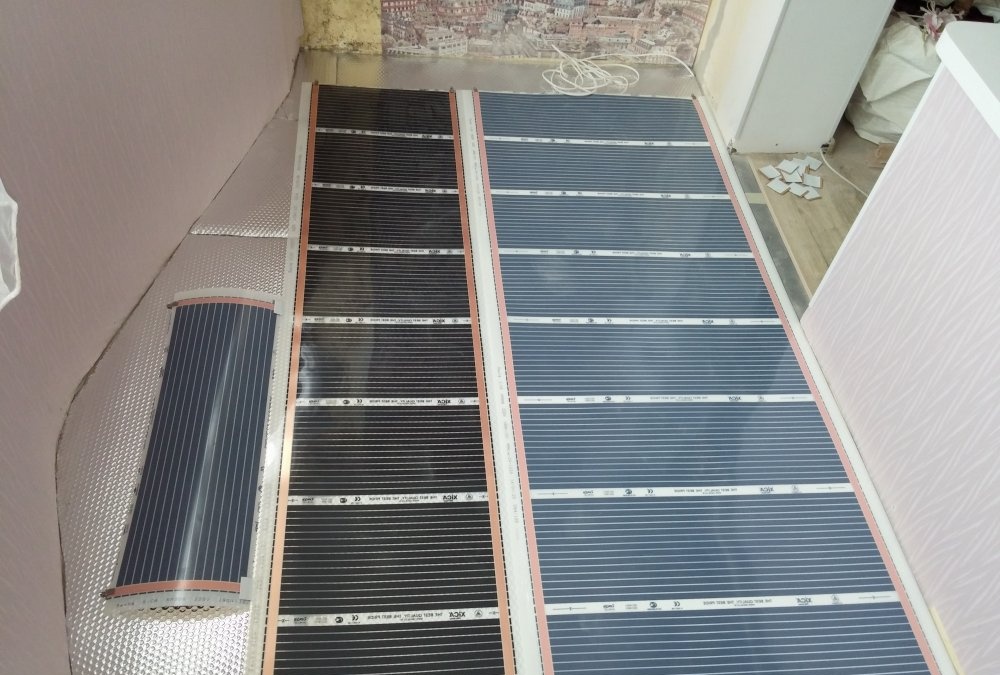
9) Connect all strips to each other using a cable of the appropriate cross-section. The thickness of the cable section in each case is selected individually, based on the total power of the underfloor heating system. Test the functionality of the elements. Each strip should warm up well within 10-15 minutes.
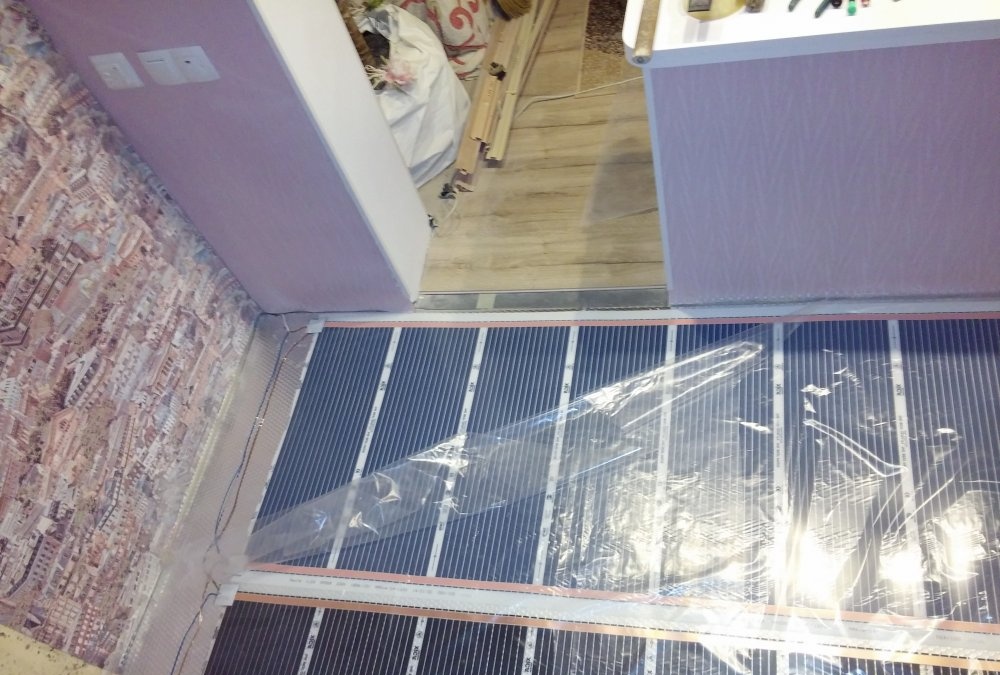
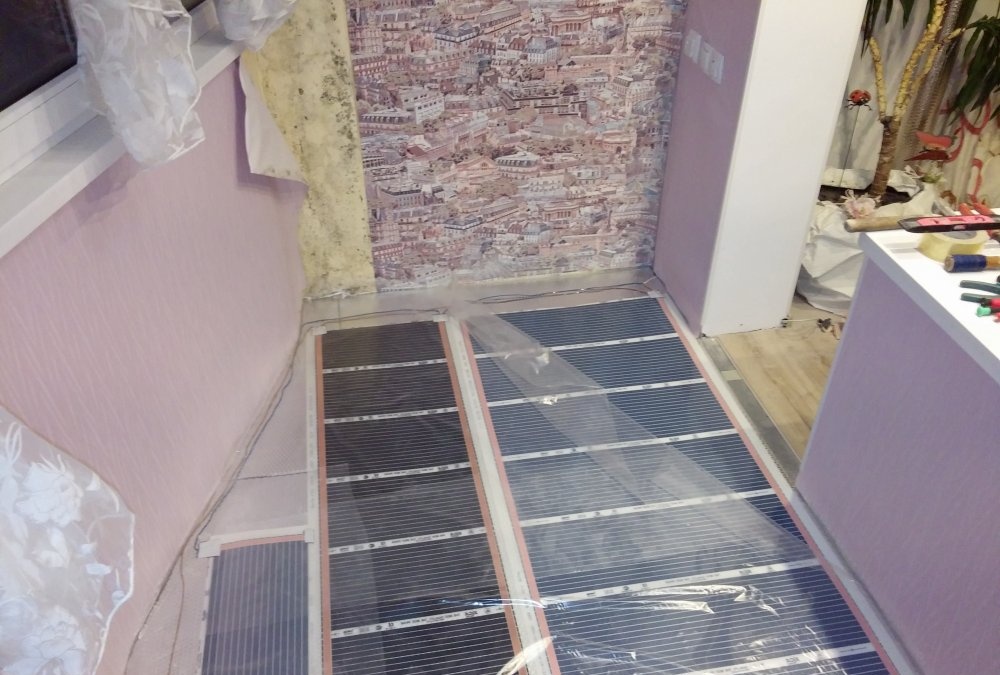
10) To avoid moisture getting on the electrical elements of a heated floor, manufacturers recommend covering it with medium-density polyethylene film.
Installation of infrared film floor

Installation of infrared film floor

Installation of infrared film floor

12) The thermostat is installed according to the attached connection diagram.
Installation of infrared film floor

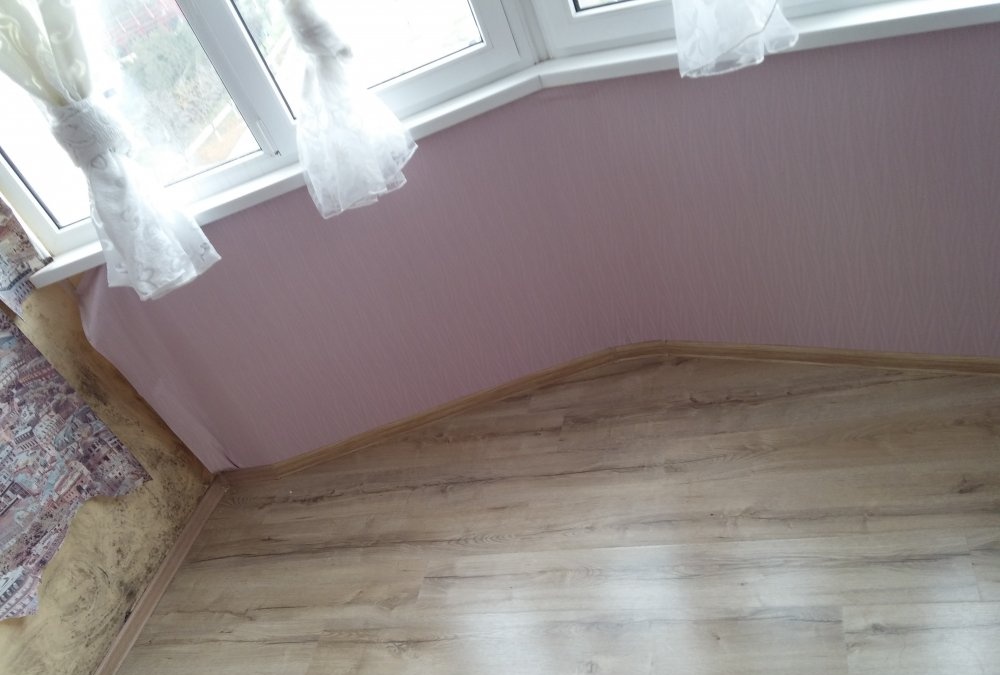
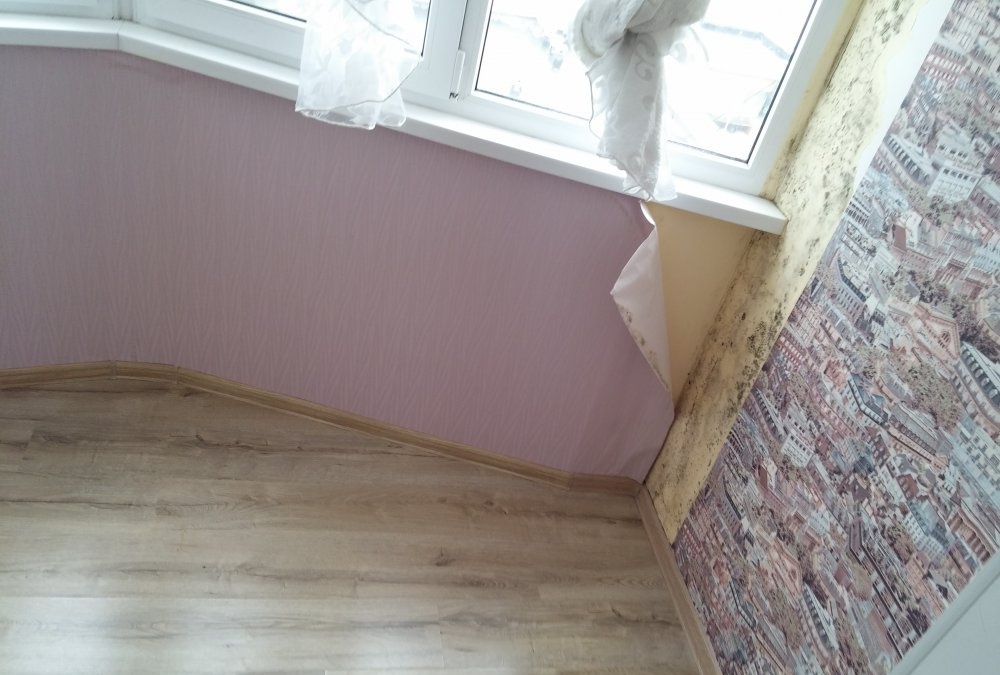
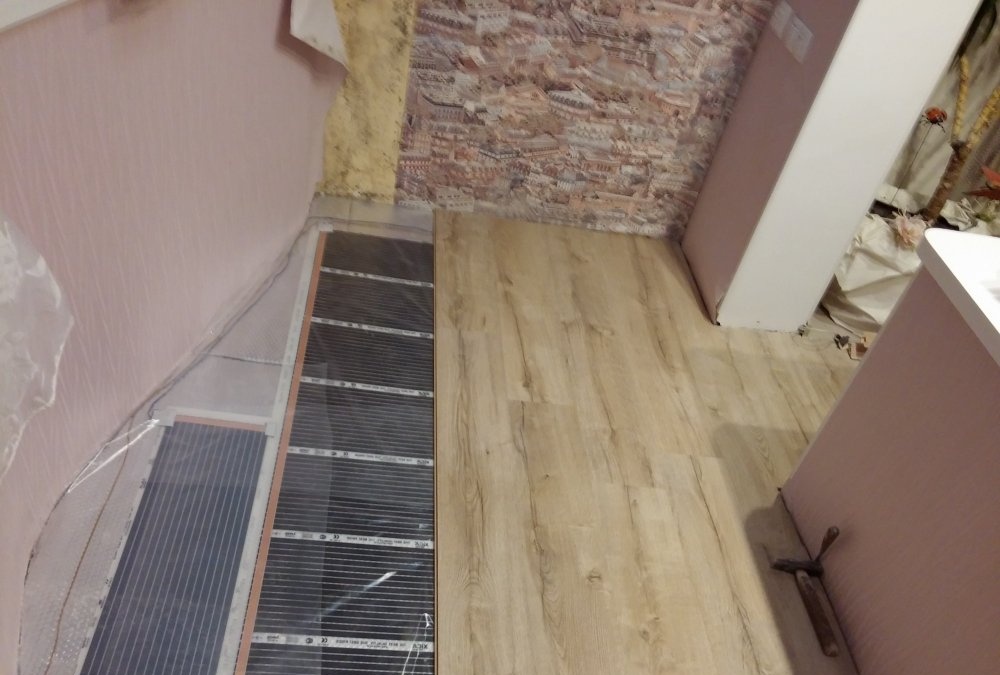
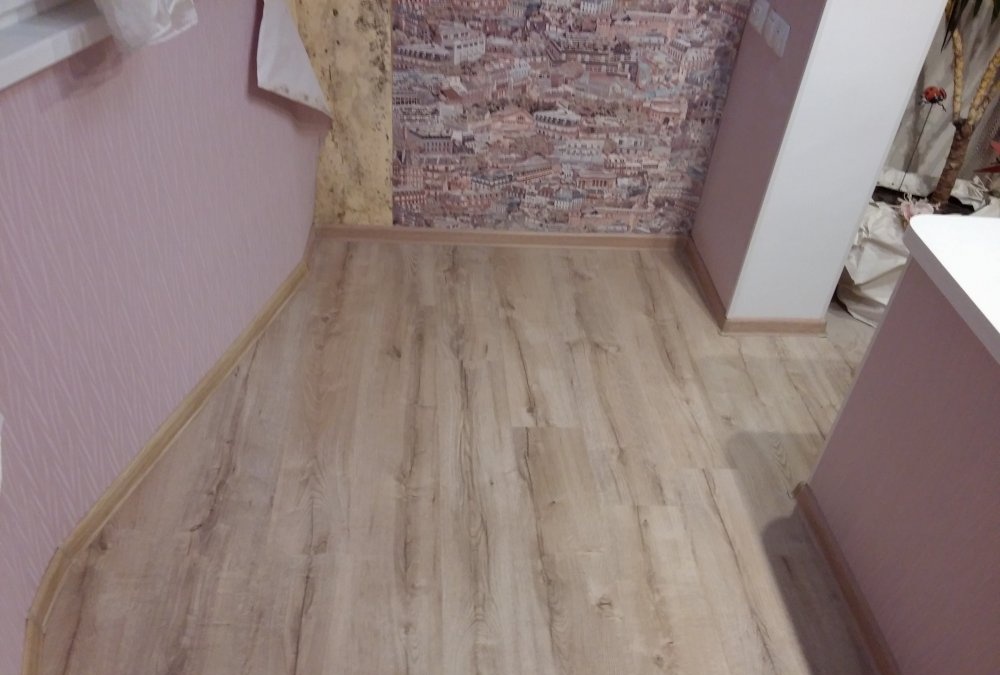
13) After checking the functionality of the heated floor system, you can begin laying the laminate.It is laid according to the standard scheme. At the final stage, install the baseboards.
Installation of infrared film floor

Installation of infrared film floor

Installation of infrared film floor

Installation of infrared film floor

Installation of infrared film floor

Installation of infrared film floor

Installation of infrared film floor

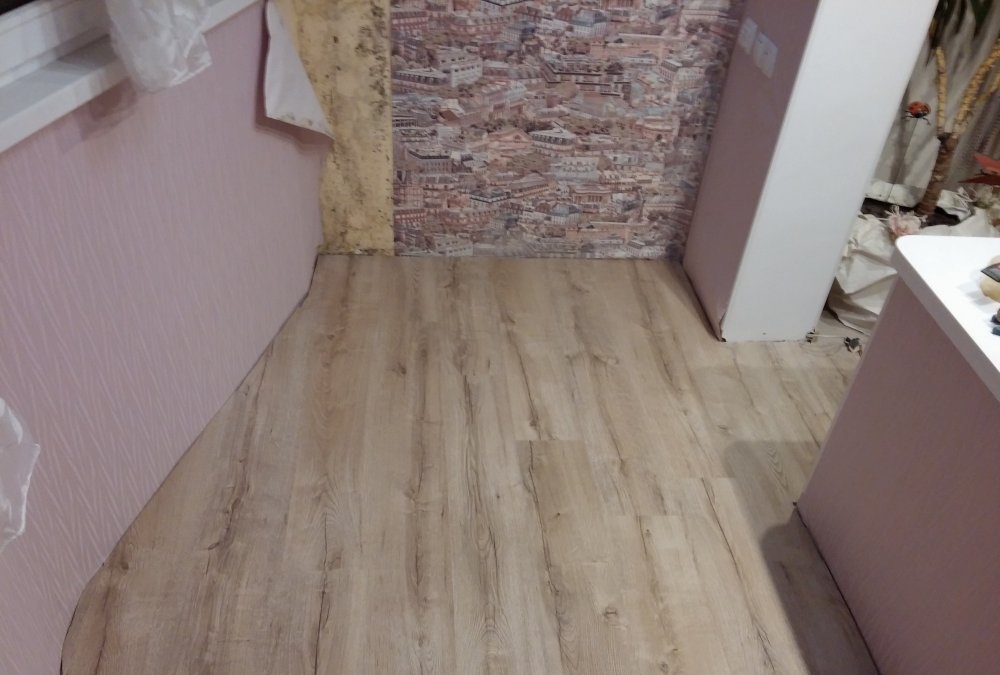
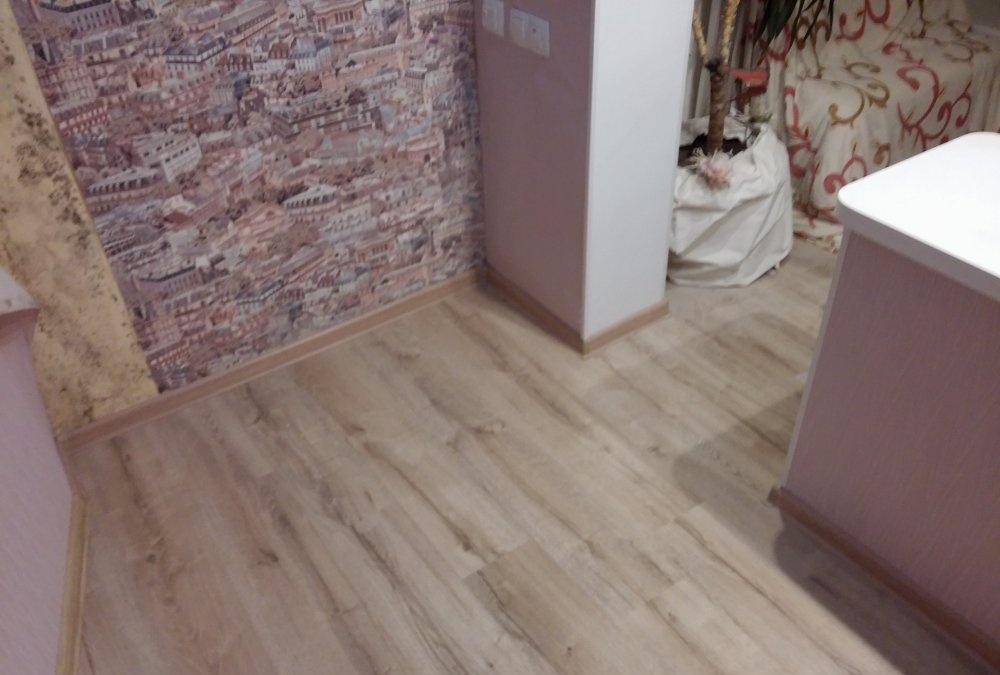
You can fully use the heated floor system immediately after finishing laying the floor covering. Initially, it is recommended to set the temperature on the thermostat above 30 degrees. And after warming up the room to a comfortable temperature (depending on the temperature outside and inside the room, this may take from several hours to several days), switch the thermostat to 23-27 degrees.
come back
Comment
  • bowtiesmilelaughingblushsmileyrelaxed relaxedsmirk
    heart_eyeskissing_heartkissing_closed_eyesflushedrelievedsatisfiedgrin
    winkstuck_out_tongue_winking_eyestuck_out_tongue_closed_eyesgrinningkissingstuck_out_tonguesleeping
    worriedfrowninganguishedopen_mouthgrimacingconfusedhushed
    expressionlessunamusedsweat_smilesweatdisappointed_relievedwearypassive
    disappointedconfoundedfearfulcold_sweatperseverecrysob
    joyastonishedscreamtired_faceangryragetriumph
    sleepyyummasksunglassesdizzy_faceimpsmiling_imp
    neutral_faceno_mouthinnocent
5+two=
Comments (2)
  1. Guest Evgeniy
    #1 Guest Evgeniy Guests November 27, 2017 11:07
    0
    Such a floor is needed for a personal plot, but not at home! In our house we have a central
    heating!
    1. Valentine
      #2 Valentine Guests 27 November 2017 13:15
      0
      Everything is correct! No need to talk. The floor for the balcony is just right! Since you can’t take the battery out onto the balcony, it’s not allowed by law.

The three most reliable ways to connect wires in a junction box

2 life hacks for bimetallic radiators

Papier-mâché Easter egg | Do it yourself

Homemade hydroelectric power station from an old washing machine

«Do it yourself - with your own hands» - a site of interesting homemade products made from scrap materials and items at home. Step-by-step master classes with photos and descriptions, technologies, life hacks - everything a real master or just a craftsman needs for needlework. Crafts of any complexity, a large selection of directions and ideas for creativity.

We recommend reading

Washing machine error codes