We immediately advise starting renovations in new houses after two to three years. During this time, the house will shrink, thus removing excess stress from the ceilings, walls and floors (proof of this is the appearance of cracks).
So, let's get to it.
Before you begin the renovation, you need to have a clear idea of what you want to get in the end, namely, a dedicated kitchen area combined with a room for eating and relaxing. To do this, we recommend inviting specialists with experience in carrying out such work. Also, before starting the repair, you need to agree on all the nuances with the company that will install the kitchen furniture (location and number of sockets, switches, lighting elements, hoods, and so on). When all issues are agreed upon, we begin the repair.
First, we remove the old wallpaper; to simplify this procedure, they should be moistened generously, preferably with warm water and dishwashing detergent (the foam formed in such a solution will not allow the wallpaper to dry quickly, so it will remain damp longer). You should wait about ten minutes and use a spatula to begin removing the wallpaper.
The next step will be the installation of new electrical wiring for sockets and lighting elements.
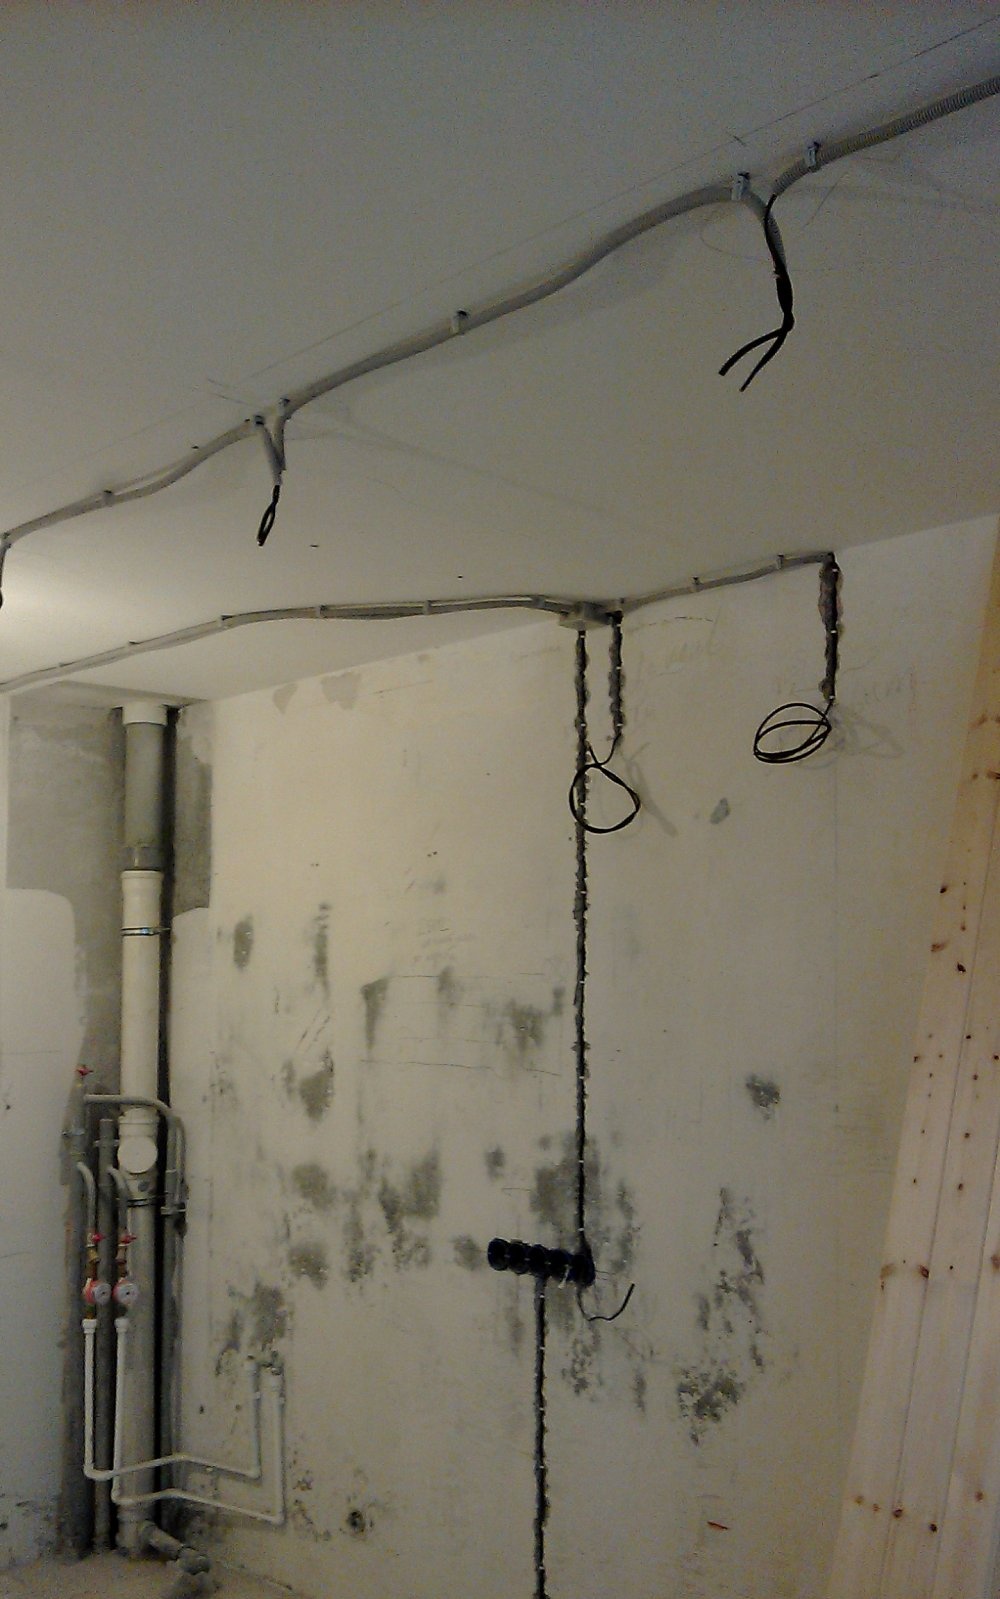
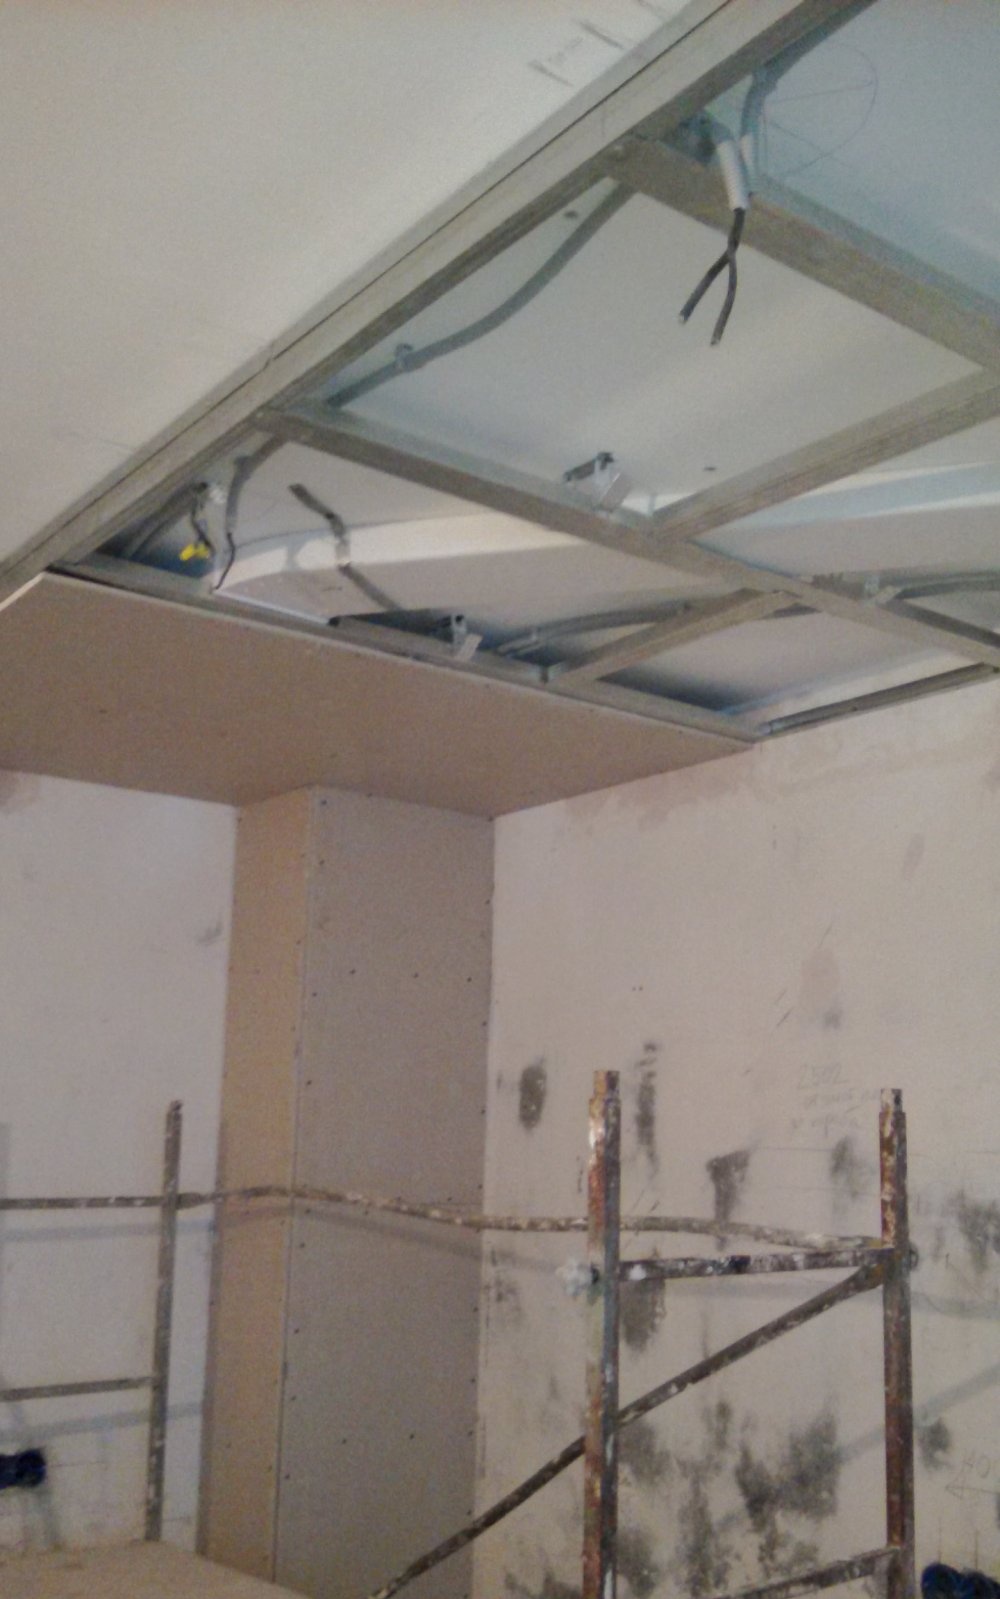
All cables are hidden in the walls, and those that are stretched along the ceiling will be covered with a suspended plasterboard ceiling.
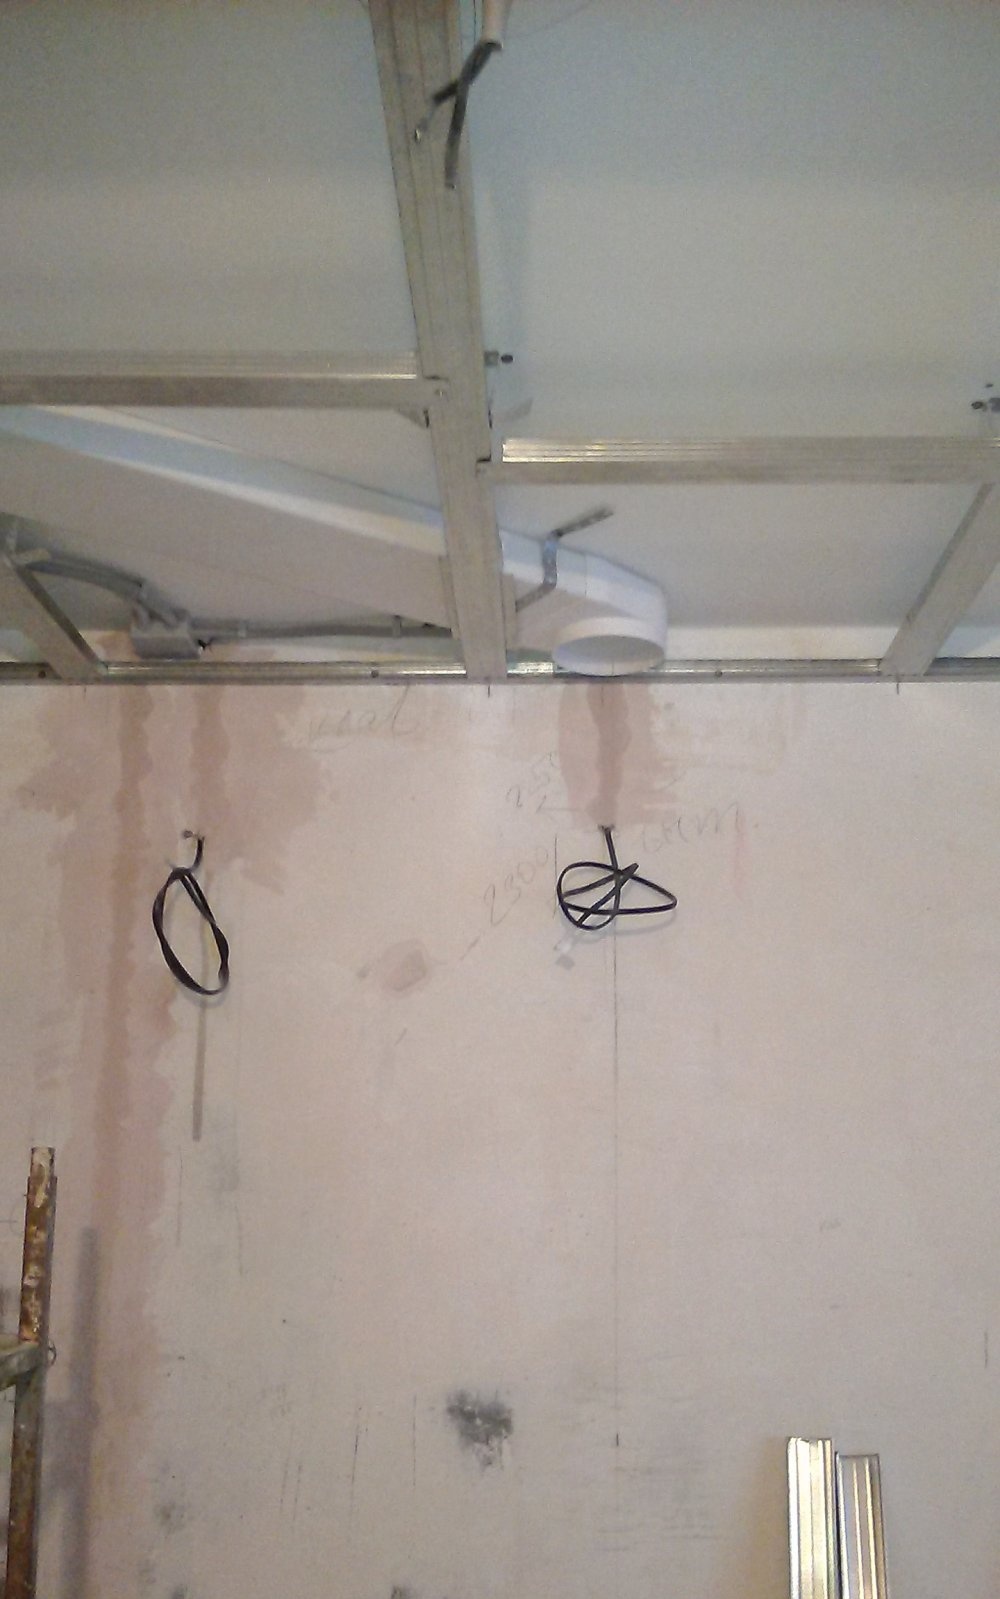
All sewer and water pipes are also covered with a gypsum plasterboard box.
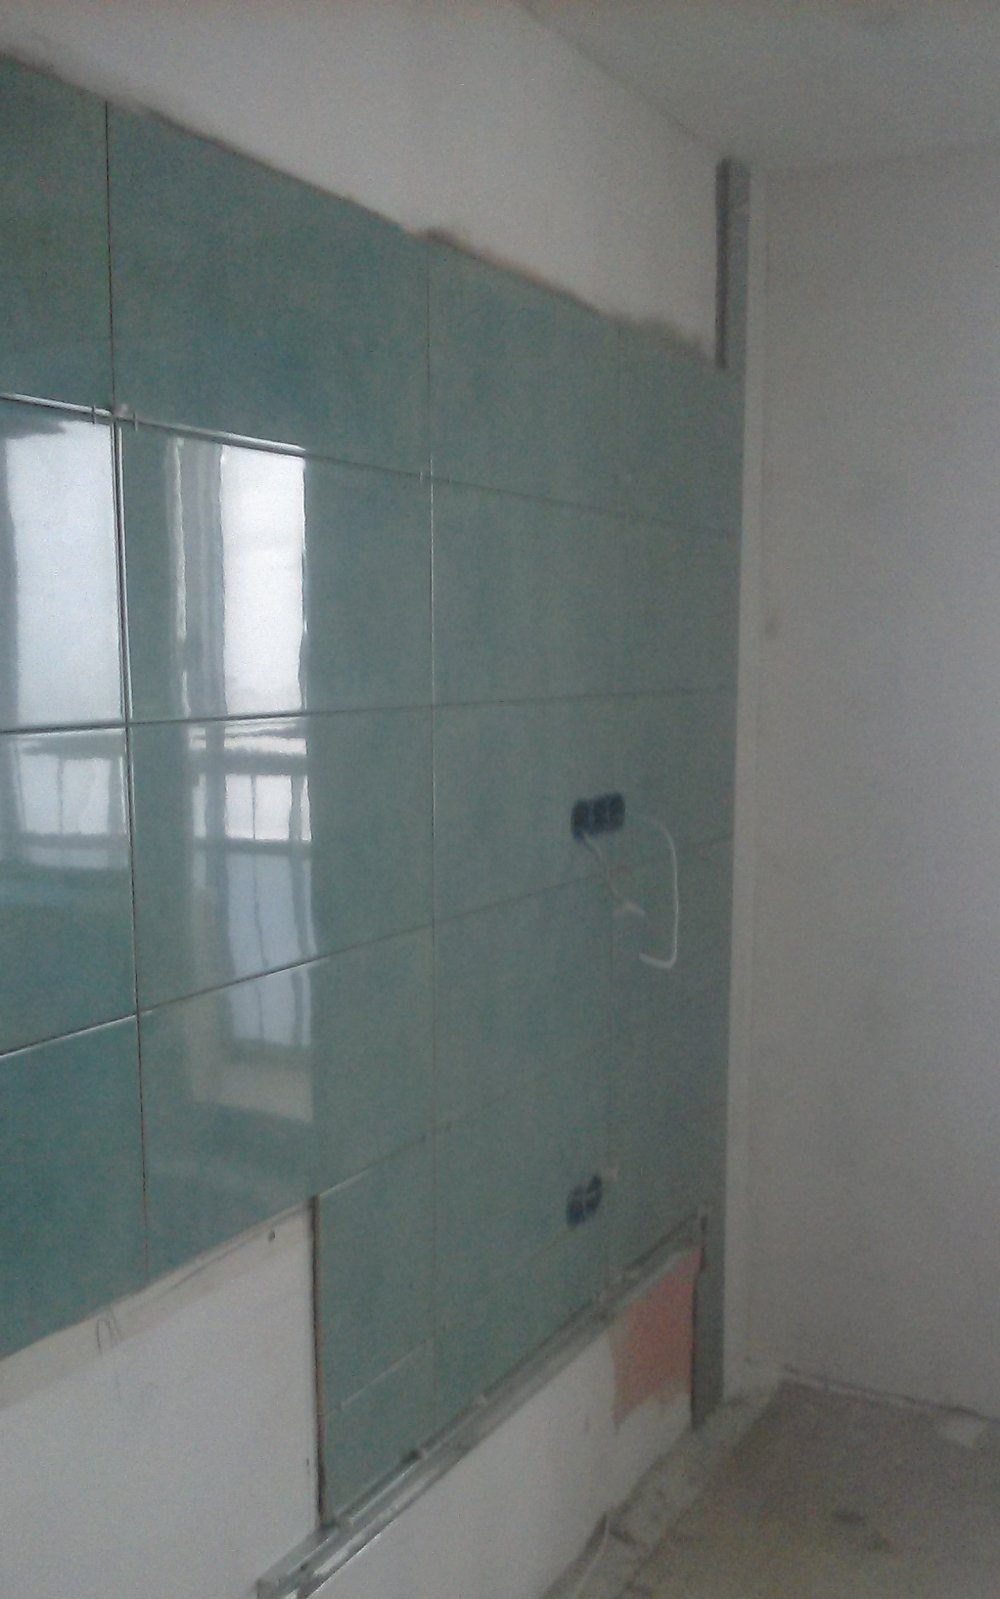
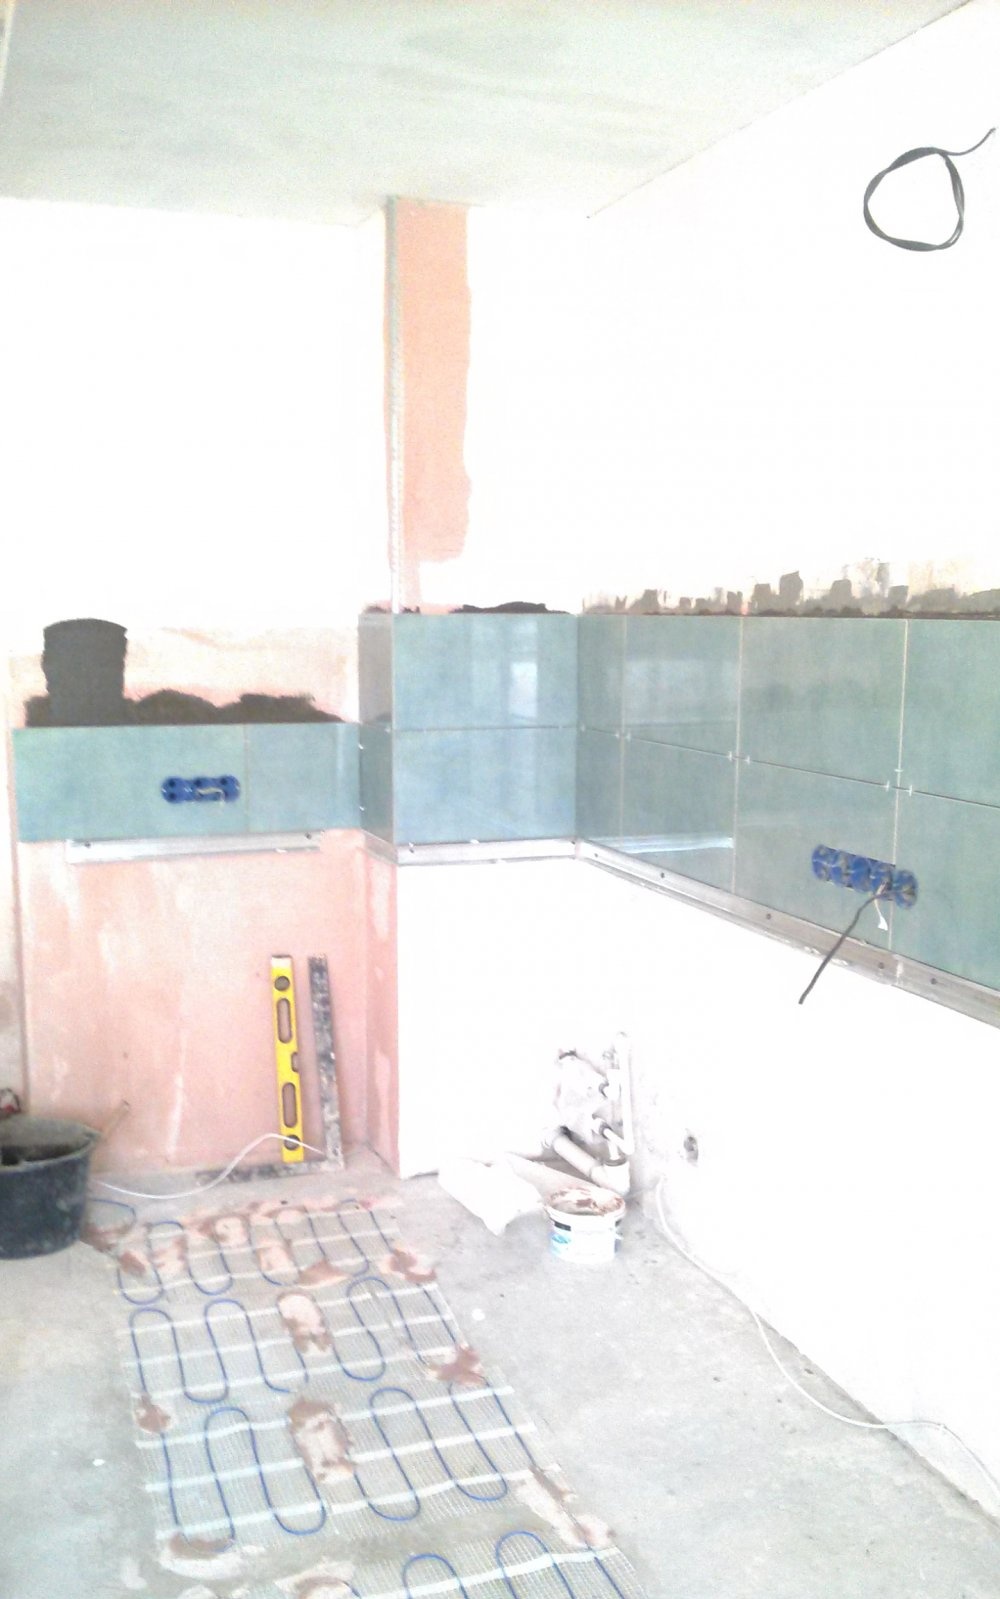
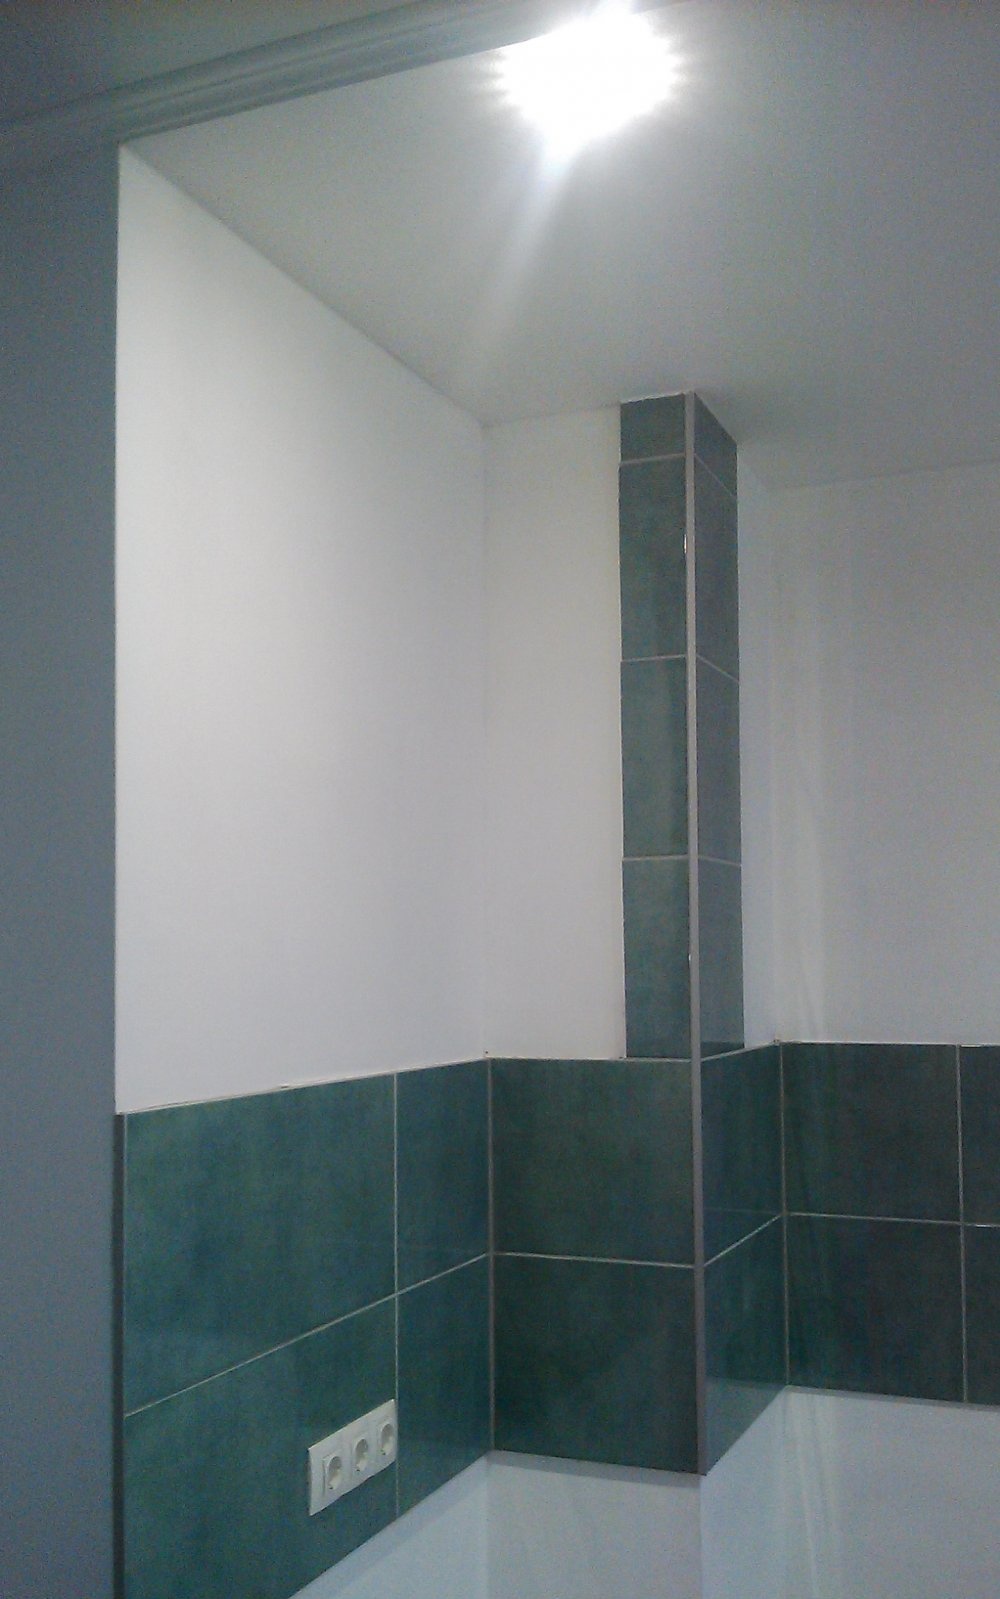
A classic kitchen apron, of course, made of ceramic tiles. Before tiling begins, the walls are primed, then drawn according to the kitchen furniture installation plan, and only then tiled.
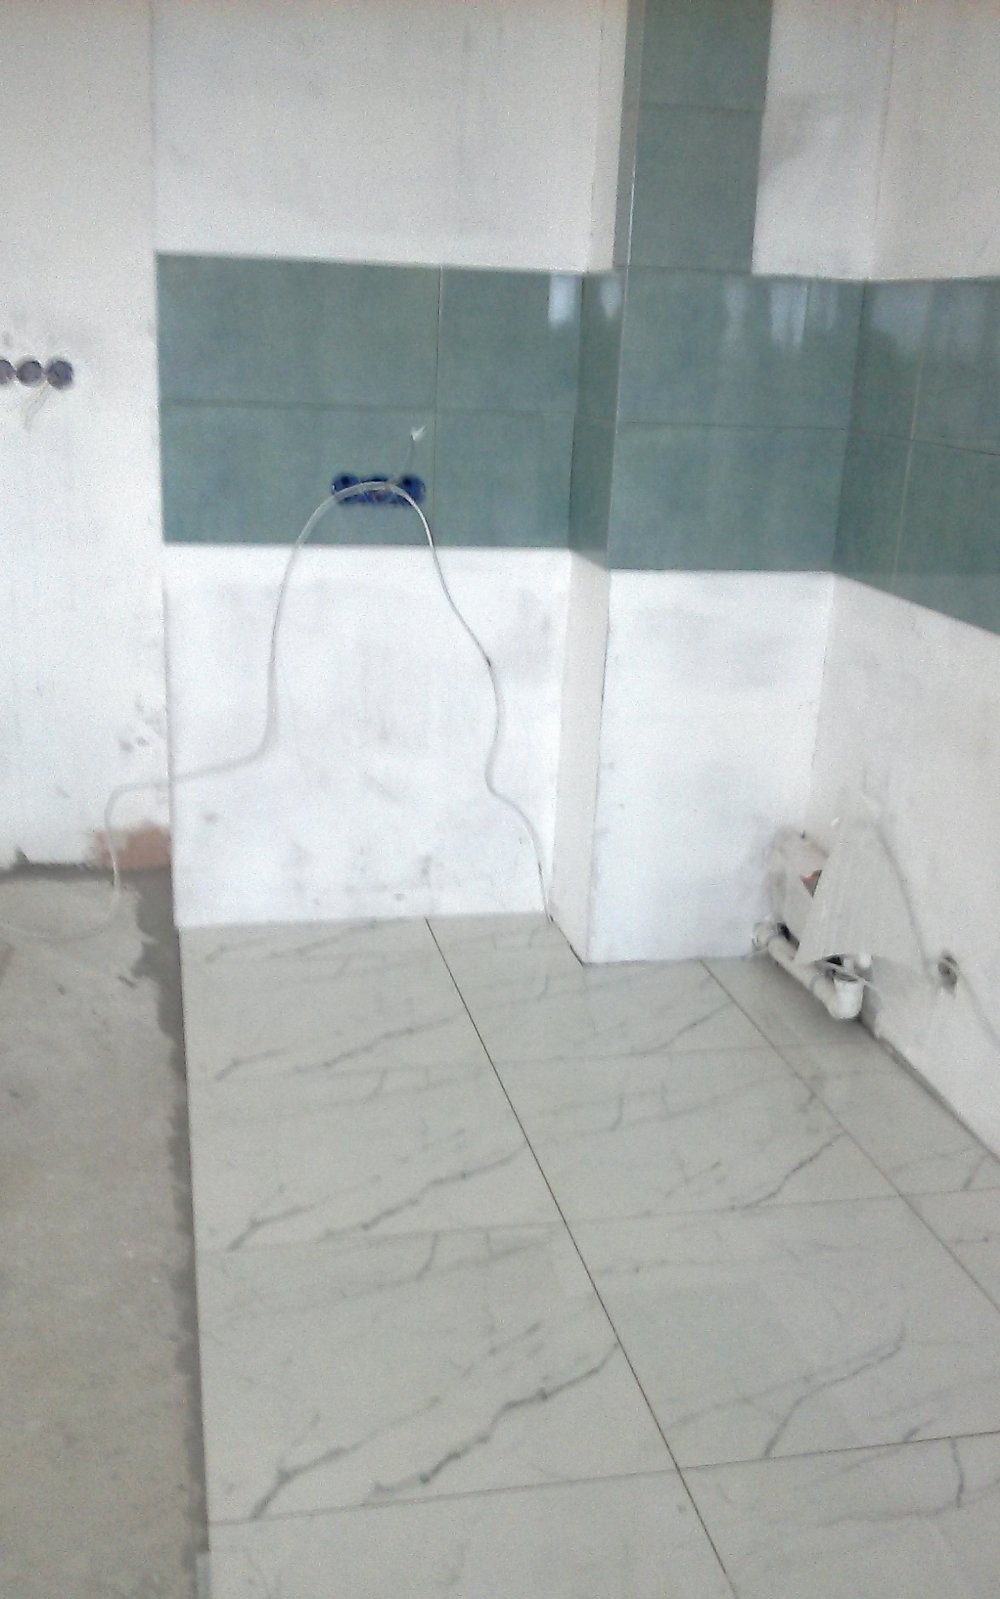
They decided to make the floor of the kitchen area from porcelain stoneware. An excellent choice, but this is a cold material in itself and for greater comfort it is better to install a warm floor under the tiles.
After completing the laying of the floor tiles, we begin work on wallpapering the walls.
In this case, for painting.
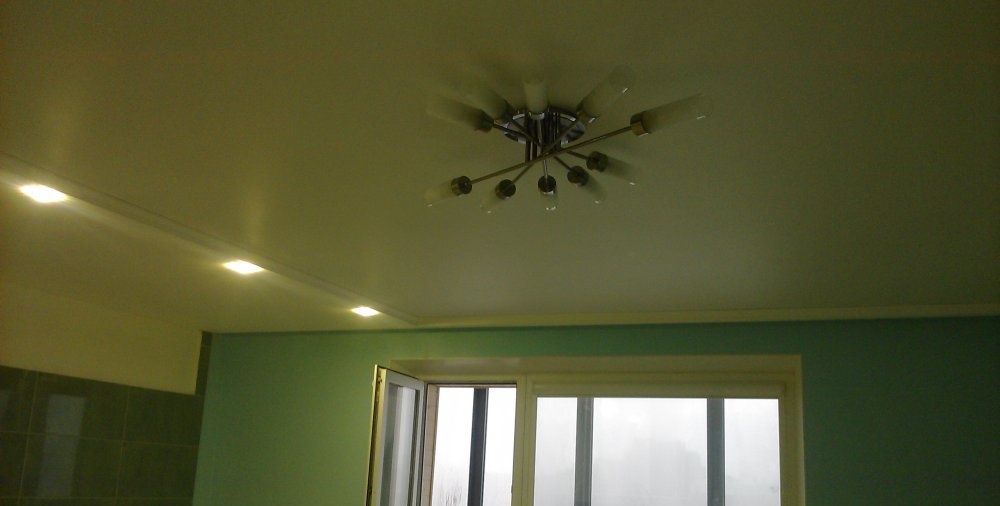
The walls are leveled with putty, primed and... it’s time to install the suspended ceiling in the recreation area with the further connection of the chandelier. Only after this work is the wallpaper pasted on the walls and the next day painted twice (in this case with water-based paint). The suspended ceiling of the kitchen area is also painted, only white, and lighting elements are installed in it.
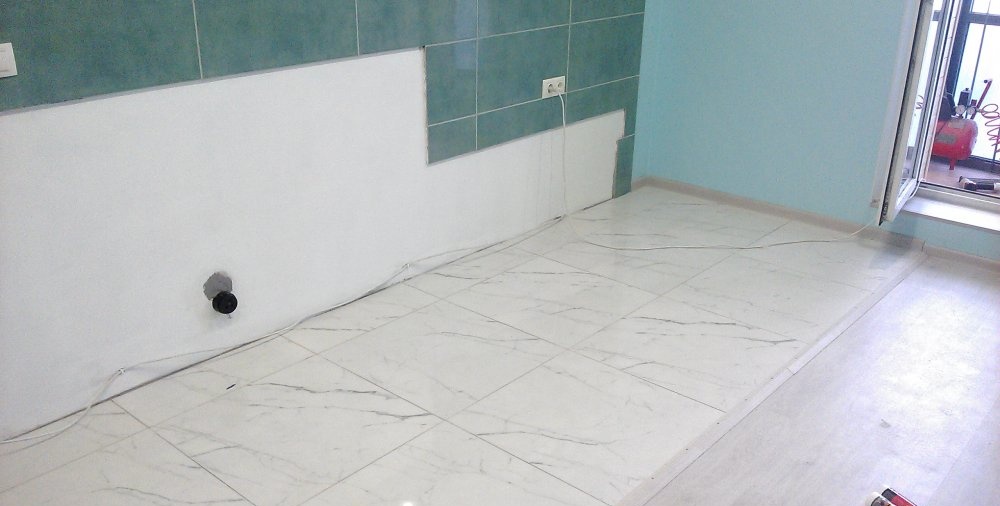
All that remains is to lay laminate flooring on the floor of the recreation area. It is recommended that before starting work, thoroughly clean the base of the floor from debris and dust and thoroughly cover it with deep penetration soil. Next, laminate flooring and installation of floor skirting boards are carried out.
It seems that all the work has been completed, but one problem has emerged...., the level of the tiled floor turned out to be higher than the level of the laminate. All this can be solved by installing a metal threshold between multi-level floors.
That's it, in the end we got a fresh, modern room, ready for installation of kitchen furniture.

Do not forget that the execution of renovation work has its own sequence. Typically finishing work is carried out from top to bottom (ceiling, walls, floor), meaning that all preparatory work has already been completed.
This way you will avoid mistakes and unnecessary work.