When it comes to renovation, the question undoubtedly arises: will the old one fit? furniture for a new interior? And the answer is not always positive. Old furniture can be quite good and suit everyone, but it doesn’t match the color scheme at all. And sometimes you just want to update the color. In this article I want to tell you how you can update your kitchen set with the least amount of money, time and effort. By the way, there are many different ways to update the facades of cabinet furniture:
- - you can order new facade doors (this will be much cheaper than new furniture, and there will be less work involved in installation and measurements);
- - you can buy self-adhesive film for furniture facades;
- - can be done decoupage;
- - and you can paint it.
It’s actually the last option that we’ll be talking about - for me it seemed the least expensive.
Let's start with the fact that there is nothing complicated about this, the main thing is to have the desire. In my case, after buying an apartment, I left the kitchen furniture from the old owners. The set is from Soviet times, but quite well preserved.And since purchasing an apartment is already a very expensive undertaking, I decided to leave everything as it is and just change the color and revive what in my opinion is a boring facade.
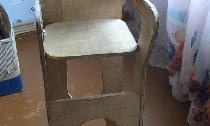
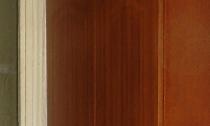
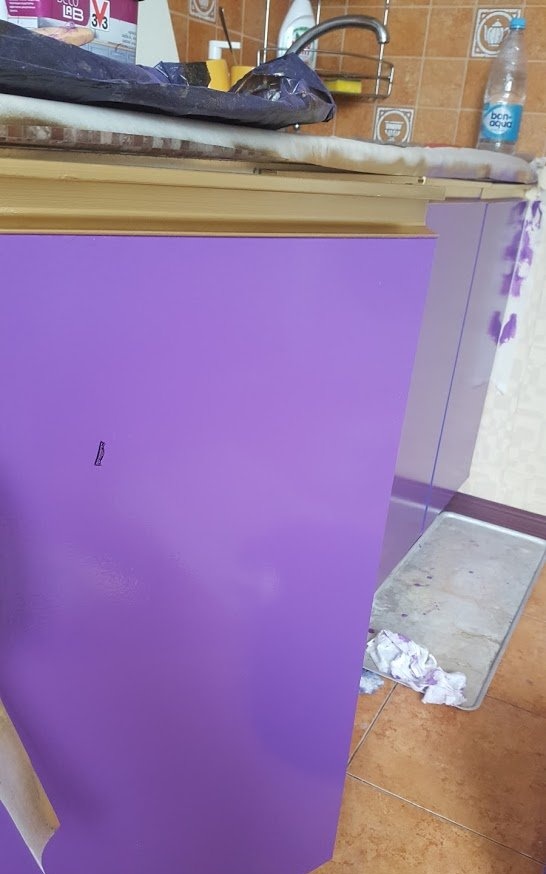
Here's what happened before:
First we need to calculate how much area we will paint. To do this, measure the width, height and multiply one by the other. I didn’t set out to make an exact calculation; I needed to know approximately the area in order to buy the right amount of paint. I painted on one side. If you are going to do this on both sides, then multiply the previously obtained result by 2. But in order to paint on both sides, you need to remove all the doors, otherwise you won’t be able to paint it well. I had no time to do this, so I chose a simpler option - to paint only the facade. For this, one jar was enough for me. (see photo)
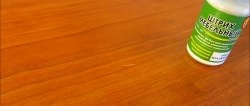
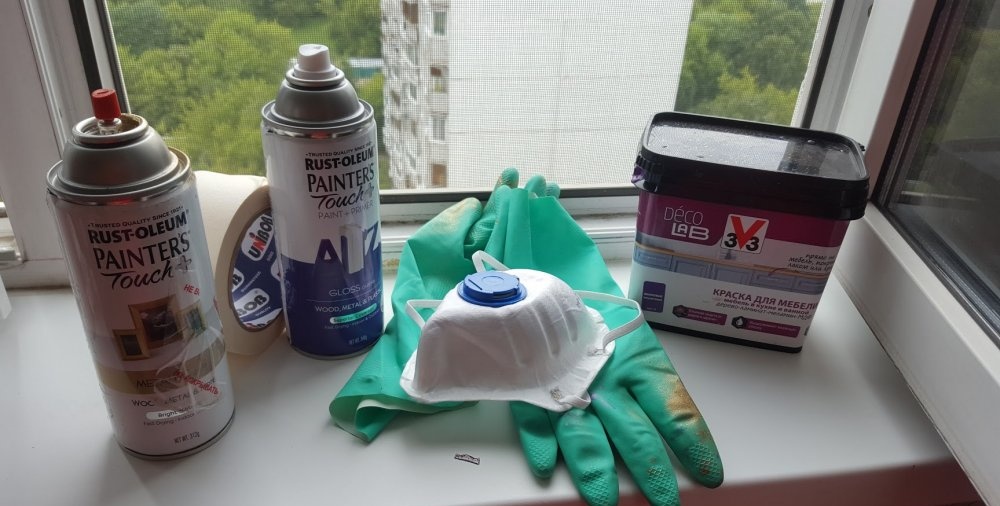
As for furniture paint, there are a huge number of it in stores from different manufacturers and with different compositions. There are also paints in spray cans, but I didn’t use them to paint such areas indoors. I took the spray can to paint the handles on the doors. And for the façade I liked acrylic paint; this paint is odorless and dries quite quickly. The color is violet, semi-matte. The paint applies to varnished, painted and laminated surfaces. In order to spend less time, I chose a paint that does not require special surface preparation - sanding. Here it is enough to wash the surface well and degrease with soda.
To work you will need:
- - dye;
- - gloves;
- - roller;
- - brushes;
- - cuvette (tray for roller);
- - masking tape;
- - mask (I used a mask when I spray-painted my pens).
So, after everything is ready to go, the color has been chosen, everything you need has been purchased, then you can get started. To begin, cover the floor with newspapers, polyethylene or stretch film. Next we will prepare the surface. When buying paint, you need to pay attention to what surface it is intended for. Many paints require preliminary sanding of the surface; this option was not suitable for me, since I planned to work without outside help in the shortest possible time.
As it is written in the instructions for the paint, you need to wash the surface well, let it dry and then wipe everything with a solution of soda. This is necessary in order to degrease the surface and ensure better adhesion of the paint to the surface. Therefore, this point cannot be neglected, otherwise all the work will be in vain; the paint may simply not lie evenly on the surface or may peel off during the application of the second layer.
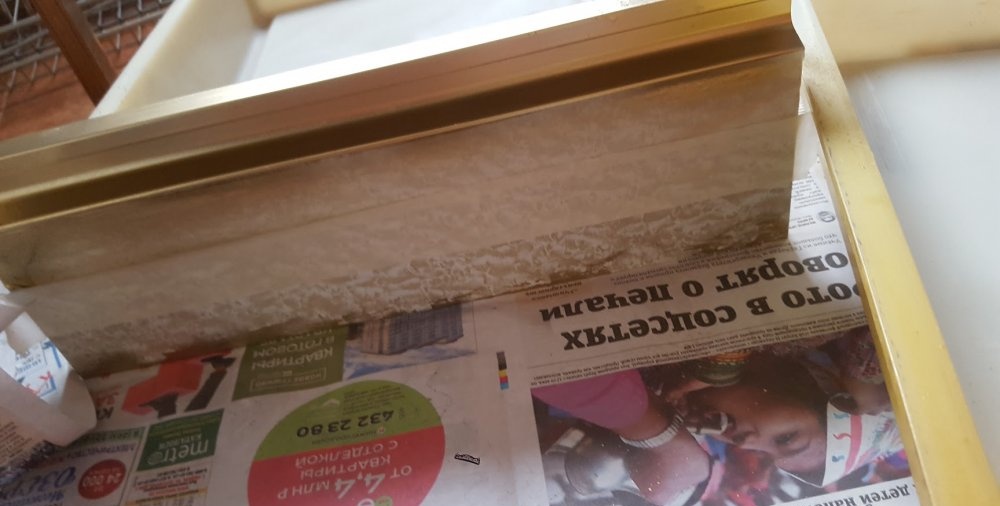
After everything is thoroughly washed, we take out all the drawers, if any. We put them directly on newspaper or polyethylene, we’ll return to them a little later. If there are fittings that can be unscrewed, then we unscrew them, otherwise it will be very inconvenient to paint the facade. In my case, the handles are located at the bottom of the doors along their entire length, and they are not removable.
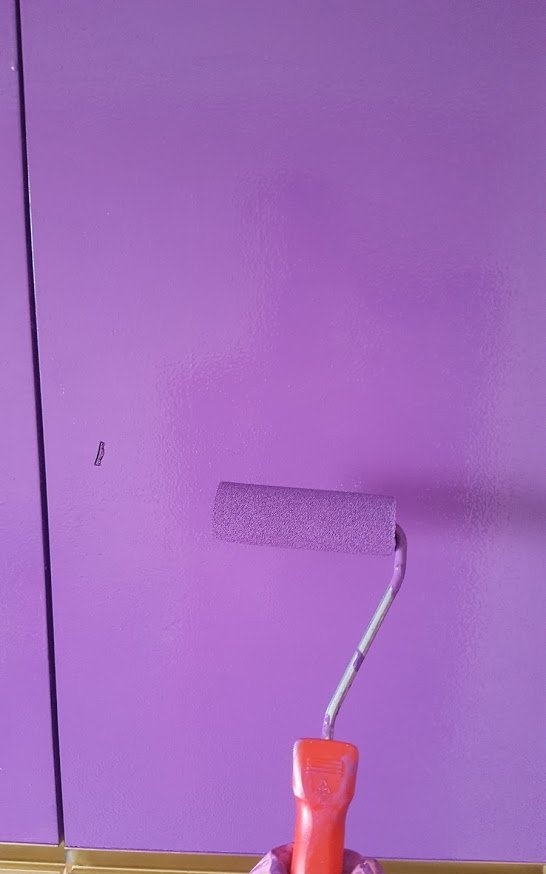
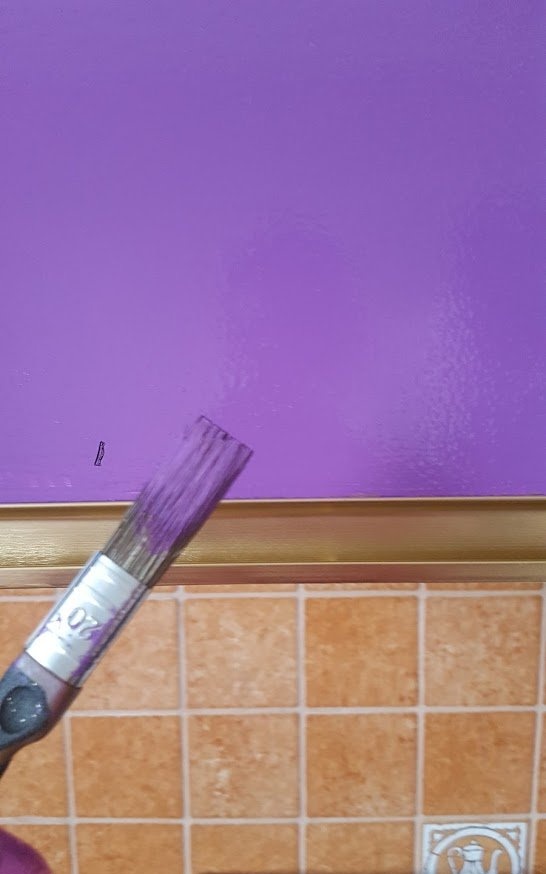
I painted it with a roller. It is easier to apply paint with a roller to flat surfaces, and the paint applies more evenly. But the edges will have to be finished with a brush.
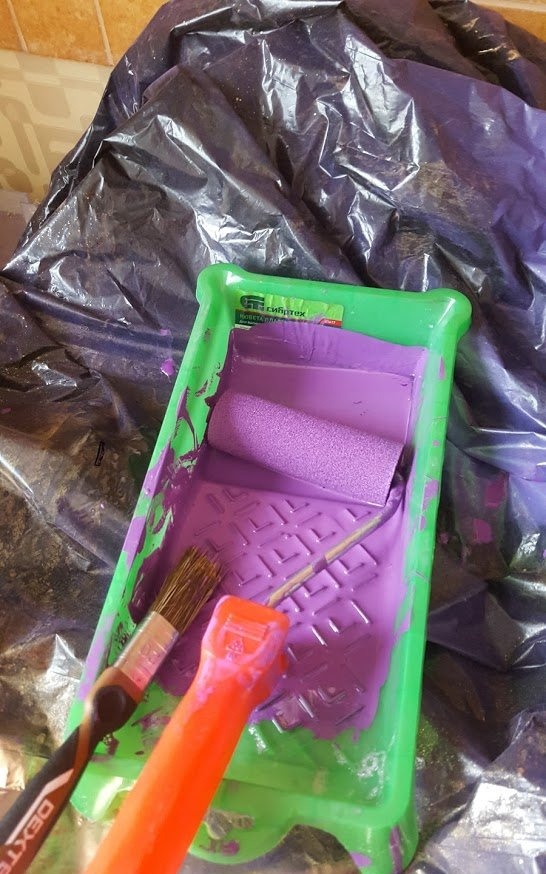
Of course, one layer is not enough. The instructions for my paint said to wait 12 hours before applying the second coat, so I wasn't finished in one day.
In order to save time while the doors were drying, I painted the handles. If the handles are removable, then it’s better, but due to the fact that the handles are not removable, I had to wait a couple of hours until the paint dried and stopped sticking.I spray painted the handles. The surface has a complex shape - and it is extremely inconvenient to paint with a brush, and I have not found a gold color in any other form.
Before you start spray painting, you need to cover the boundaries of the surface to be painted with masking tape. It is advisable to wear a mask, because small particles fly away, and since we work indoors, this is even mandatory.
We spray the paint holding the can vertically at a distance of about 20 centimeters.
If the fittings are removable, the process is simplified by placing the handles on film or bags and spraying paint. One layer is enough.
Now you can return to the boxes. We also use masking tape to define the boundaries.
When preparing the drawers for painting, I decided to paint the handles first, since it turned out that spray paint dries much faster and therefore I can start painting the main surface almost immediately.
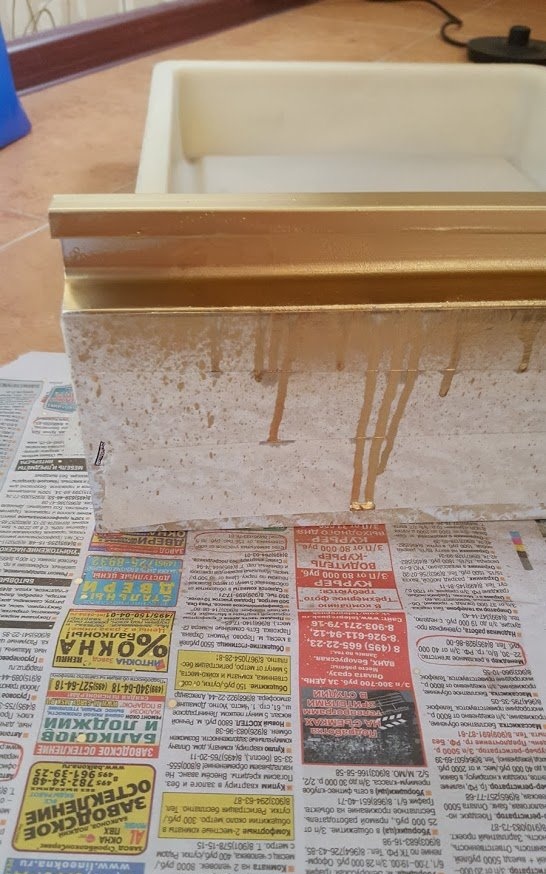
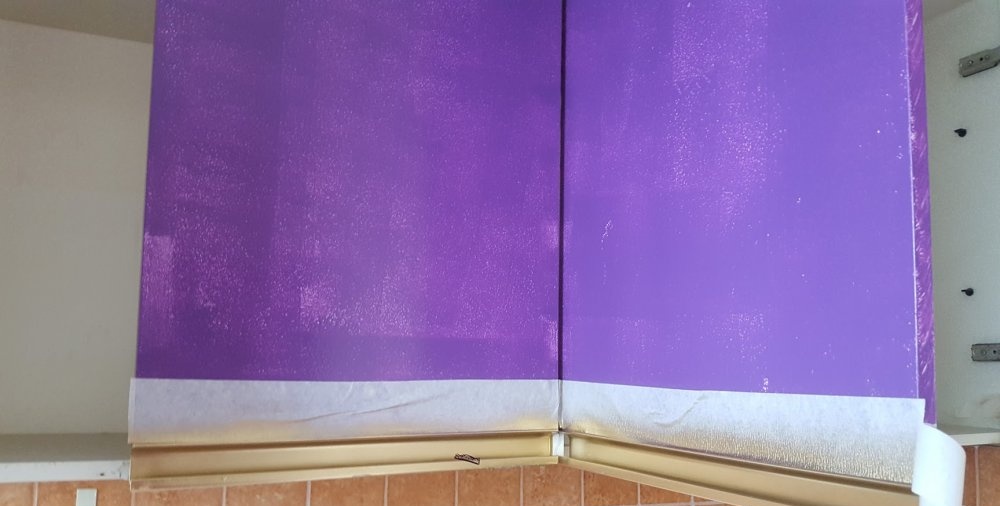
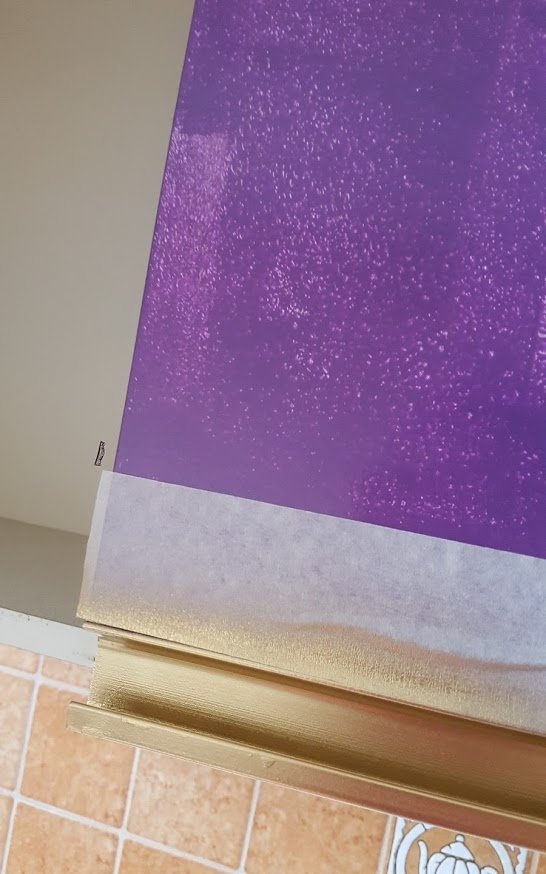
After the handles have dried, you can paint the facade itself. Remove the masking tape and paint with a brush or roller, depending on the width of the box. In my case, it was more convenient for me to paint horizontally with a roller, then working on the edges with a brush.

The instructions for the paint say to wait at least 12 hours before applying the second coat, so the first day ended there.
The next day you can paint on a second coat. The second layer is easier to apply, as the adhesion to the surface becomes better, and besides, the final color is visible and the eye is pleased with the result. Here you need to carefully work out all the corners and side parts, try to avoid smudges.
That's the whole process. Nothing complicated, anyone who has the desire can do it.
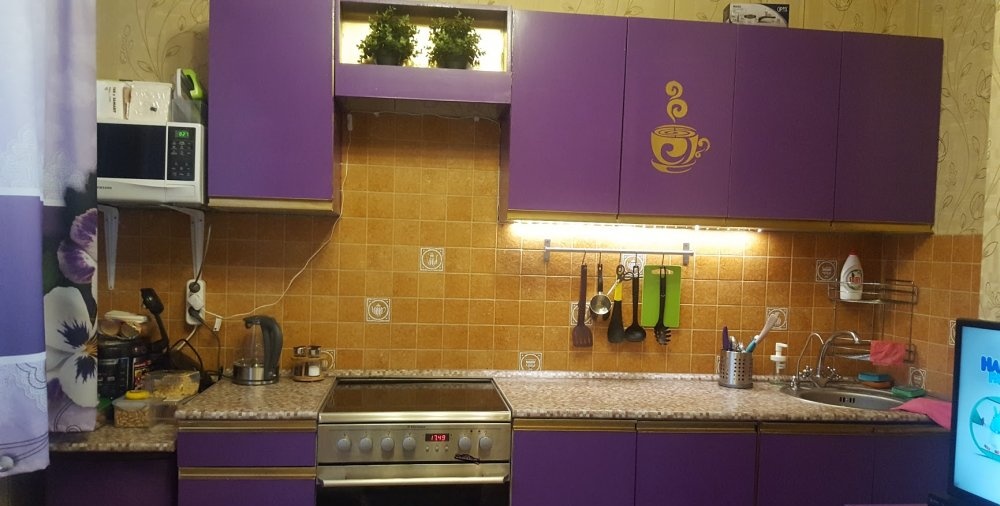
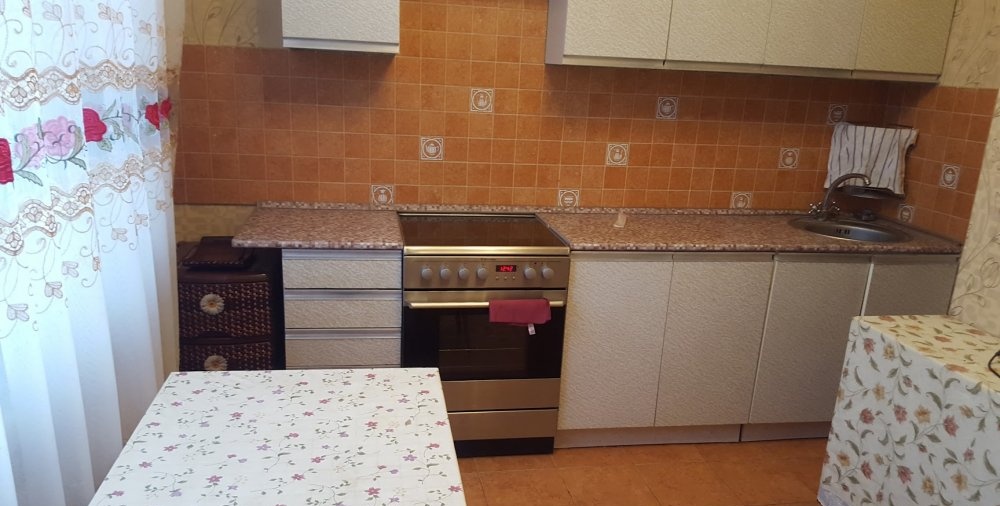
After everything has dried, you can dilute the monochrome by applying images with stencils. Imagination can be limitless and fortunately, today there are a lot of choices of stencils.You can also make the stencil yourself, it depends on how much time you have. I was in a hurry, so I bought a ready-made self-adhesive stencil and applied the remaining gold spray paint. Here's what I got: