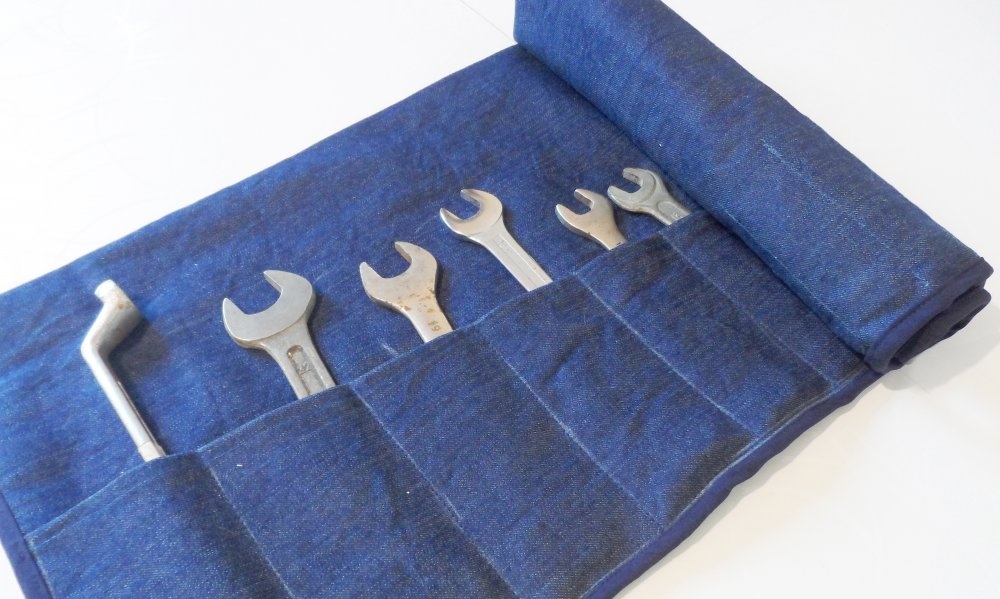
We sew the organizer for wrenches with our own hands
01. To sew the organizer, we need a minimum of materials and time. I recommend using dense wear-resistant fabrics such as raincoat fabric or tarpaulin. I sewed in denim. We will also need matching threads, scissors, a ruler and wrenches themselves.
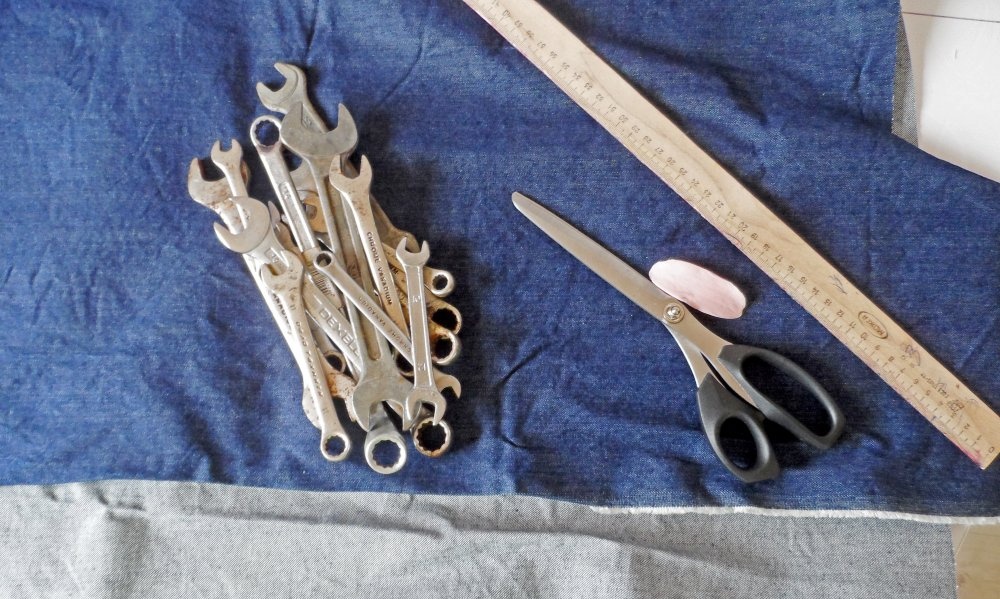
02. Determine the size of the bag. To do this, lay out all the keys in a row as they will lie in the finished product. That is, in descending order.
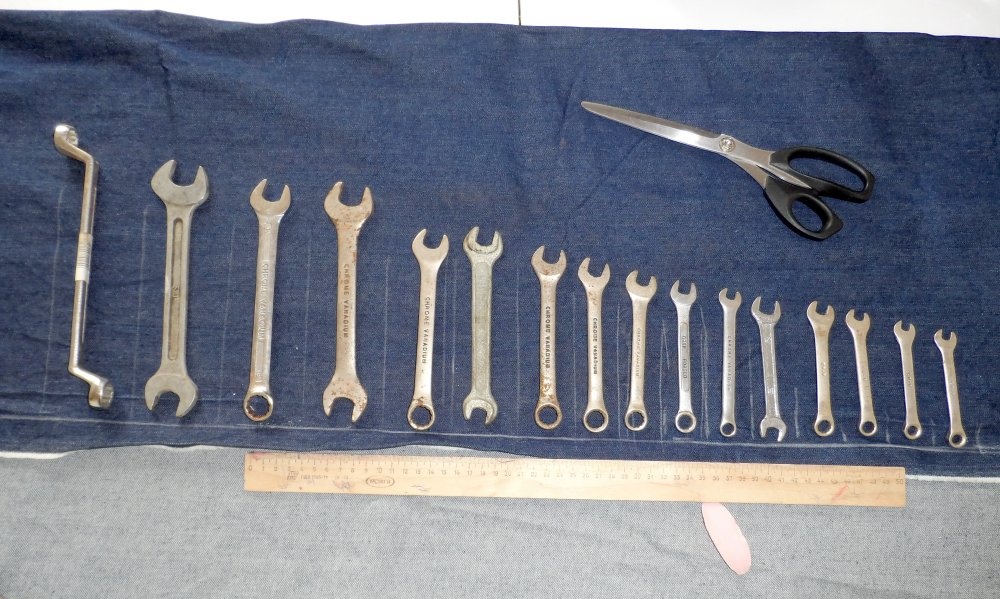
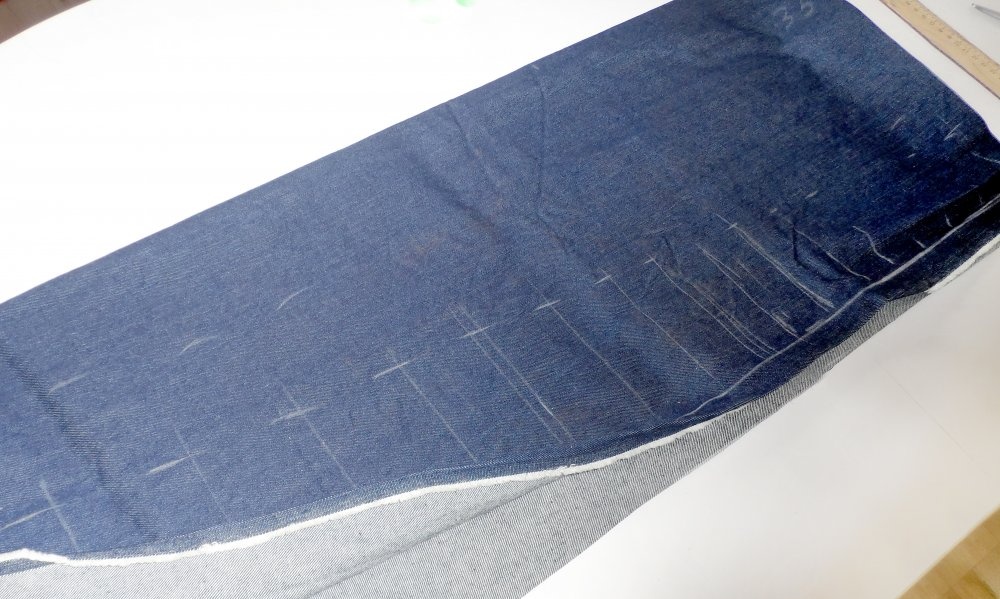
03. Now, using a ruler and chalk, mark the width for each pocket. I have the width of the largest pocket about 7 cm. Further, in descending order, each pocket becomes already 0.5 cm.
04. The keys can be removed. It remains to cut the pocket along the outlined lines.
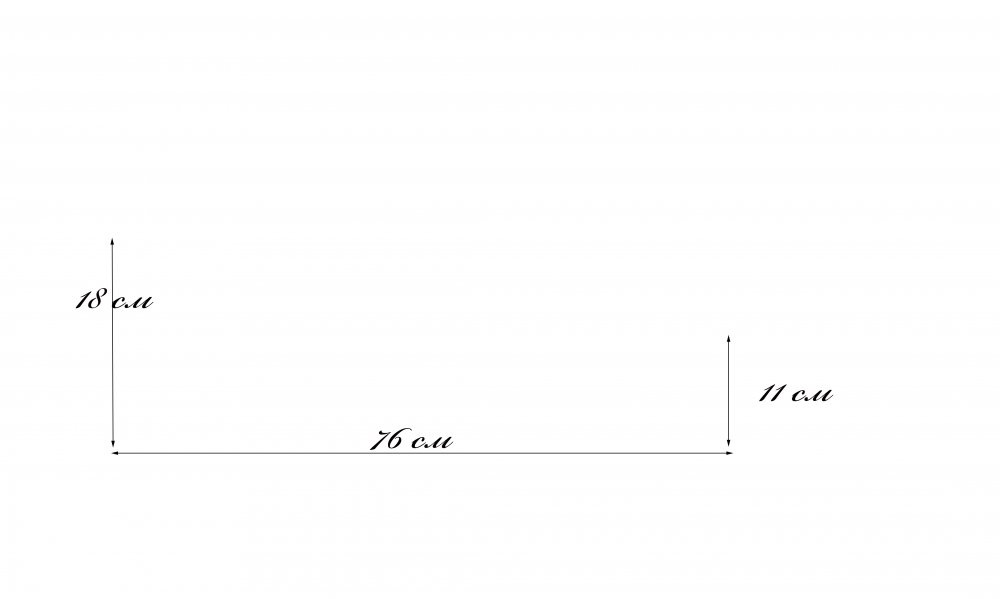
05. We have a pocket. I got the following. You may have other sizes, depending on the number and height of the keys.
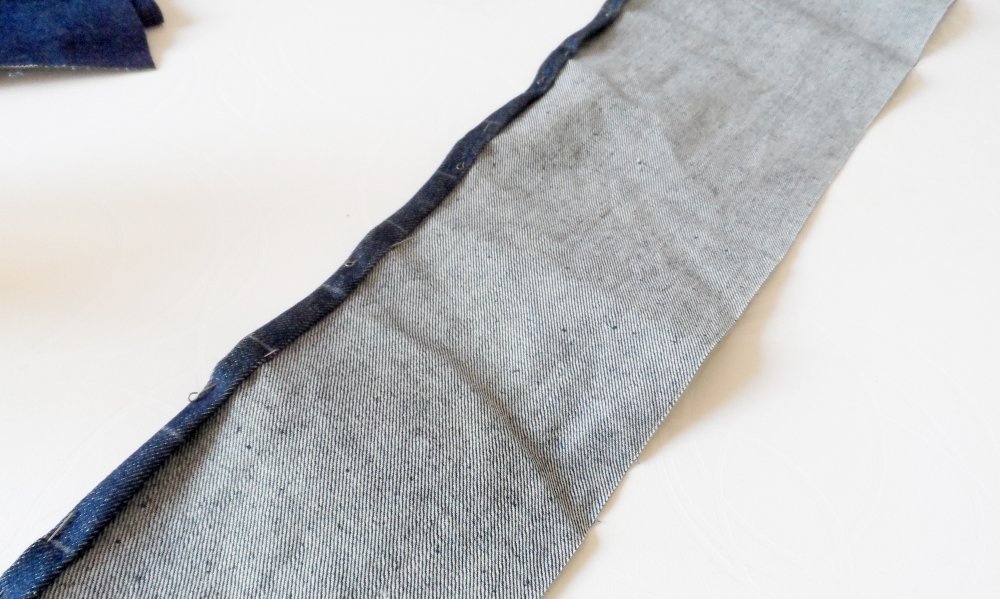
06. We cut out the received part and do not forget to add allowances for all sections.
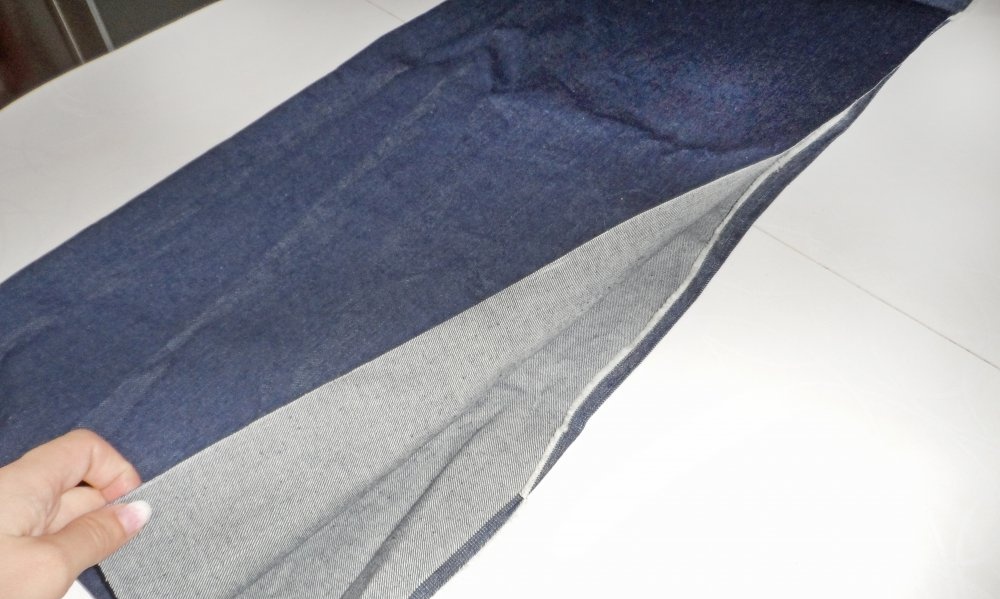
07. The upper cut of the pocket is folded to the wrong side and hemmed. While laying aside.
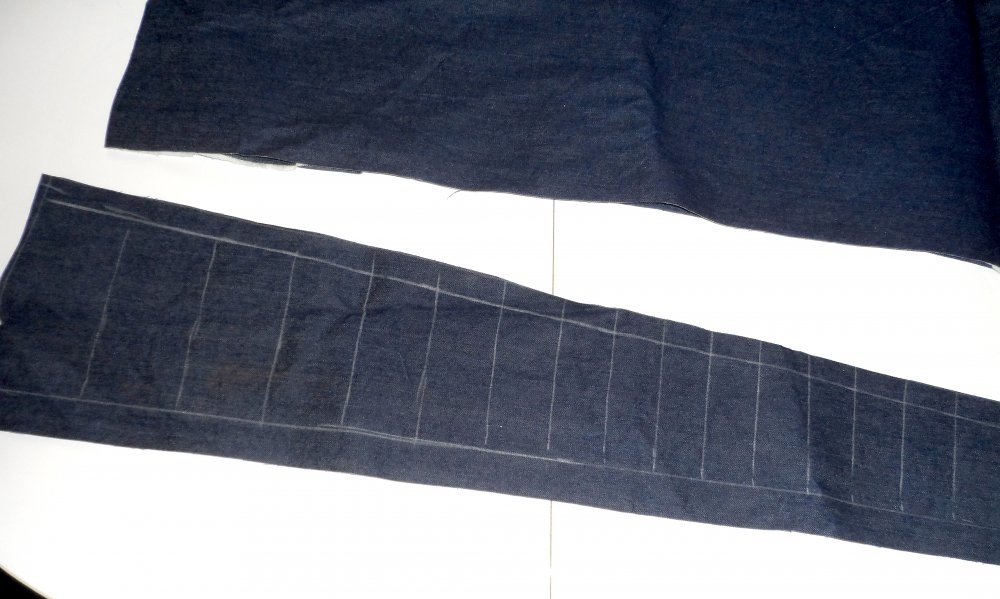
08. Let's deal with the main part of the bag. We cut out the canvas according to the given scheme. The width of the organizer should equal the width of the pocket.

09. Cut a rectangle and fold in half.
10. Using pins, sweep a pocket detail from above.
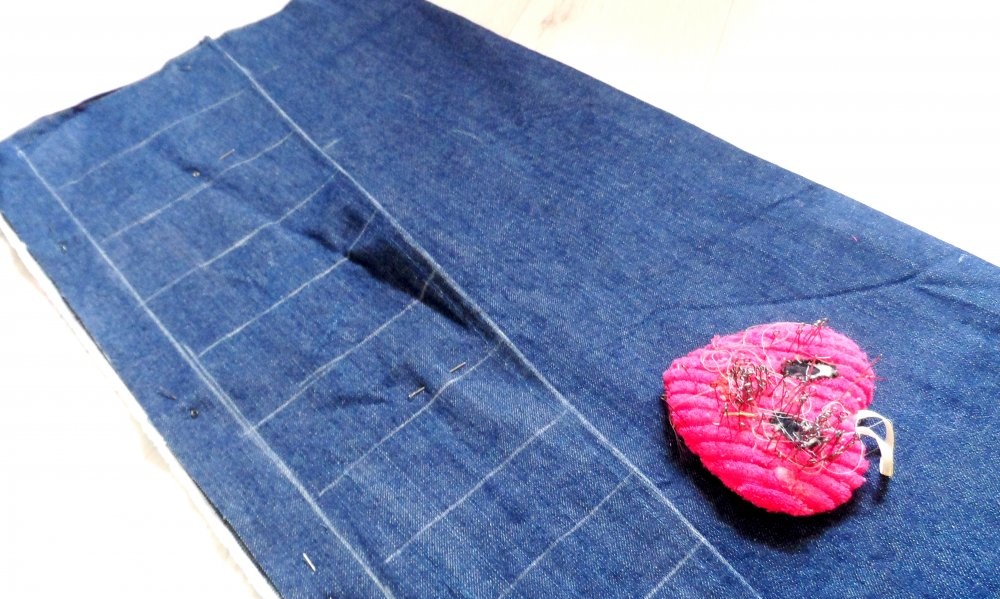
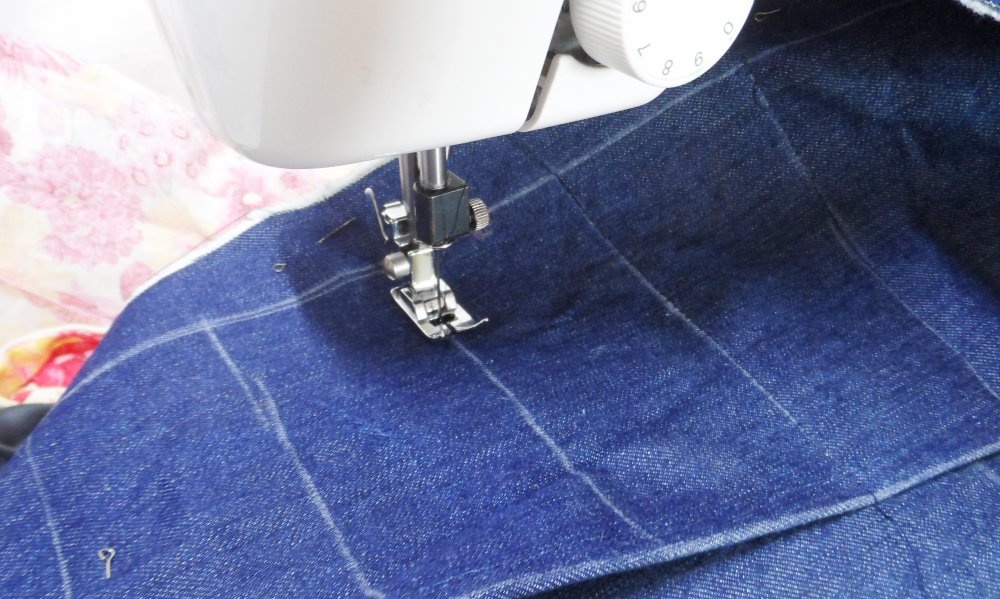
11. Stitching on a sewing machine. We lay a line for each turnkey division. The ends of the lines are fixed.
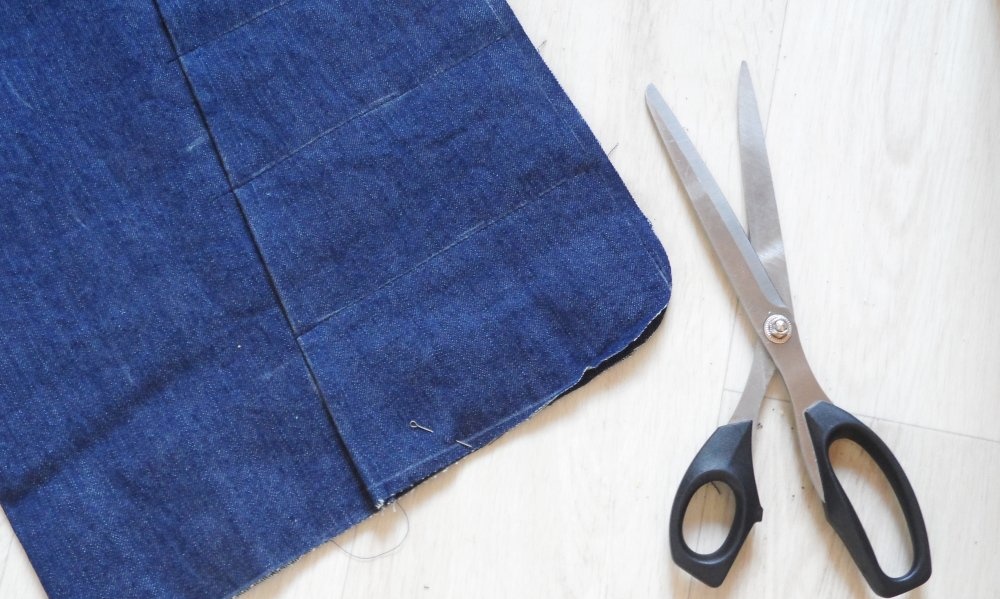
12. Round and cut the lower corners.
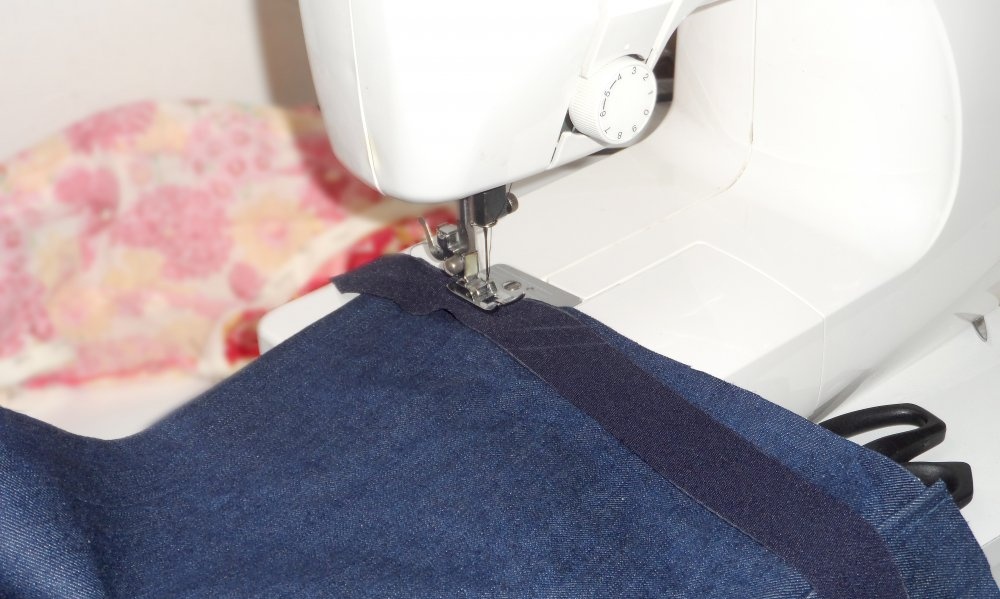
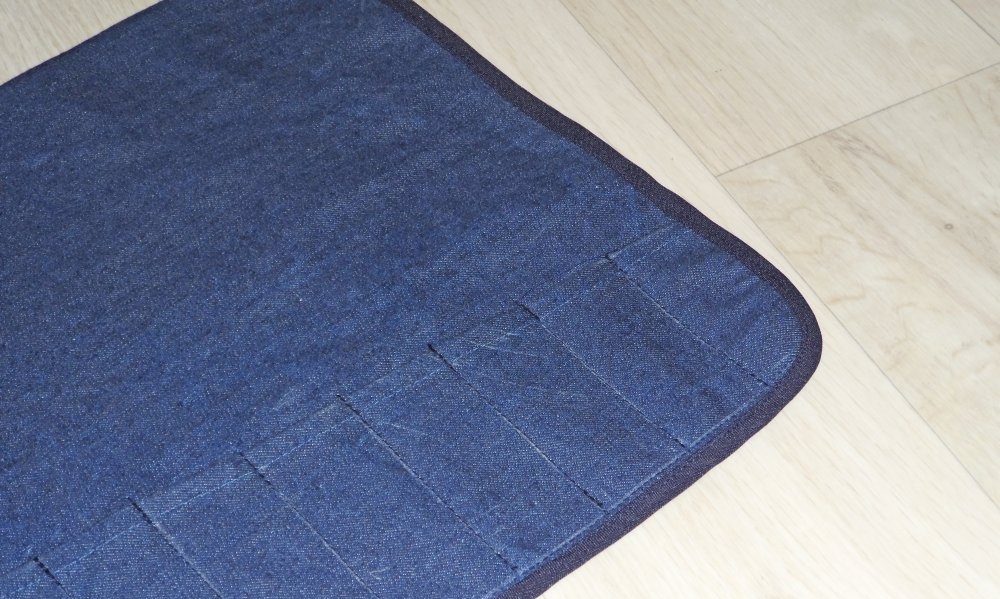
13. Along the perimeter of the organizer we sew an oblique ribbon. It can be cut from any suitable material. You can buy a finished one.
14. Done!
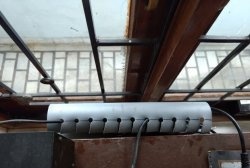
15. Trying on.
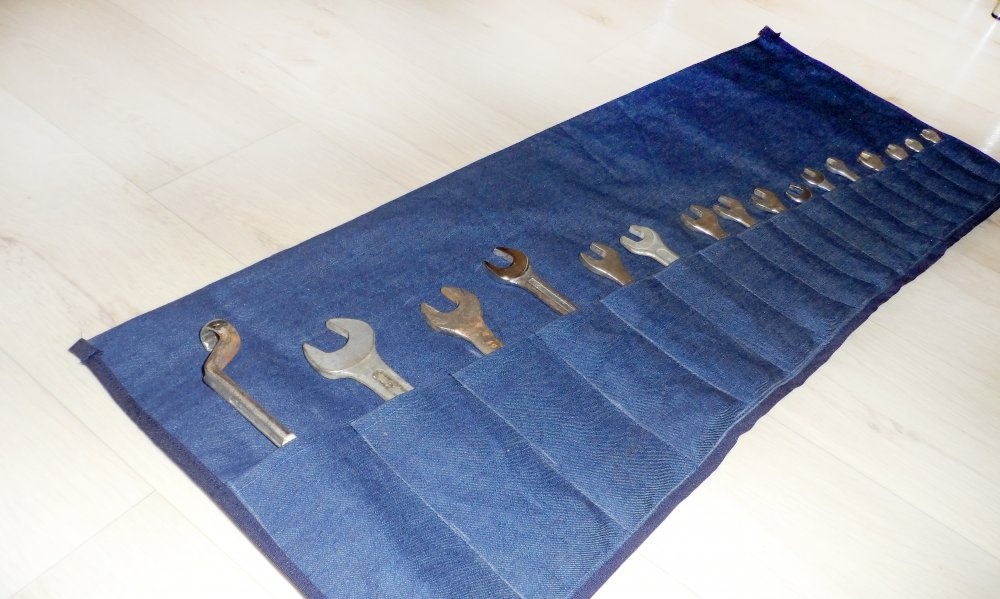
16. The spanner organizer is ready! Now not a single key is lost.

17. The handbag can be rolled up and removed before the next job.