A very simple design, literally “penny”; it requires a minimum of cost and time to build it.
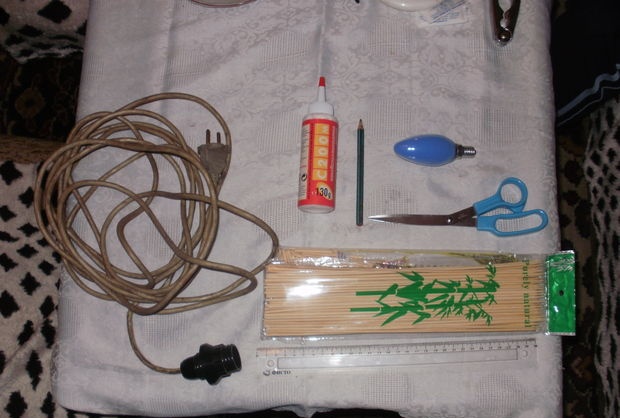
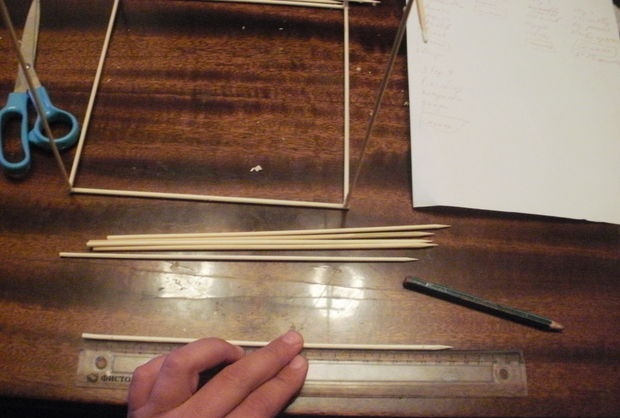
All you need are bamboo (wooden) skewers, which can be purchased at culinary stores. And wood glue, like PVA. Well, I don’t take into account the light bulb with the wire.
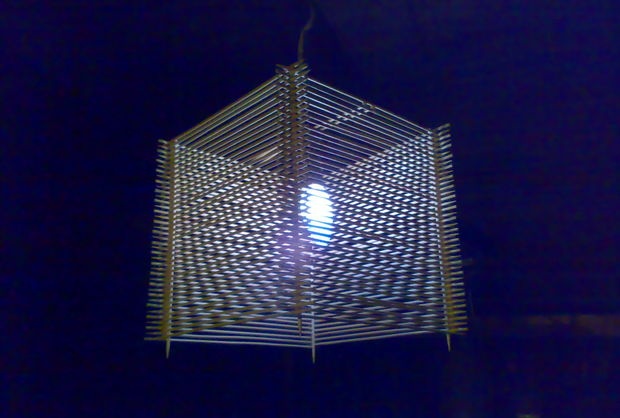
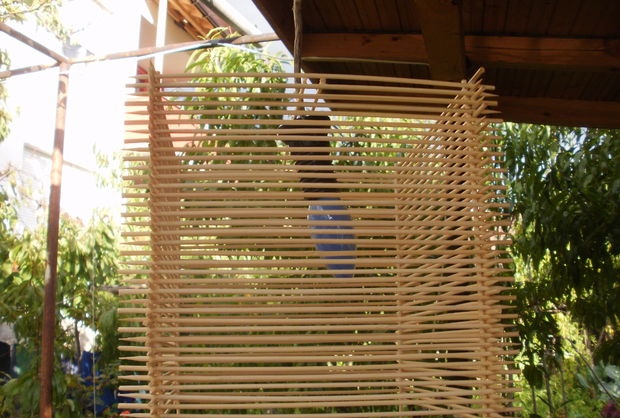
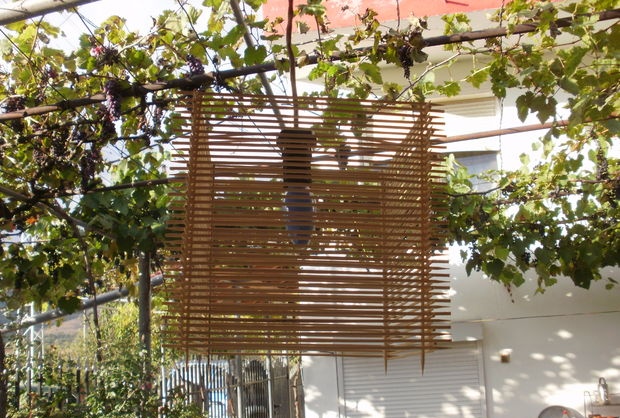
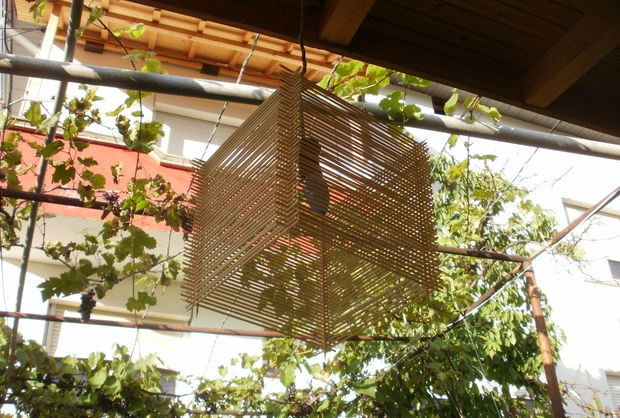
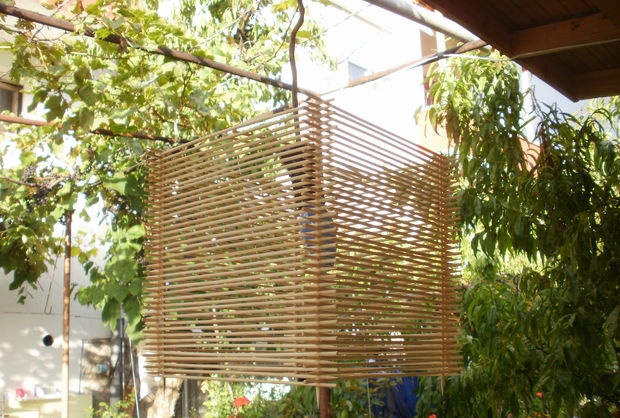
Making a garden lamp
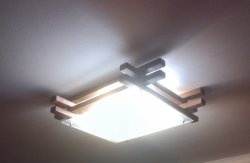
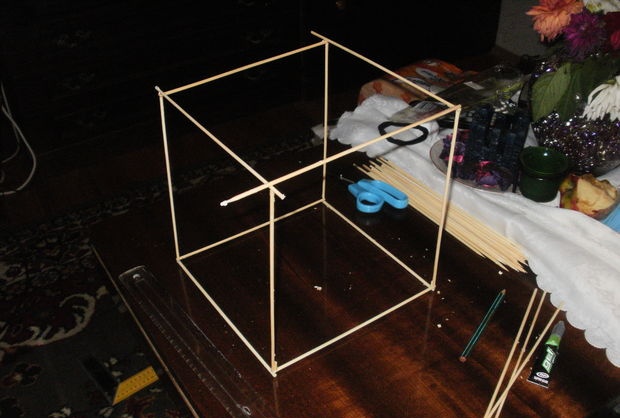
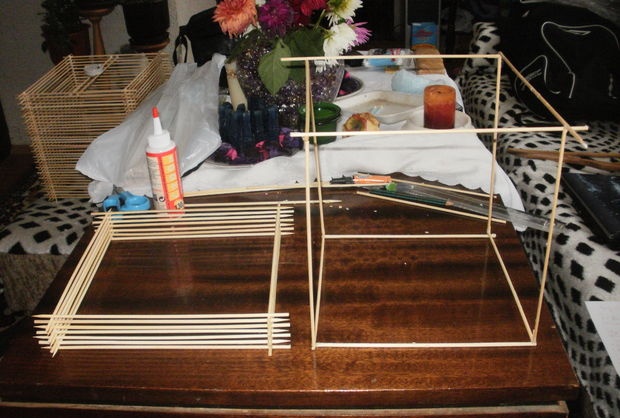
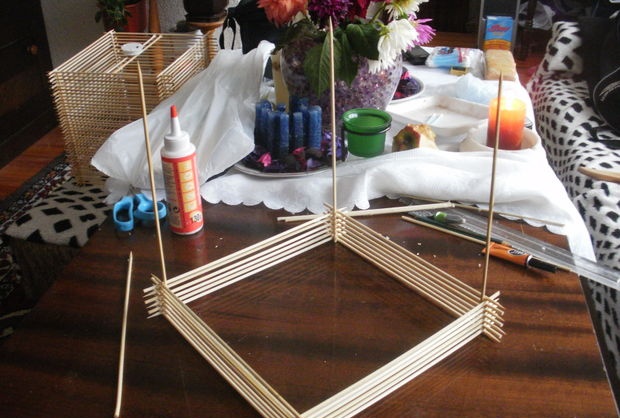
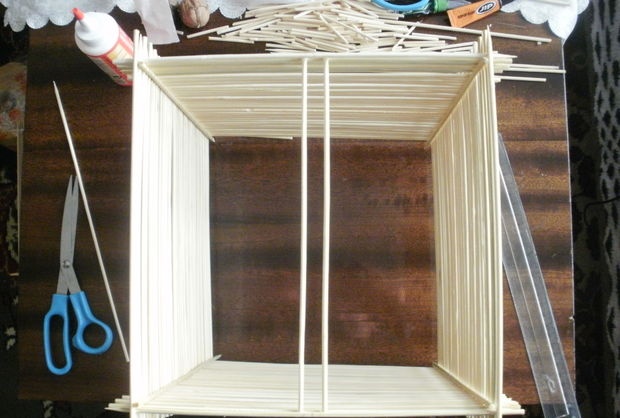
So, let's take skewers and glue an even square frame. It determines the entire shape of the lamp, so it needs to be glued especially evenly.
This frame is glued together from the same skewers, cut to 2 centimeters so that the side sticks stick out, giving the unusual shape of the lamp.
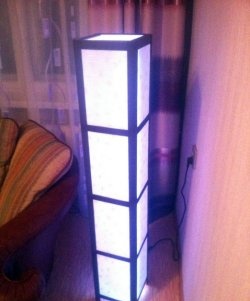
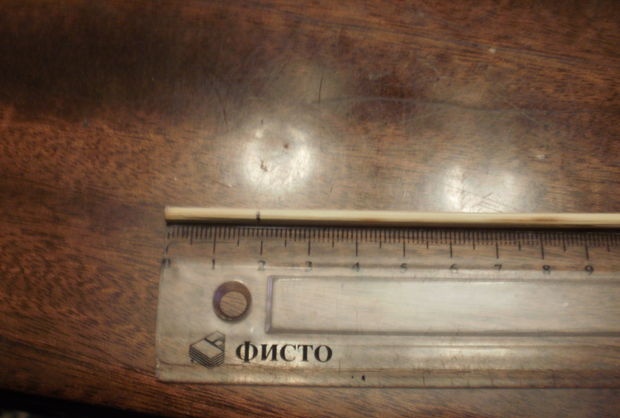
After the frame has dried, we begin making the walls. To do this, mark each skewer with a pencil, indicating a centimeter indentation on each side.
Using the same glue, we begin to glue the sticks. First, one stick on one side, then the second on the opposite side. And the third and fourth from the sides. The sticks lie on top of each other.
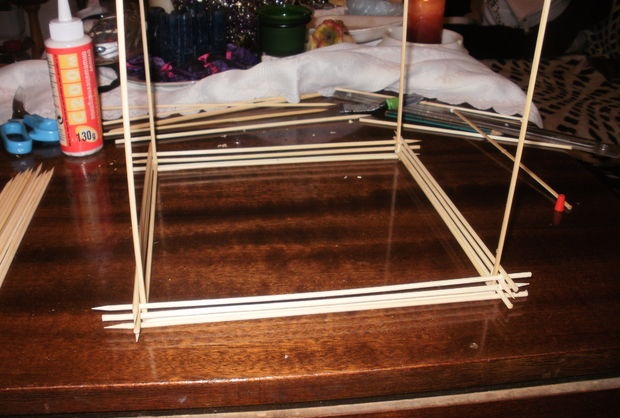
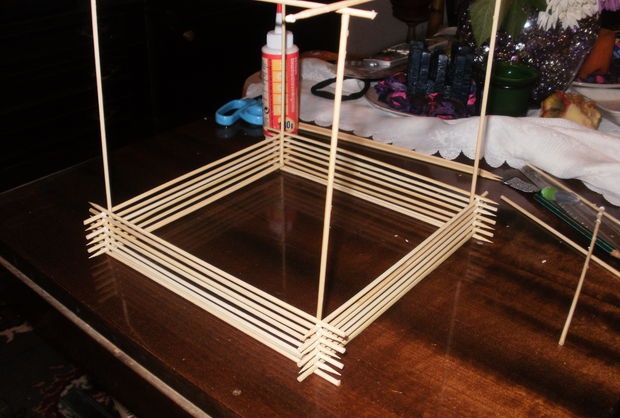

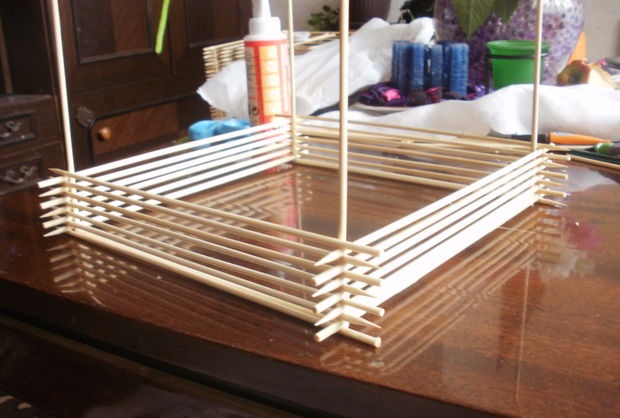
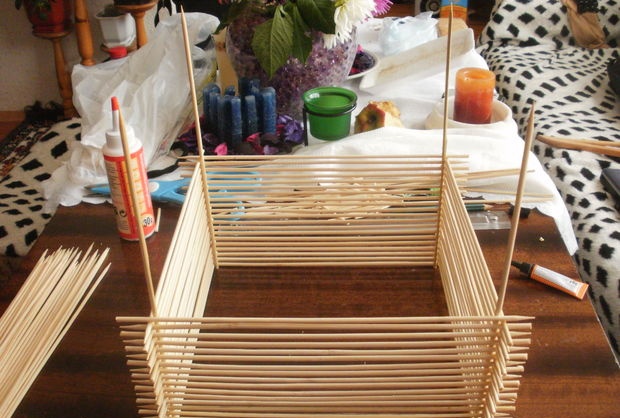
Continue gluing the sticks until they are completely filled.
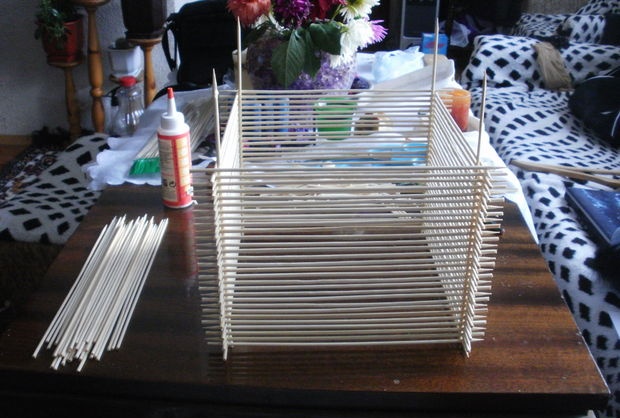

At the end, we glue two parallel skewers that will hold our lampshade on the light bulb wire.
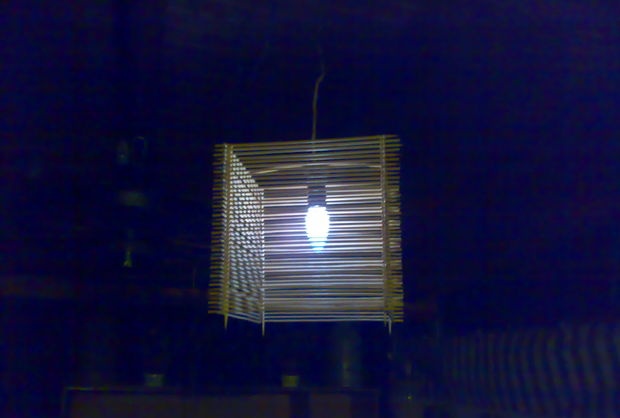
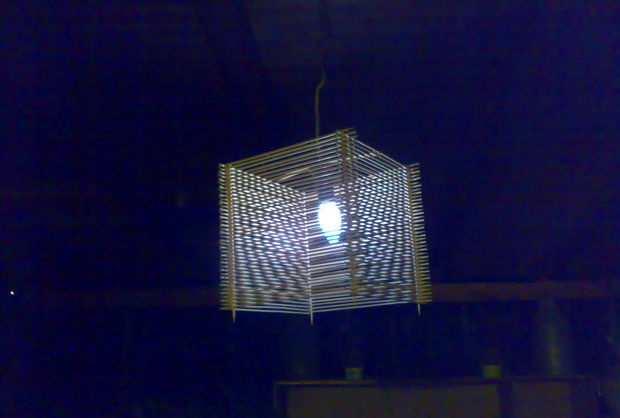
Then we pass the light bulb wire and hang the lamp.
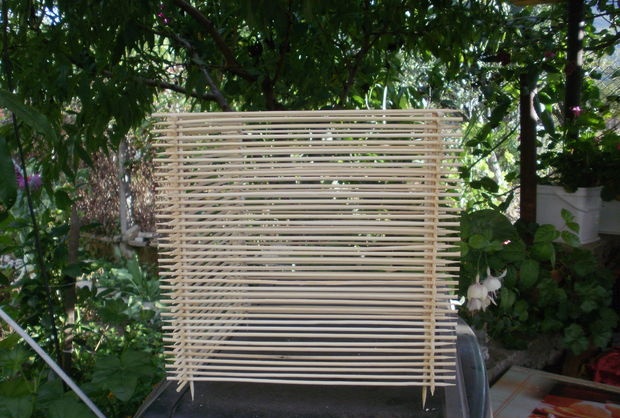
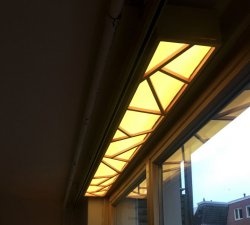
Looks very cool. I recommend making two of these, or better yet four, for more light and comfort.
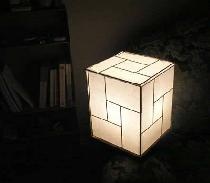
Finally, I can recommend painting the lamp from an aerosol can with white or other paint. It will look even better. And to create an even more riddle and enhance the eastern direction, you can cut out a Chinese character from paper, attach it to the lamp and sprinkle it with paint. Then remove the paper so that the outline of the hieroglyph remains on the lampshade. It will be simply gorgeous.
Of course, everything can be left as is. It’s better to cover the lamp with transparent wood varnish for better preservation, then it will last for more than one season and the wooden sticks will not lose their color or turn black.
Original article in English