Well, an electric kettle will help to heat the water for these drinks, and without it in any way. Unless of course you have at hand a gas stove, or an expensive coffee maker.
Therefore, a breakdown in the electric kettle can negatively affect both the productivity of the work and the quality of life of such people.
It is worth noting that it is electric kettles that occupy the main, leading place, like appliances for heating water in workplaces.
Therefore, it would be useful to know the main possible breakdowns of dummies and methods for their elimination.
One such kettle will be considered in this article.
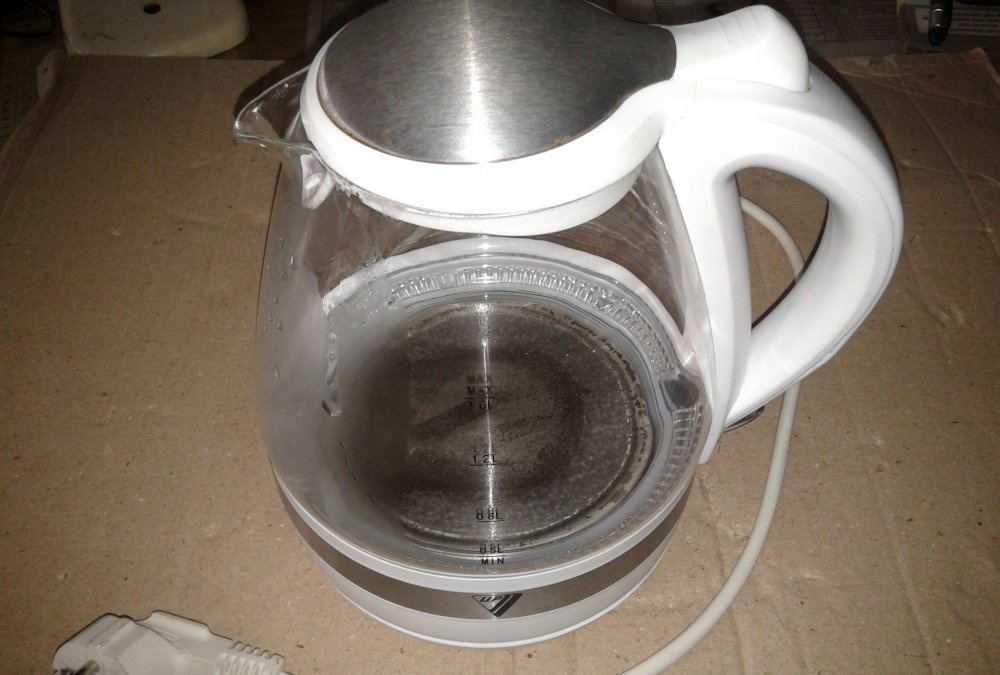
One fine day, this device stopped heating water, moreover, the power lever stubbornly did not want to become in the “on” position.

When trying to do this, it was simply thrown into the “disconnected” position, that is, it worked as a return spring. Also, when the lever was held in the on position, nothing happened. The heater did not warm, the device operation indicator did not light. The indicator in this type of teapot is the blue LED illumination of the glass bowl.
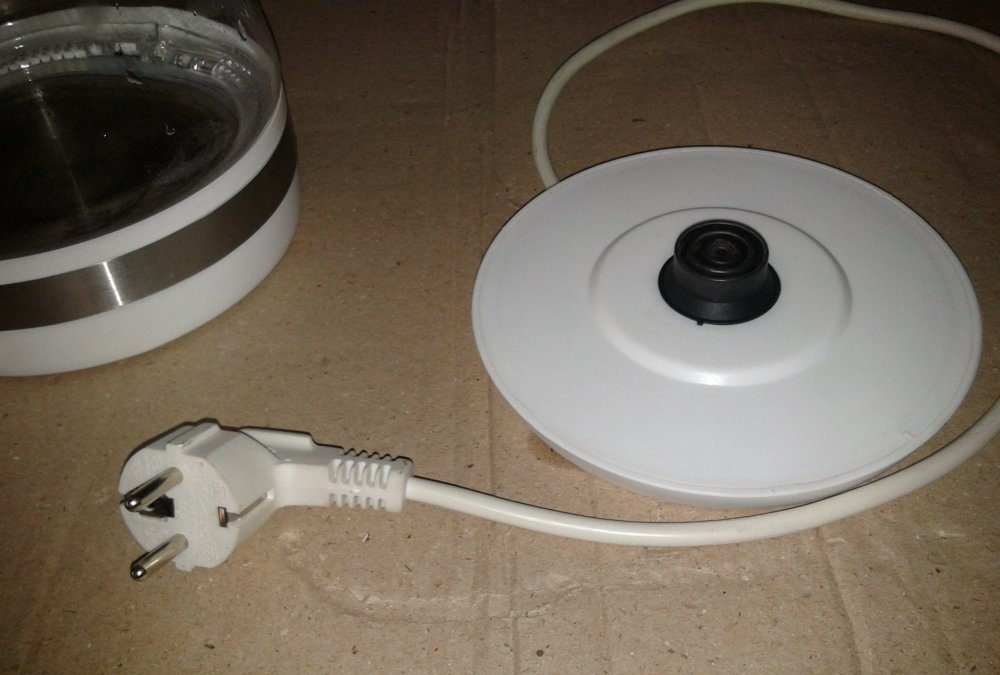
Ringing the cord and stand did not give anything, they turned out to be working.
But this was not so important, because it was clear that the problem was 90% in the disconnect lever and its details. After all, it is his contacts that take the main “blow” of the electric arc when the device is turned off.
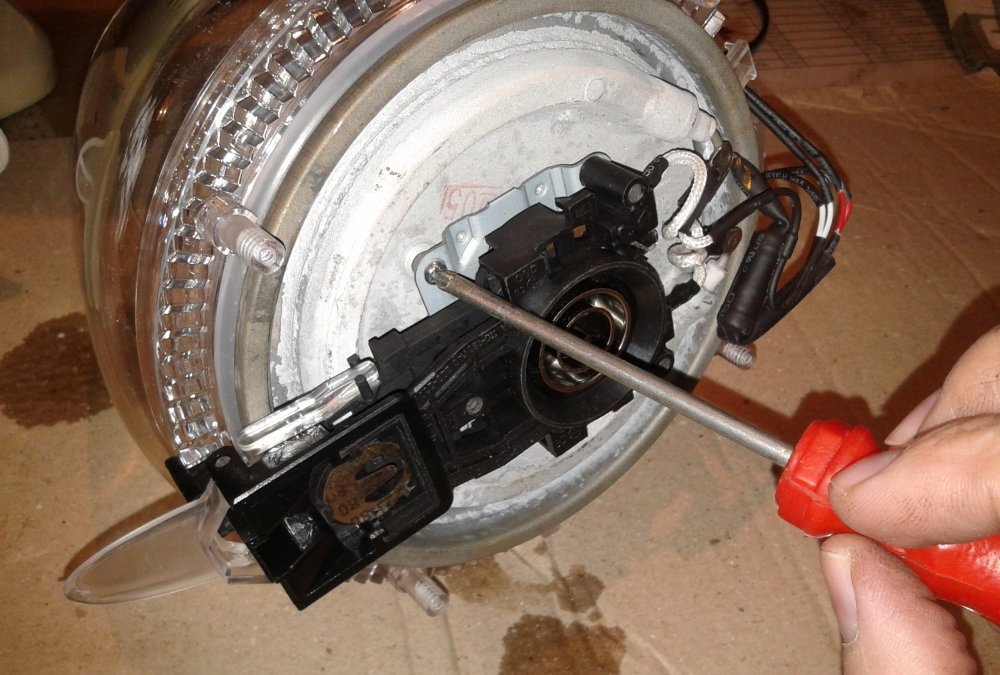
So, you can begin to disassemble. To do this, it is enough to have a Phillips screwdriver.
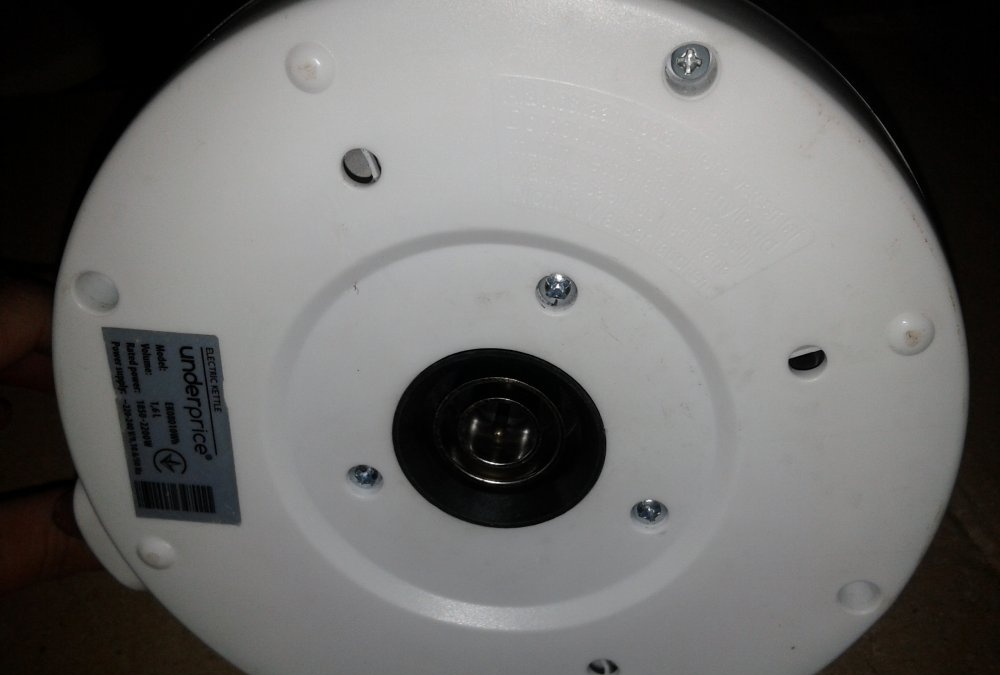
We put the kettle on its side or upside down and unscrew all the screws around the perimeter of the sole.

These are three screws inside the circle and four outside.
We fold the screws separately by type, so that during assembly they do not spoil the thread they already cut in the body of the kettle using the wrong screw.
Further, to get to the side screws, which also hold the bottom of the kettle, you need to use something sharp (a screwdriver, knife) to tuck the cover from the bottom and pull it slightly towards you, thereby releasing the latches.
So, free access to these screws will be possible.
We take the pad slightly to the side, and unscrew the hidden mounting screws.
After, grasping the bottom of the kettle with your hand, carefully remove it by passing through the “foot” of the switch.
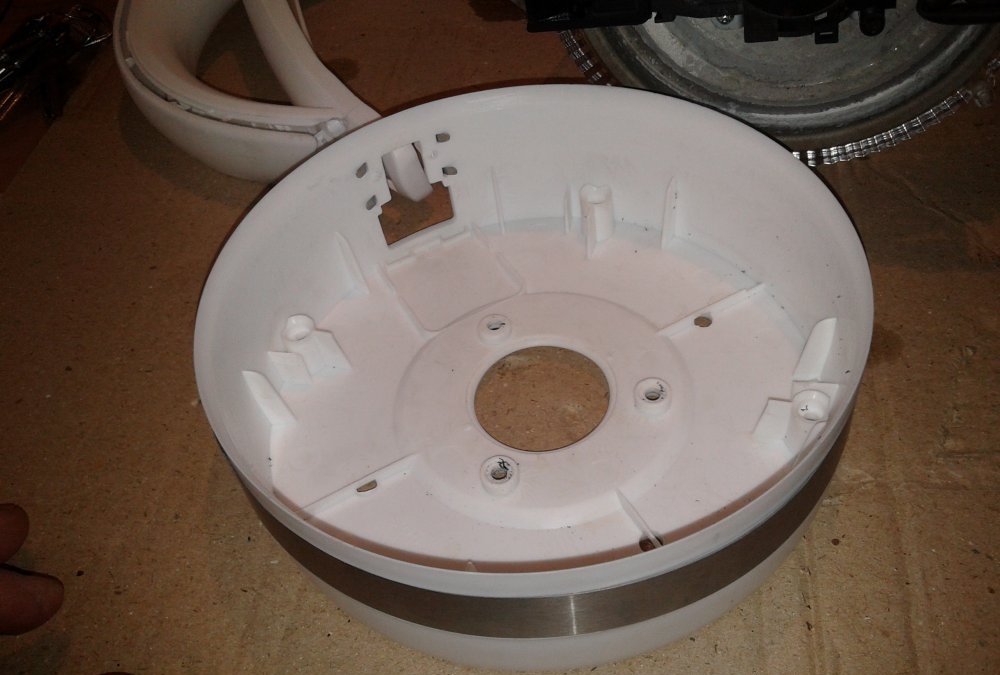
On the sole itself there are no elements requiring disconnection, so it is removed and laid aside.
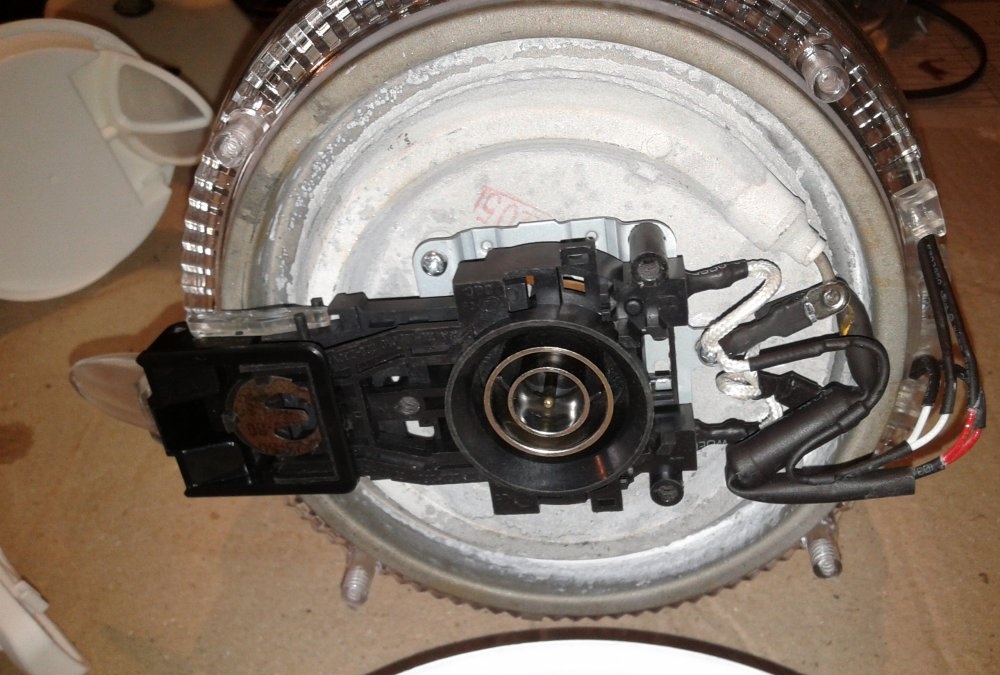
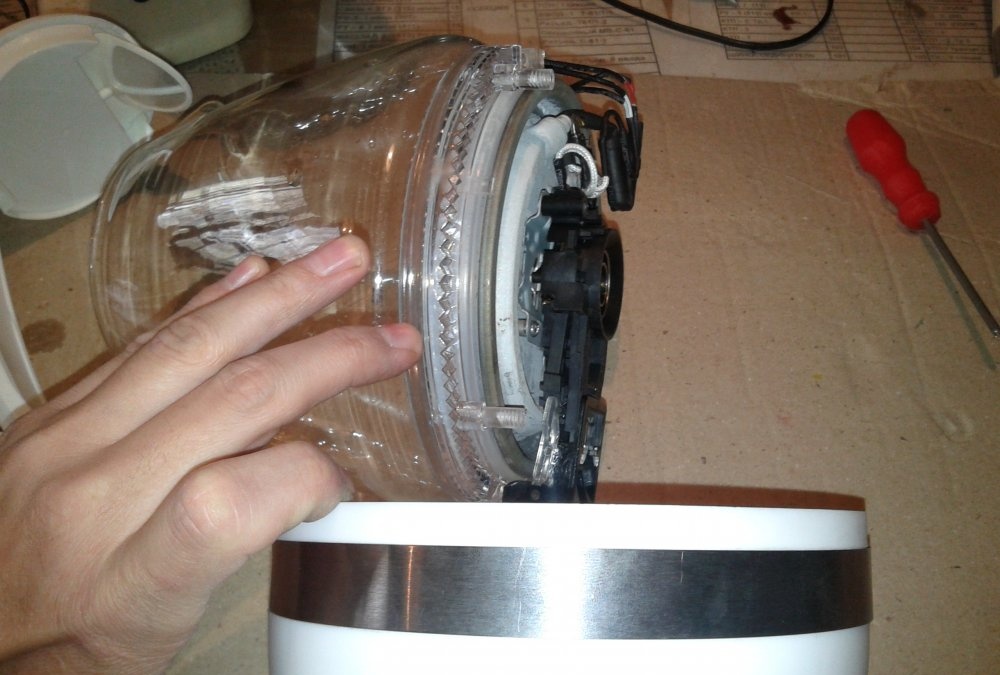
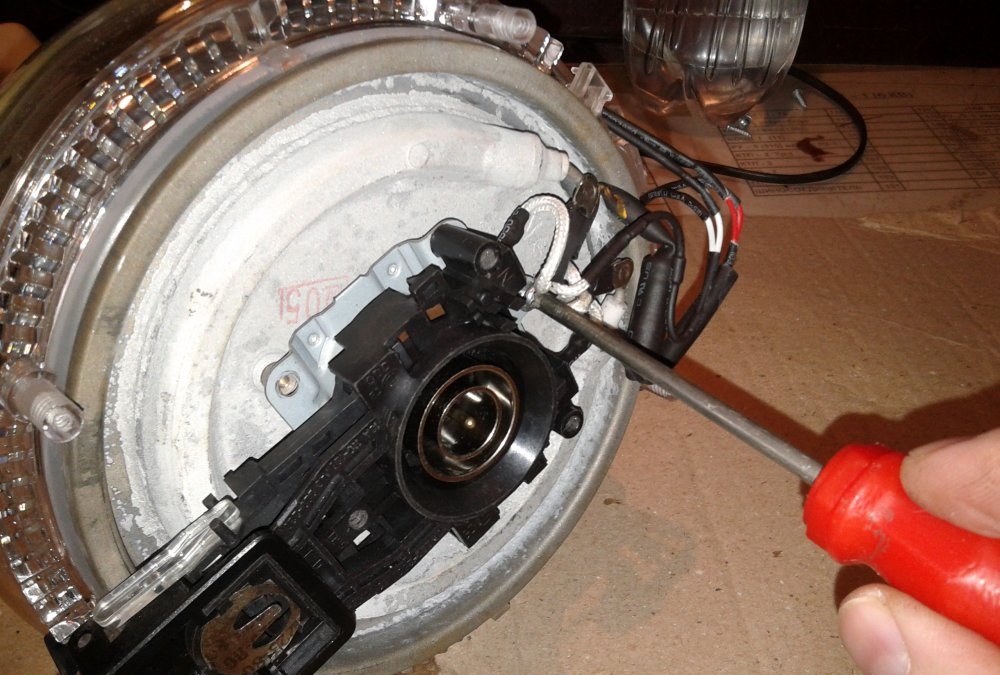
Now, you can see the entire "filling" of our teapot, as well as get to the necessary nodes for diagnosis and repair.

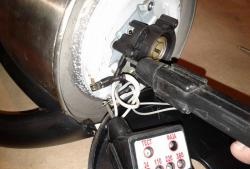
Two pairs of thin wires depart from the electrical module with which you should be as careful as possible. They feed two LEDs to illuminate the glass bowl, and with frequent bending can be significantly damaged. Therefore, removing and inspecting this module, it is advisable to try not to bend these places once again.
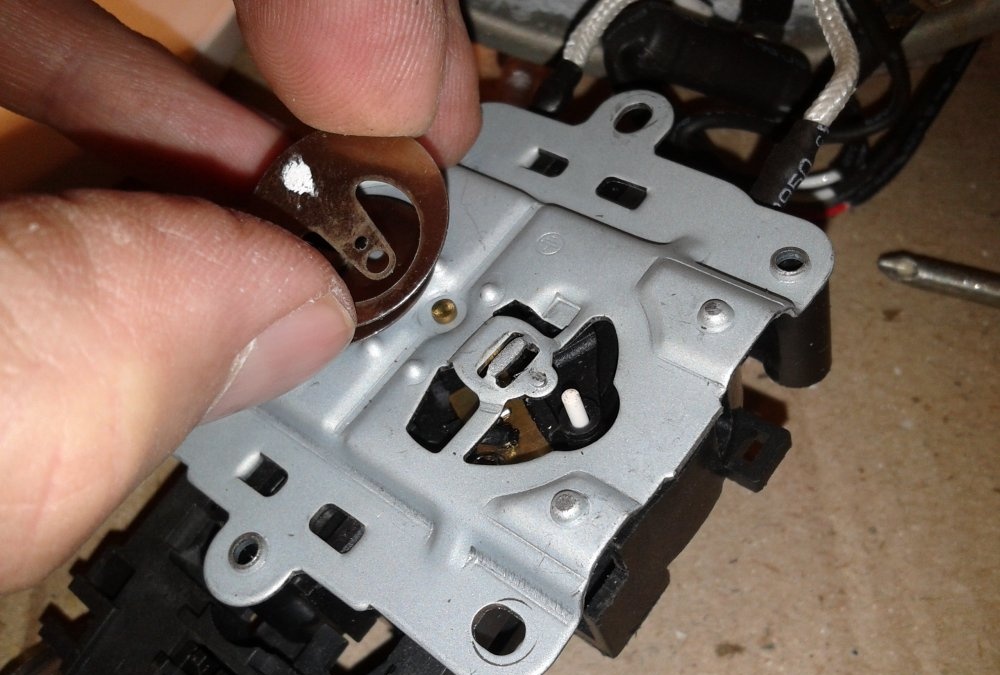
Next, look at the control knob of the switch. Several levers depart from it, which act on the contacts, thereby making them on and off.
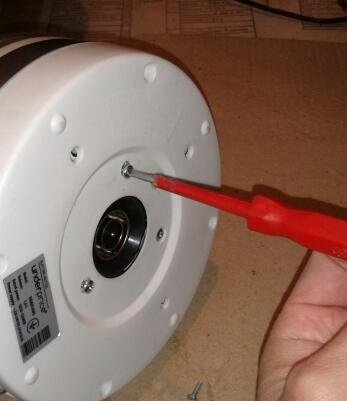
In any case, to get even further and make a thorough inspection of the contacts, it is necessary to unscrew the screws that secure the module and remove it.
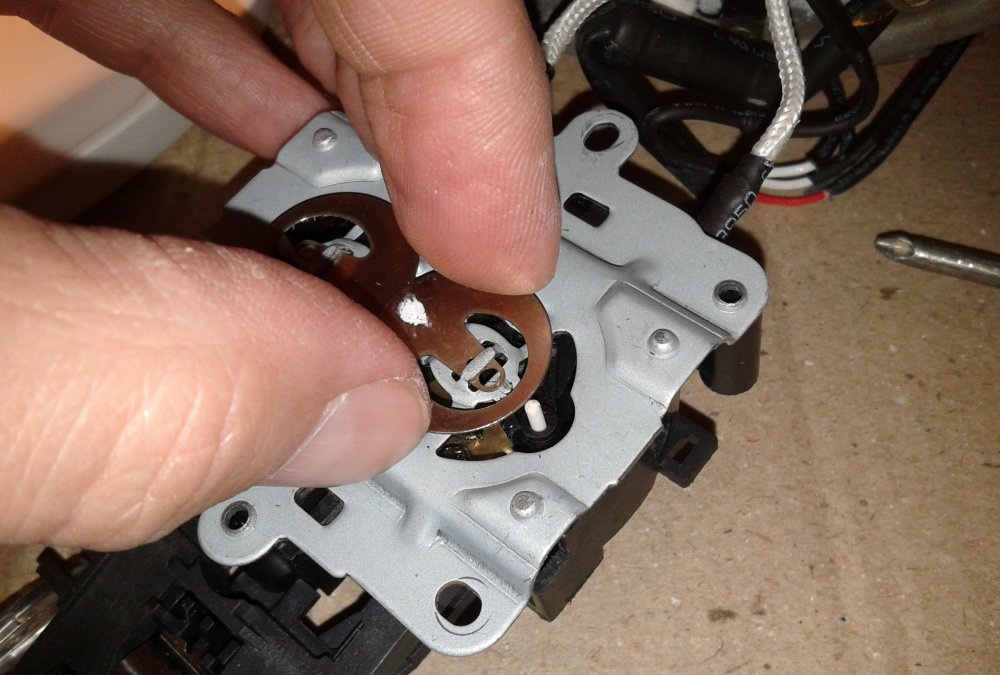
At the bottom of the module are bimetallic plates, which, in contact with the heating element, make the device automatically disconnect from the network when boiling or overheating.

A ceramic rod departs from the plates, it then presses on the contacts when the bimetal is deflected, thereby breaking the chain.

The first plate disables contact when boiling, the second - with a strong overheating of the sole, for example, when there is no water in the kettle, or when the first plate breaks.
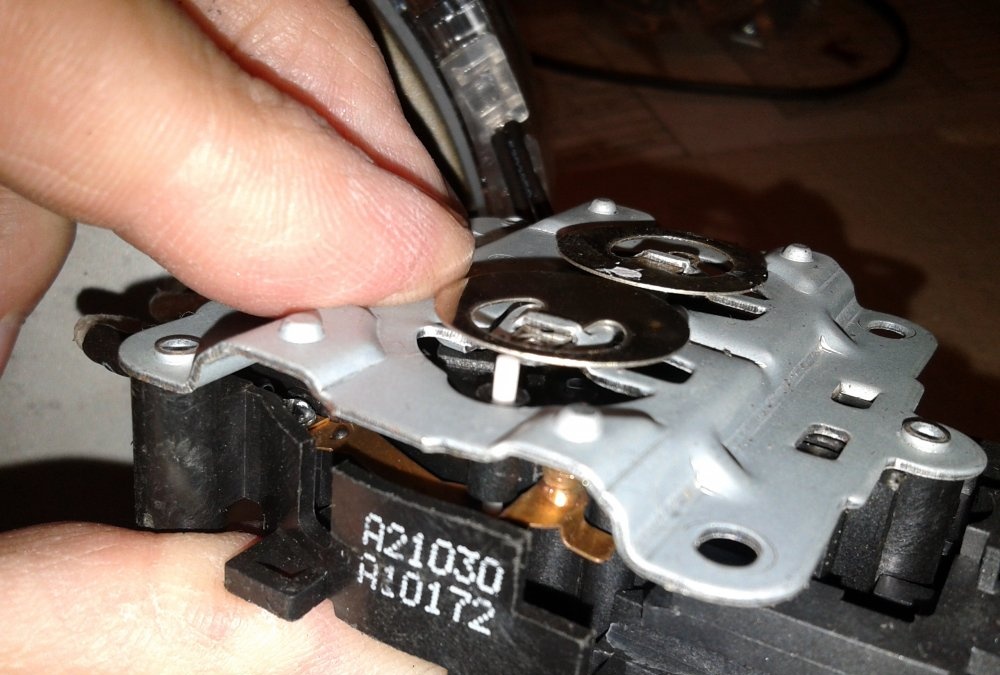
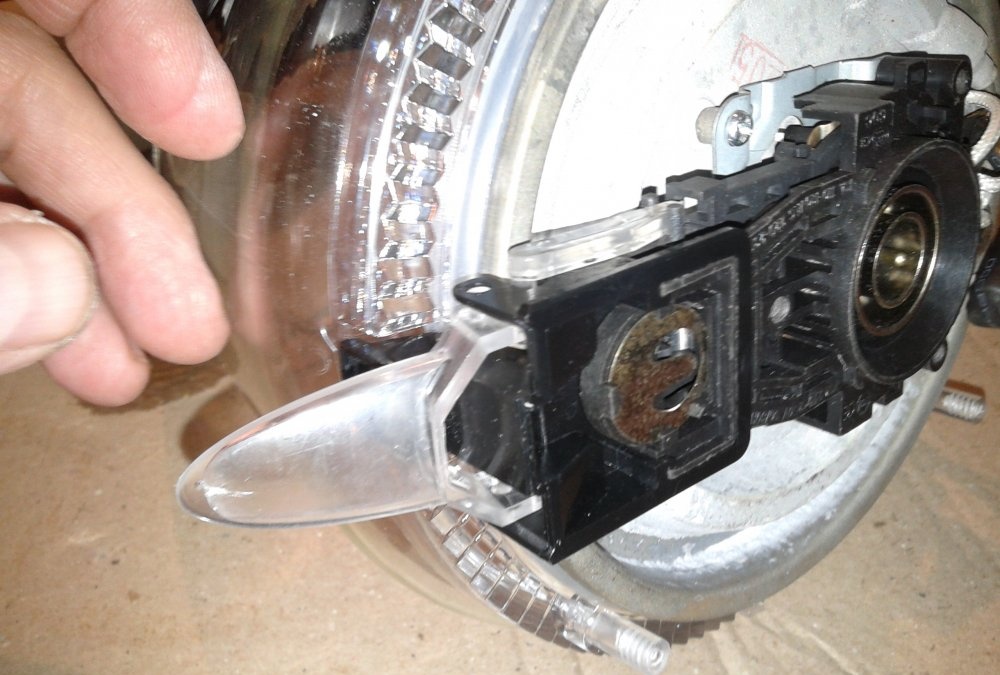
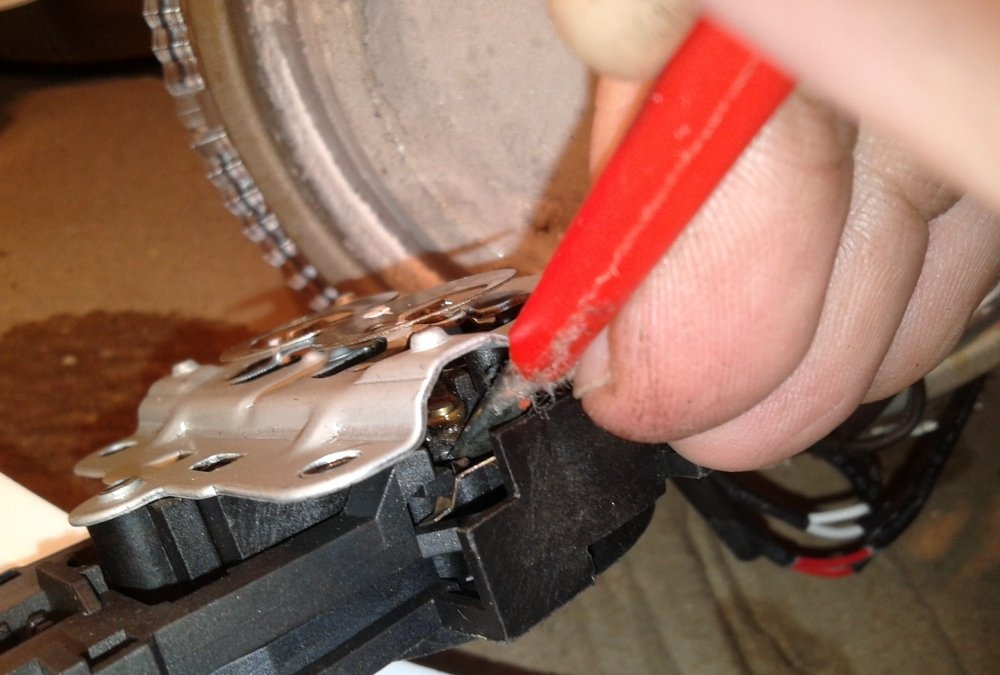
Carefully inspecting the first plates with contacts, it was noticed that they were burnt.

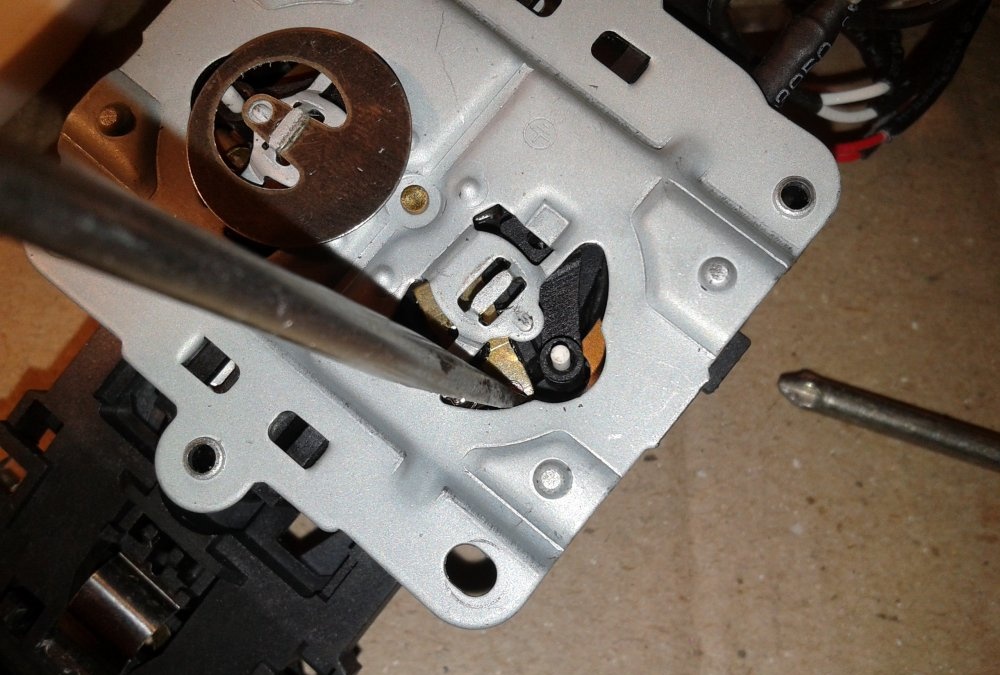
Also, when trying to connect the contacts by turning on the control lever, it was noticed that this does not happen due to insufficient bending of the contact plates.
By doing this directly with a screwdriver, it became clear that the movable plates became stationary, due to the molten plastic, which drained, formed a bulge between the lower and upper contacts, preventing their connection.
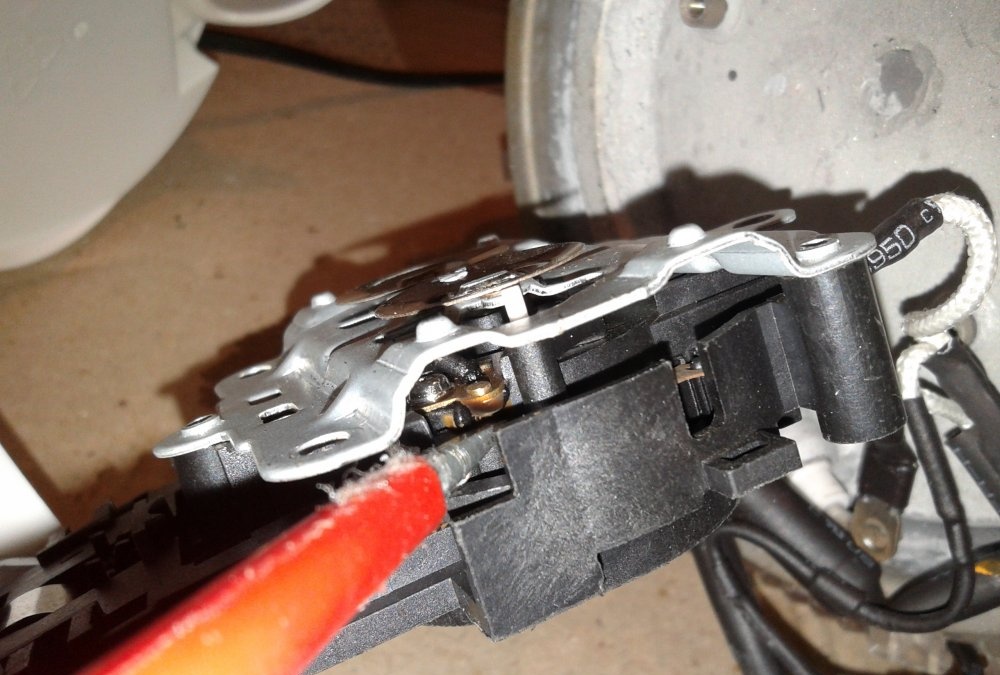
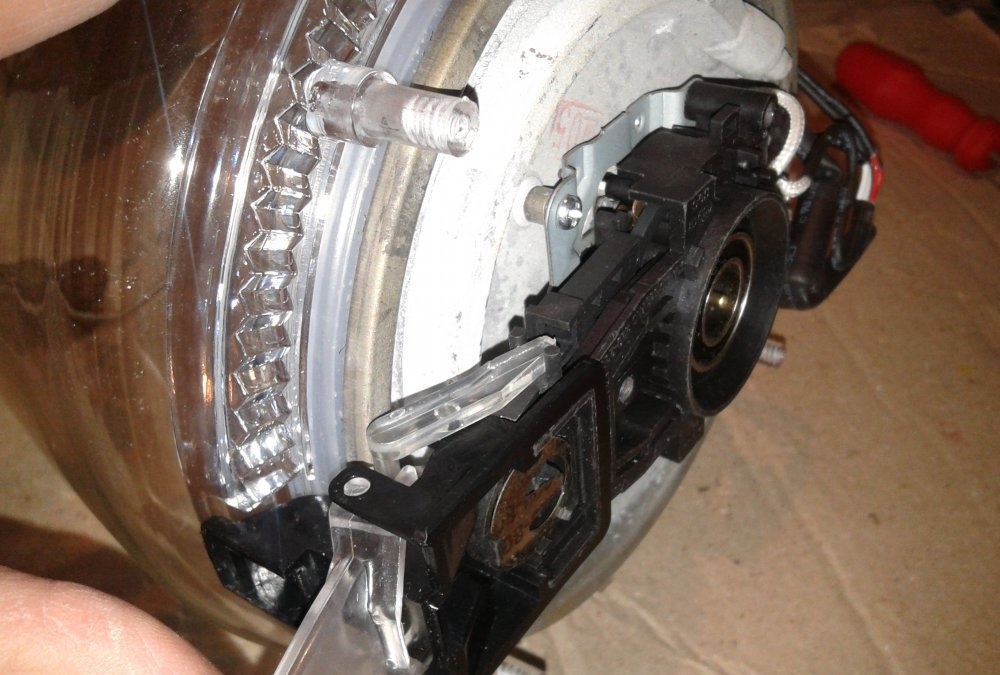
Using a thin screwdriver, the bulge was removed, and the contacts were trimmed with a thin knife.
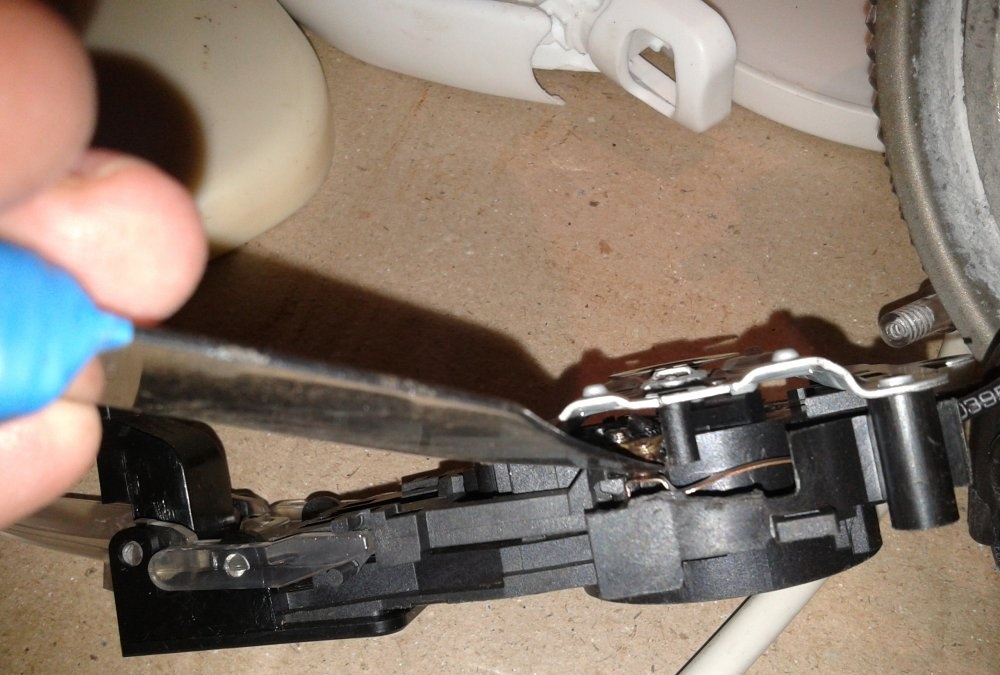
To make it convenient to clean, you can bite off the plastic side with the pliers opposite the contacts. This will make it possible to continue stripping without much effort and interference.
If the movable contact, when turned on, still does not connect to the fixed contact, you need to slightly lower the second. It will be convenient to do this by first removing the bimetallic plate, moving it slightly to the side.
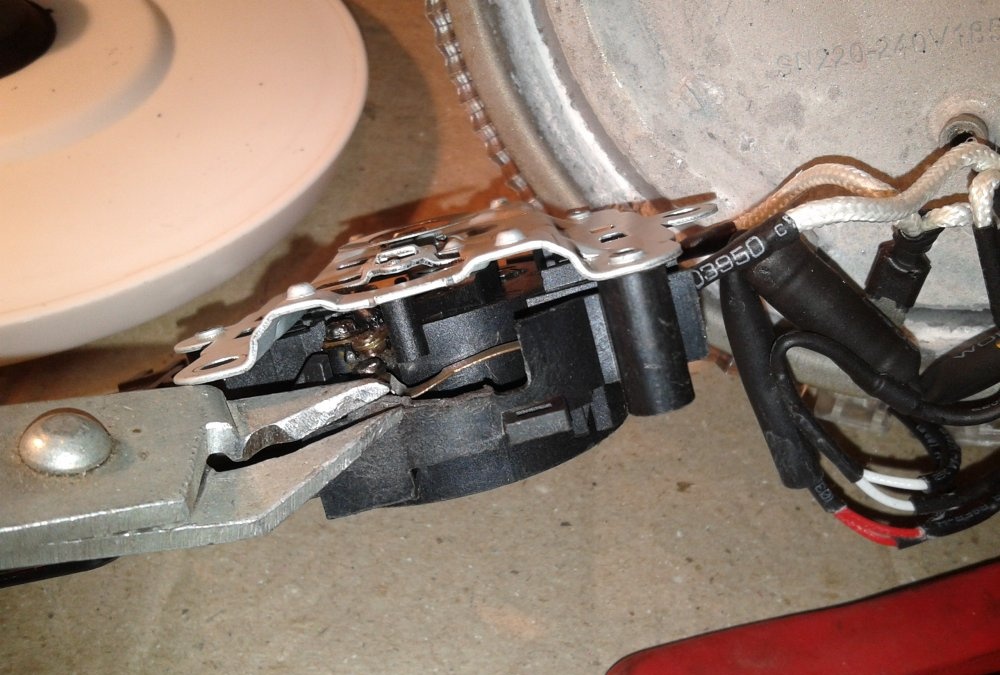
Next, we put the module on a flat surface and pointing the tip of a screwdriver on top of the contact, make a few short strokes with the hand on its handle.
After that, we check the tester when it closes when turned on.
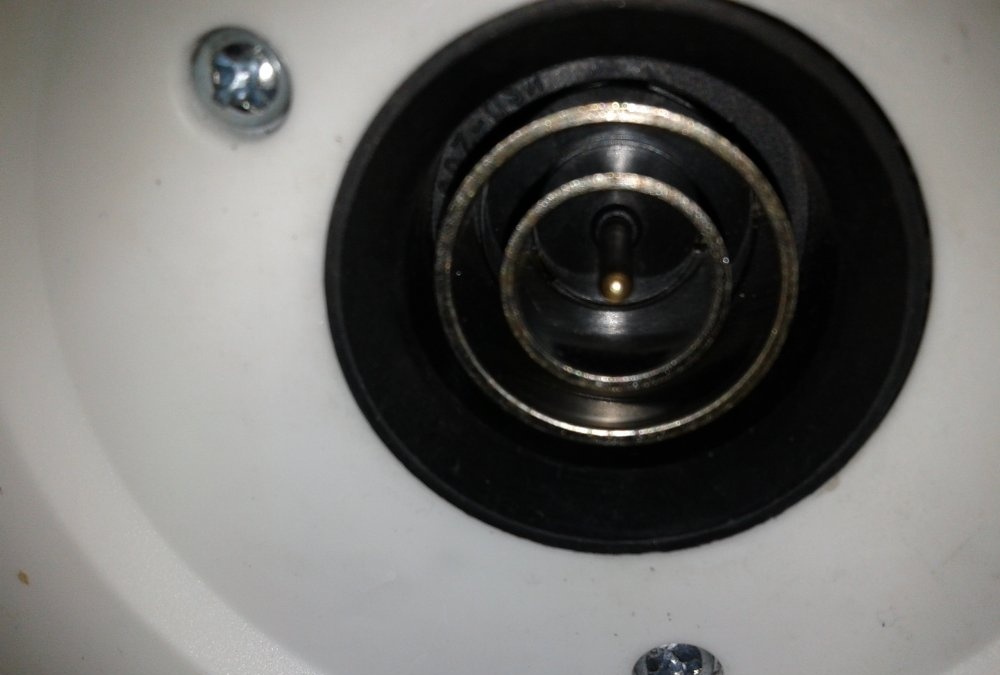
By the way, you can do this by connecting the ends of the tester with two ring contacts on the connecting socket. The central pin is the “ground” or the body of the kettle. When the switch is on and the heater is working, these contacts should ring shortly.
If the device does not show the connection, repeat the bending procedure again until there is a reliable contact closure.
Do not hit the screwdriver with a hammer hard, otherwise you can simply break the plate and lose your last hope to bring the kettle back to life.
At the time of bending, you can pull out the ceramic rod, so as not to accidentally break it. After, you need to insert it back and install the plate.
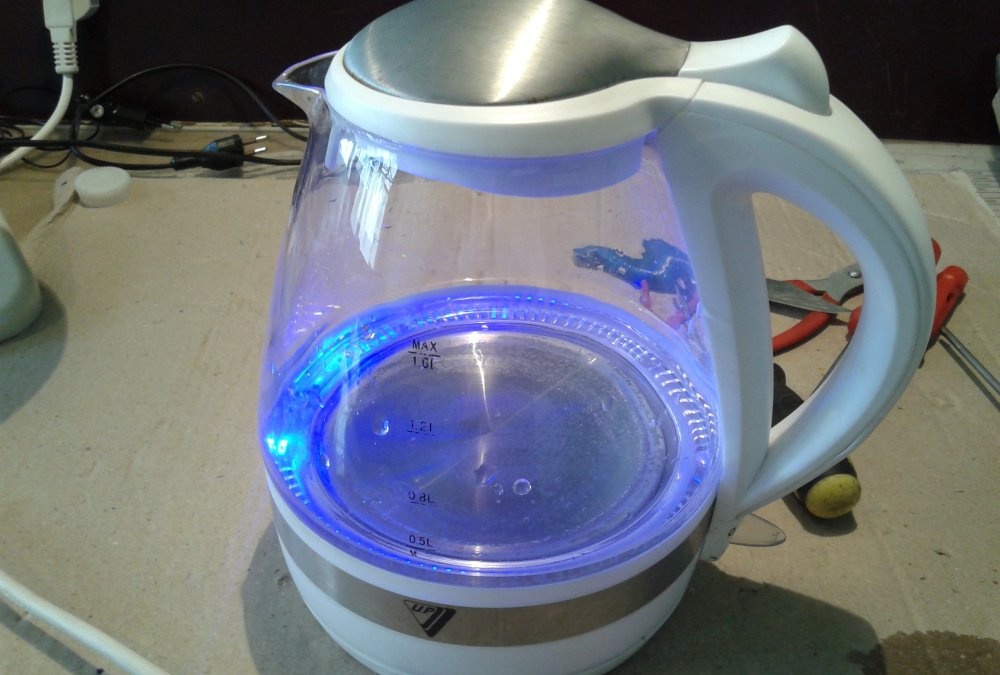
Now, we fasten the module to the sole of the heater and install the kettle on the stand. Having collected a little water in the kettle, we turn on the plug in the socket, and the switch is in the “on” position.

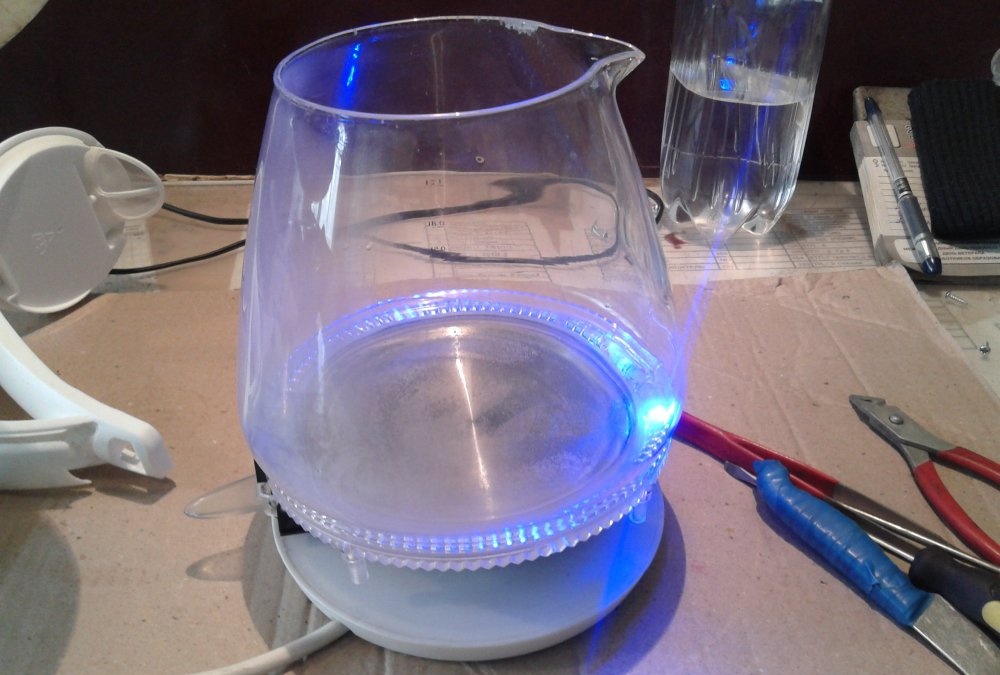
If everything is done correctly, water boils under the blue decorative light.
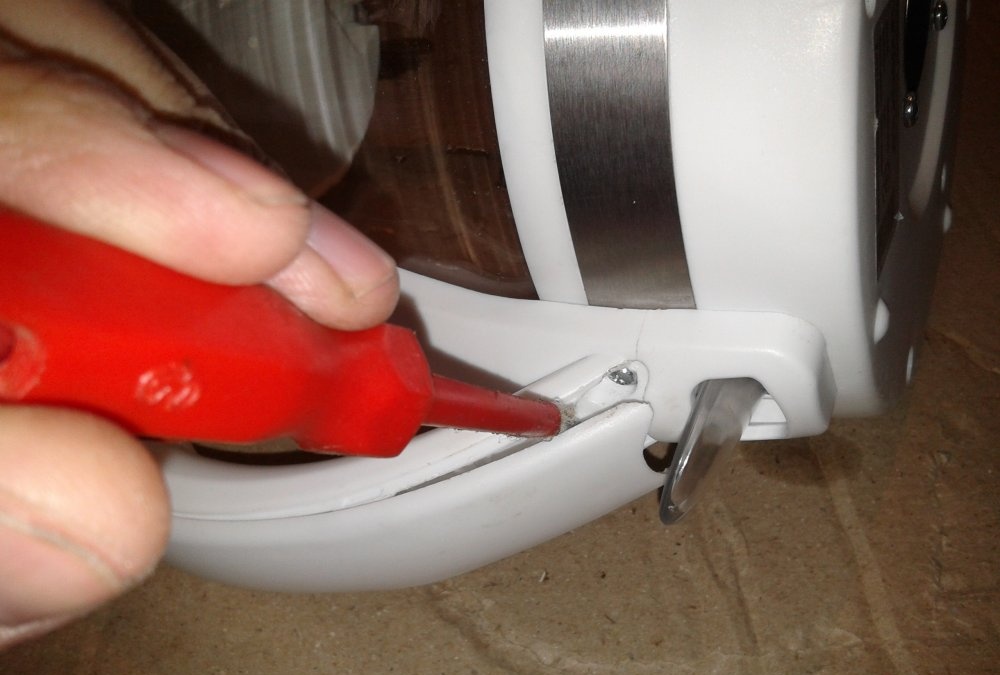
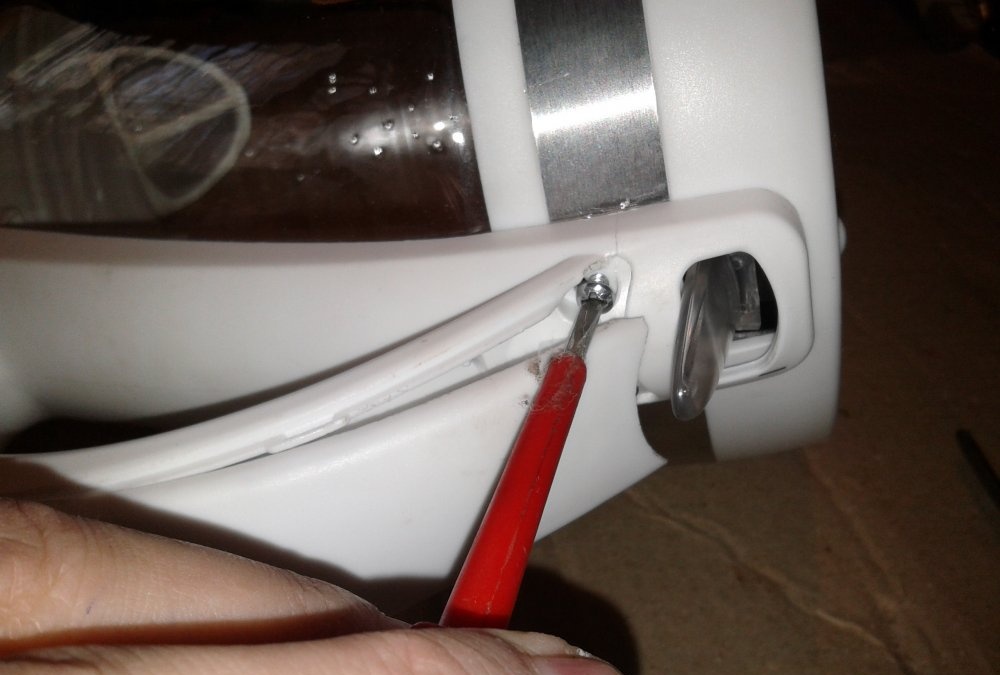
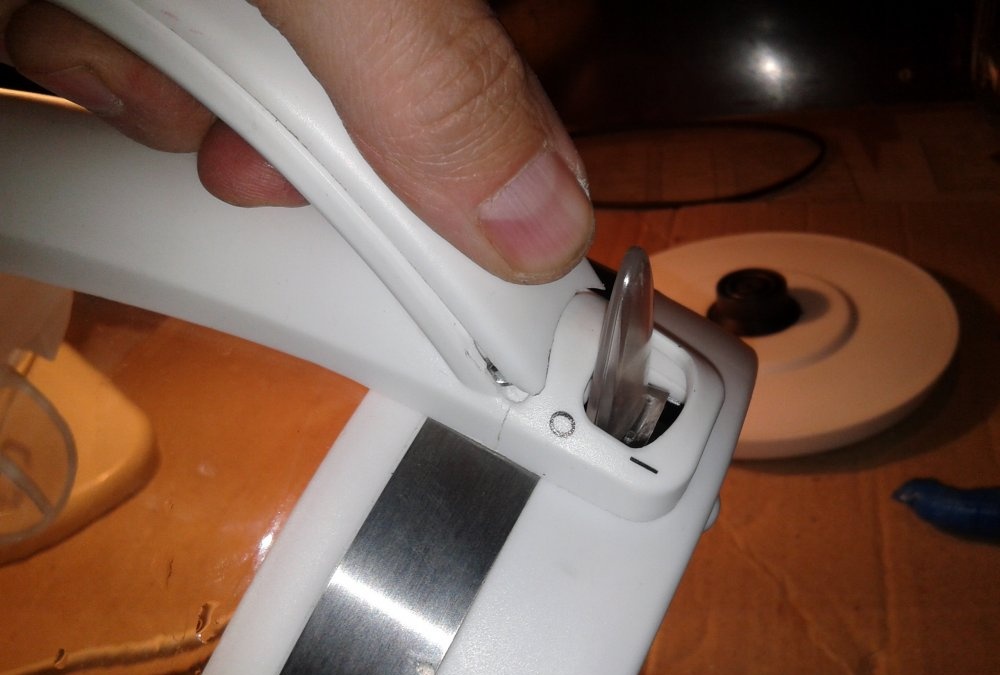
Next, turn off the plug and thread the glass lever through the cutout in the case, put the plastic sole in its place.
When installing, a very important point is the correct alignment of these two parts. As shown in the photo, when the lower part is supposedly inserted, you need to press a finger on the recess at the top of the lever.

A click occurs and the two parts dock correctly and permanently. If this is not done, at the end of the assembly, the power button will not turn on again, because the lever system will rest on the sole and not give it a move. You will have to disassemble the entire kettle again, which is very undesirable.
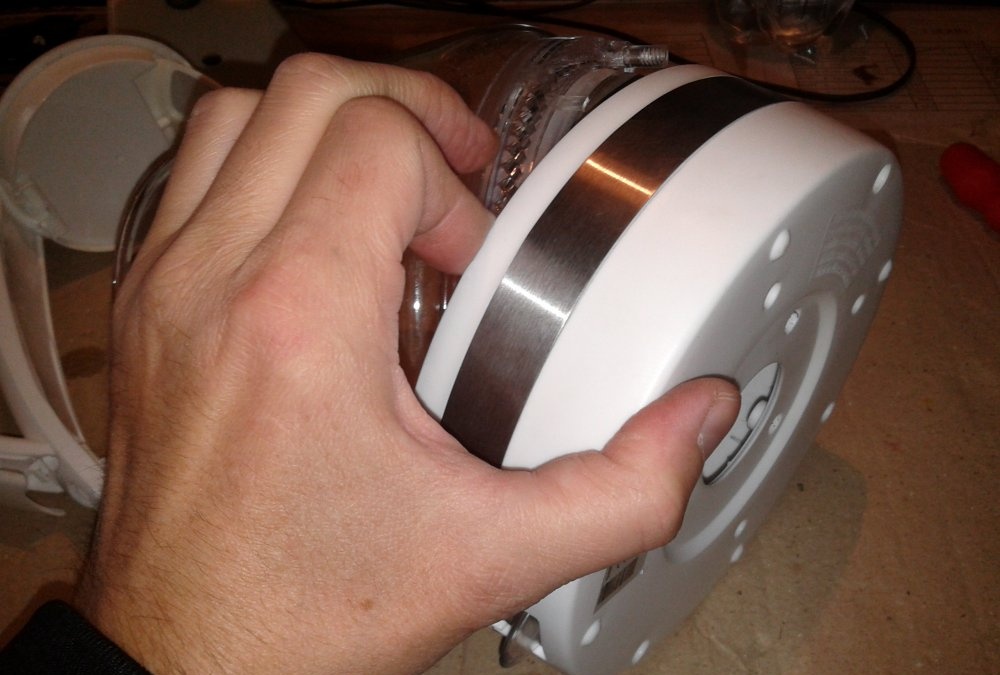
Now, install the handle.

The first thing to do is get the top of the glass bowl into the groove between the handle and the top cover.
Next, we press the handle to the body.

Using the screws under the pad, we fix the handle.
We snap the pad and check the tightness of the connection of the glass and plastic parts around the entire circumference of the bowl.

If everything is connected correctly and tightly and there are no gaps, turn the kettle over and tighten the screws on the sole.
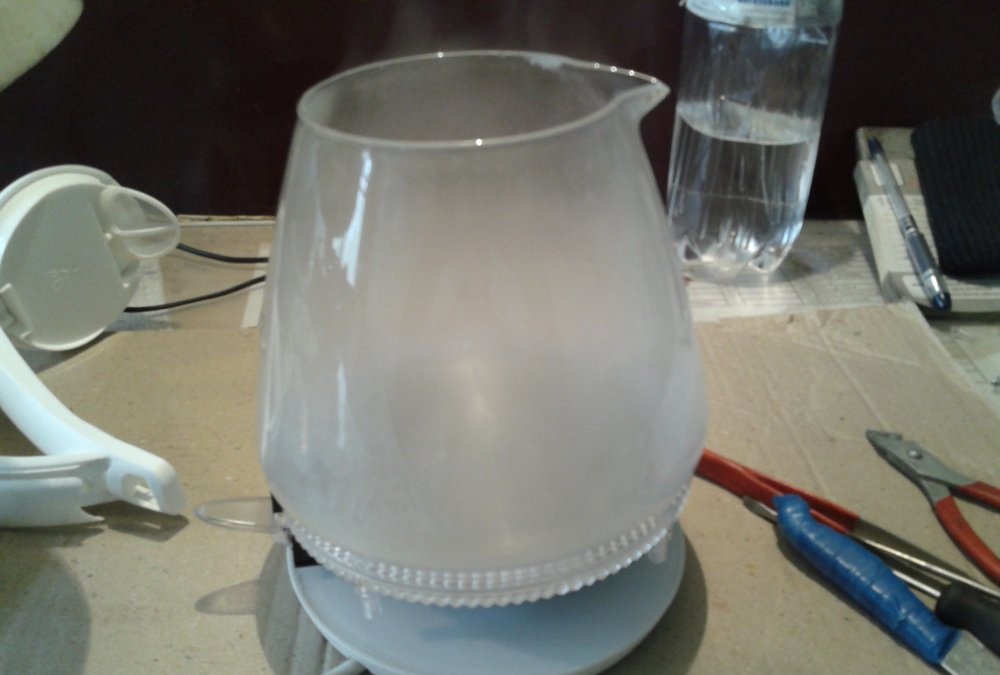
Add to the bowl of water and turn on the kettle again.
The photo shows that the device is working, and the water boils.
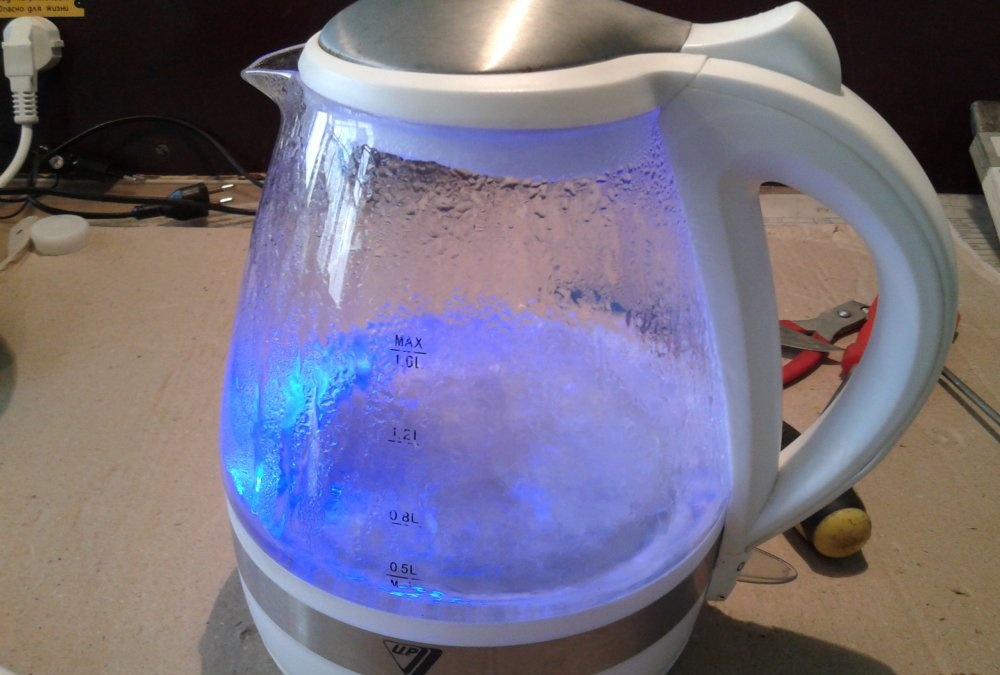
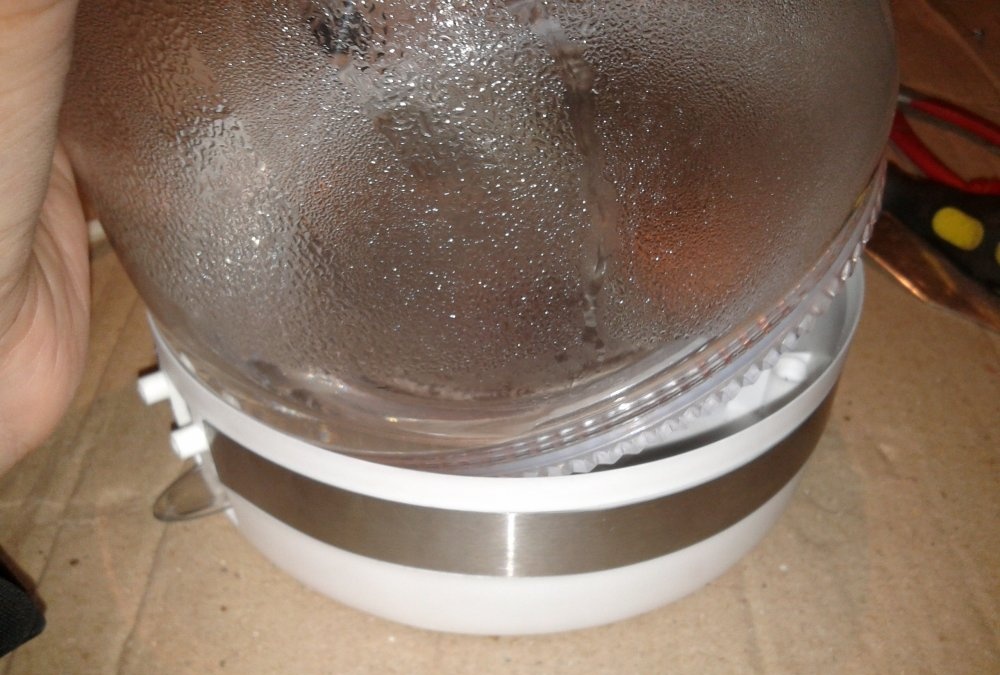
Also, the kettle should turn itself off. This is what happens.

We can assume that the repair was successful and this wonderful device will please its owners more than once with an invigorating, warming drink.