To work, you need to prepare just a few materials:
- - a ruler;
- - a simple pencil;
- - scissors;
- - breadboard knife;
- - 4 sheets of landscape paper for drawing;
- - a tube with PVA glue.
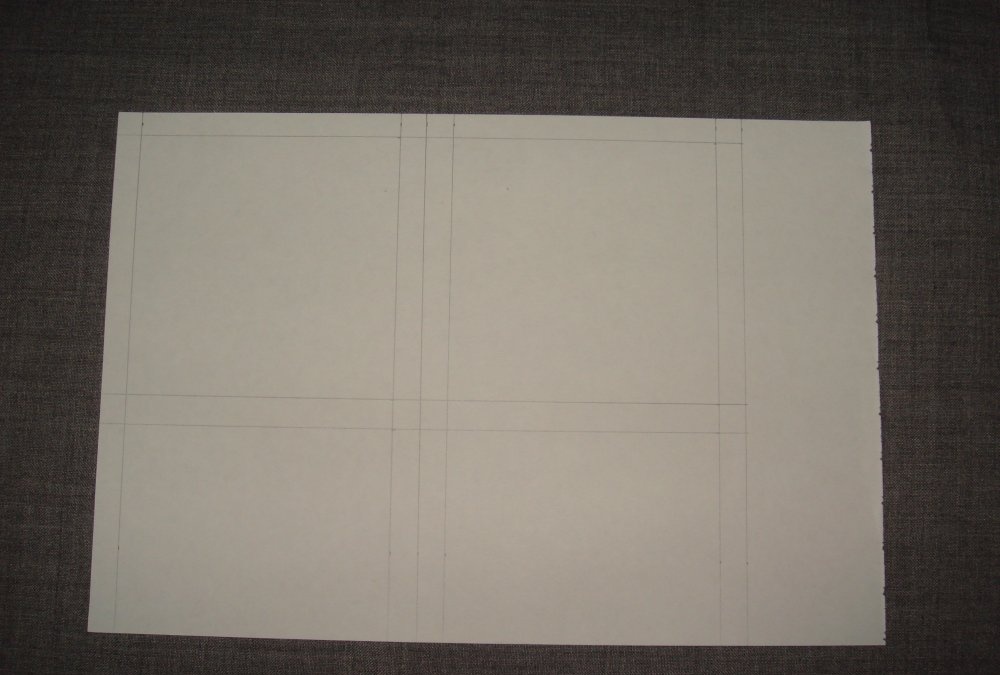
First, on a sheet of paper using a regular ruler and a simple pencil, you must draw 2 squares with sides of 10 cm and an allowance of 1 cm on each side.
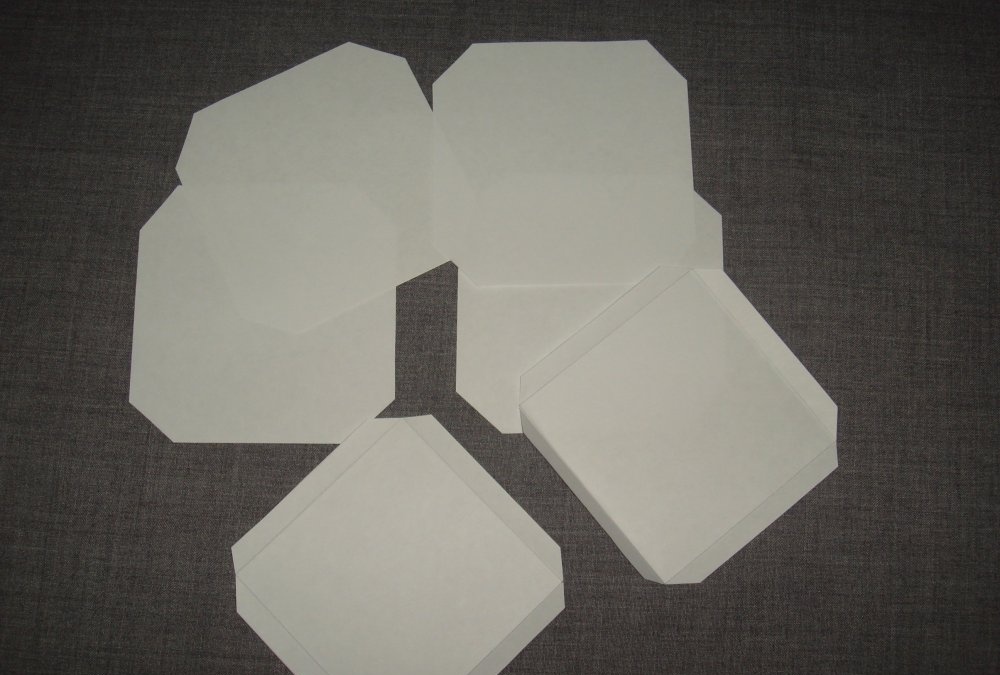
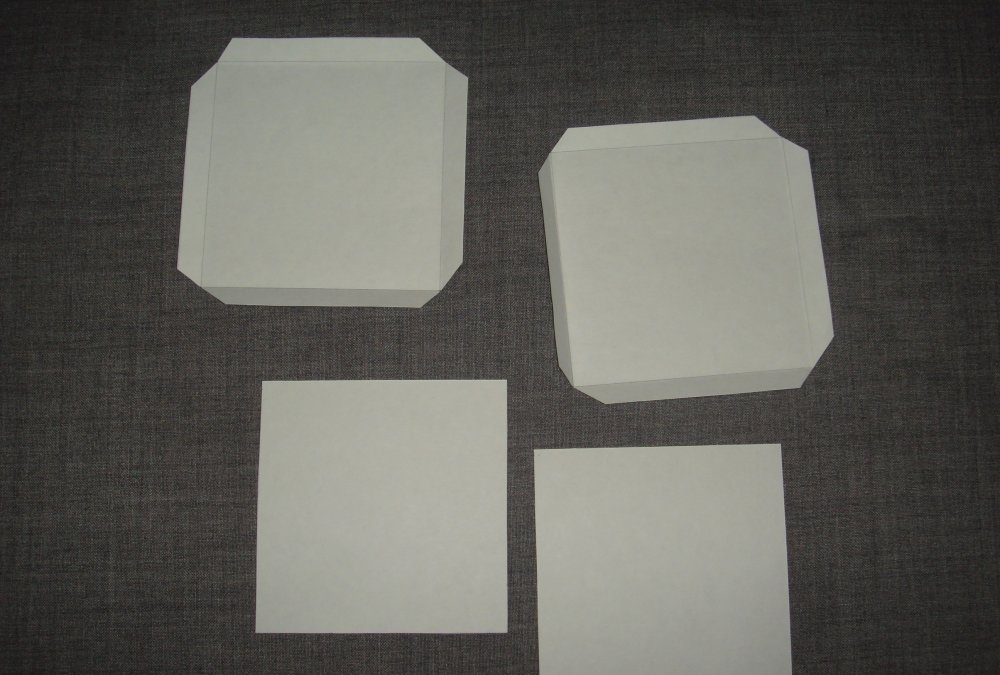
Such blanks must be cut 6 pieces. It is better to cut corners right away and bend all sides along the allowance lines.
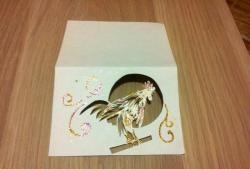
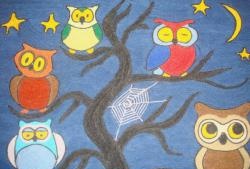
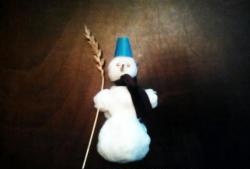
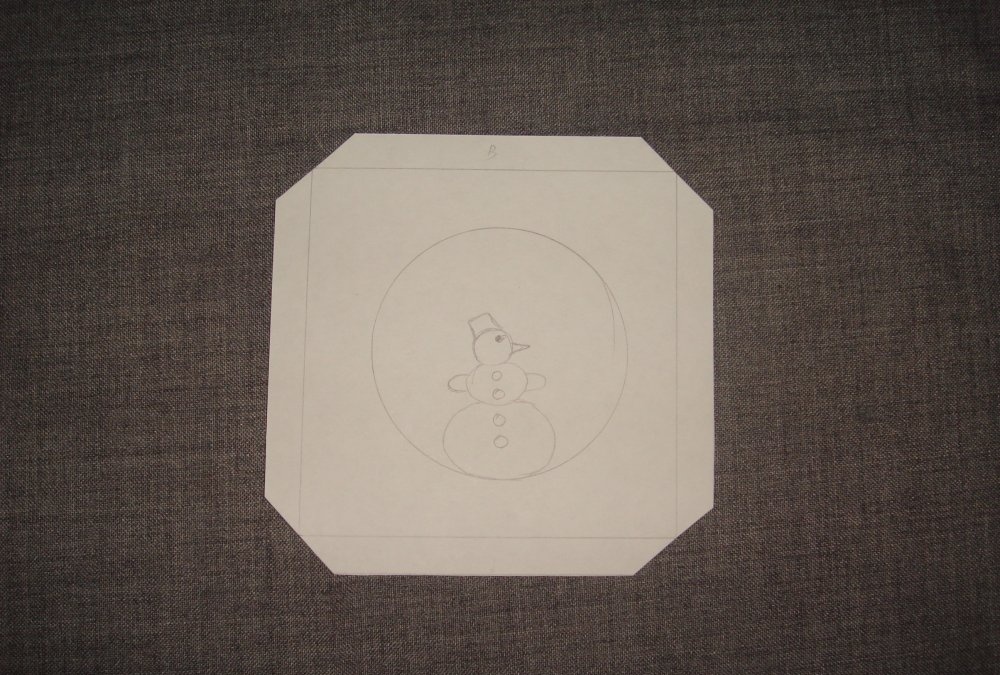
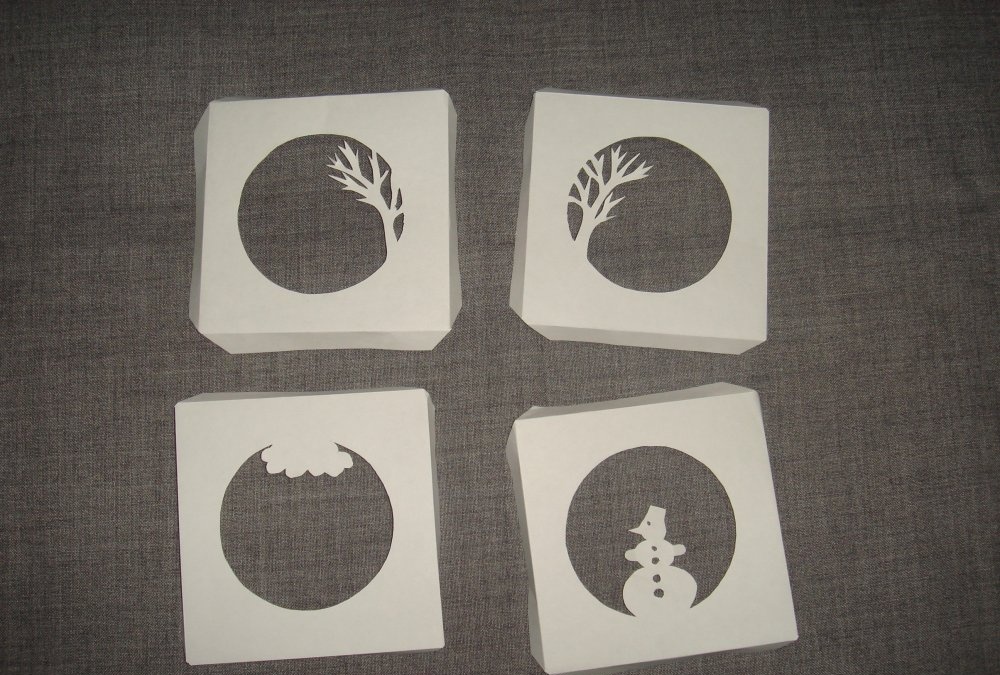
Then on 4 squares we draw a ring in the center and various winter-themed images. A great option is a snowman. Be sure to draw so that its bottom circle is in contact with the edge of the ring.
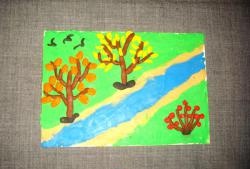
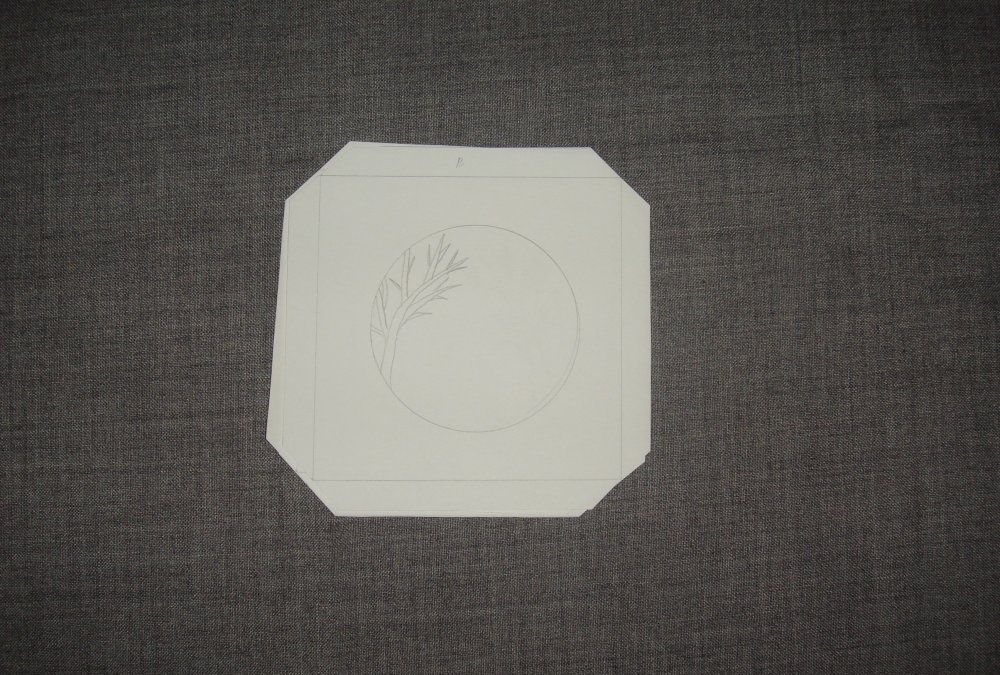
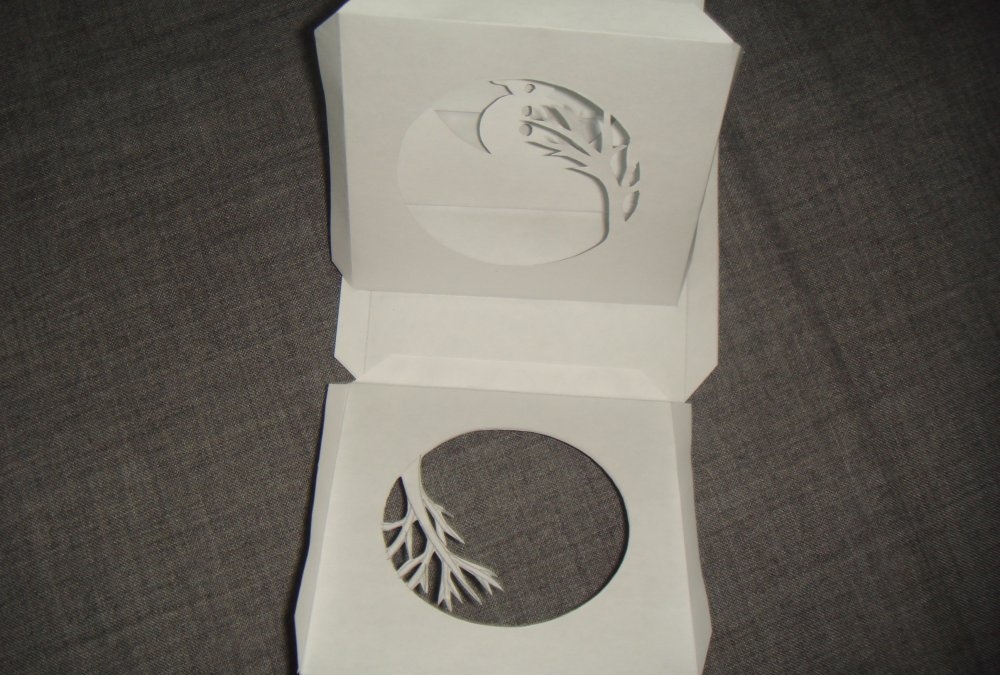
On the second square, we draw a tree on the right.
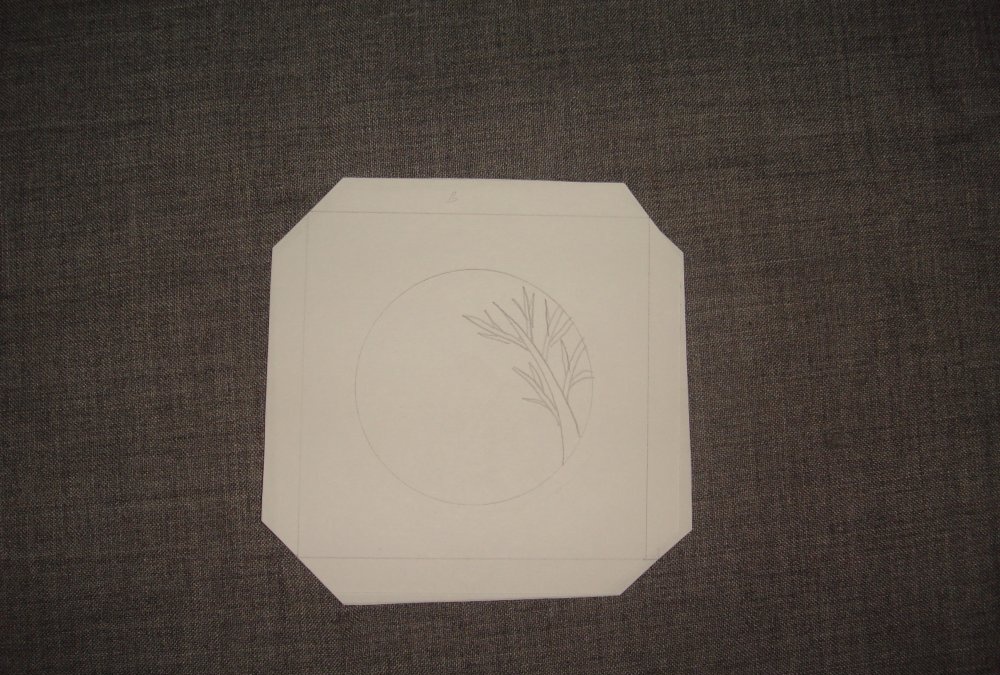
On the third paper blank, the tree should be on the left.
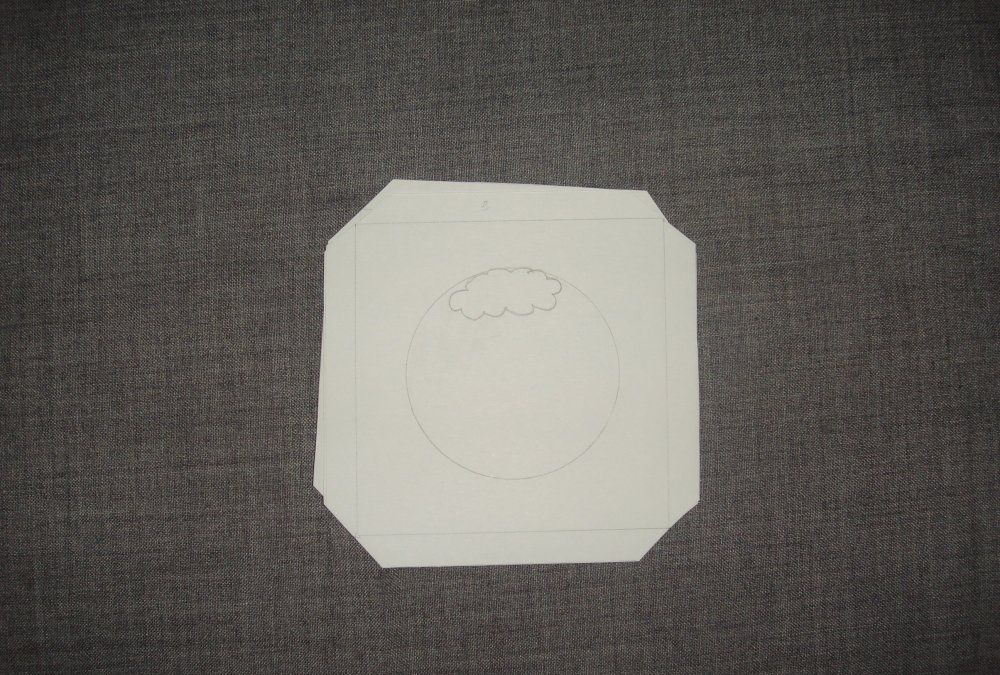
And on top of the fourth square we draw a cloud from the very top.
2 blanks with margins along the edge are left without a pattern. And you also need to cut 2 squares with a side of 10 cm. These will be the side parts of the cube.
Now, with scissors and a breadboard knife, we cut out our images so that they are attached to the edge of the ring.
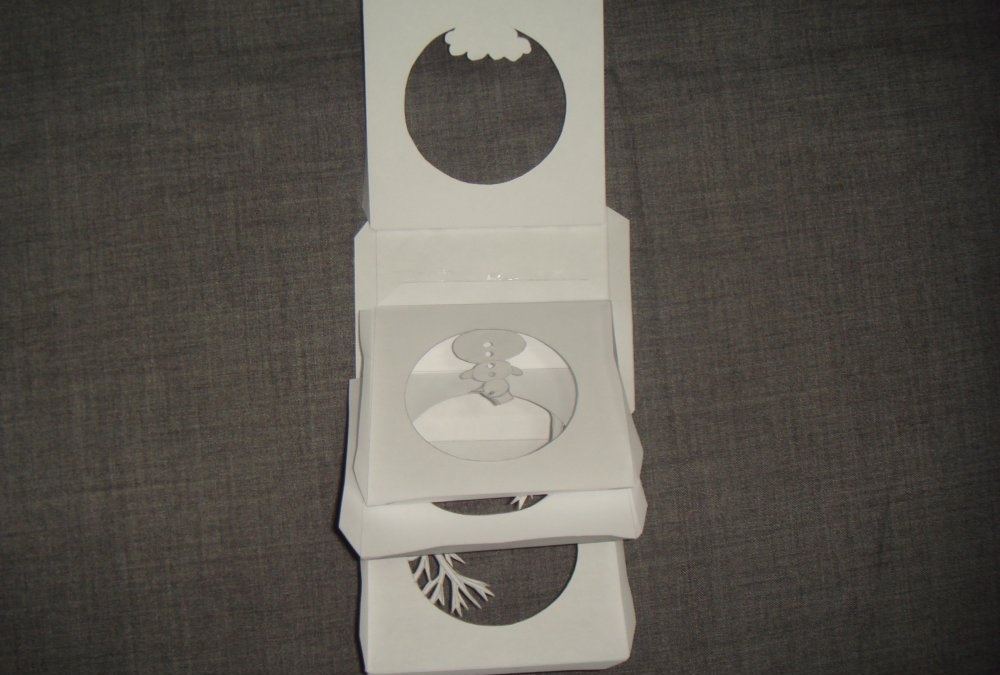
Now we proceed to the assembly of all parts. Glue 4 blanks with drawings on the square with the allowance using PVA glue, moving from top to bottom in the following order: cloud, snowman, right tree and left tree.
Now glue another side part.
It remains only to glue the side parts, that is, those squares that are without allowance.
The cube is ready!


For decoration, cut miniature snowflakes from scraps of white paper. About 12-14 pieces.
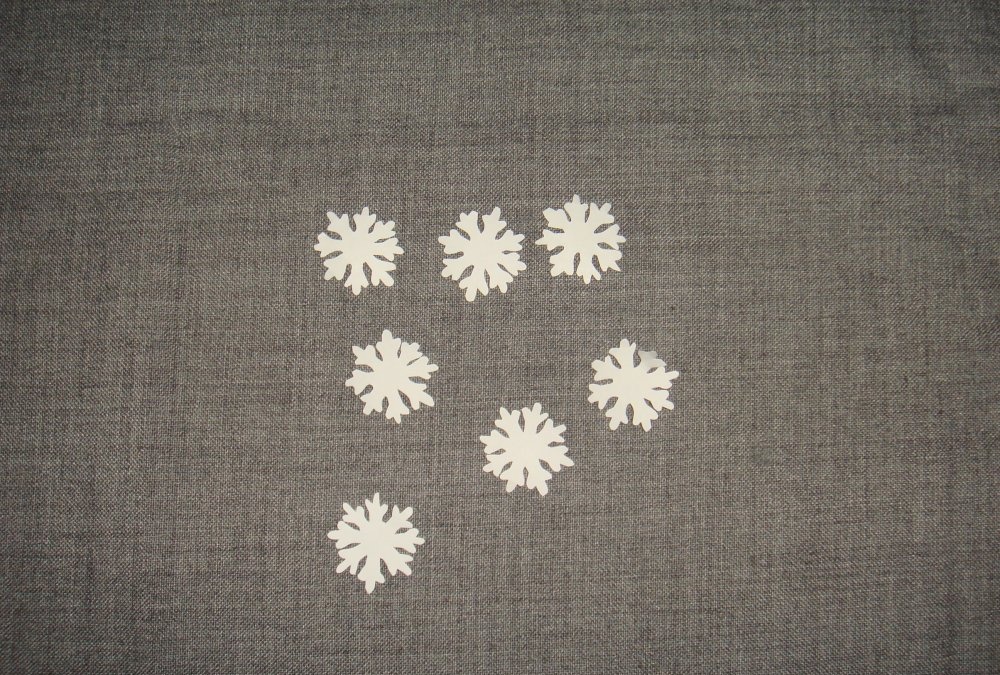
Glue them in the foreground of the square where the cloud is located.

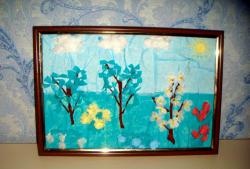
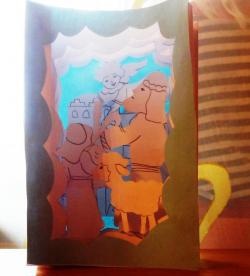
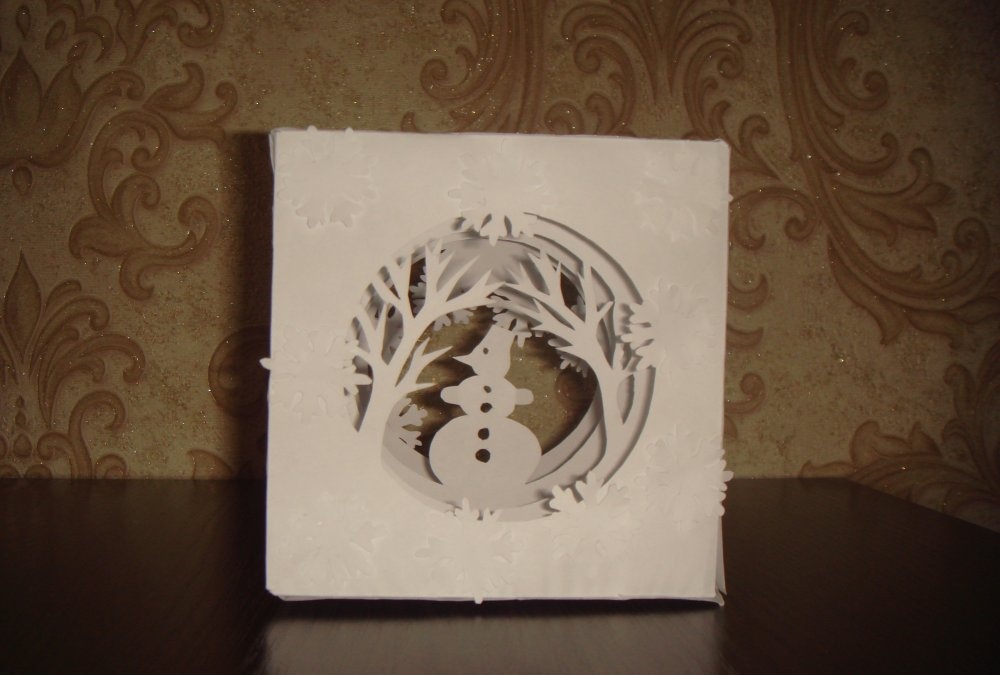
It turns out such a magnificent cube tunnel with a winter-themed landscape.
Advice:
- - To make the picture appear more colorful, use colored double-sided paper.
- - Snowflakes can be cut out in blue or silver.
- - If the middle parts of the cube are made of white paper, then the sides of the cube made of colored paper will better highlight the image.
- - Instead of PVA glue, you can use double-sided tape, glue stick.