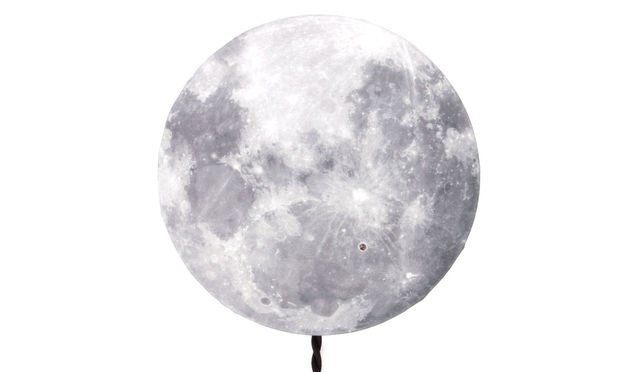
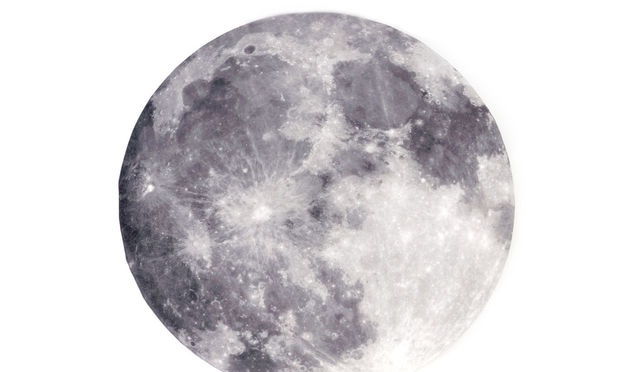
The night lamp in the form of the moon is very original, beautiful and unusual. The effect that this lamp produces is simply mesmerizing.

Materials for a night lamp
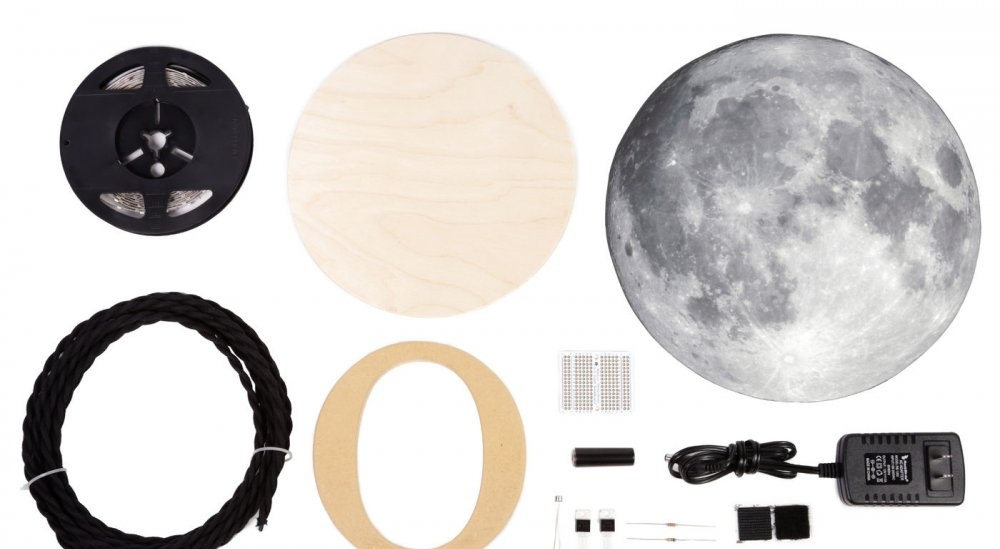
For a moonlit night light you will need:
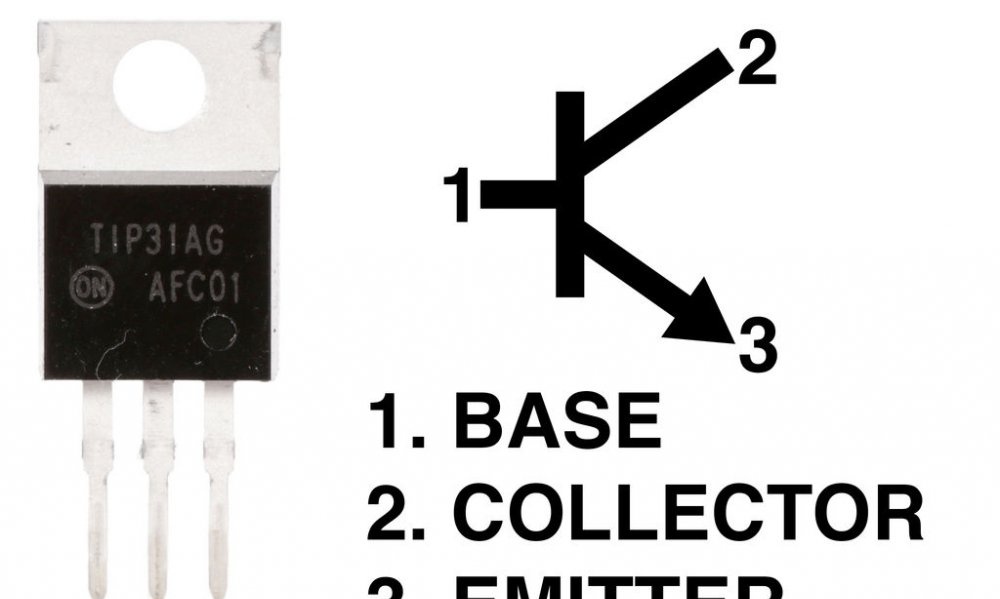
- Transistor TIP31 -
- Transistor TIP42 -
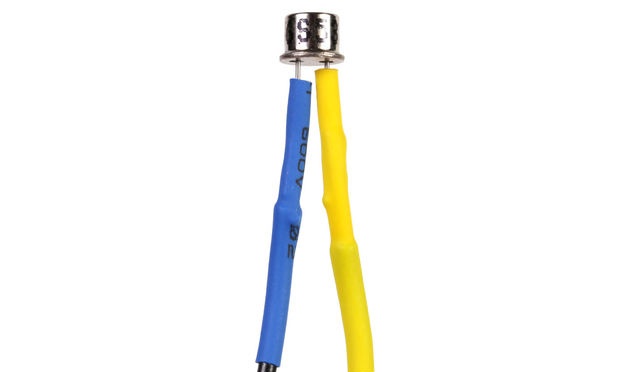
- Photocell -
- 1 M resistor -
- Resistor 10 K -
- Power supply 12 V -
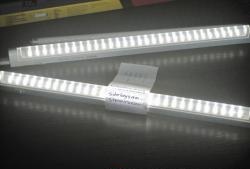
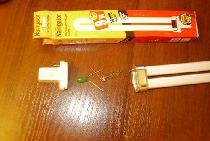
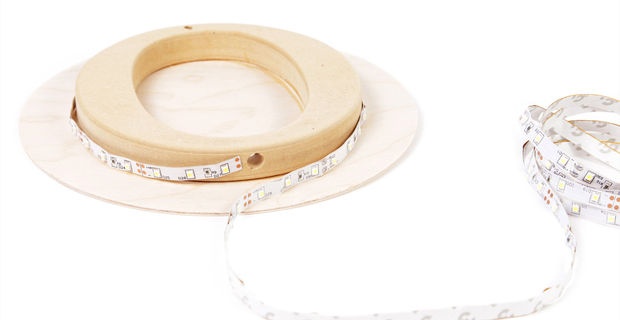
- White LED Strip -
- Bread board -
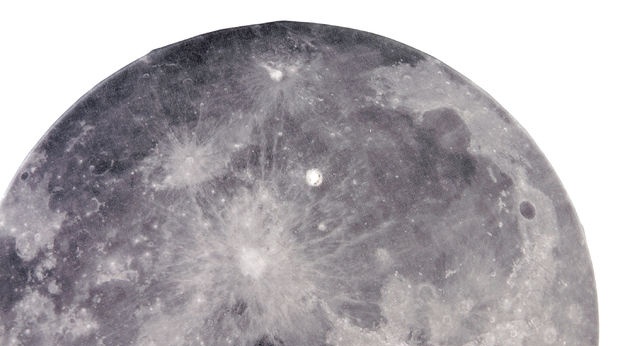
- Printed moon sheet.
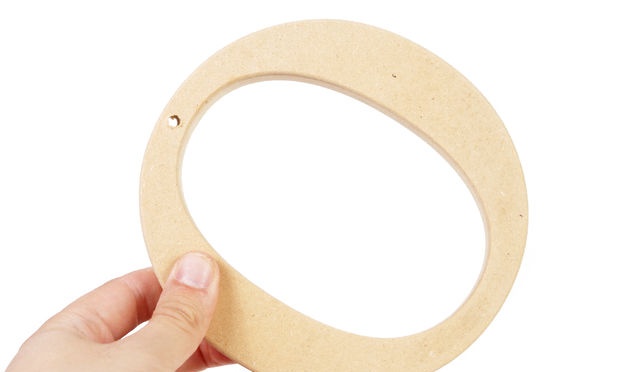
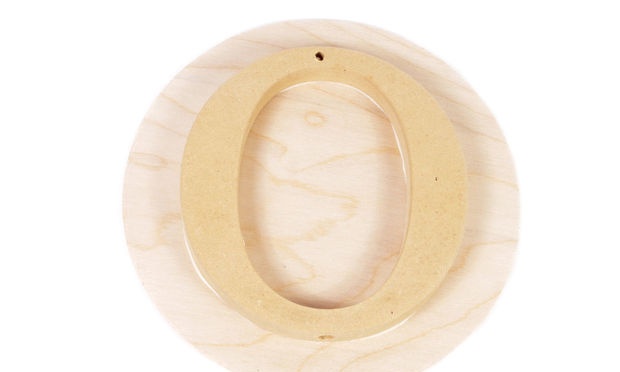
- Wooden circle 21 cm.
- Wooden oval with the letter "O" 15 cm.
- Wires.
- Clothing Velcro.
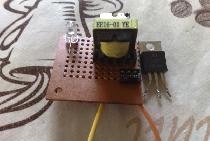
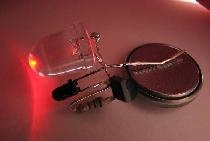
Transistor night light circuit
In this circuit, I used two transistors to turn the LED strip on and off. The first transistor responds to changes in light and starts the second transistor, which responds by turning the LED strip on and off.
This is a cent centric composite transistor of the two, only included so as to provide better amplification of the electrical signal from the photosensor.

The 1M resistor can adjust the sensitivity and threshold of the backlight.
Manufacture
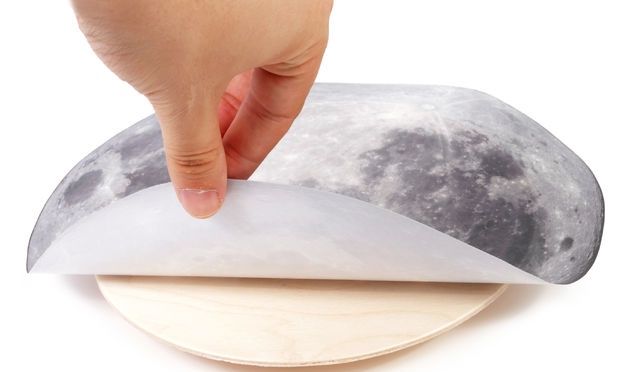
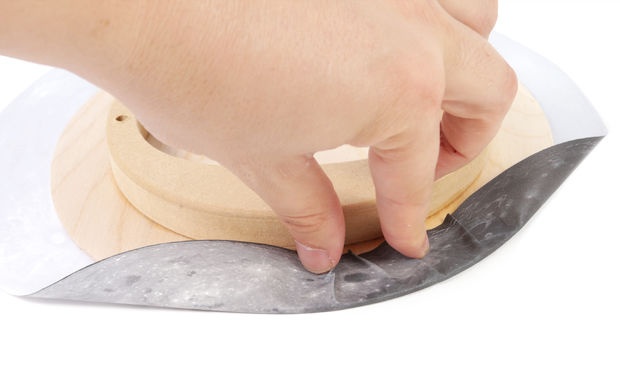
First you need to prepare everything in advance. Cut a circle from plywood, cut out the base in the form of the letter “O”, print the moon pattern on the printer. If everything is ready, proceed.
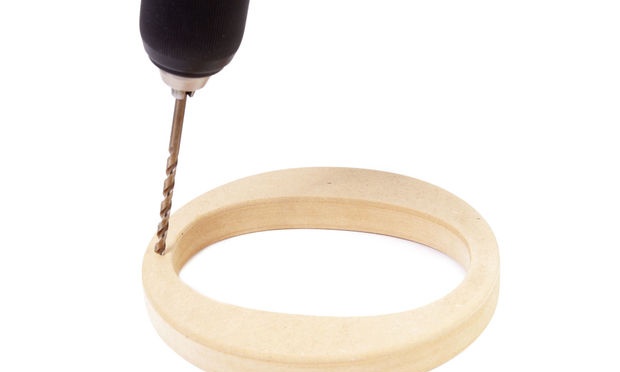
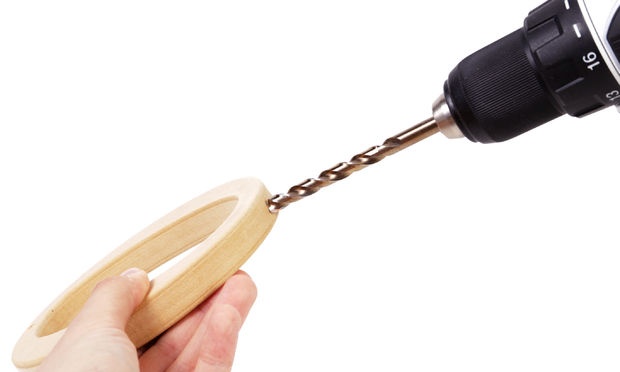
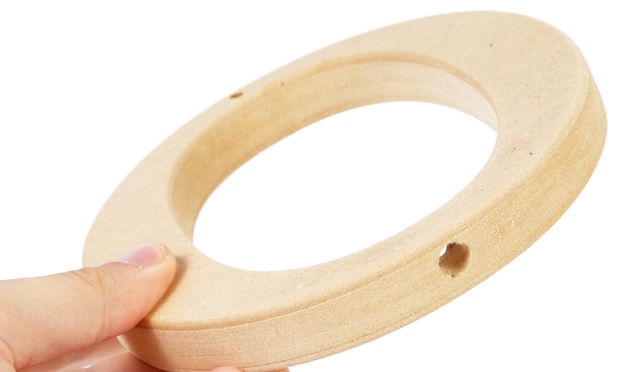
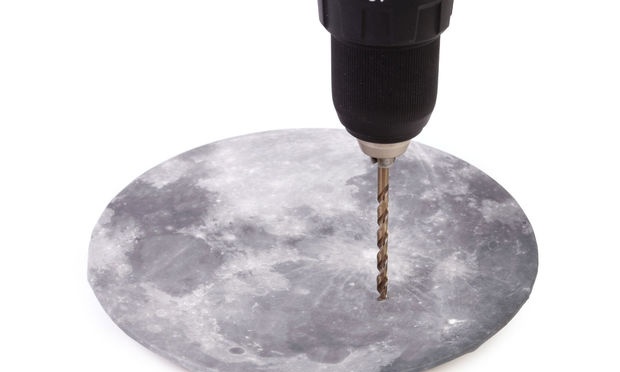
First of all, we drill two holes at the base: on the one hand, from above - for mounting the lamp on the wall and from below - in order to pass the wire.
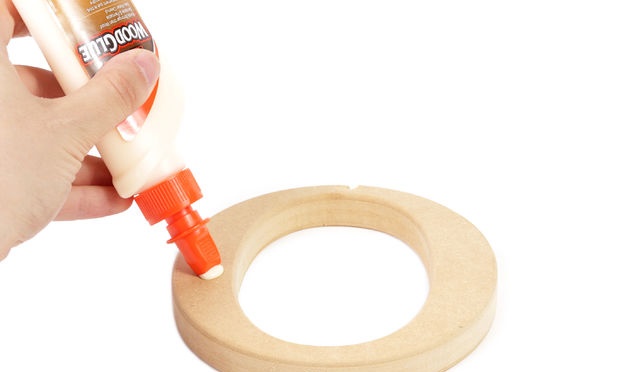
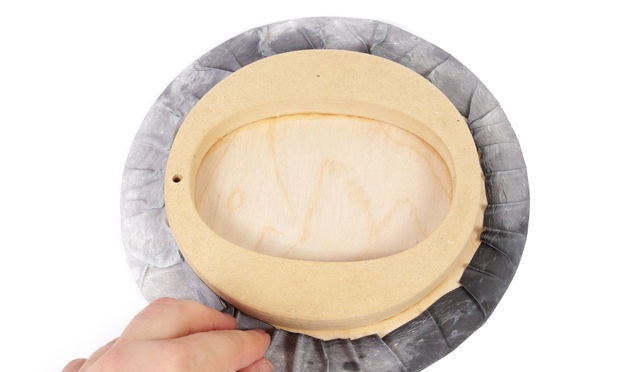
Then, glue the base to the plywood circle with glue on wood like PVA. The surfaces are sick to be clean and even, otherwise it may not adhere well. The design is not intricate.

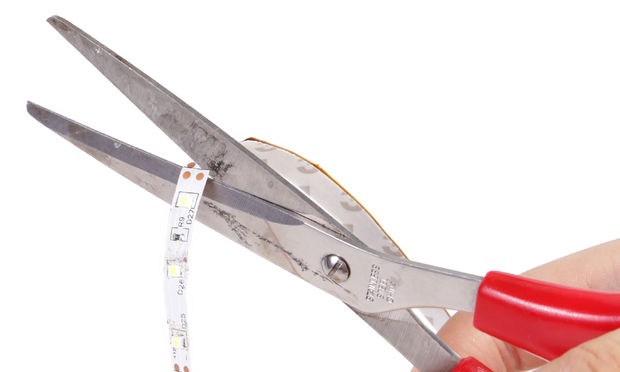
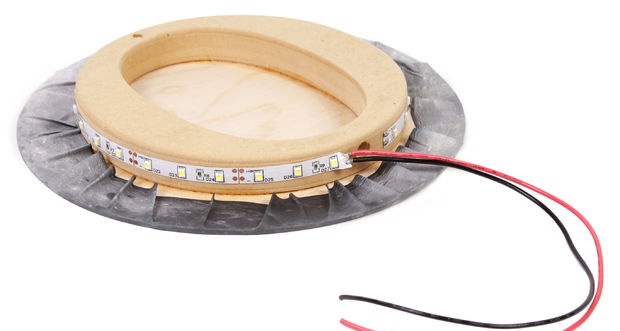
Leave for a short time until everything dries. As soon as everything has dried up in an oval, we measure the LED tape. We cut off the excess in the place where it is indicated, otherwise not all LEDs will light up.
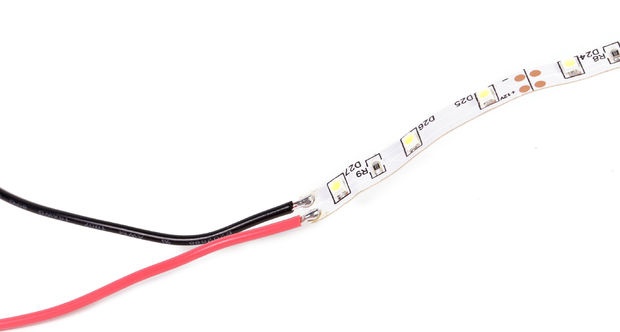
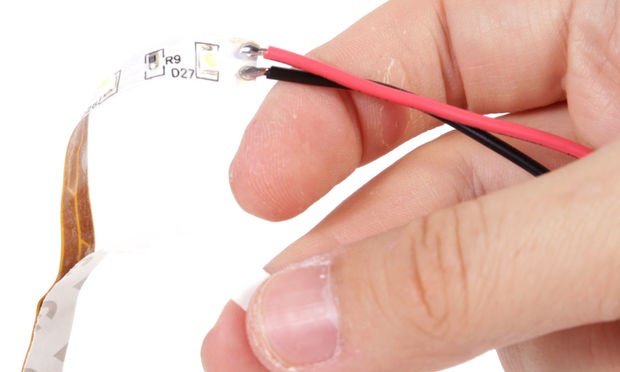
Solder the wires to the LED strip.
Glue the moon pattern to the circles. Glue gently, iron. We bend the edges and form a skirt. Let's wait until the glue dries.
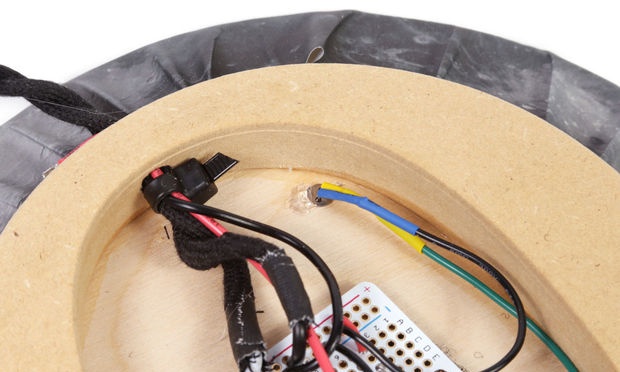
We drill a hole under the photocell. It is advisable to choose the place where this hole will be combined with the pattern of the moon.
Remove the protective layer from the LED strip and glue the strip along the oval. Pass the wires into the hole below.
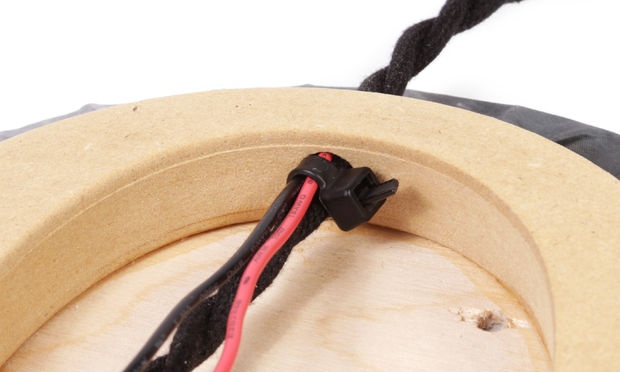
We pass power wires from the source into the same hole.
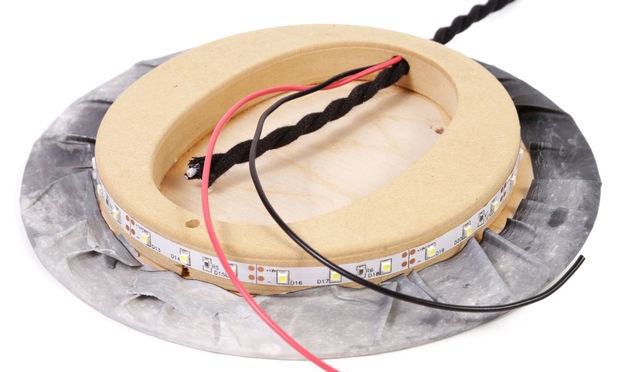
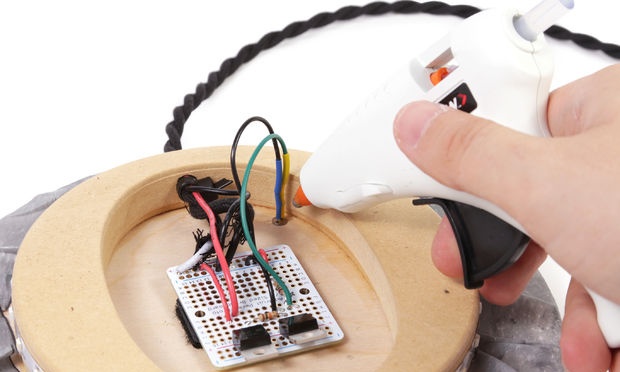
We fix the nylon clamp so that it does not fly out.
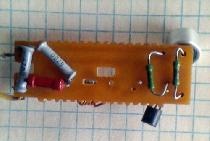
We assemble the circuit on the breadboard.
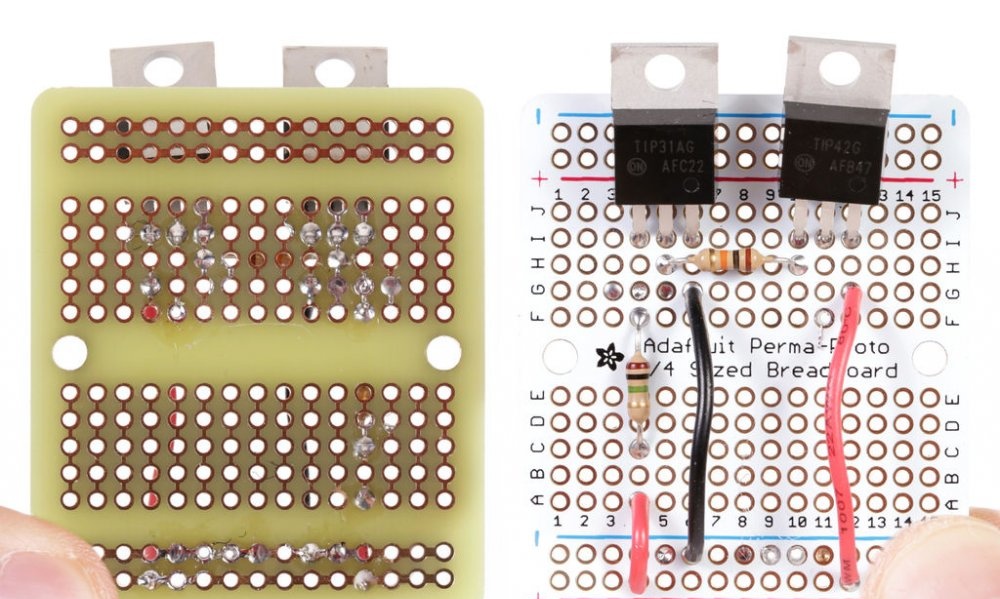
How transistors are connected.

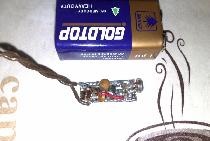
Solder the wires to the photodiode, isolate the heat shrink tube.
Solder the power wires to the board.
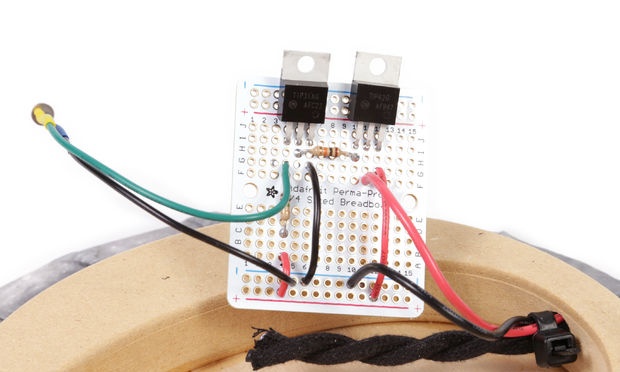
I attached the circuit board to the Velcro fastener so that it can be removed at any time.
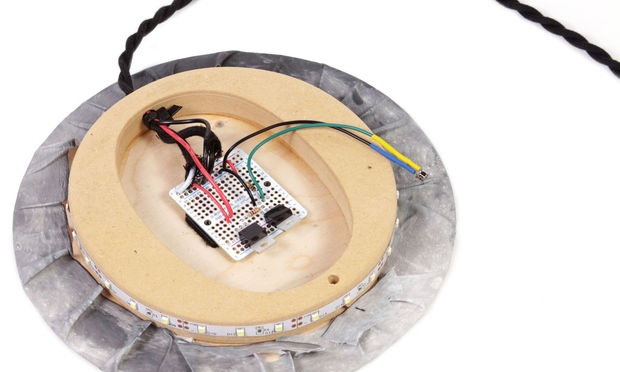
We insert the photosensor into the hole and fill it with hot terminals.
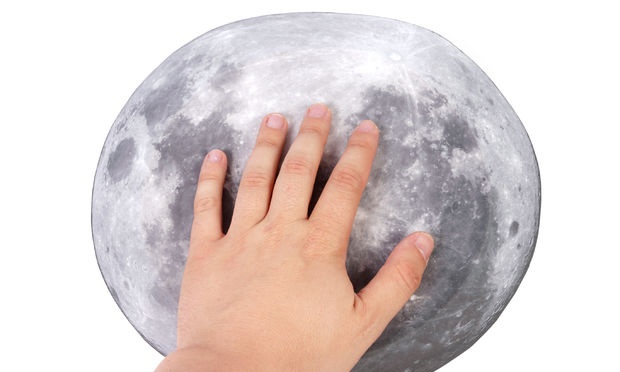
Our moonlight night is ready. We hang on the wall and check.
It turned out very beautifully and creatively. The power supply is pulsed, in idle mode, when the lamp is not turned off, it practically does not consume energy, so you can not worry about it.