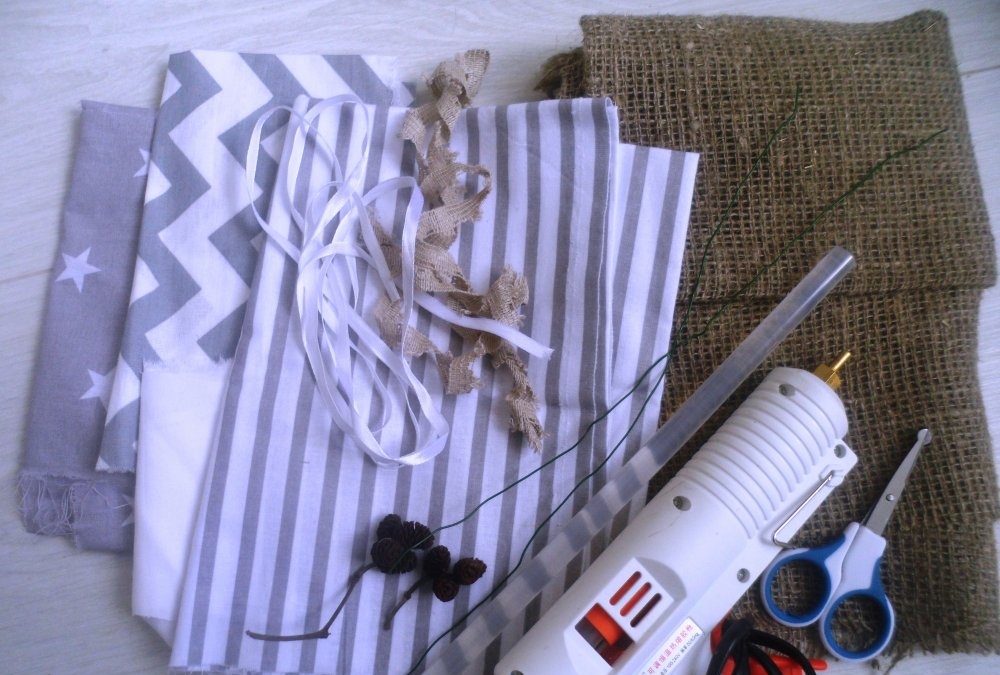
Tools and materials:
- - the cloth,
- - scissors, needle with thread,
- - filler (synthetic winterizer or holofiber),
- - glue gun,
- - decorative decorations,
- - miniature basket.
Sequencing:
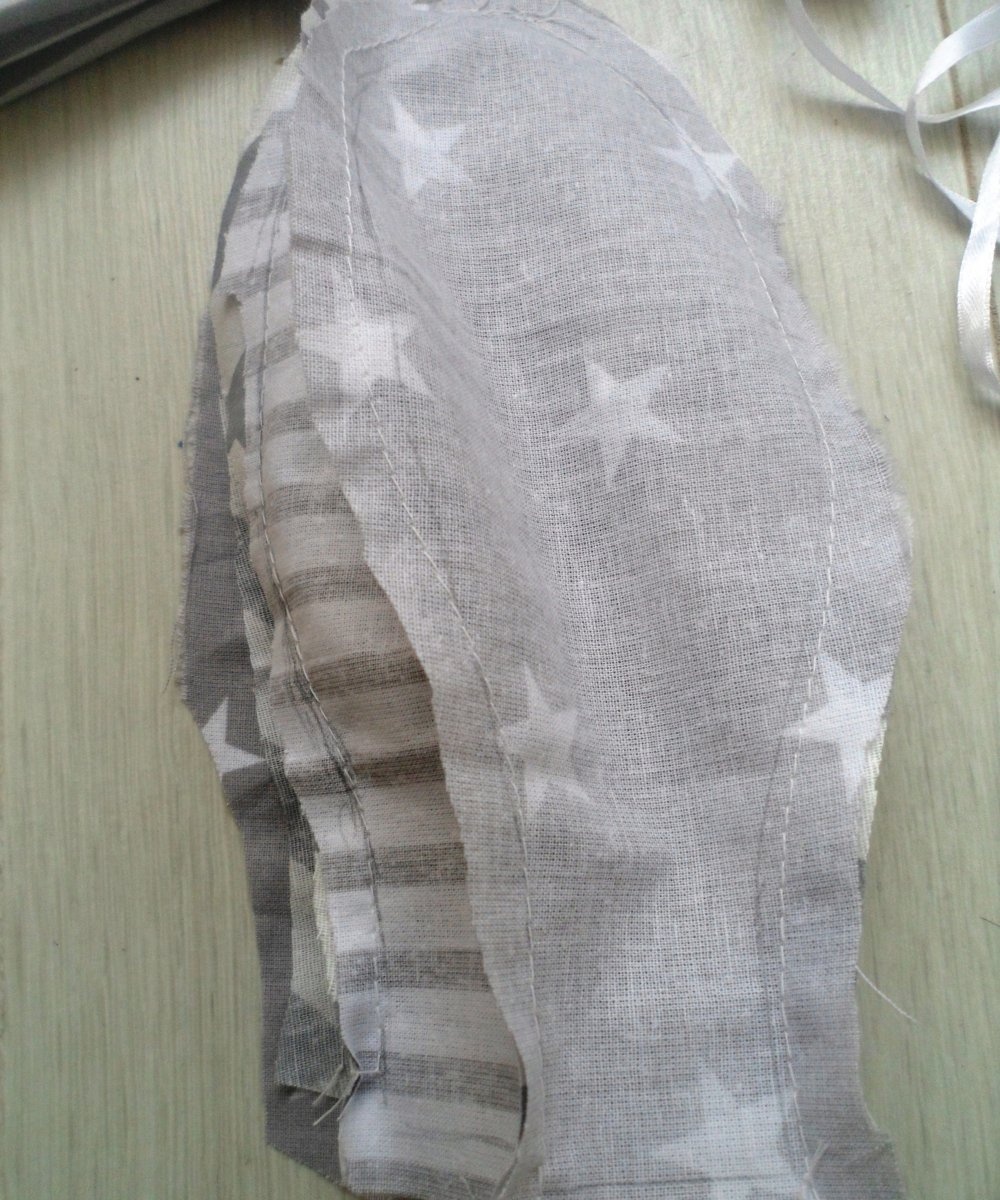
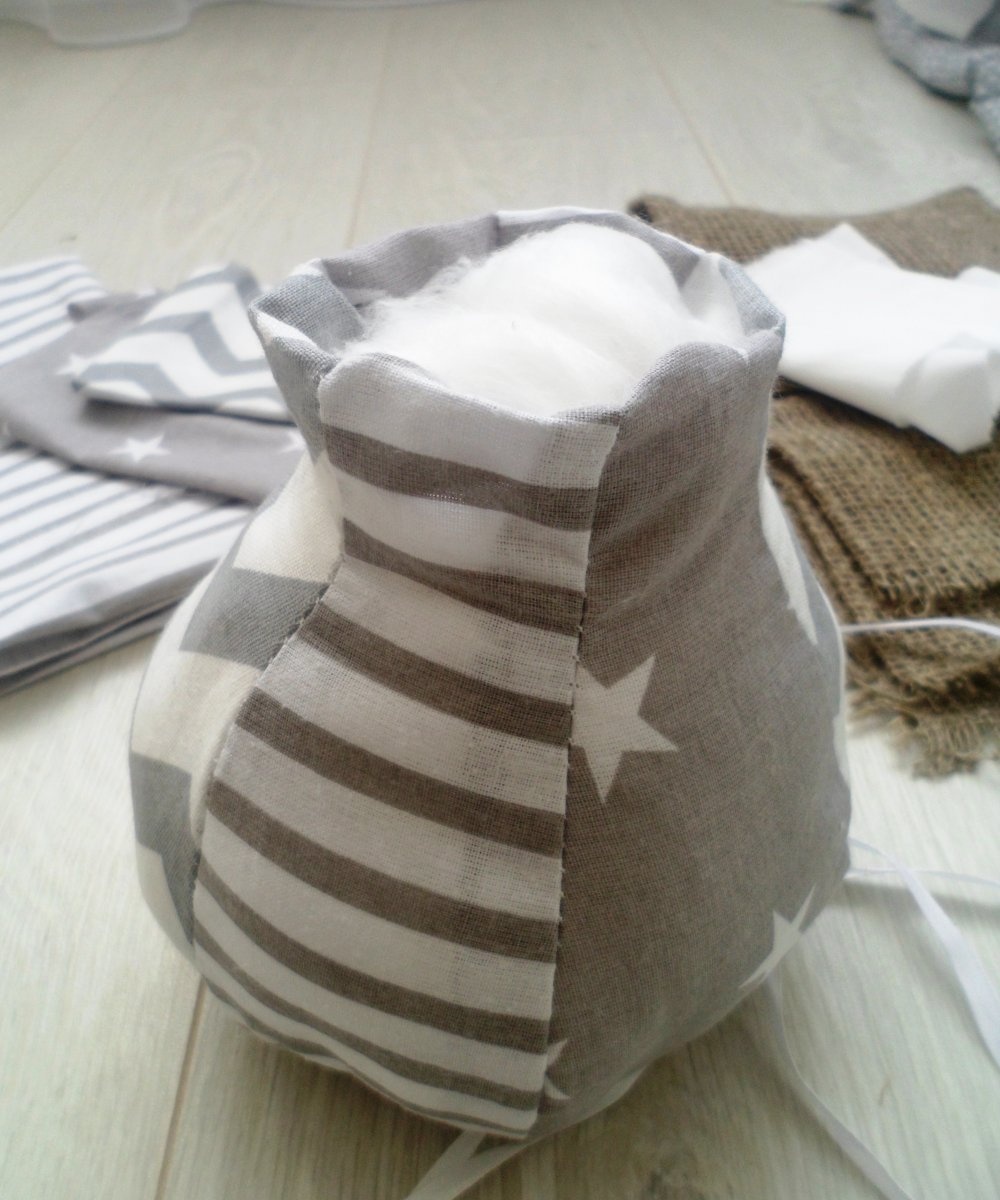
1. From the fabric we cut out 6 elements of equal size: the maximum length is 20cm, the width is 6cm. They remind the petals of a plant. On the seam leave allowances of 1cm.

2. On a sewing machine or manually sew all the components in turn. The bottom edge remains free.
3. Turn out the shell of the ball and fill it with padding polyester. It is important that there are no failures, but it is not worth filling it tight either.
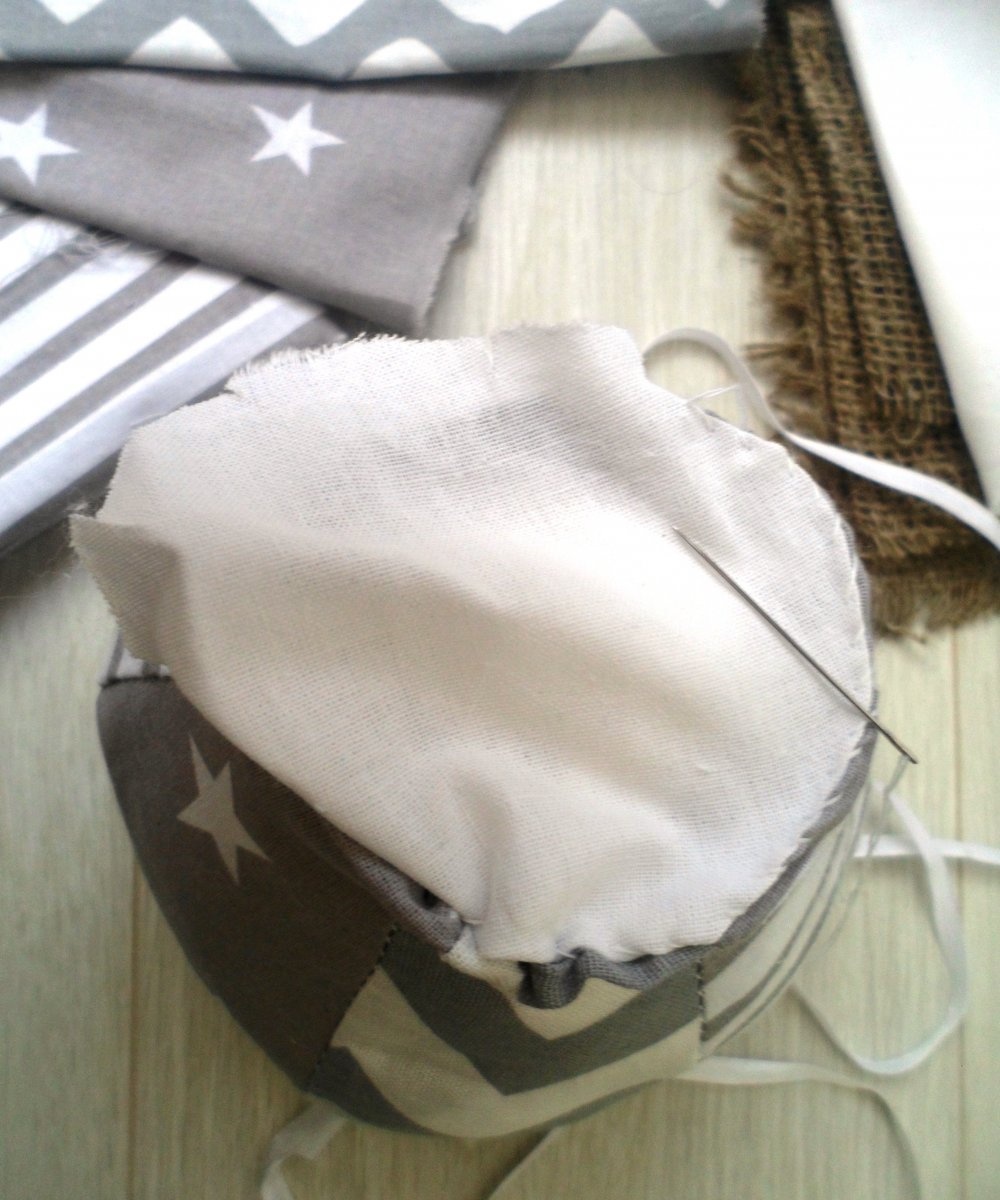
4. Cut out a circle of fabric along the diameter of the hole at the base of the ball. Sew it on the contour.
5. To refine the lower edge, glue it with tape or braid.
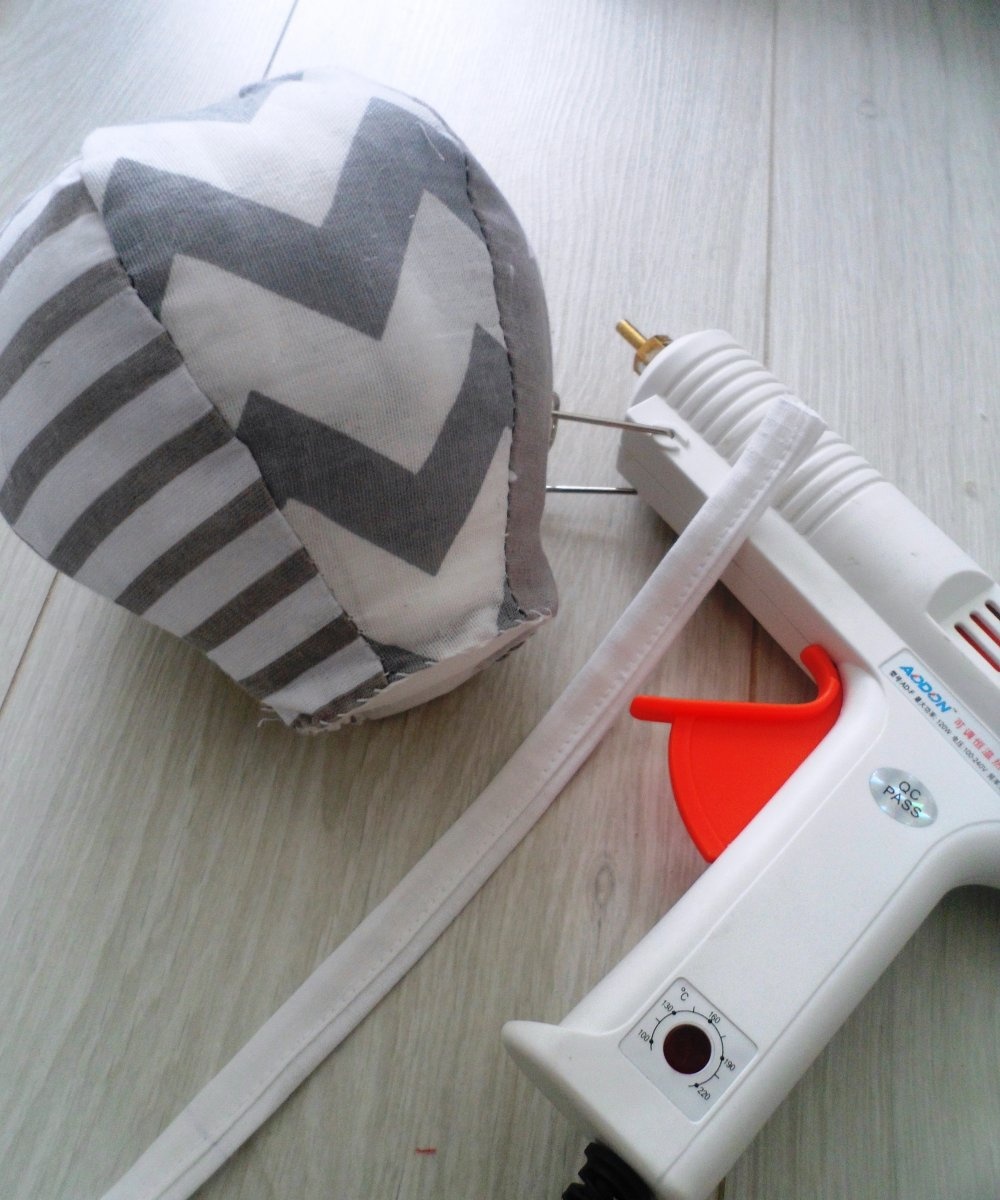
6. We insert a thin wire into the rope and glue it to the ball along the vertical seam. There should be 3-4 such details.
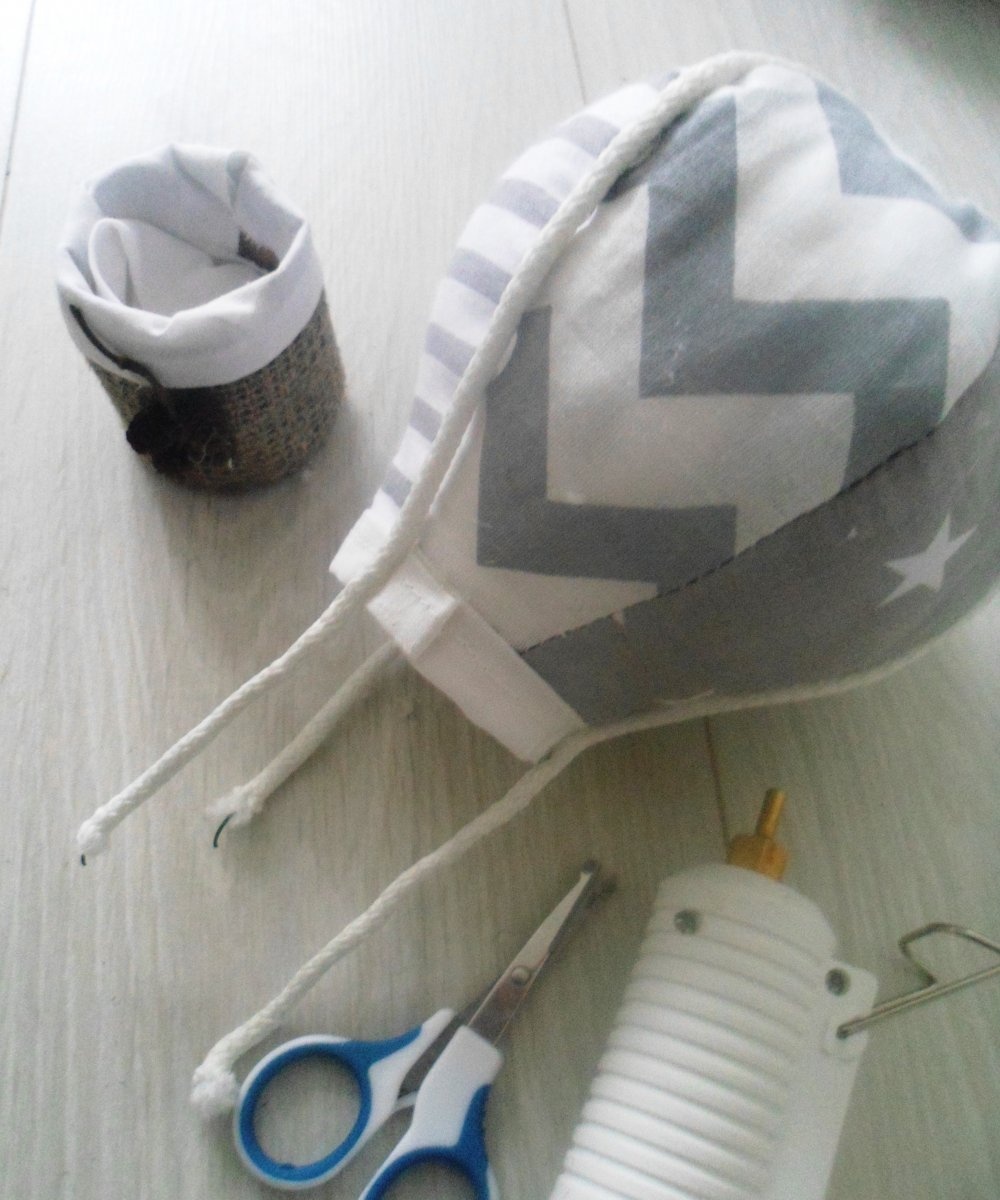
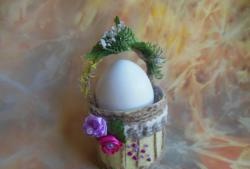
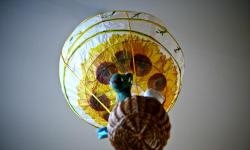
7. On hot glue we fasten our racks to the inside of the basket. Decorate the ball with all kinds of ribbons, beads, flowers. As a basket, you can use a cardboard blank, pasted over with a cloth or prepared from a flower shop.
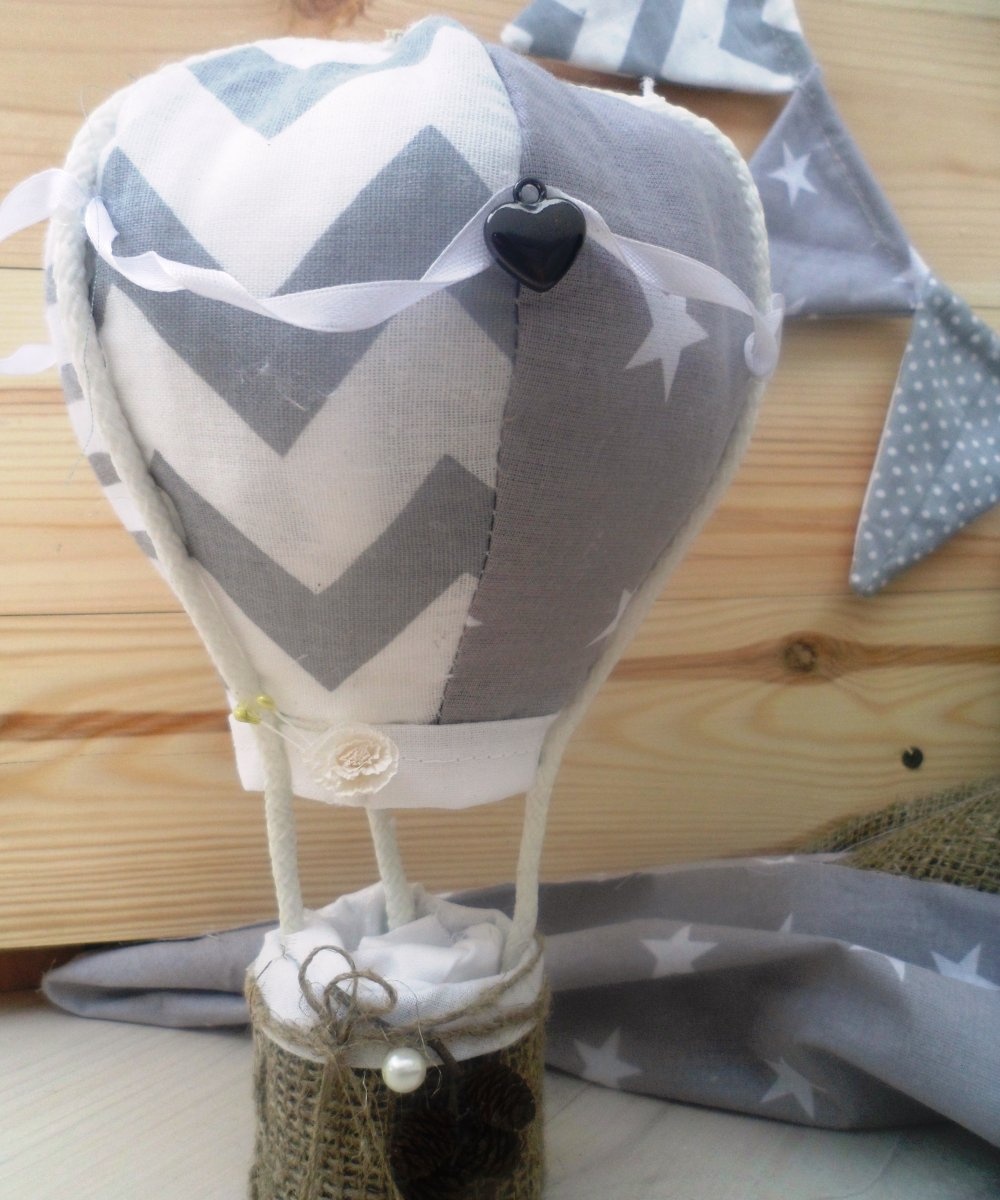
Done - go on a flight! Such a ball is perfect for decorating a children's room or photo shoot.