The cost of this tile is determined only by the prices of cement and sand, and then I get the sand for free. With my tiles, I usually lay out paths and paths in the garden and garden. Once even made her a parking lot under the car.
Tile production
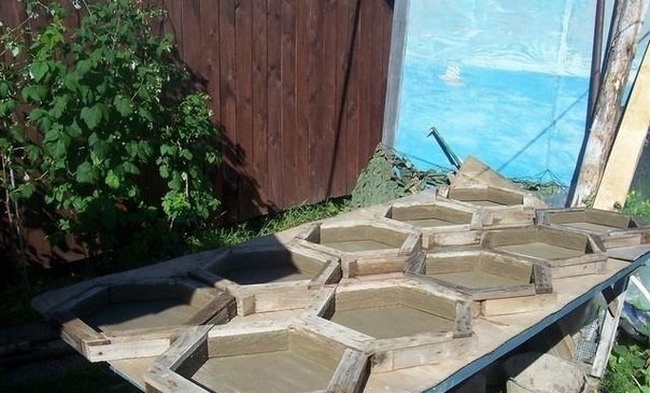
We start with the preparation of a cement solution. I take the proportions: 4 buckets of sand, 1 bucket of cement, 1 bucket of water. Mix everything well and pour it into wooden forms. That's all.
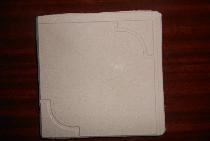
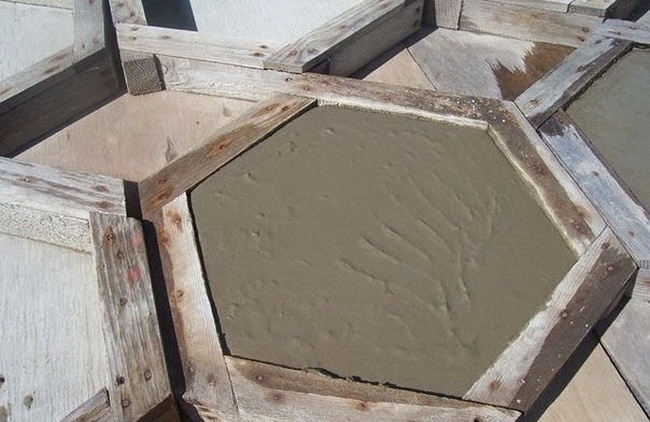
Handmade wooden shapes have been serving me for more than 5 years. The main circuit is a beam, and on top is a rail, which actually holds the entire structure.

I made ten of such forms.
I knead the solution in a plastic bowl (it is very easy to clean) and measure the proportions with a plastic bucket of mayonnaise. I already know how much solution it takes for all ten forms, and therefore I knead exactly so that there is no excess.
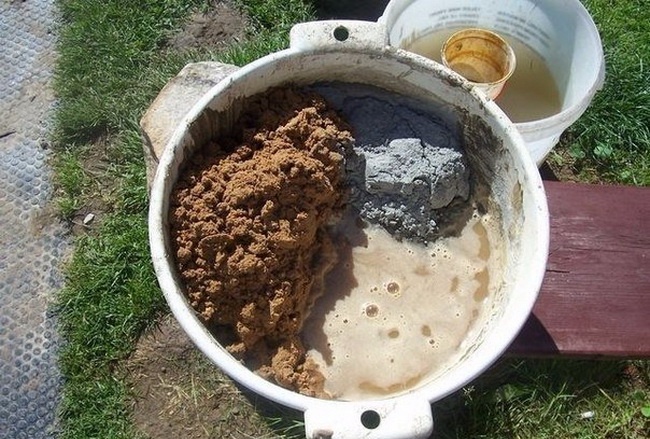
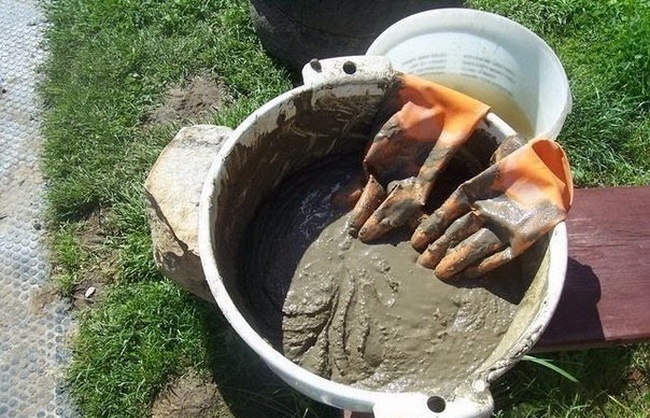
Be sure to use rubber gloves when in contact with the solution, otherwise the solution will quickly corrode your hands.
I poured the forms with a solution and wait a day until it hardens. That is, the productivity rate is 10 tiles per day and 70 tiles per week. Pour usually in the evening, in a day take out and fill in a new solution.
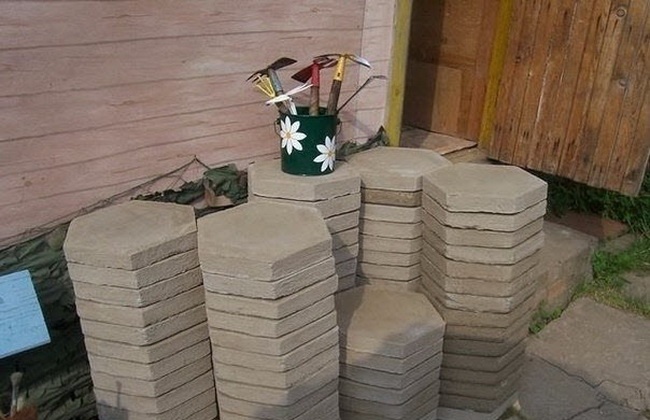
300 pieces are obtained per month! And it’s easy!
If the tile will be subjected to heavy load - I recommend putting a piece of steel grating in the middle when pouring the mortar, for strength. Well, if for pedestrians, then it's normal.
Paving slabs
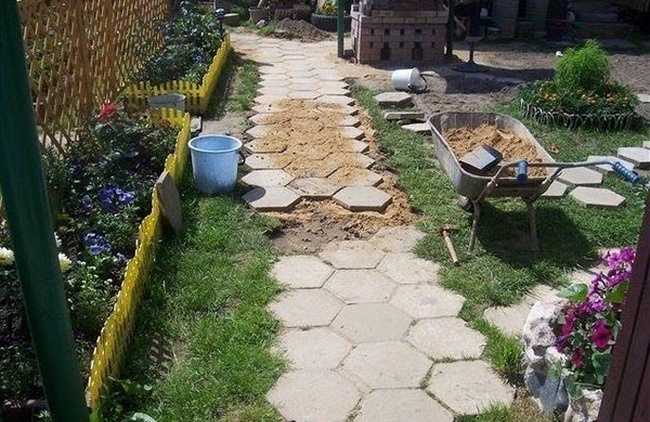
Laying tiles is also very simple.
We dig a groove under the tile about the height of the tile. We align the path in width and height. It is necessary. Tamp the ground a little. Then put a layer of sand. Well, on top we lay out the tiles at a small distance from each other, so that in winter everything does not crack or burst. As everyone laid it, we fill the cracks with sand. That's all - you can safely walk.

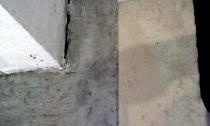
The shape of the tile.
Tile molds can be invented in a different shape. I made the simplest. They are very easy to assemble together. Only squares are even simpler.
Conclusion
Do-it-yourself tiles can and should be done. This process will save you a lot of money. This is even an idea for a business where you can make good money. It’s fashionable to start selling with your neighbors. Tiles, for those who live in private homes, are almost always needed. So take note. Good luck