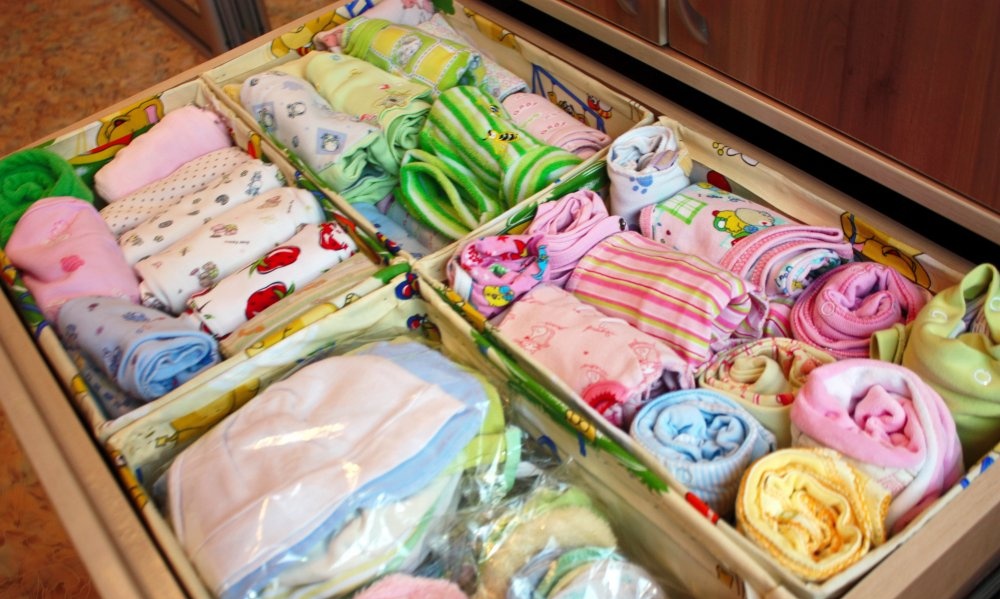
You can make a convenient organizer for your children's room with your own hands from ordinary scrap materials. It can be useful for storing various things for your baby: from rompers and baby onesies to diapers and baby care products. An organizer for a baby is very easy to make from the most common household items that are stored in every home. A children's organizer will not only make life easier for parents, save a lot of space in the closet, but will also help conveniently store various baby things.
Materials
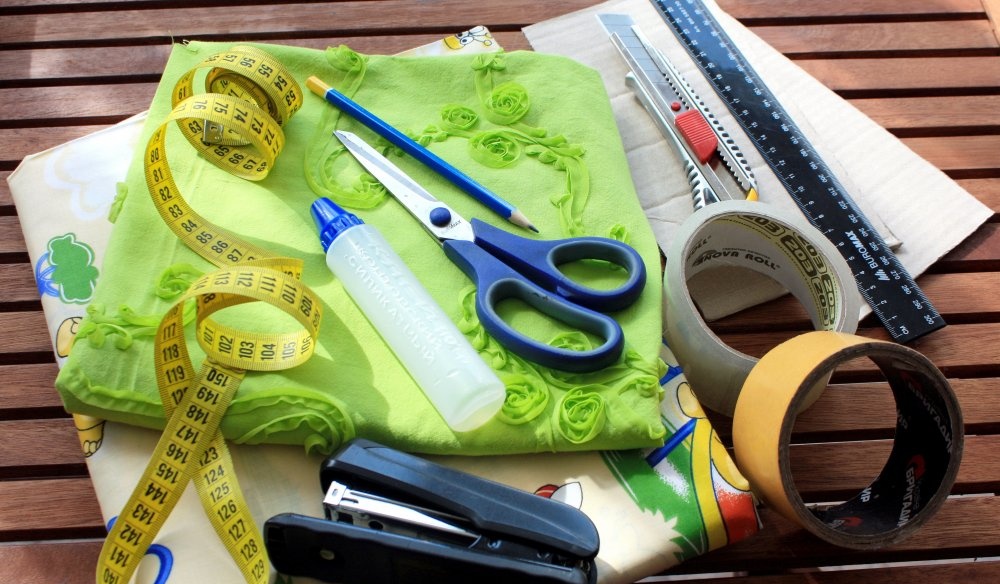
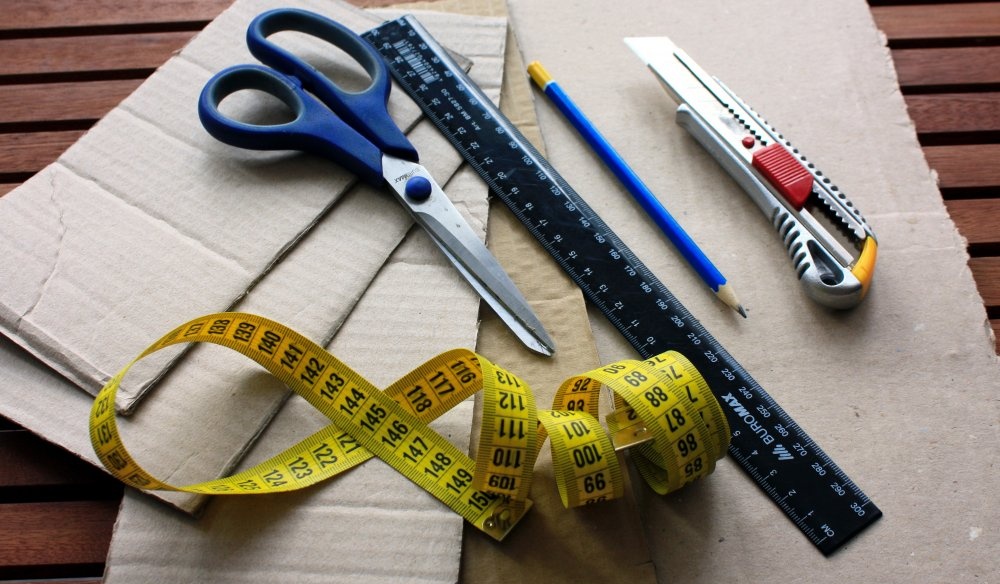
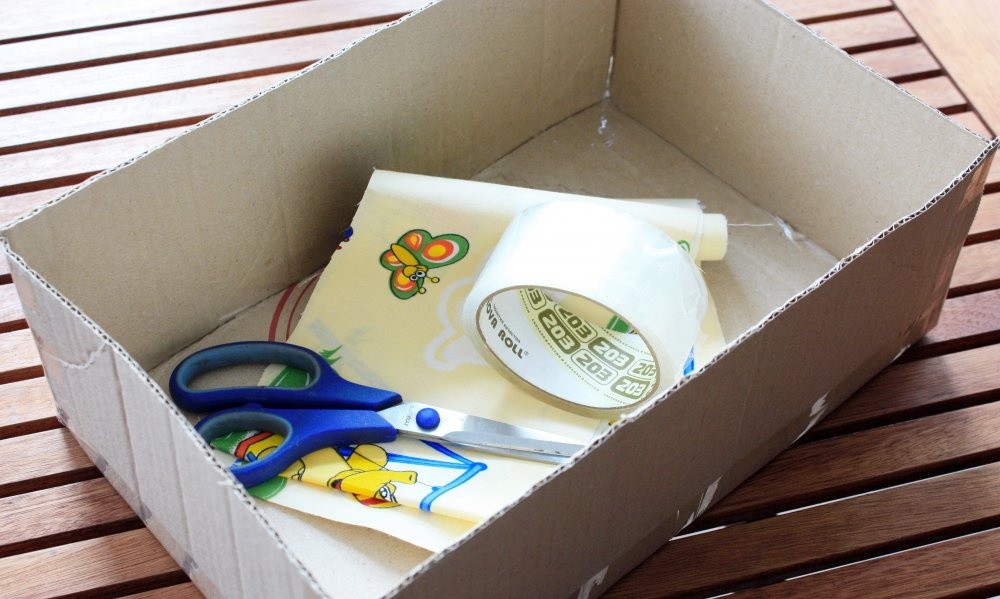
Fabric, paper, cardboard (or ready-made box), scissors, measuring tape, glue, ruler, stapler, utility knife, pen (pencil), double-sided tape, regular tape.
Blanks for a children's organizer. Step-by-step instruction.
Before you start working on a children's organizer, you need to measure the drawer or chest of drawers in which the baby's things will be stored. It is better to measure the size of the future organizer not end-to-end, but with a margin of 1-1.5 cm for additional space in the drawer. Measurements of the future basis for the organizer should be done individually, based on your wishes for improving the space in the closet.
It is also necessary to plan in advance how the organizer will be located inside the box, and what size the internal boxes should be. For the convenience of storing various things, you can make boxes of different formats: large and small. The height of the box should be made a few centimeters less than the chest of drawers or cabinets.
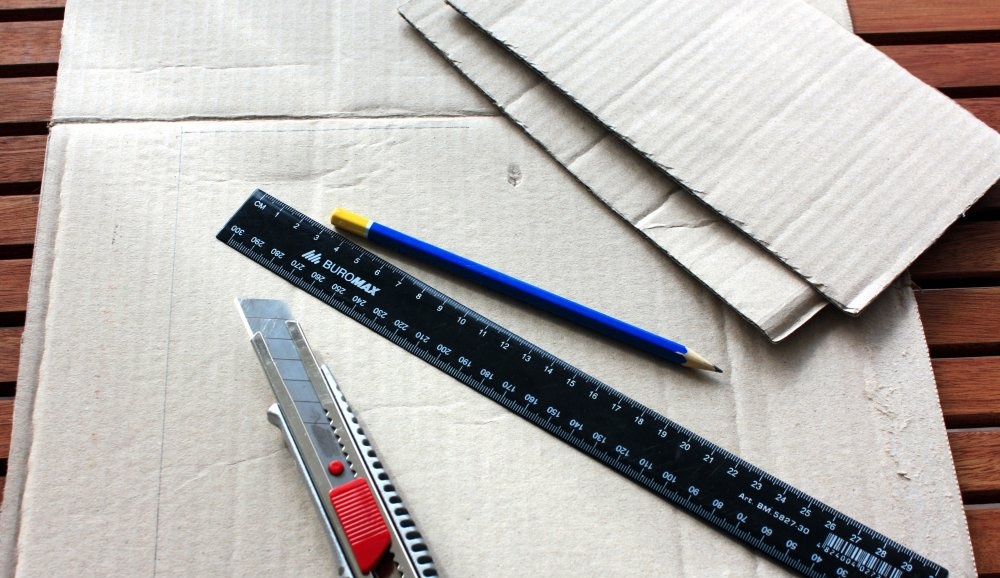
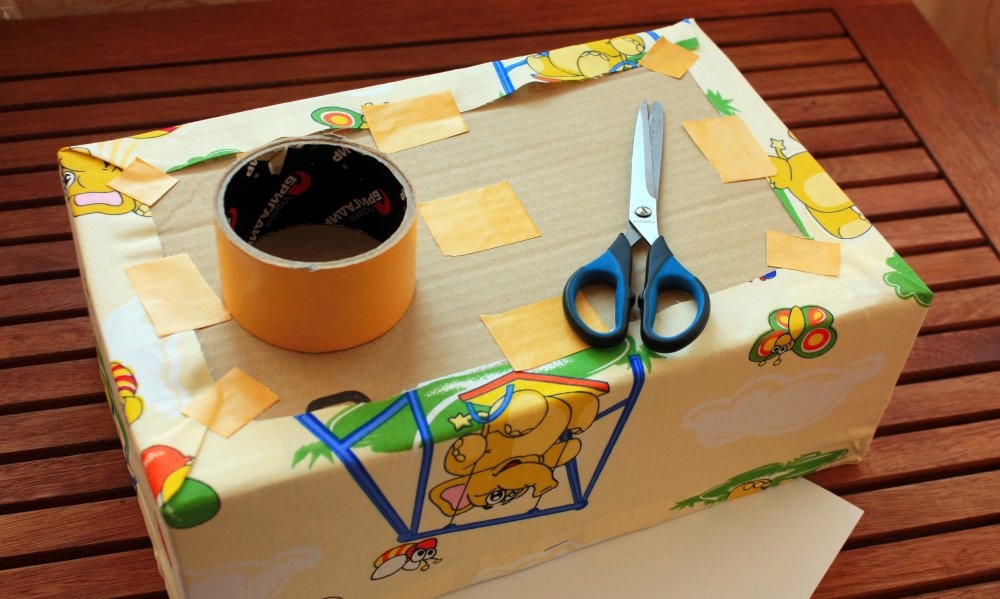
For the base of the children's organizer, we take an ordinary cardboard box, measure the desired size of the organizer and cut it out with a stationery knife. If measured correctly, you should end up with five parts: the base of the box and its four sides. Also, to save time, you can use a ready-made box of the required size. For example, from under shoes or small household appliances.
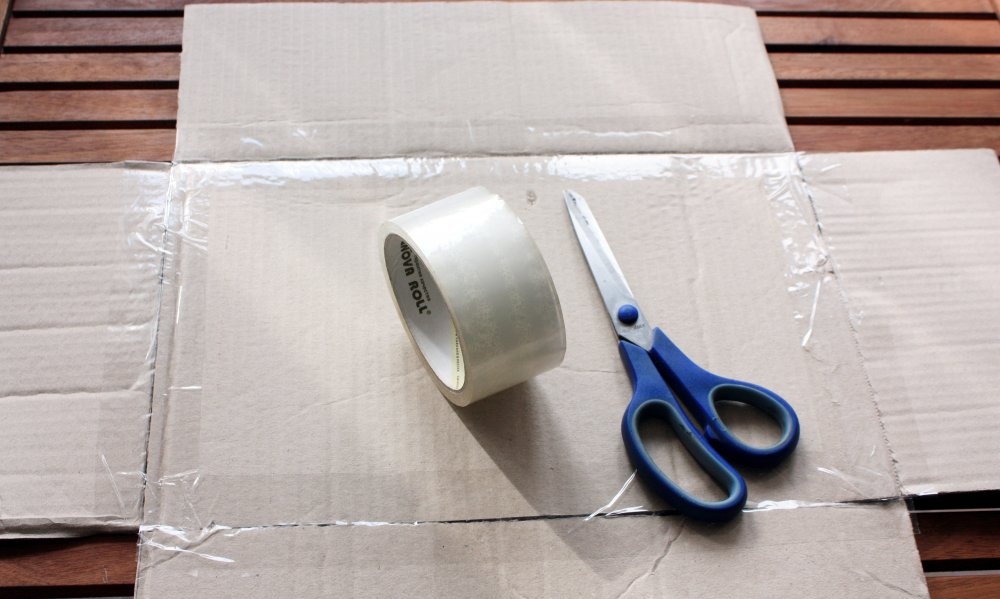
We glue the cardboard blanks tightly with tape on both sides so that the base of the box is strong and does not fall apart or bend. Glue the sides to the base of the children's organizer. It is important that these sides sit on top of the base of the box so that the new size of the organizer does not become an unpleasant surprise.
First, we attach the opposite sides of the cardboard box. This will make it easier to determine how much excess needs to be cut off on other parts of the sides of the organizer if the pieces were measured incorrectly. Once the base of the baby organizer is ready, you can place the assembled boxes in the drawer compartment to ensure that the measurements are the correct size.
Let's move on to further work on the children's organizer. We use a centimeter to measure the inside of the box, because the cardboard can vary in thickness. We write down the measurements on paper for convenience.
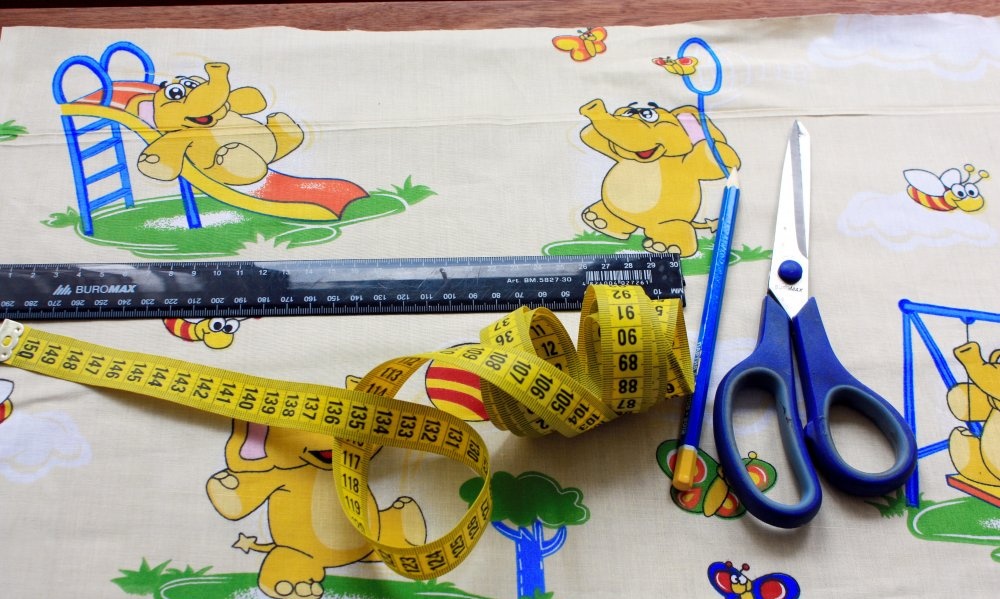
Using a pencil (pen) and ruler, we make marks on the prepared fabric and cut out the internal side parts of the organizer to the required size. We apply the bottom of the box to the fabric and take measurements for the part with which we will paste the inner bottom.
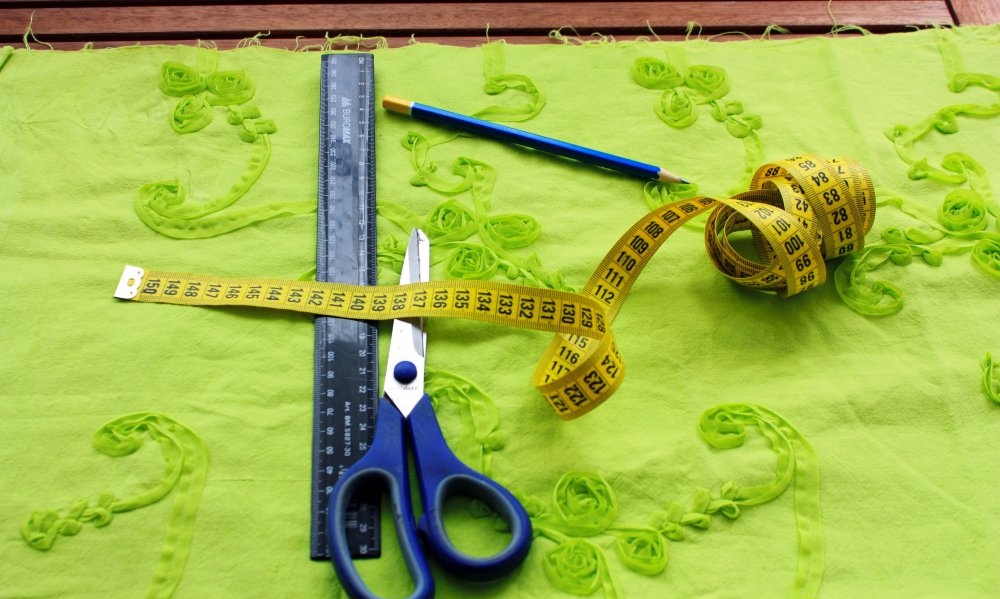
Let's move on to measuring the outside of the organizer. We measure the outer perimeter of the box and transfer it to the fabric. To the measured fabric sizes, add an additional 1.5-2 centimeters of excess material for work.
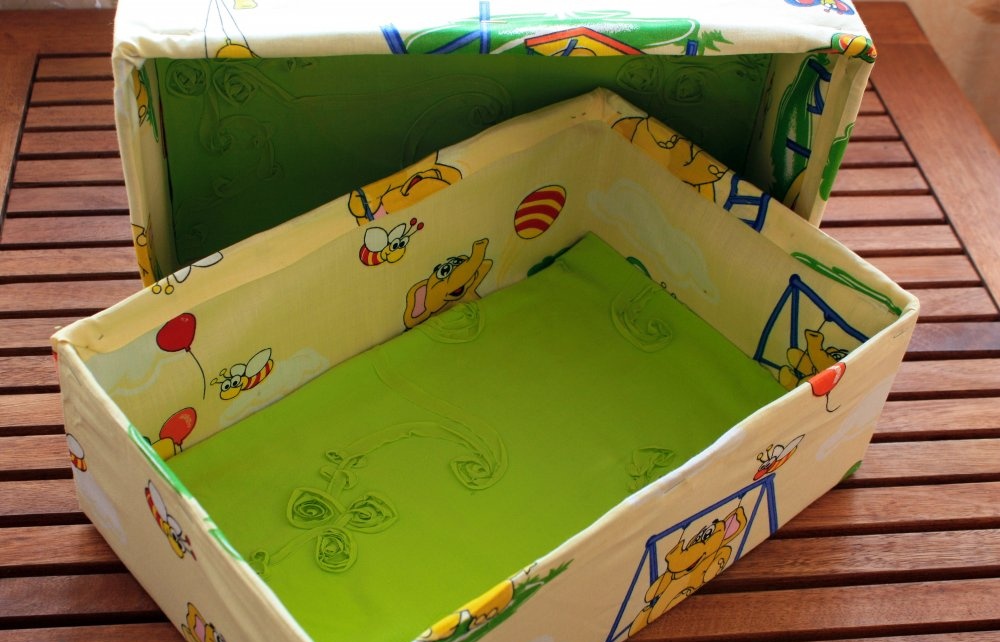
To make the children's organizer more colorful and bright, you can use fabrics of two colors for the inside and outside. Thus, the organizer for the child will look more original.
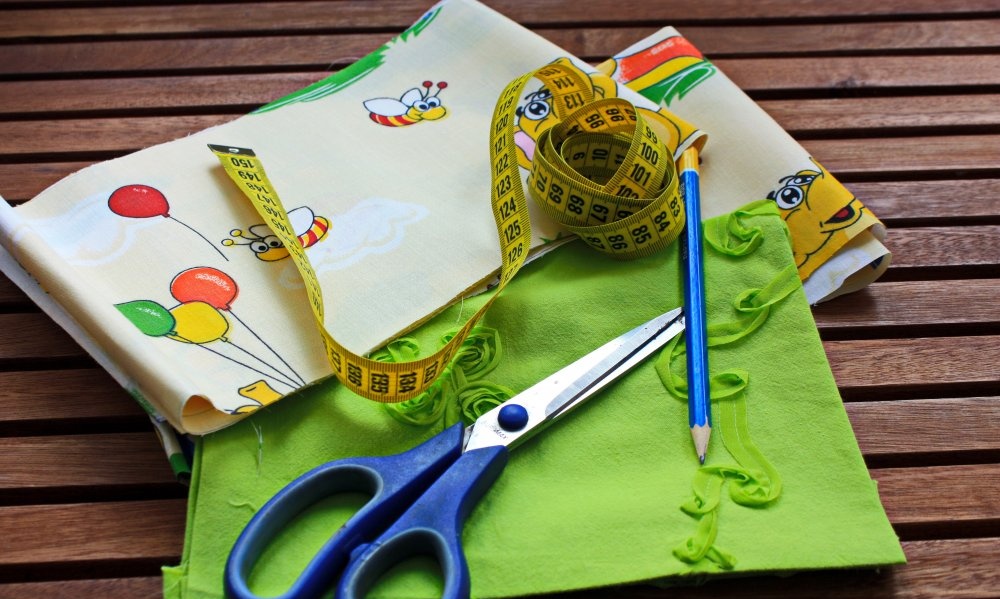
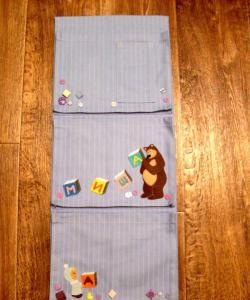
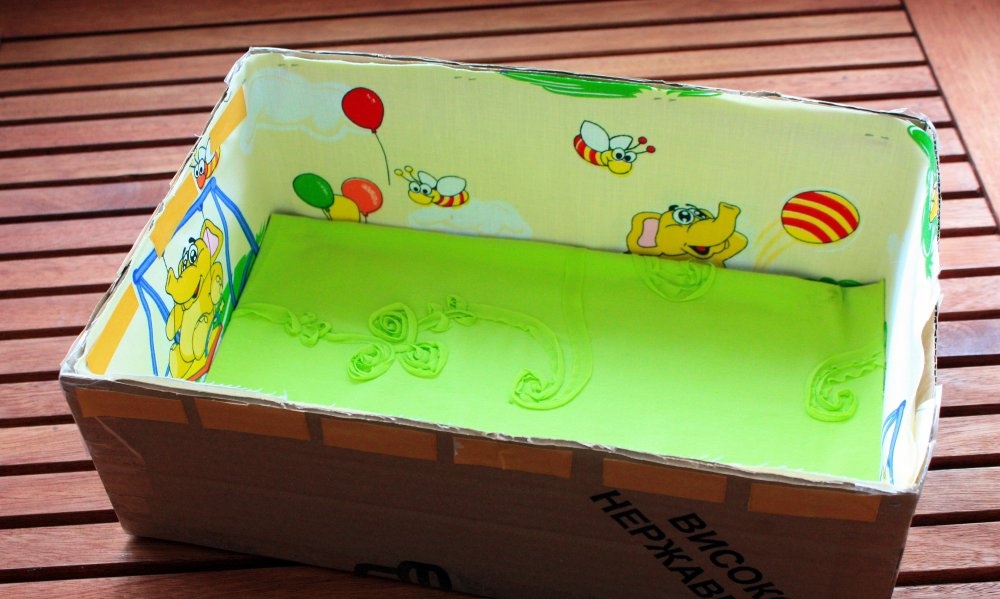
You can also use a brightly colored plain fabric only for the base of the inside of the box (bottom of the box), as in the proposed master class. And all other sides of the organizer should be assembled from other material, for example, in the form of fairy-tale characters or funny animals.
In addition, the children's organizer can also be covered with decorative bright paper. However, if parents plan to use a children's organizer to store diapers, diapers, baby onesies and onesies, it is better to use fabric.
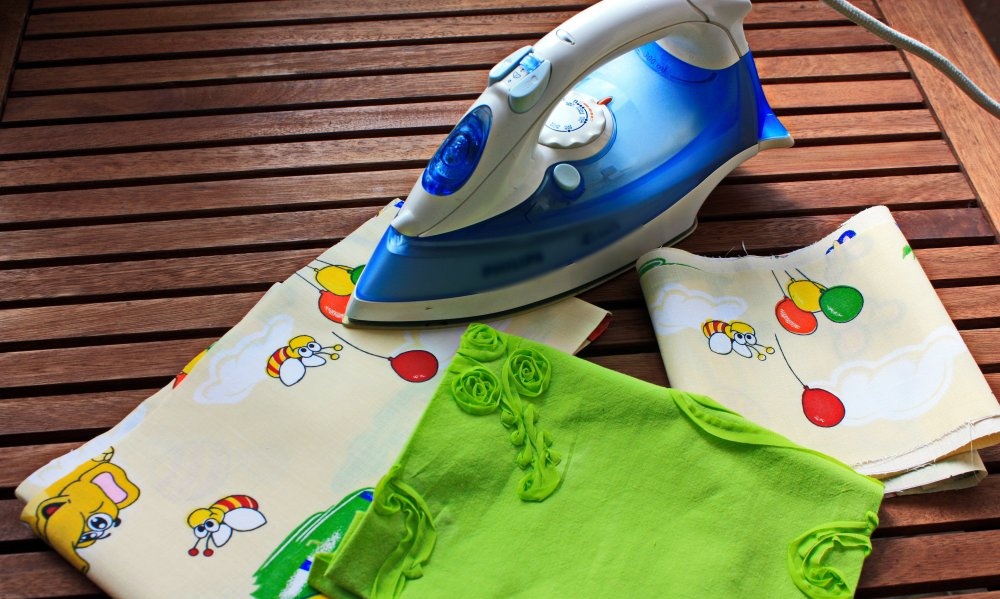
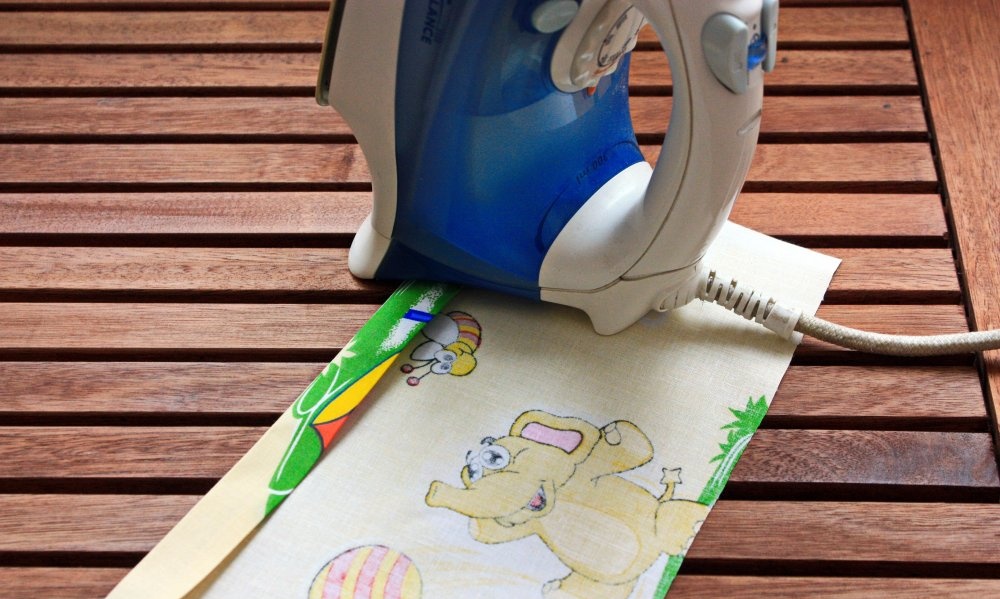
After preparing all the details for decorating the box, you should iron the fabric. It is much more convenient to work with smooth fabric, and the organizer will have a neater and more attractive appearance. It is also necessary to iron the fabric piece for the outside of the organizer in advance. Using an iron, iron strips of several centimeters.
Decorating a children's organizer. Step-by-step instruction.
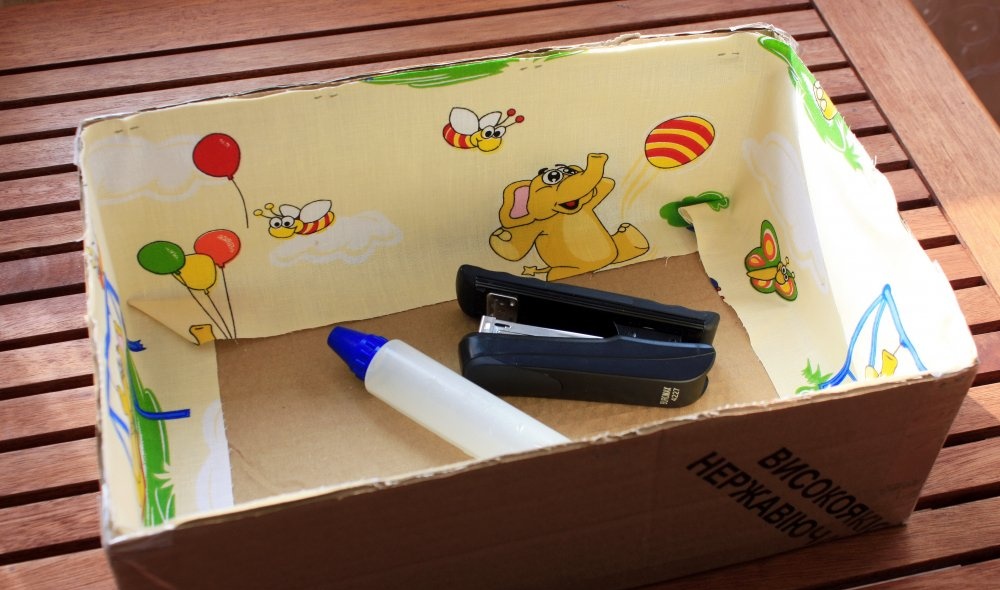
Having folded the edge of the fabric a centimeter in order to hide the joint later, you need to attach the fabric along the edge to the inside of the box with a stapler.The fabric must be pulled tightly around the perimeter of the box. After this, you should carefully lay the folds of fabric in the corners and glue them with glue. You can also attach the fabric with strong double-sided tape.
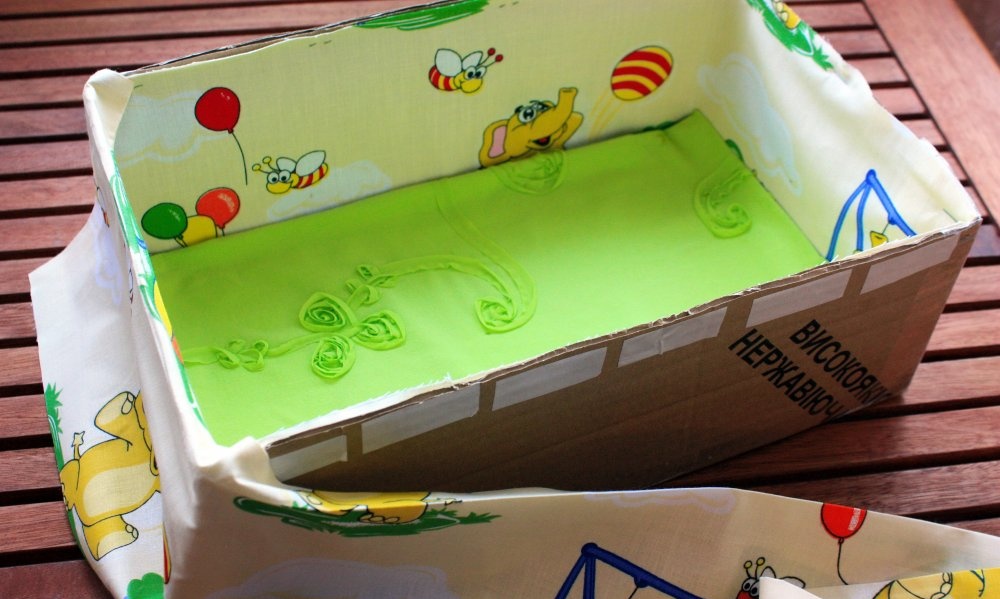
After this, you need to take a piece of the prepared material and place it on the bottom of the box. After this, you should take measurements on the fabric with a pencil (pen) in order to bend all the necessary sides of the material to size. We bend the edges and iron them with an iron.

Glue the fabric blank with glue or double-sided tape to the bottom of the inside of the box. Carefully place it on the bottom and press the fabric down with your hands.
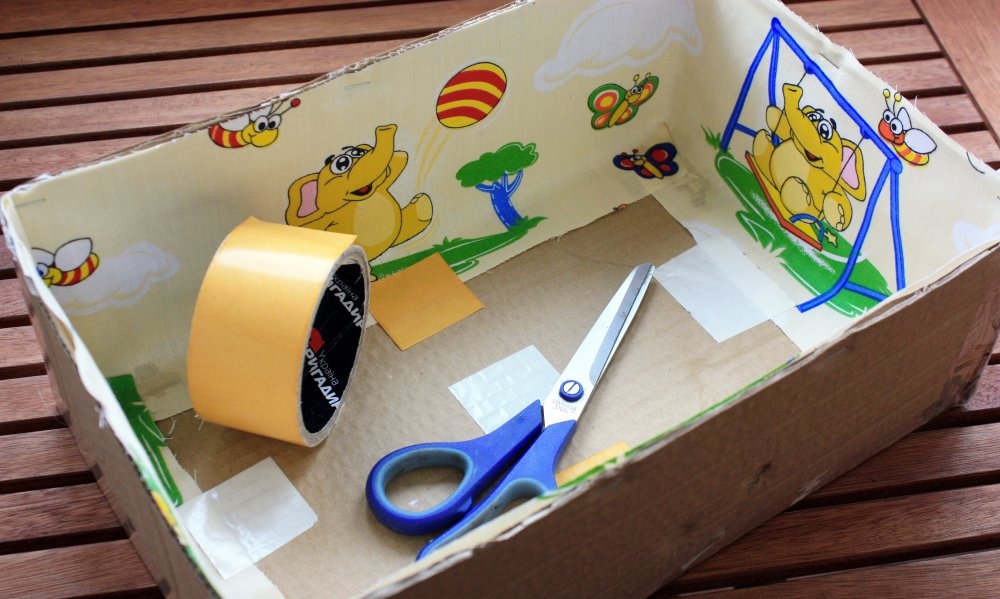
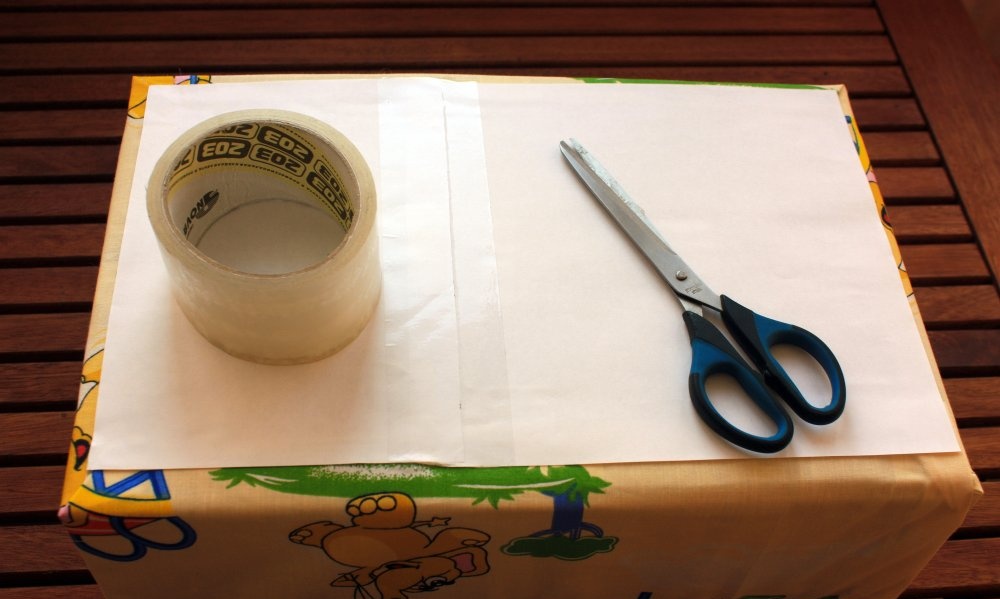
After this, glue double-sided tape to the inner edge of the top of the box. You can use a long sheet of double-sided tape around the entire perimeter of the box, folding it on both sides at the edges. You can also place tape in dotted lines on both sides of the organizer.
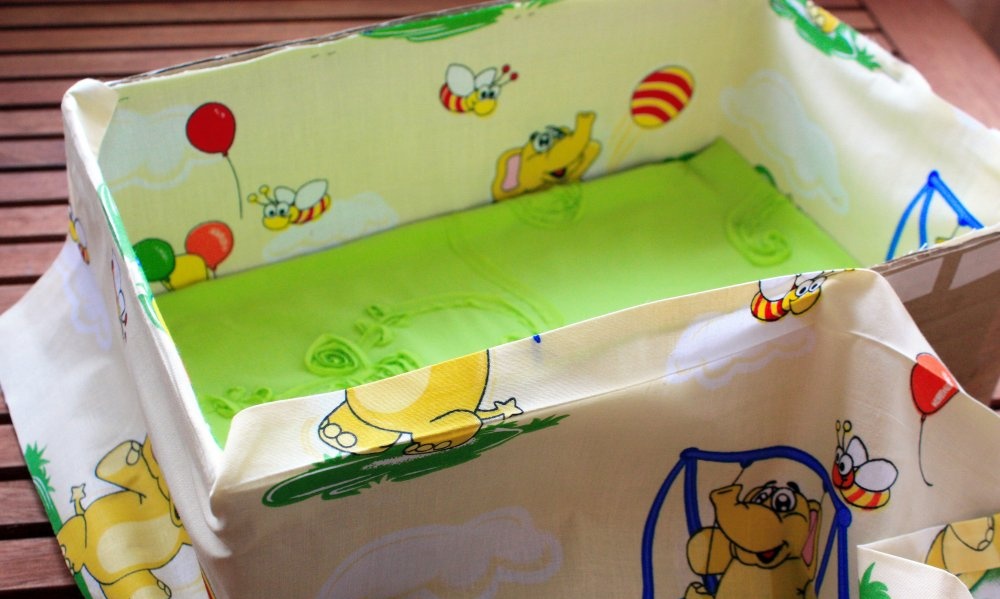
Remove the double-sided tape and glue the fabric piece for the outside of the organizer. Carefully glue the ironed sides of the edge to the inside of the box.
Then you need to fold the fabric and glue it to the outer edge of the organizer, stretching the material well around the entire perimeter of the box. The corners of the box can be stapled together for strength.
Turn the box over and apply tape to the outer bottom of the organizer. Next, remove the tape from the bottom of the outer part of the box and, avoiding folds in the fabric, firmly glue the material to the bottom using double-sided tape.
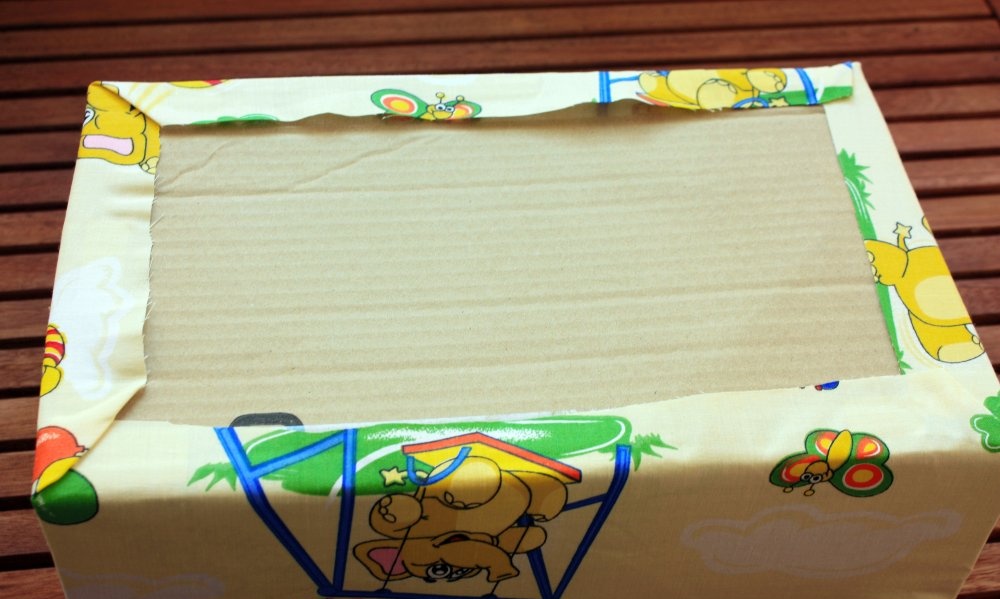
After this, you should cut out a rectangle of the required size from paper (white or colored) and seal the outer bottom of the children's organizer with it.
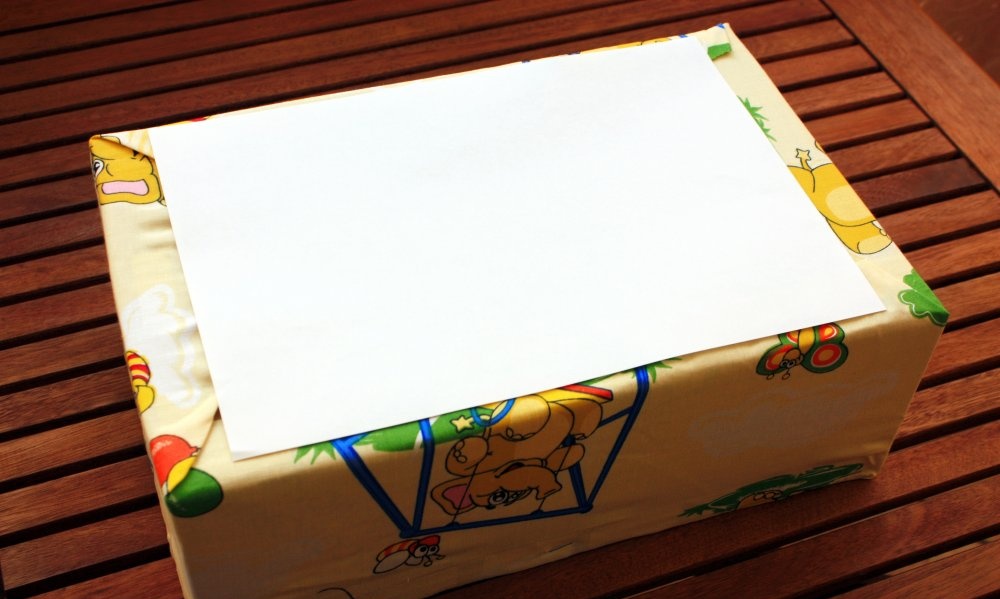
To do this, you must correctly measure the bottom of the outer part of the box. You will need a ruler and a pencil (pen) for measurements.If the box is large, then several sheets of A4 paper can be used to cover the bottom of the box.
Glue the cut paper with glue or attach it with double-sided tape to the bottom of the children's organizer. If the rectangle was assembled from two halves of paper, the sides can be conveniently connected with ordinary tape at the top.
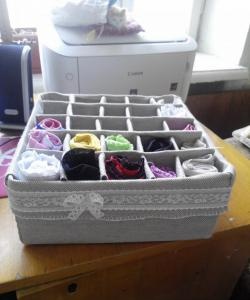
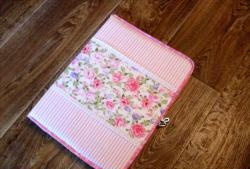
After this, you can use regular glue to glue all the errors in the organizer, if any. A bright and original organizer for your baby’s room with your own hands is ready for use.
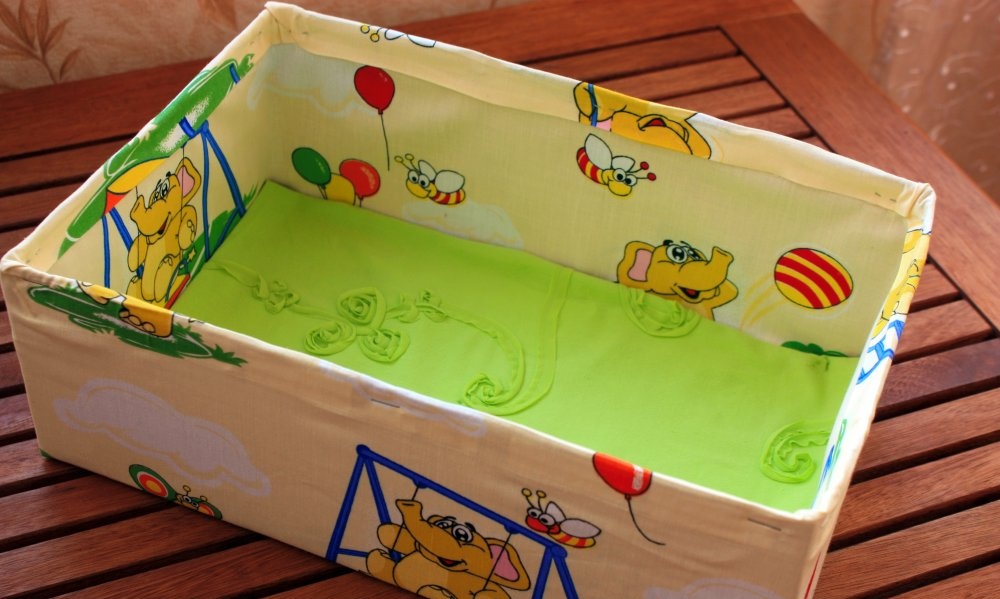
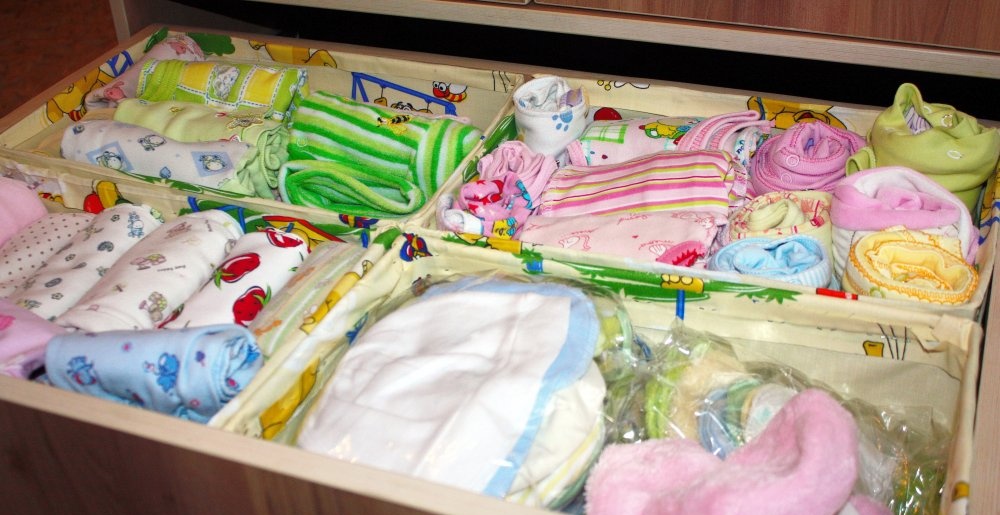
In such boxes you can conveniently store your baby’s things in a vertical or horizontal position. In addition, such a convenient organizer for storing children's things will save a lot of space in the drawer and help bring order to the house.