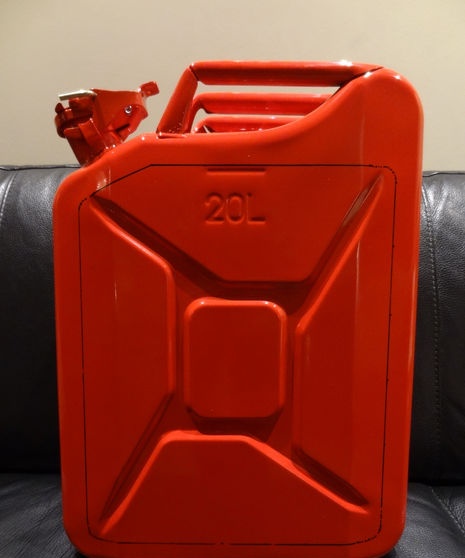
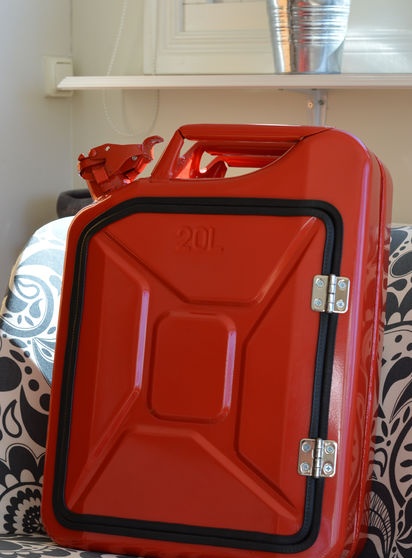
On sale you can find a variety of things made by skilled people from scrap materials. For example, a very interesting idea is a canister converted into a bar cabinet. Looks impressive and costs the same. At the same time, you can do such a thing yourself, so that it satisfies exactly your requests and needs. In bars, the door usually opens downwards, which may not always be convenient.
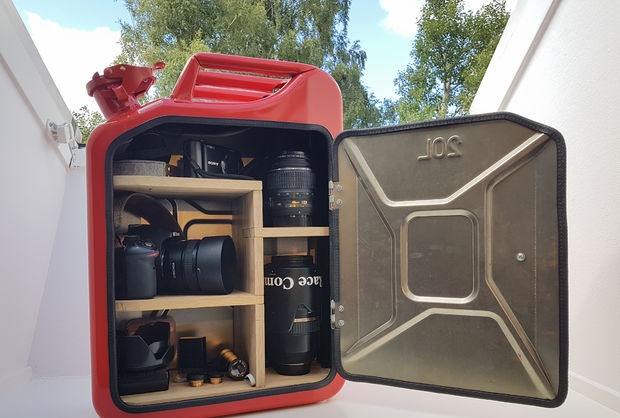
Below are instructions on how to make your own canister cabinet with height-adjustable shelves. The arrangement of the shelves depends on the purpose for which the cabinet is intended, for example the combination below is suitable for photographic equipment, but you can adjust it to suit your needs.
Necessary materials and equipment
To work you will need the following:
Materials:
- An old washed or new canister.
- Boards.
- Loops.
- Pen.
- Rubber compressor.
- Screws, bolts and nuts.
Equipment:
- Dremel with cutting disc.
- Angle grinder with cutting disc (grinder).
- Band saw (or jigsaw).
- File.
- Marker, pen.
- Angle ruler (optional, a ruler will also work).
- Sandpaper.
- Plane.
- Bench drill press or drill and bit.
Decide on door size
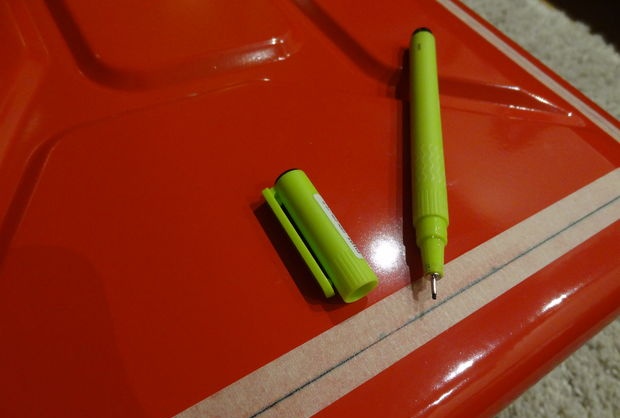
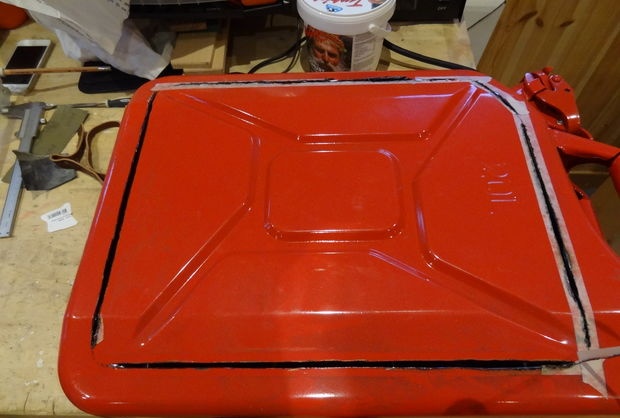
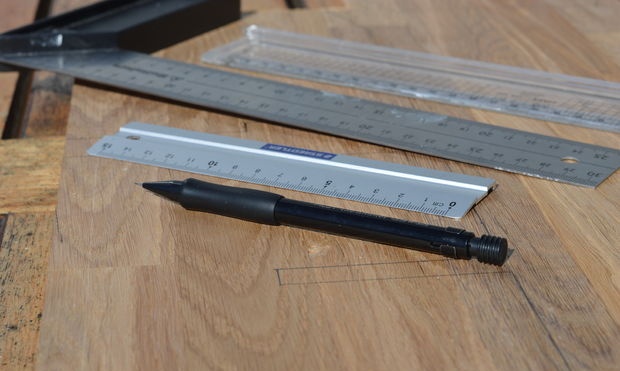
Before you start cutting out a door in the canister, you should decide what size it should be. Using a marker attached to a square, you can mark doors of different sizes and choose the most suitable one. In the example given, this is 30 mm from the edge of the canister.
To avoid accidentally erasing the line drawn with a marker, you can cover it with translucent adhesive tape, and draw a thinner line on top with a pen, which will be more convenient for cutting.
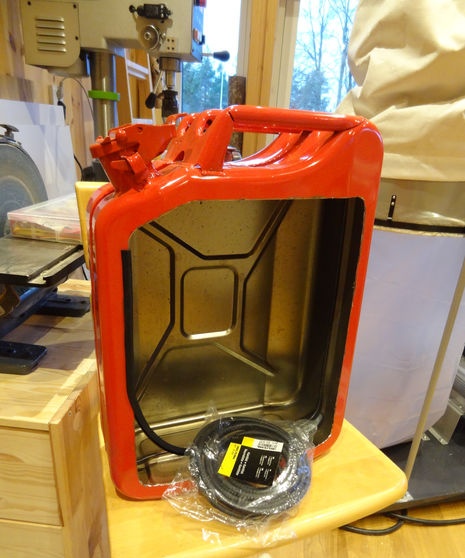
Cutting out the door
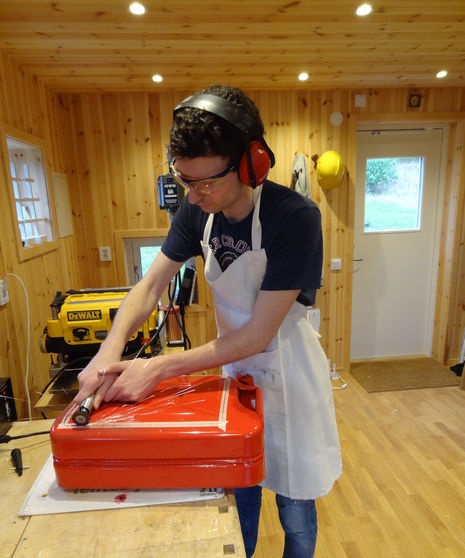
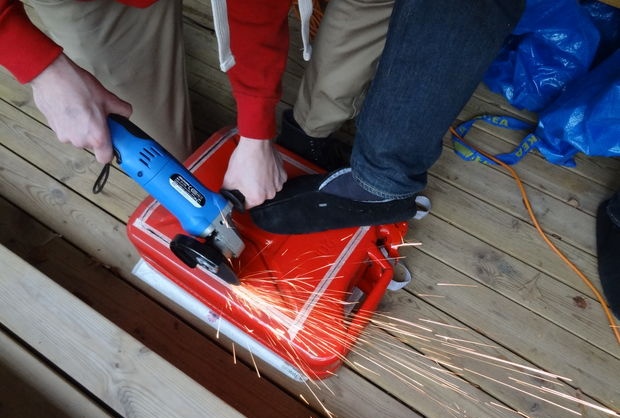
The door can be cut using a Dremel or grinder.
The second option may be faster, while the grinder leaves a wider slot, because it has a wider disc. Since it is planned to glue a rubber seal to the door and the edges of the opening, this would be a more suitable option. When working with an angle grinder, you will most likely need help securing the canister.
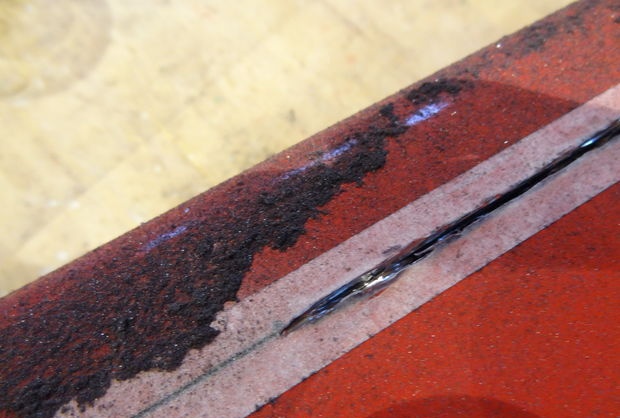
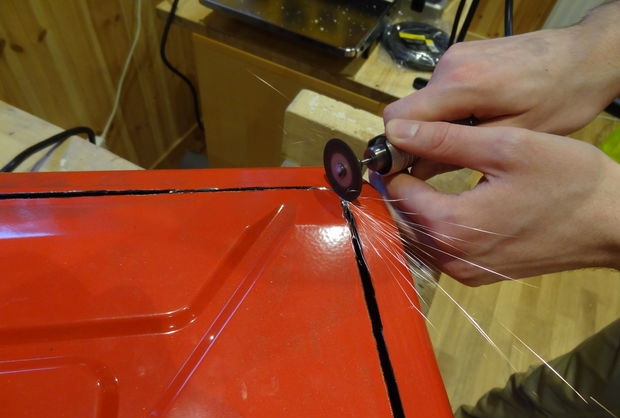
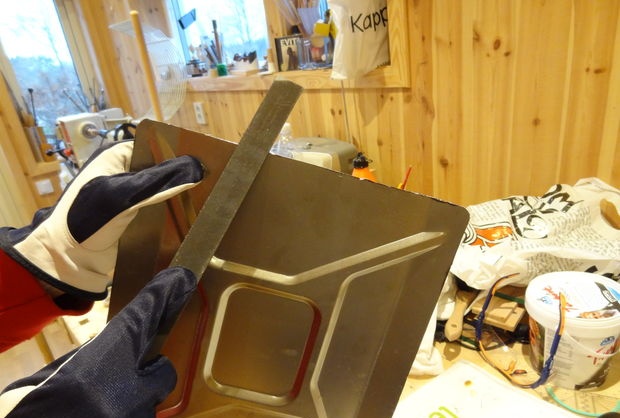
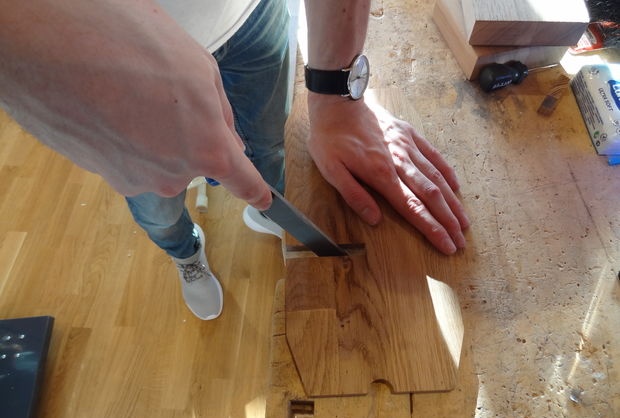
At the final stage, it is more convenient to use a Dremel to cut out the rounded corners. When cutting metal, you need to be very careful with sharp edges on the cut. Use gloves and file the edges.
Rubber door seal and fit
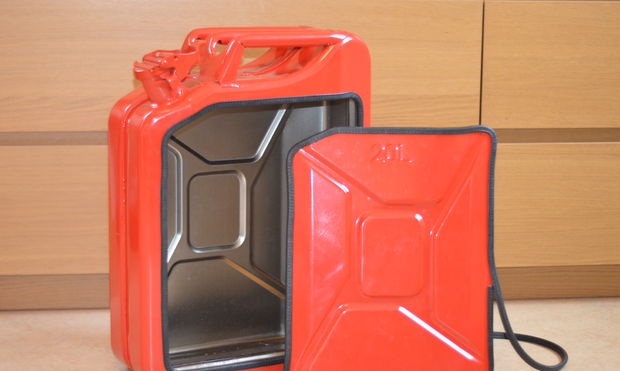
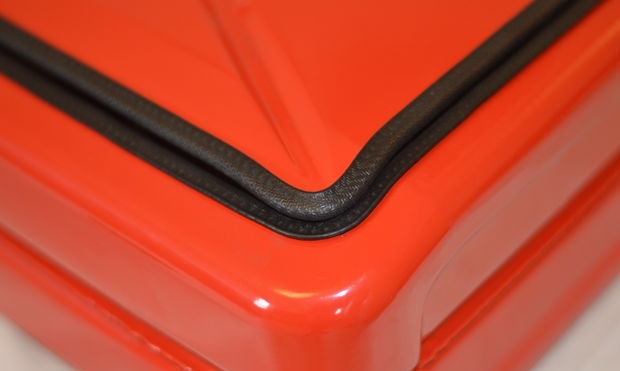

Glue the rubber seal along the edge of the door and check that the door fits tightly. If necessary, cut and adjust the corners using a Dremel and file.
Determine the dimensions and location of the shelves inside the canister
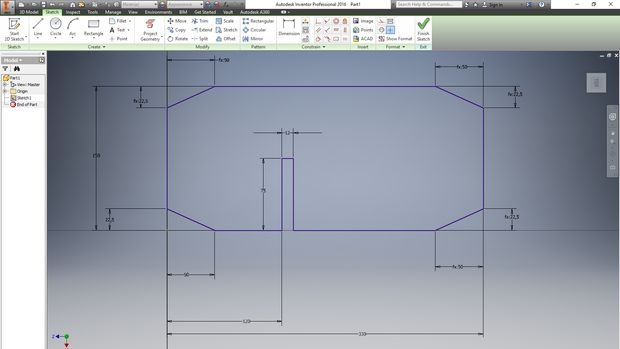
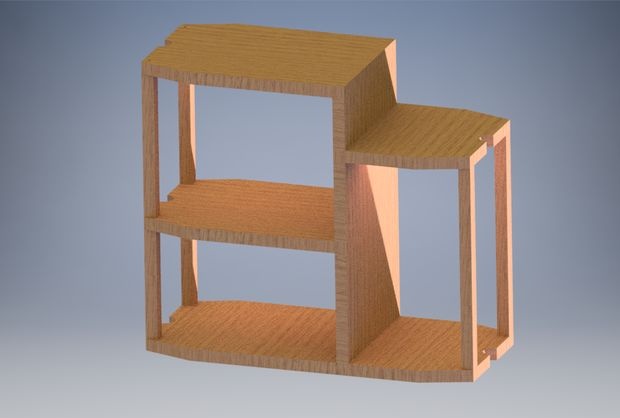
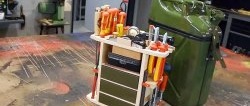
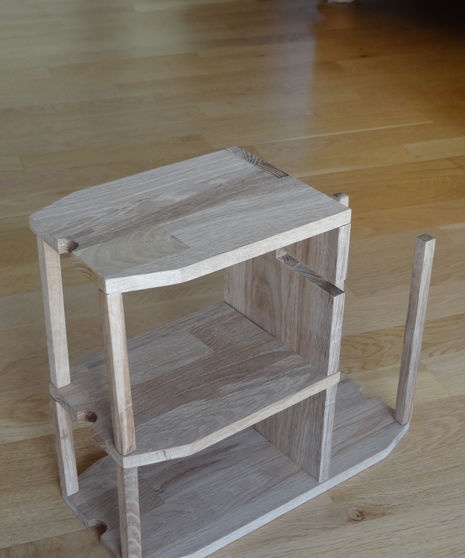
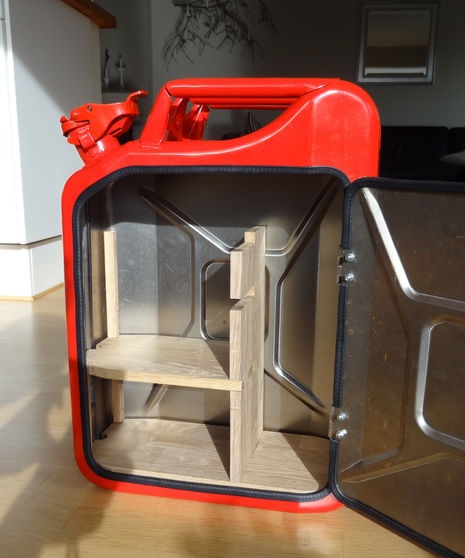
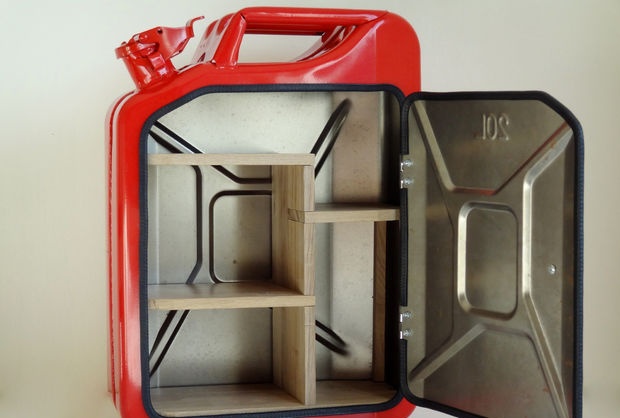
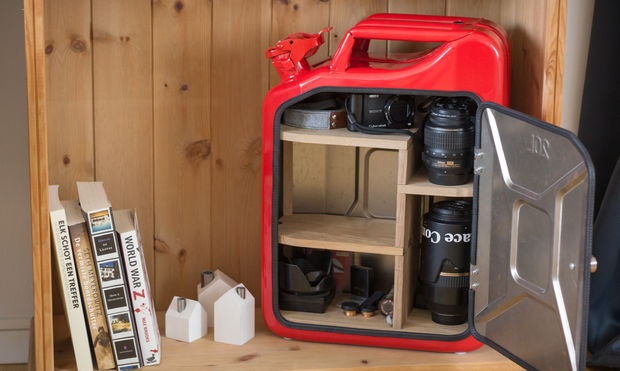
Now you need to make the internal shelves for the cabinet. Depending on what you plan to store in it, consider its design. The picture shows a layout suitable for photographic equipment, while the entire structure can be disassembled and rebuilt in the future, since a locking connection is used for assembly.
The internal dimensions of the canister may vary slightly depending on the manufacturer, so it is best to use your own measurements. To model the end result and imagine what everything will look like, you can use a design program like Autodesk Inventor.
Making shelves
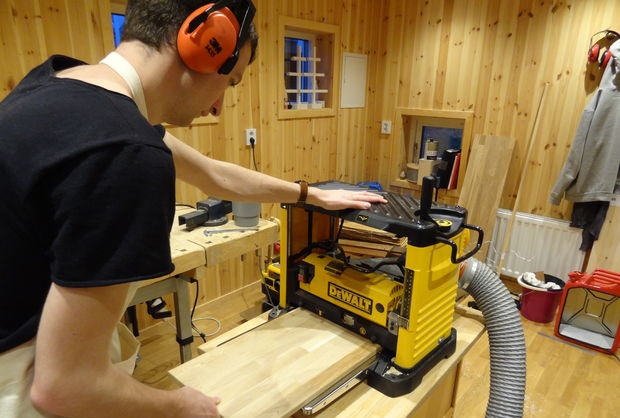
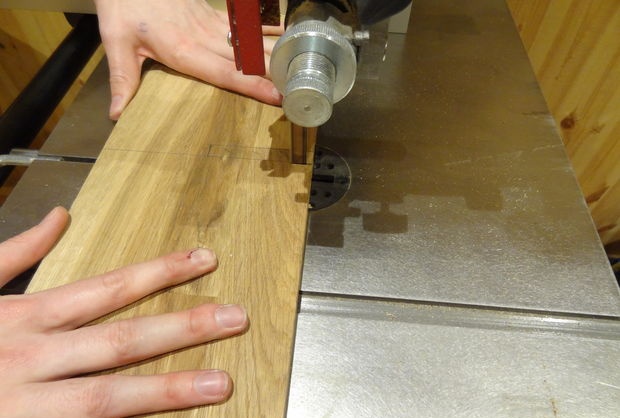
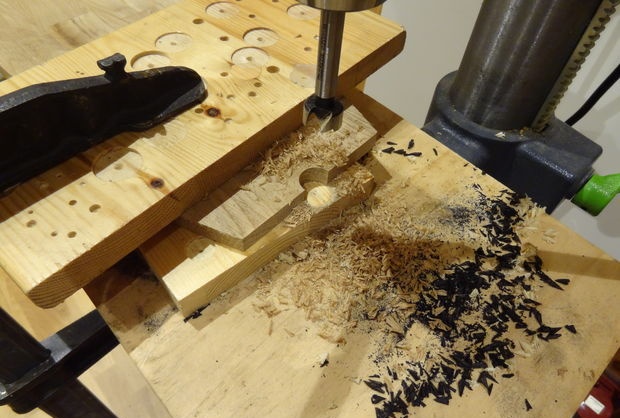
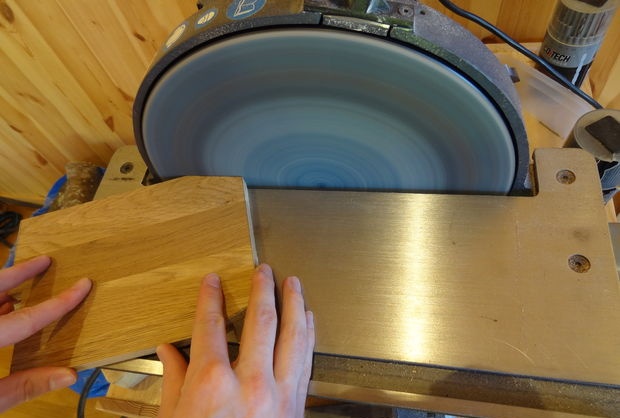
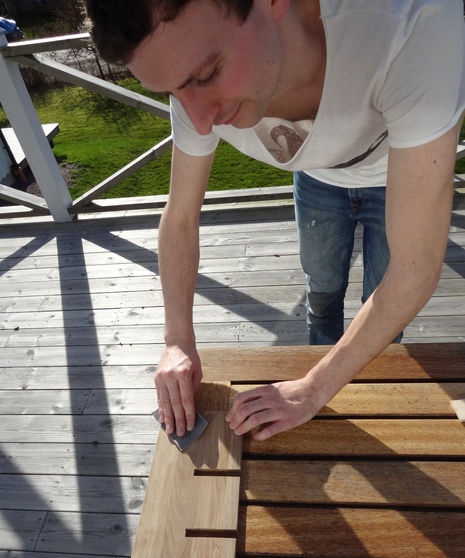
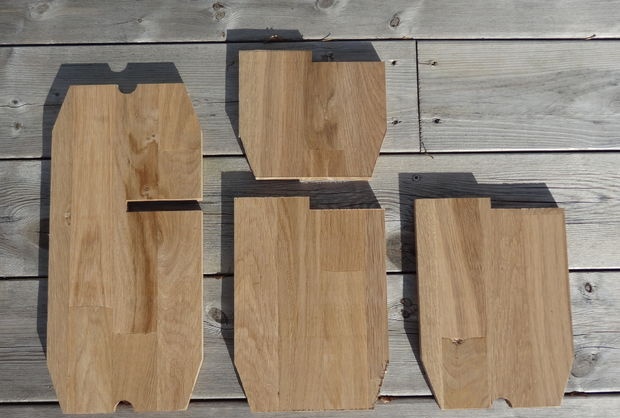


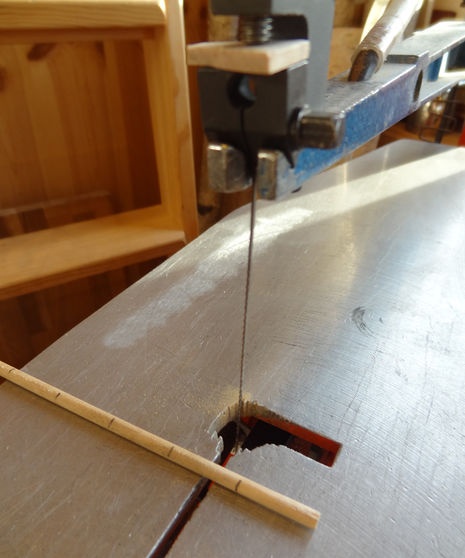
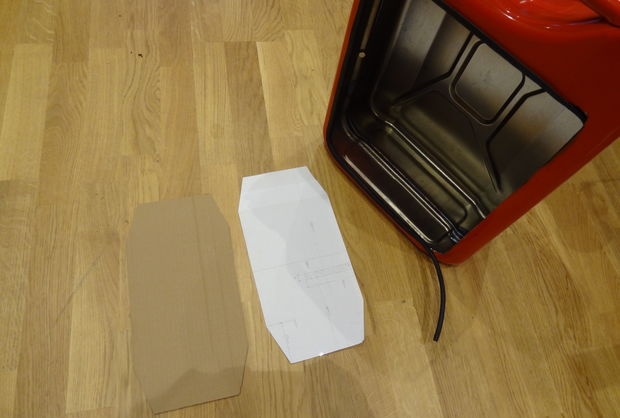
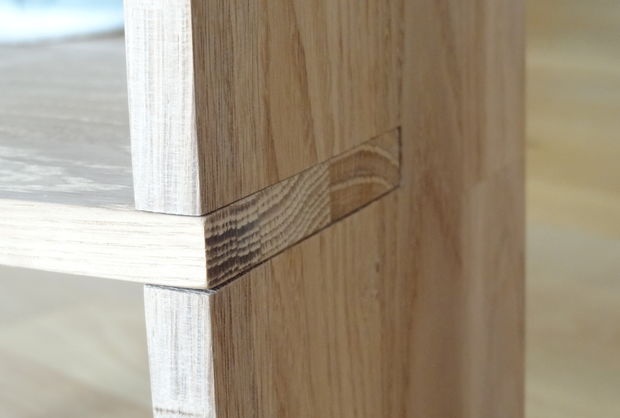
First of all, sand the boards. In this case, the boards turned out to be 12 mm thick. Then, using the templates, mark the parts for the shelves on the boards. To cut them, it is best to use a bandsaw. Because This canister has a recess in the middle along the narrow side; it was necessary to cut a hole in the shelf using a drilling machine. Also drill a hole to connect to the support posts in each corner, 6mm from the edges, 3mm wide and 8mm deep. When securing a shelf with a clamp, place a piece of wood between the clamp and the shelf itself to prevent damage to it.
To accurately fit all the parts to each other and to the dimensions of the canister, careful grinding of the edges and joints will be required. Remember that it is best to sand along the grain of the wood.
Finally, you need to cut out the vertical posts. To connect to the shelves using dowels, make holes 12 mm deep, 3 mm in diameter at the ends of the posts (then the fastening should be 20 mm in length).
Preparation and installation of the door
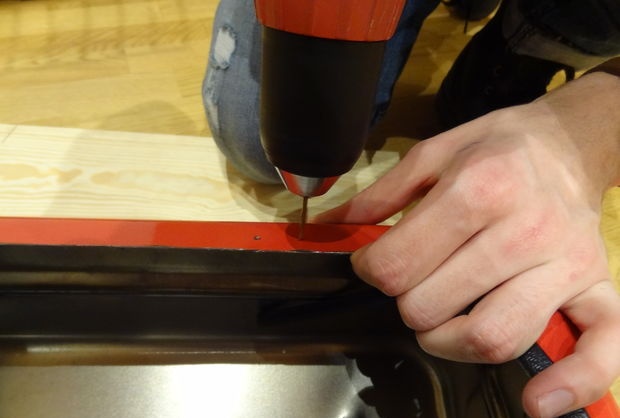
Select hinges that match your design. Once you have measured the width of the hinges and determined where you want to attach them, make a mark using a nail or something sharp. One option: loops at a distance of 15 mm from the edge of the canister, at a height of 100 and 270 mm.
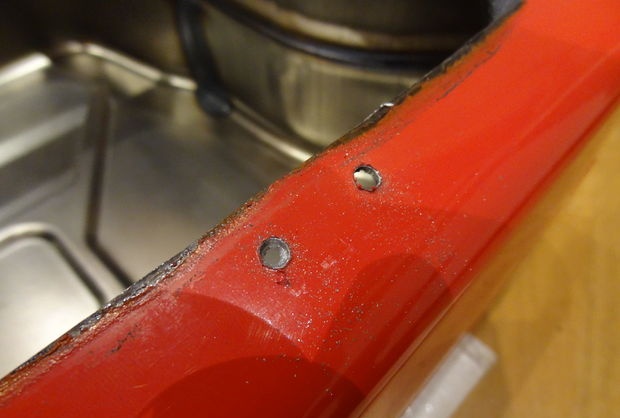
To avoid making a mistake with the location of the hole, start drilling using a thin drill, preferably 1 or 2 mm in diameter, and then install a thicker one that matches the bolts you purchased.
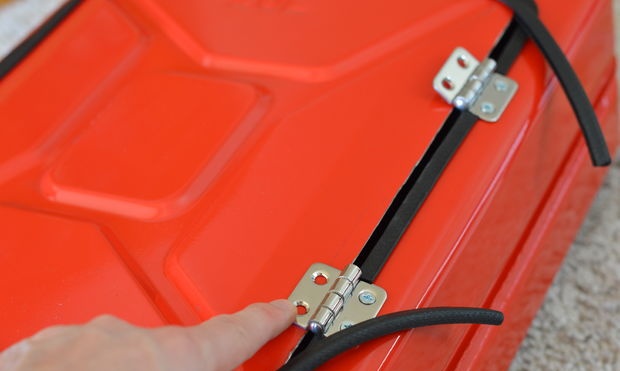
Install the hinges and trim the seal if necessary. It is now easy to determine the location of the holes on the door by holding the door and placing it in the desired position. Drill holes on the door as described above and attach the hinges to it.
Last but not least, secure the door handle in the desired location. In this case, it is installed 45 mm from the edge and 180 mm from the bottom edge of the door.
Assembling shelves
Finally we need to assemble the shelves for the cabinet. Whether it will be easy or difficult depends on how intricate the design you come up with.
Fill your locker and enjoy
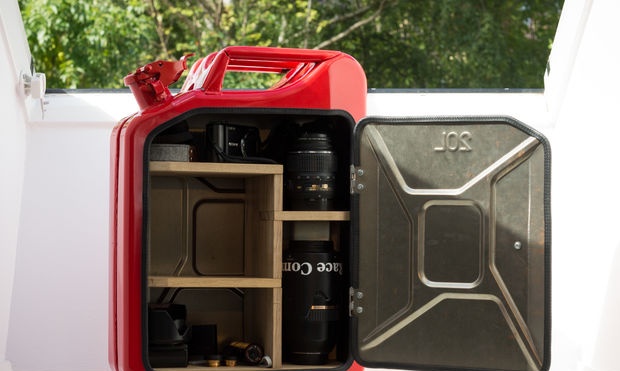
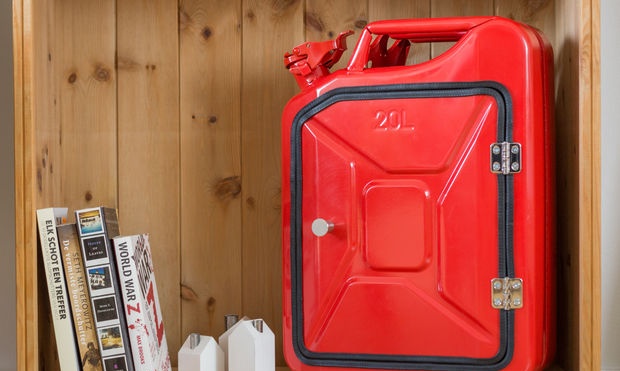
Think about where you will store your amazing cabinet. The most important thing, of course, is to find a place where it will be visible and you can proudly show off your handiwork to everyone.
Original article in English