Materials I took for the watch:
- Wooden board 35 x 35 cm, 18 mm thick (hardware store).
- A piece of plywood 3 mm thick (hardware store).
- Nails 13 mm long or self-tapping screws.
- Clock mechanism (can be taken from a boring watch).
- Yellow paint.
- Black marker.
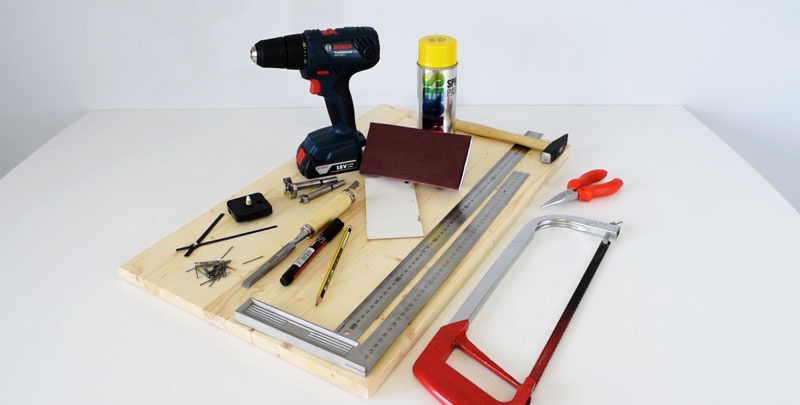
Woodworking tools I used:
- Hand saw.
- Screwdriver-drill.
- Hammer.
- Pliers.
- Ruler.
- Right angle ruler.
- Bit.
- Sandpaper.
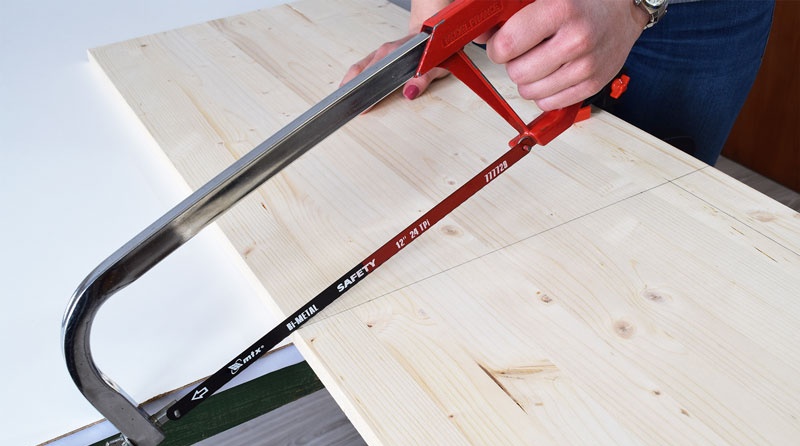
We are sawing a board.
We take our board and decide on the dimensions of the future watch. We outline and saw off the base with a hacksaw or handsaw. An 18 mm board is easy to saw and it is advisable to use a saw with fine teeth so that the edges are smooth and minimal mechanical processing is required after sawing.
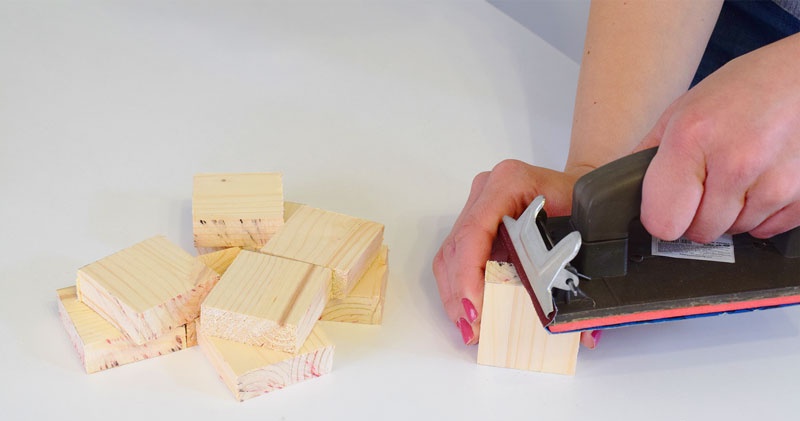
Making squares
Next, on one of the corners of the base, I drew 10 x 5 cm rectangles. We cut them out in steps.Then I cut these rectangles into 5 x 5 cm squares.
Now you need to sand all the squares, removing burrs and making the surface smooth.
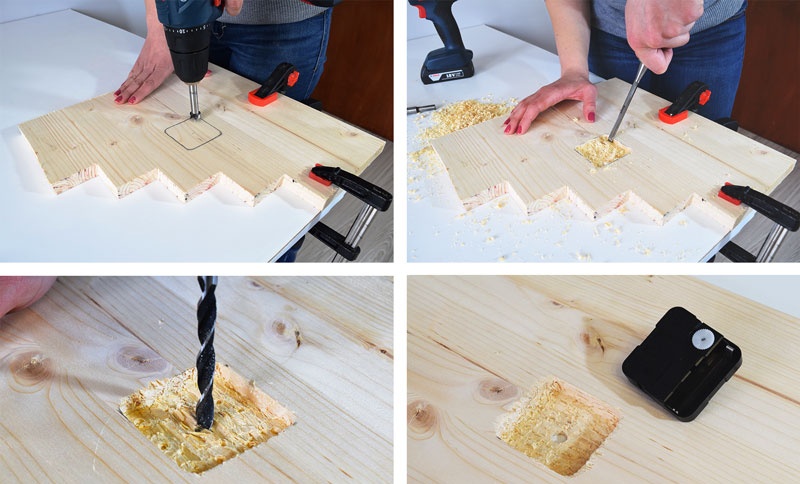
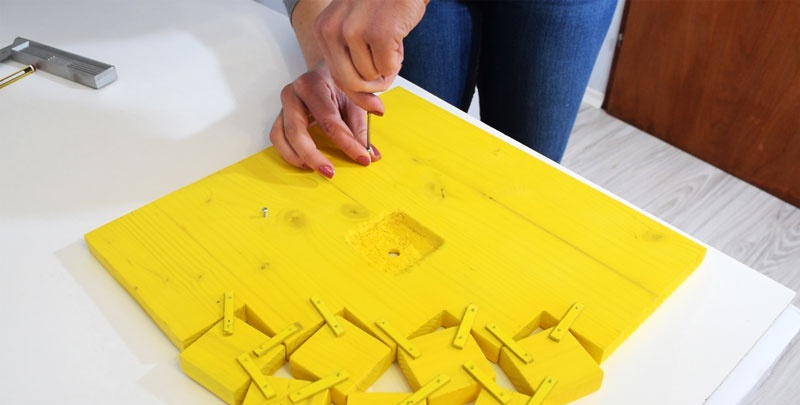
Let's start milling the hole for the clock mechanism.
We take the clock mechanism and apply it to the center of our base. We trace with a pencil. Next we mill the recess. I used a wood router bit mounted in a screwdriver. You can use a chisel and make a hole with it.
While working, we try on the recess for the mechanism. If everything is fine, we drill a hole in the tram for the exit of the shaft on which the arrows will be placed. After all the work has been completed, sand the base so that it becomes smooth.
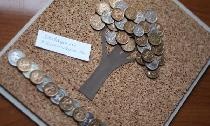
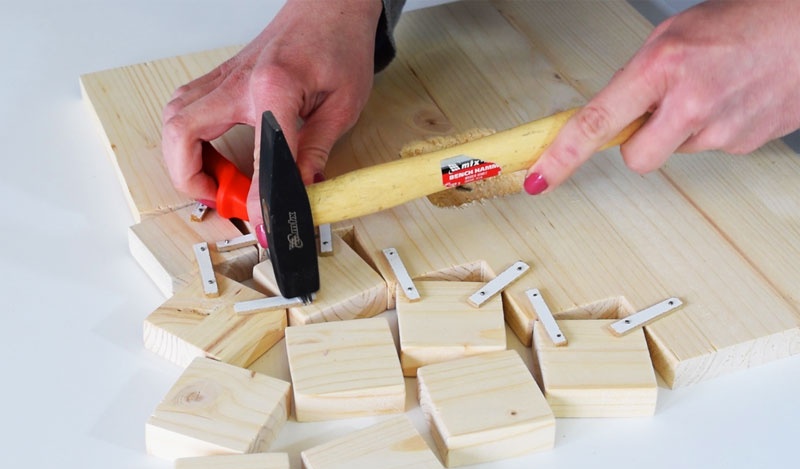
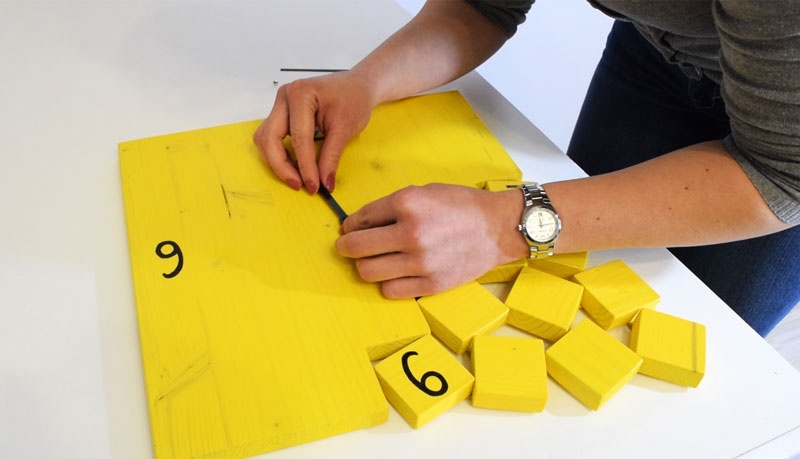
Watch assembly
Before you begin directly assembling the watch, you first need to prepare 18 small jumpers - connectors. Let's take a piece of plywood and use a hacksaw to cut 18 jumpers 0.7 x 4 cm.
We place the base, lay out our squares in an almost chaotic order. It is necessary to arrange the squares so that the plywood jumpers are practically invisible. On the reverse side, accordingly, we connect everything with jumpers and nails.
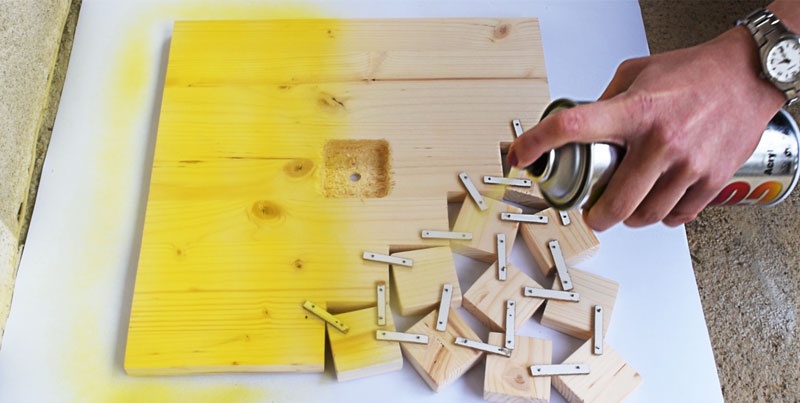
Painting a watch
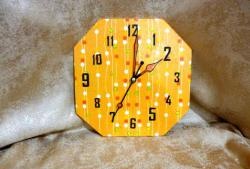
For painting I used spray paint from a can. Hold the can at a distance of 20 cm and spray on the watch on one side. After a little while, and the paint dries very quickly, we turn the clock over and spray paint on the other side. That's it, the base is almost ready.
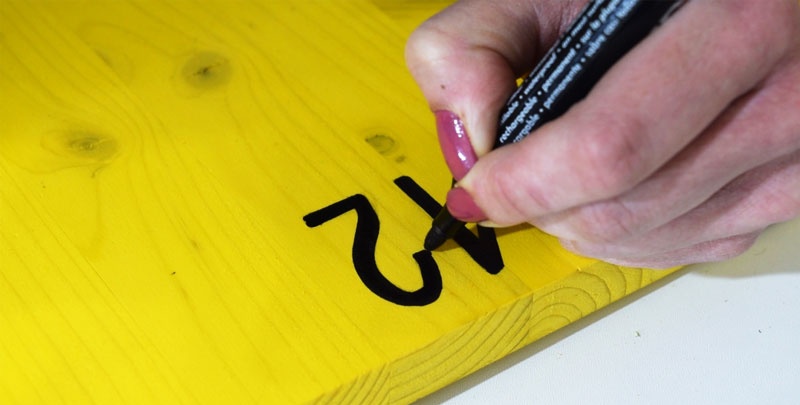
Drawing numbers
I took a black permanent marker and just drew the numbers. There is another option - print the numbers on the computer, cut and paste. So you can do that too if you want.
Watch hanger
I screwed in 2 screws so that I had something to hang the clock on.And I tied a string to the screws so that it could be hung on a nail in the wall or a self-tapping screw.
Installation of the mechanism
We install the clock mechanism into the base. Secure with a nut and put on the arrows. We insert the battery and check its functionality.
If it works, we hang it on the wall.
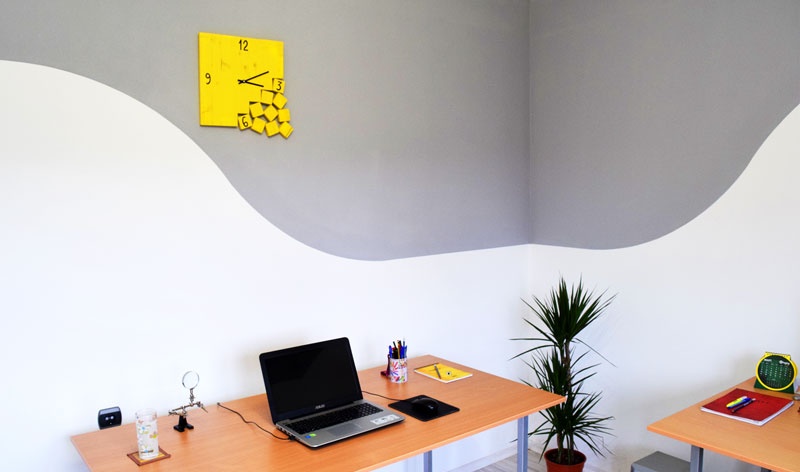
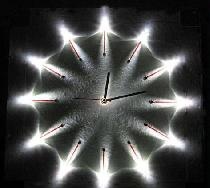
Looks great, doesn't it? Looks especially creative in a modern interior.
If you still have questions, watch the video of the watch creation process:
Original article in English