Do it yourself
Life hacks, master classes, useful tips, recipes.
home » Different » Basket made from a yoghurt jar
Giving things a second life has become very fashionable these days. After all, why throw something into the trash that could become a useful thing. A yoghurt jar can also make a great souvenir if you make a basket out of it using fabric. You can store useful little things in such a basket, and it will become a worthy decoration for your souvenir shelf. Or you can place a small and useful item and give the basket to a loved one. Then present will gain additional value because your soul will be invested in it.
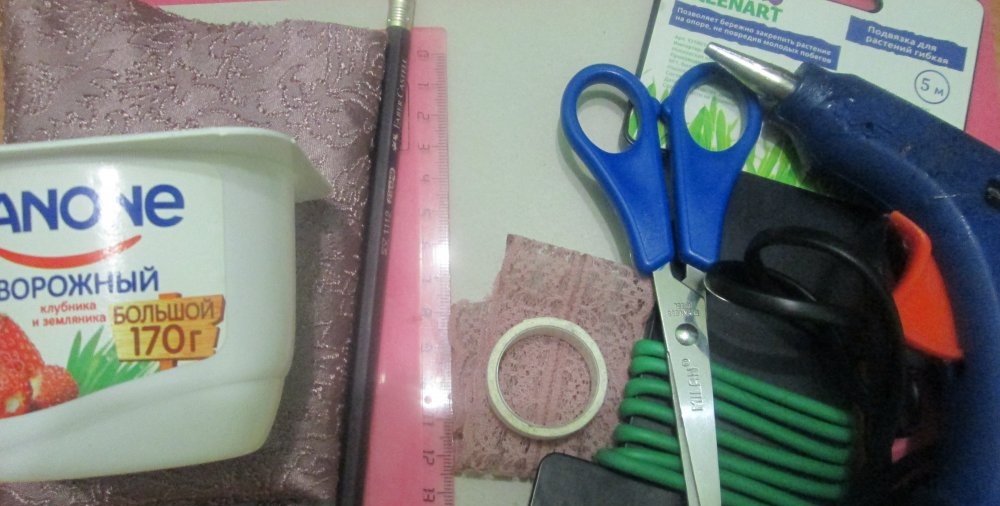
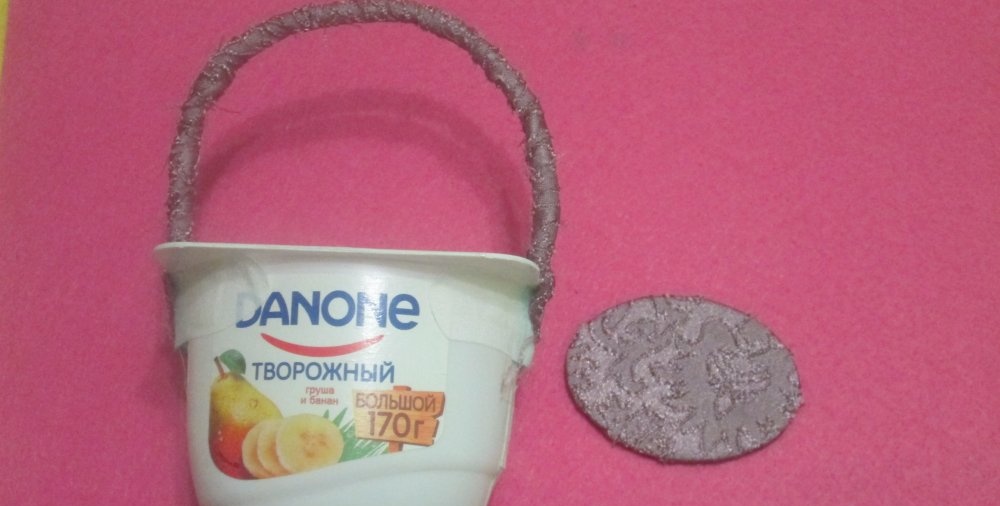
Materials for making the basket:
  • - Oval yogurt jar;
  • - Fabric for finishing;
  • - A piece of lace or ribbon for decoration;
  • - Wire for the handle;
  • - Glue (you can use any glue, but hot glue is more convenient to work with and the work will go faster);
  • - Scissors;
  • - Ruler;
  • - Simple pencil;
  • - Medical white adhesive tape (you can use masking tape);
  • - Waste cardboard – a small piece.

Basket made from a yoghurt jar

Making the basket:
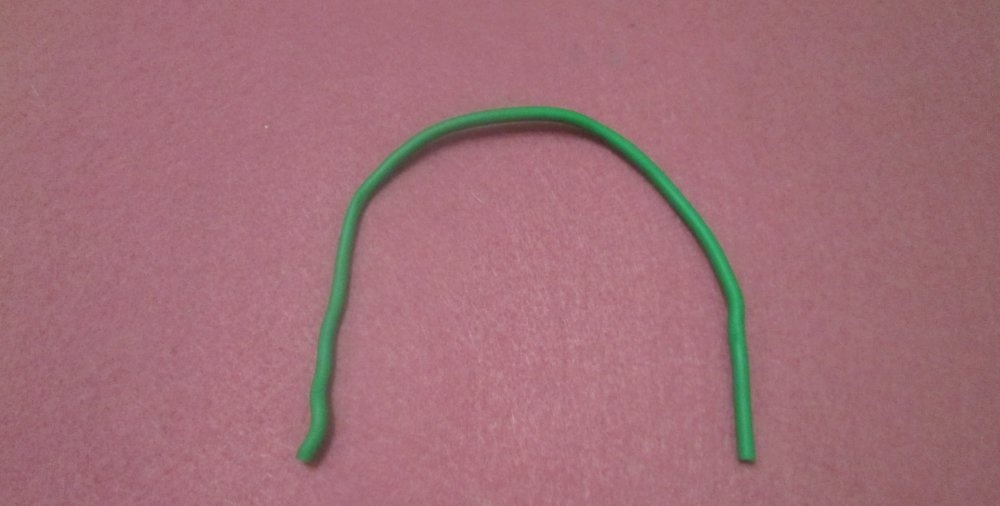
1. Cut the wire to the required length. It is better that it is at least 24 cm.
Basket made from a yoghurt jar

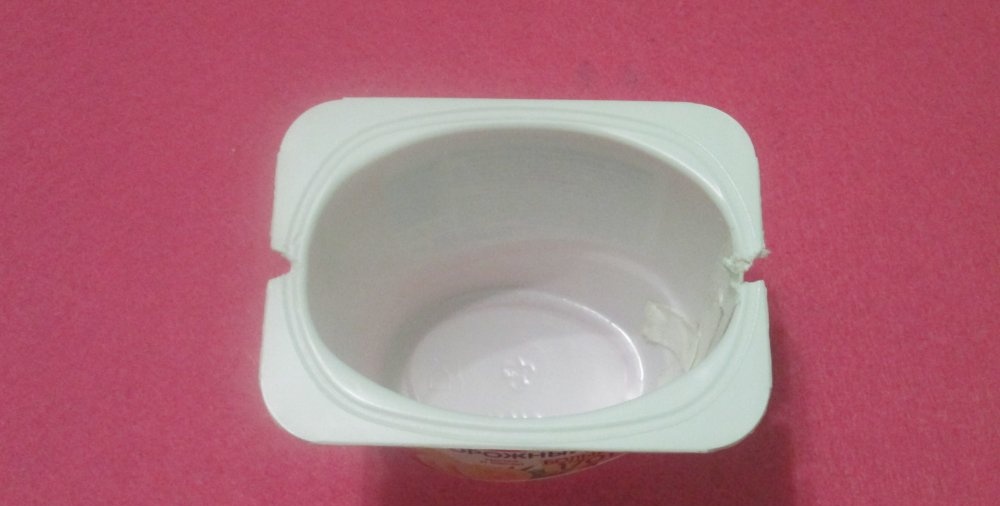
2. Carefully, so as not to damage the plastic, use scissors to make indentations in the rim of the jar in order to insert the handle there.
Basket made from a yoghurt jar

3. Place the wire in these recesses and secure it to the sides of the can with adhesive tape or masking tape. To make sure the handle stays on, you can drop a drop of glue into the gap between the wall and the adhesive plaster.
Basket made from a yoghurt jar

Basket made from a yoghurt jar

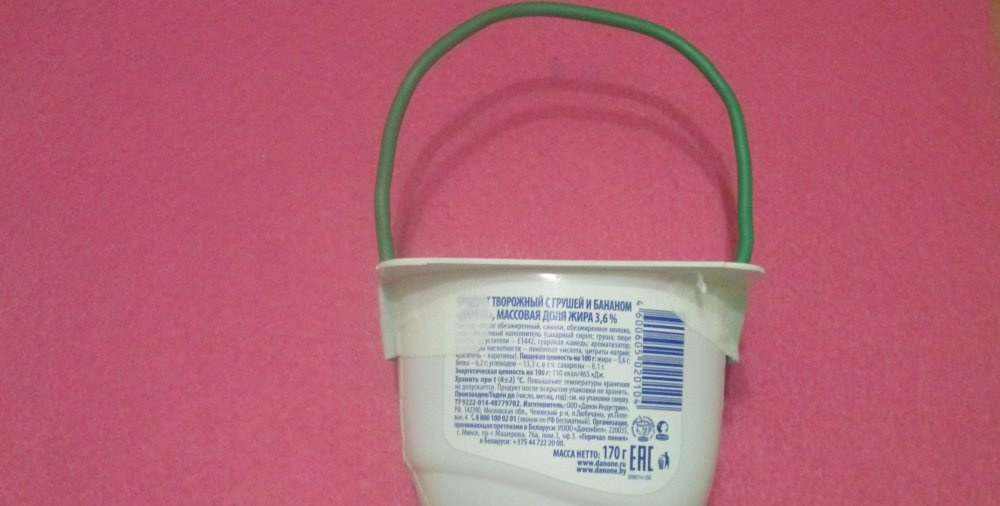
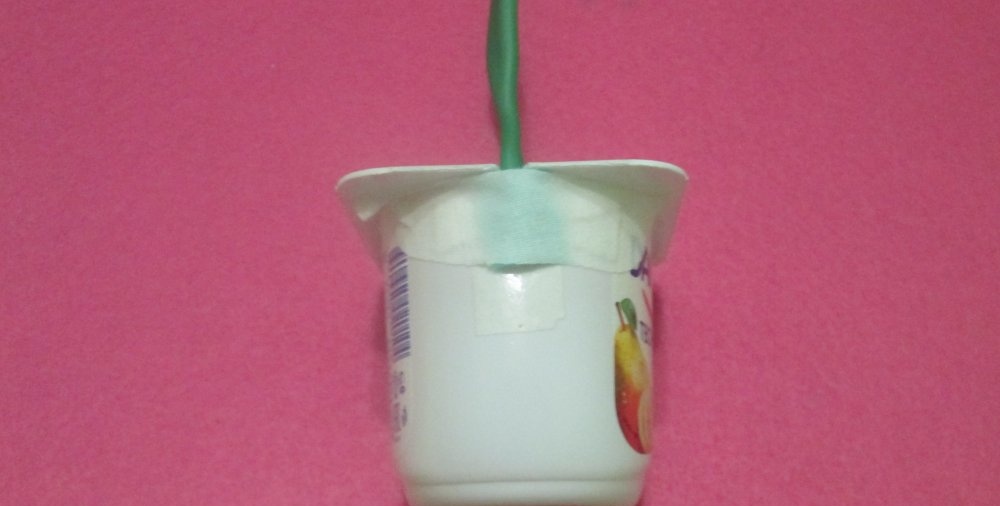
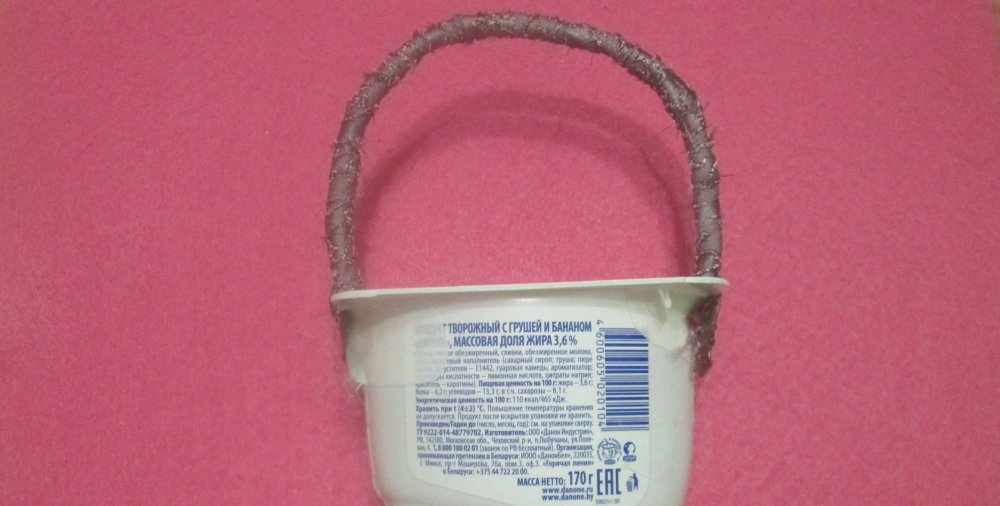
4. Wrap the handle of the basket with a ribbon or thin strip of fabric that you plan to use to trim the basket. Secure the edges of the fabric strip with glue.
Basket made from a yoghurt jar

5. Trace the bottom of the jar on a piece of cardboard and cut it out. Cut the same oval, only with an edging of +1 – 1.5 cm, from fabric.
Basket made from a yoghurt jar

6. Make ray cuts along the edge of the fabric. These rays need to be glued one after another to the cardboard.
Basket made from a yoghurt jar

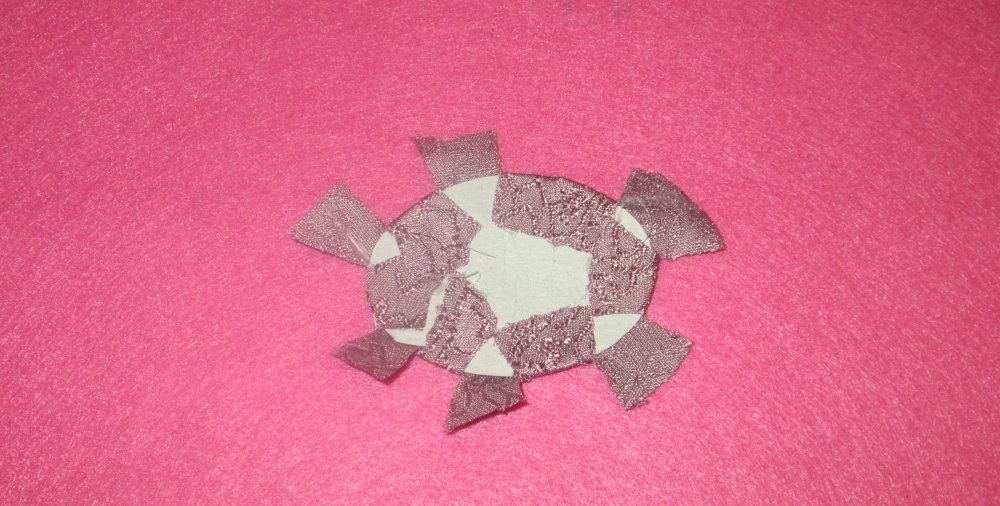
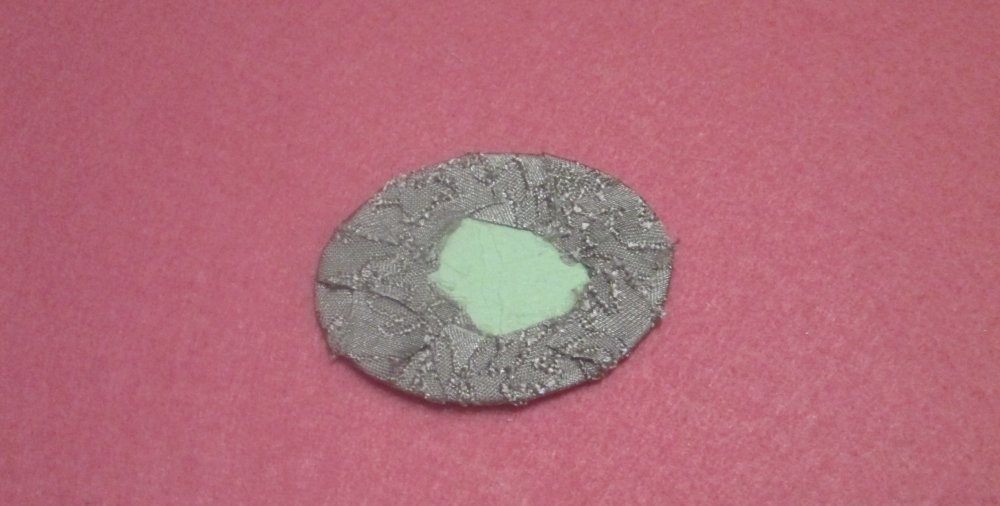
7. Then, stretching the fabric to avoid unevenness, glue the remaining rays. This will be the bottom of the basket.
Basket made from a yoghurt jar

Basket made from a yoghurt jar

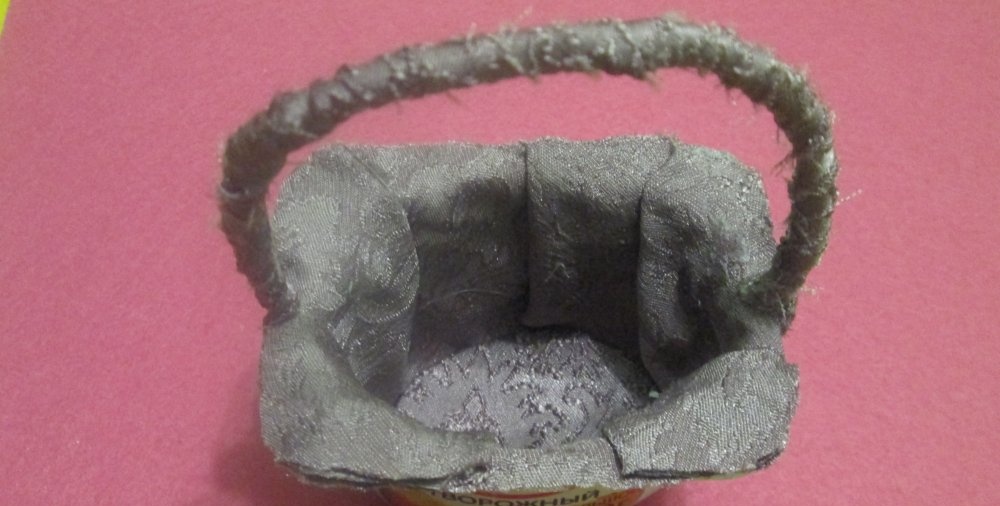
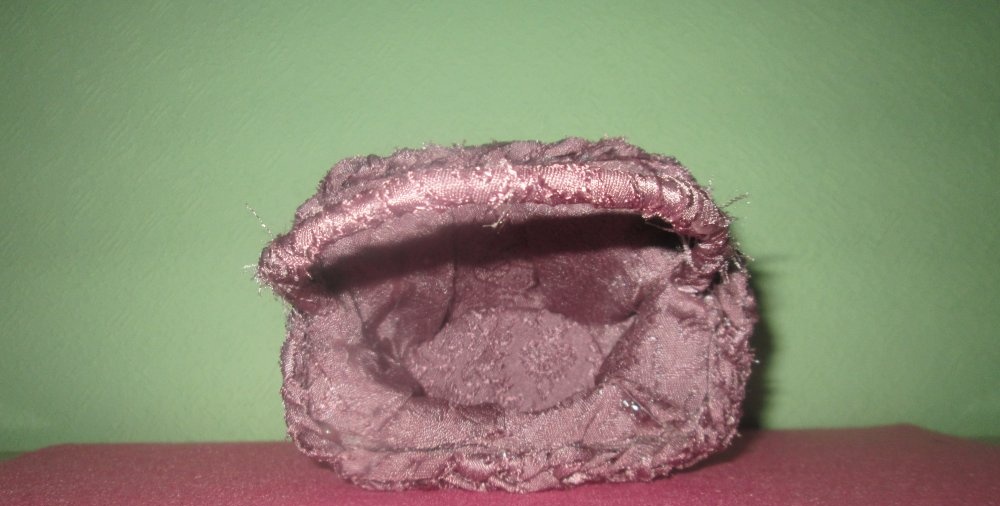
8. Place a piece of fabric of the required size (such that it covers the inner walls of the jar and is attached to the rim of the jar) at the bottom of the jar, distribute the folds. Apply glue to the bottom of the prepared basket bottom, insert the bottom into the basket and press it to the bottom of the jar.
Basket made from a yoghurt jar

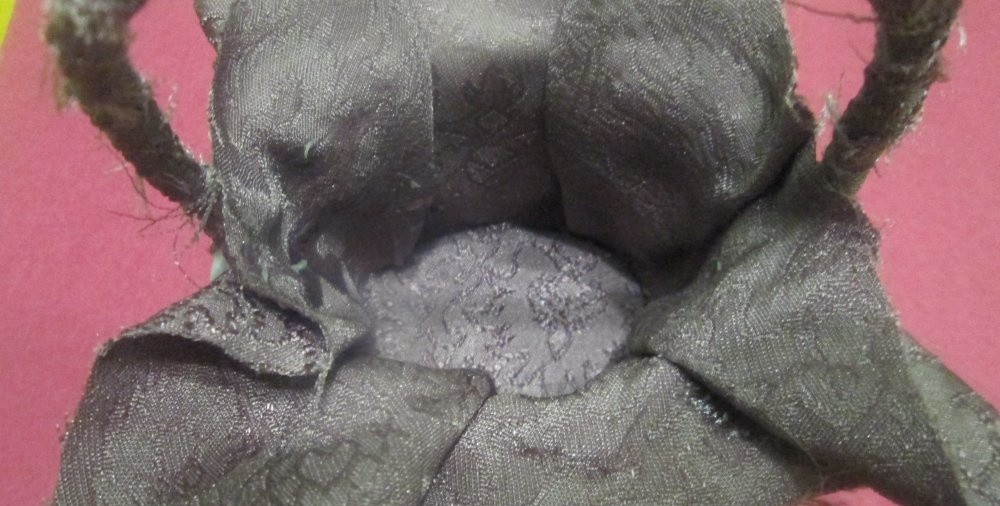
9. Drape the fabric and secure it with glue to the rim of the jar, trim off the excess along the edges. The interior of the basket is ready!
Basket made from a yoghurt jar

10. Exterior finishing is done in almost the same way. The fabric should be of such a size that it covers the walls of the jar.
Basket made from a yoghurt jar

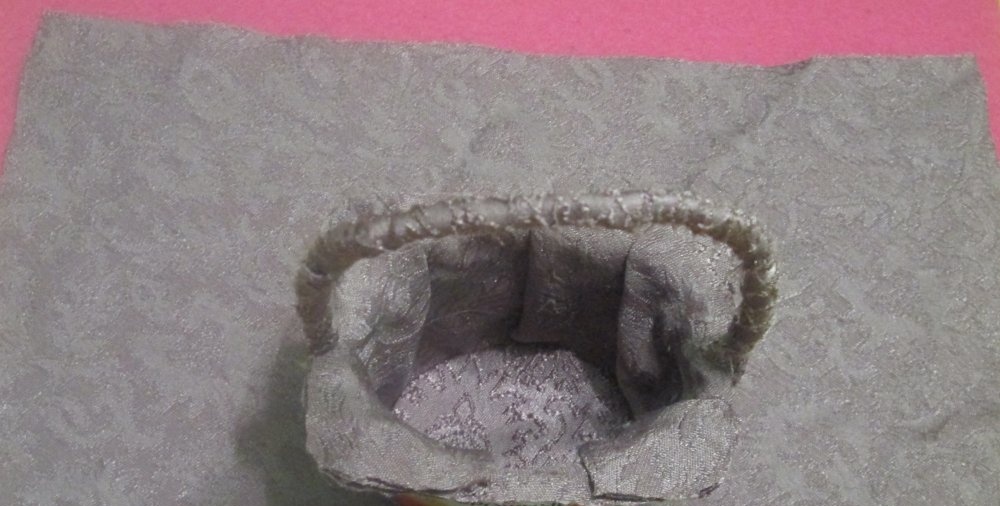
11. Form folds from the fabric, secure the top of the jar under the rim with glue, trim off the excess fabric along the edges.
Basket made from a yoghurt jar

12. Secure the lace (or ribbon) with glue around the rim of the jar.
Basket made from a yoghurt jar

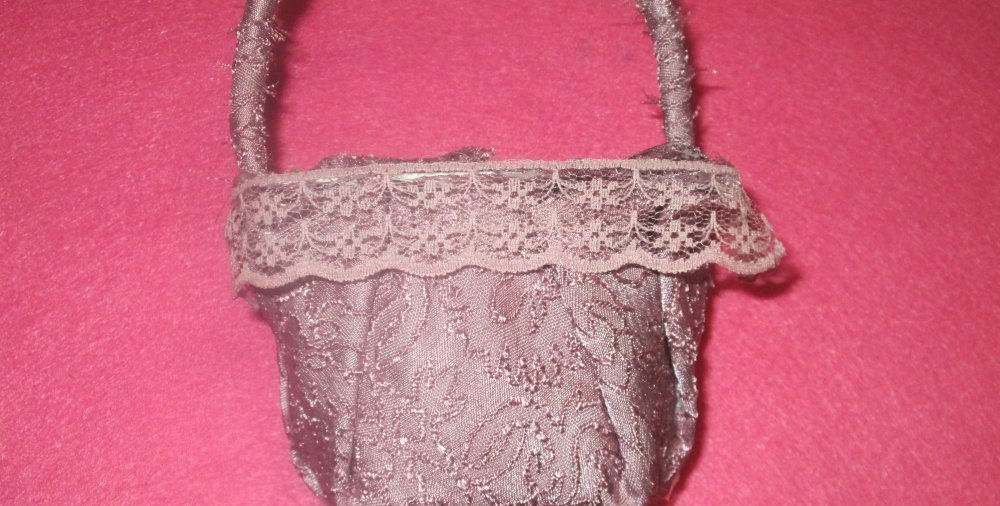
13. Cut three thin strips of fabric and weave them into a braid. Attach the braid in a circle to the rim of the jar on top of the lace so that it hides the seam between the inner and outer fabric trim.
Basket made from a yoghurt jar

Basket made from a yoghurt jar

Basket made from a yoghurt jar

Basket made from a yoghurt jar

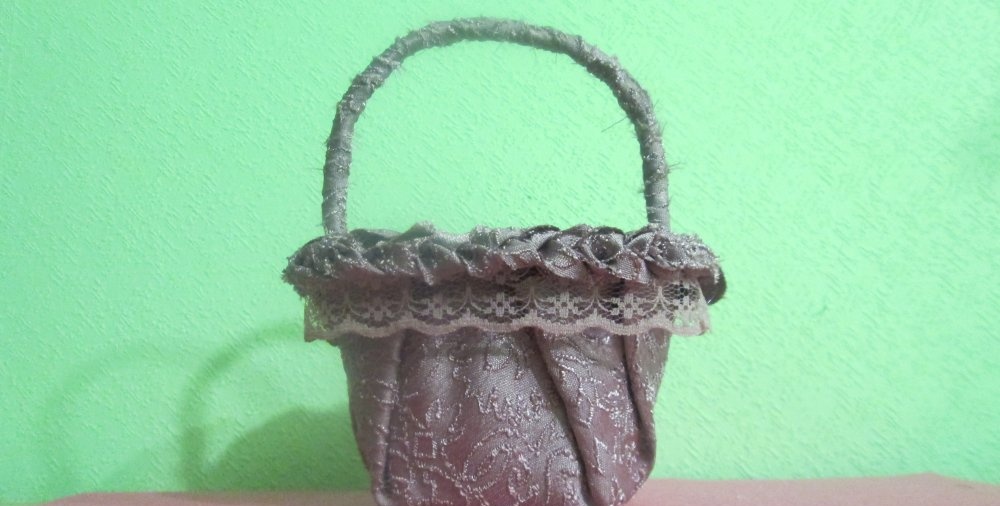
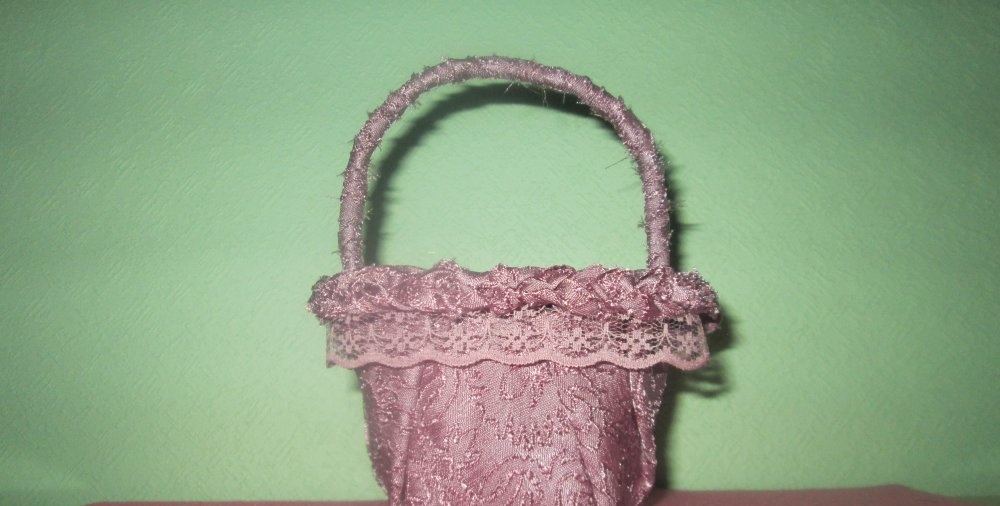
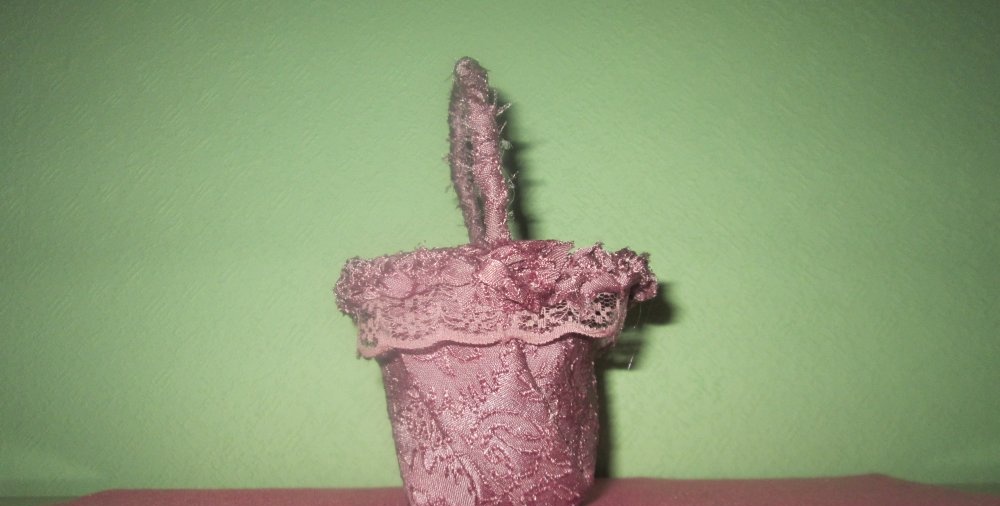
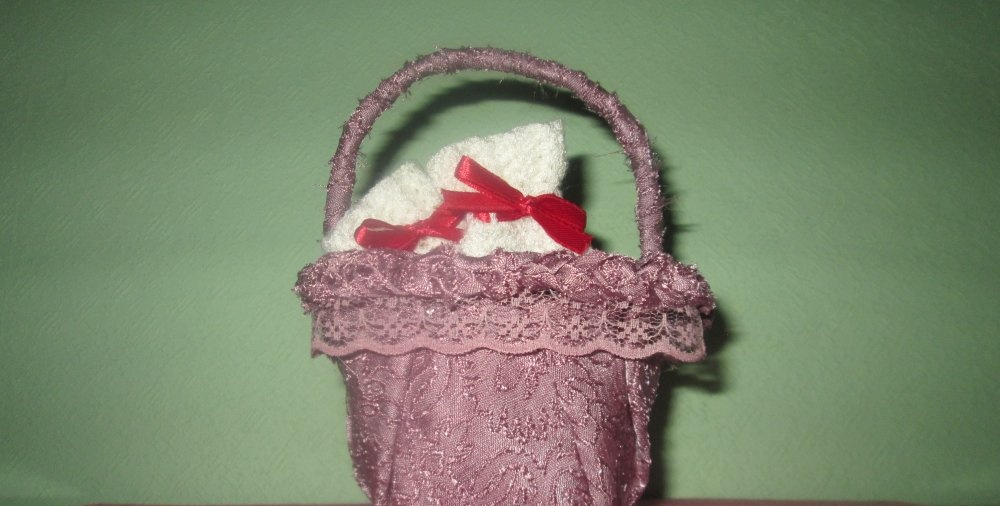
The beautiful basket is ready!
Basket made from a yoghurt jar
come back
Comment
  • bowtiesmilelaughingblushsmileyrelaxed relaxedsmirk
    heart_eyeskissing_heartkissing_closed_eyesflushedrelievedsatisfiedgrin
    winkstuck_out_tongue_winking_eyestuck_out_tongue_closed_eyesgrinningkissingstuck_out_tonguesleeping
    worriedfrowninganguishedopen_mouthgrimacingconfusedhushed
    expressionlessunamusedsweat_smilesweatdisappointed_relievedwearypassive
    disappointedconfoundedfearfulcold_sweatperseverecrysob
    joyastonishedscreamtired_faceangryragetriumph
    sleepyyummasksunglassesdizzy_faceimpsmiling_imp
    neutral_faceno_mouthinnocent
5+two=
Comments (3)
  1. Lalika
    #1 Lalika Guests 21 August 2017 14:42
    1
    It is better to make holes for the handle not with scissors, but with an awl heated over the burner. This will prevent the plastic from cracking. And masking tape is definitely not suitable for attaching the handle - it is not durable. It can only be used as a temporary mount. The handle is definitely secured with glue.
  2. Vlentina
    #2 Vlentina Guests 22 August 2017 13:03
    1
    Thank you! Very beautiful.
  3. Aliaska
    #3 Aliaska Guests 26 August 2017 20:21
    1
    These jars are very weak, I would look for something else. Or I stocked up on two or three, otherwise it wouldn’t be surprising to break a couple during the process.

How to make a stationary dispenser with your own hands

Monkey toy made from an old children's scarf | Do it yourself

How to make a simple winch with your own hands

Roses on a ball – topiary | Do it yourself

«Do it yourself - with your own hands» - a site of interesting homemade products made from scrap materials and items at home. Step-by-step master classes with photos and descriptions, technologies, life hacks - everything a real master or just a craftsman needs for needlework. Crafts of any complexity, a large selection of directions and ideas for creativity.

We recommend reading

Washing machine error codes