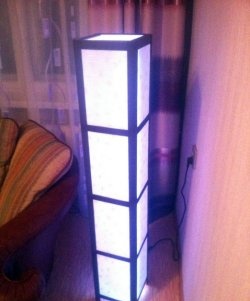
This is a very unusual and beautiful art object that will decorate your interior. It is both a painting and a lamp. And its production does not require large expenditures on materials.
So, we will need:
- Knitting threads 2 colors or floss.
- Nails (any kind will do).
- A board whose dimensions will be the dimensions of the future lamp (the thickness of the board should be about 15mm or more).
- Hot melt adhesive.
- Aerosol enamel black.
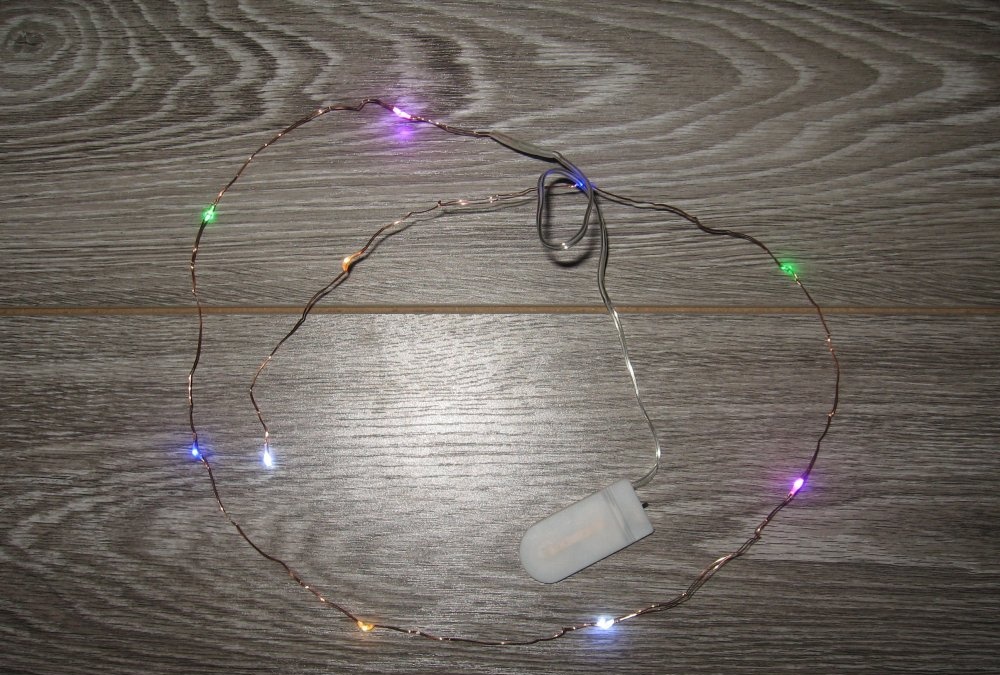
- A garland with small LEDs that runs on batteries. The garland should not be very long (less than two meters).
Let's start manufacturing.
STEP 1.
First you need to prepare the board for work. We cut it to the size of the future lamp, process it with a file and sandpaper. And then we paint it black on all sides (several layers are possible).
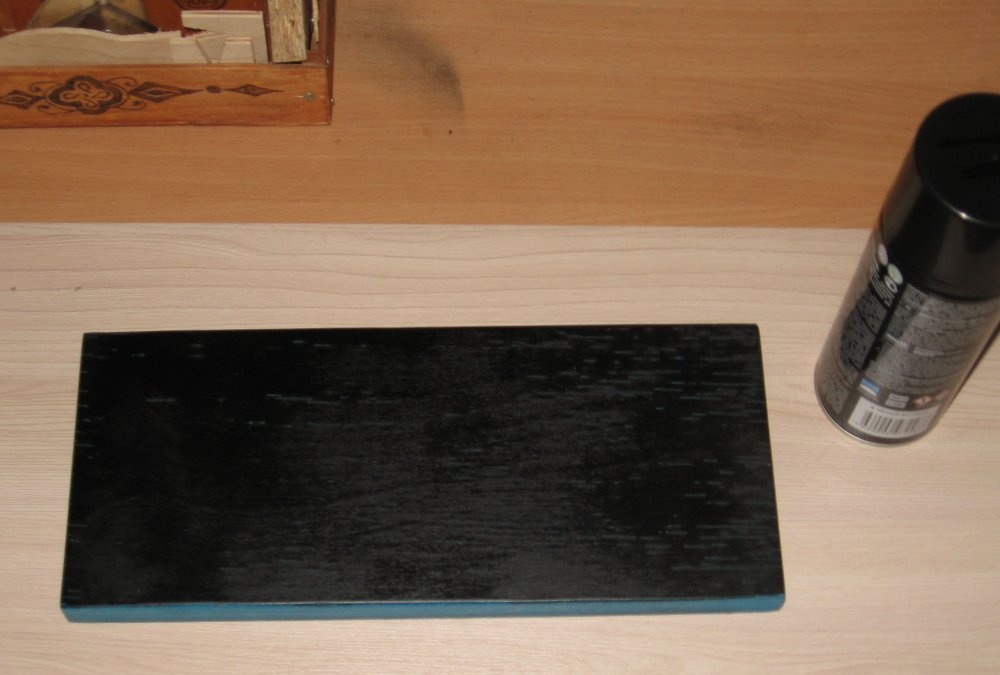
STEP 2.
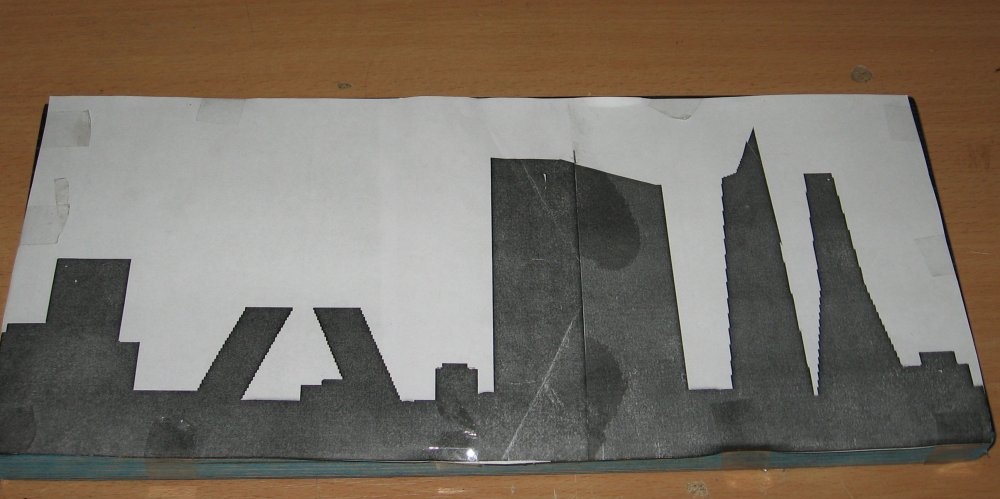
While the board is drying, select a drawing of the city. To do this, simply enter into any search engine: “CITY SILHOUETTE”. We find a suitable picture and print it in the size we need.
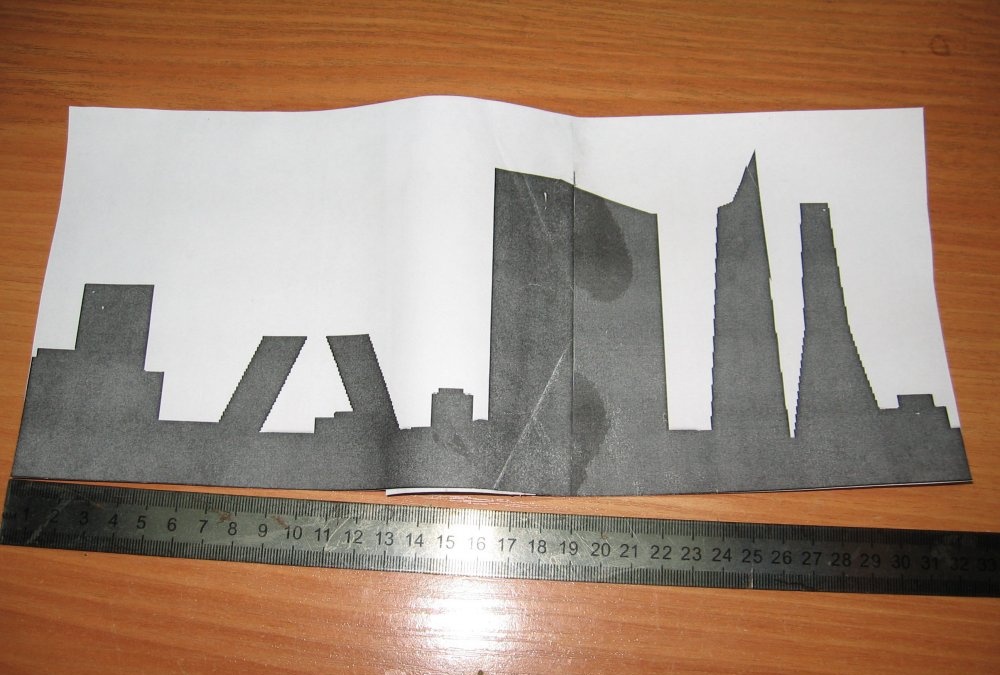
STEP 3.
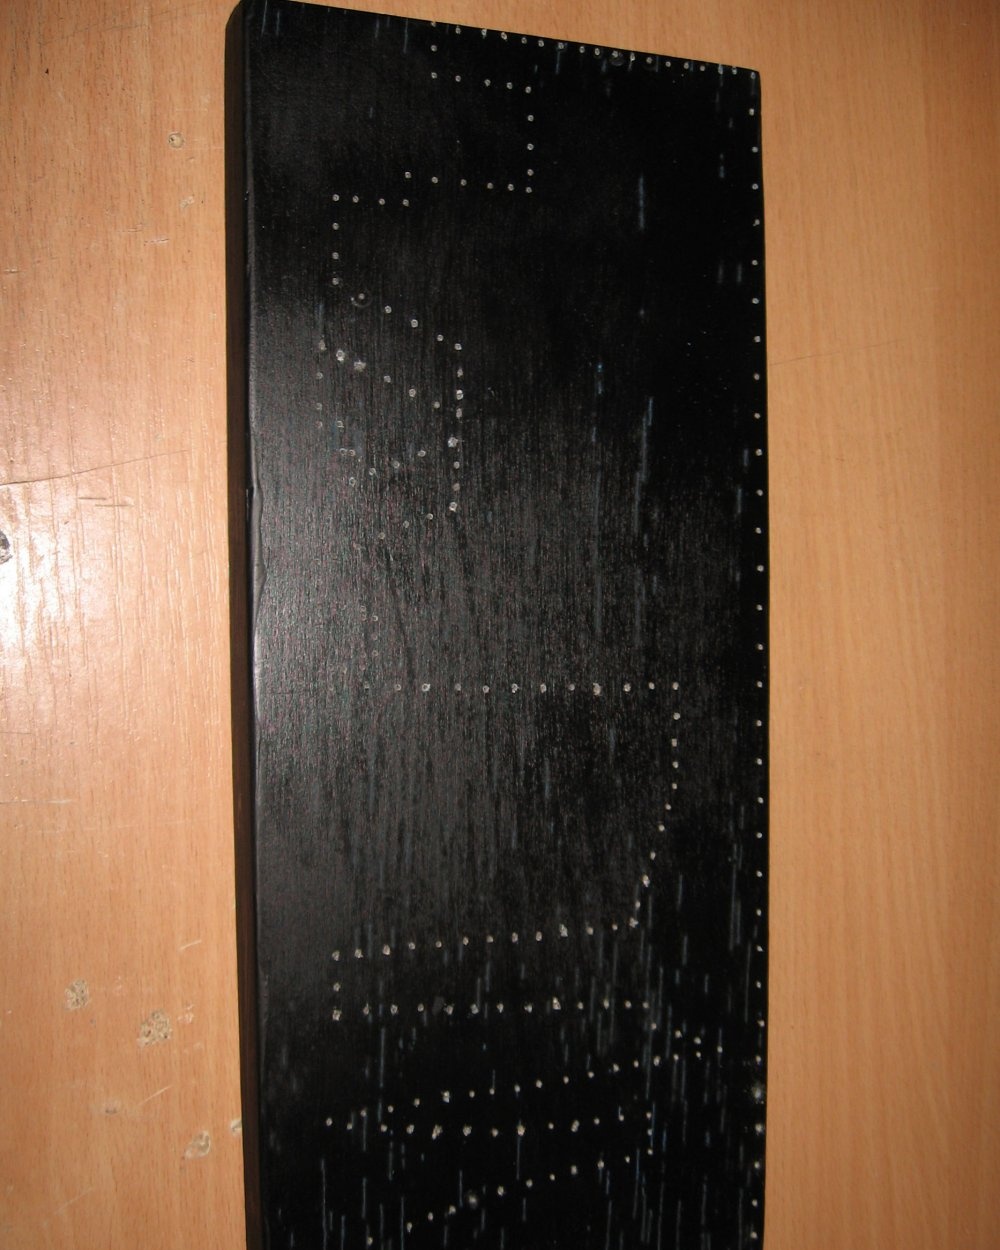
In the picture of the city along the contour we mark the places into which nails will then be driven. The distance between the serifs should be approximately the same and not very small (from 1 cm).
STEP 4.
Once the board is completely dry, use tape or tape to attach the design to the board.
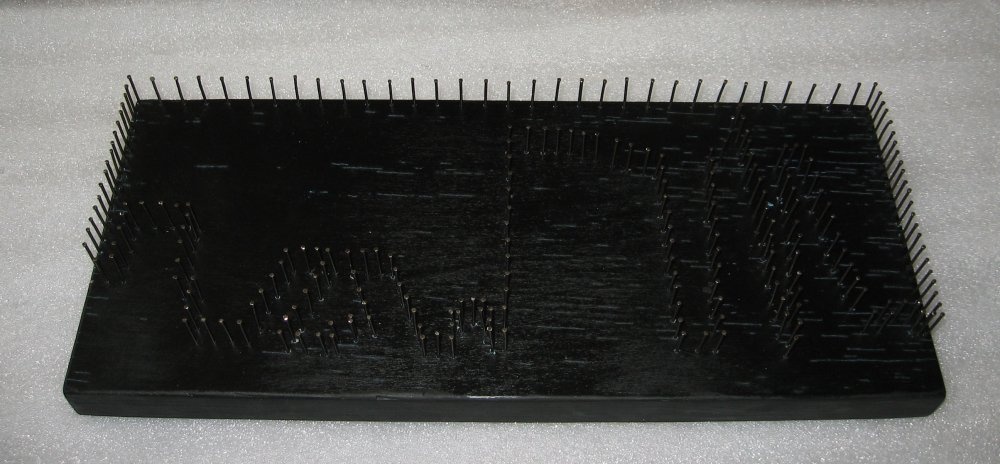
Now you can hammer nails into the places that you marked in the figure. But you can do a little trick that will make it easier for you to hammer nails into the board in the future. To do this, you will need a drill whose diameter will be smaller than the diameter of the nail. Now we drill the places that we marked in the figure with this drill to the depth to which you wanted to drive the nails (this is necessary so that the nails are driven into the board easier and do not bend). Next, hammer nails into the drilled holes. Decide for yourself how deep you will drive the nails. Personally, I left the nails sticking out 15mm from the board. And in order for all the nails to be at the same level, it is necessary to cut a strip out of cardboard, the height of which will be the height at which the nail heads will be relative to the board. And now, when you hammer in nails, you can use this strip of cardboard as a reference. But first, carefully separate the paper with the design from the board. Once the nails along the outline of the design are hammered in, it will be necessary to hammer in the nails on the sides and top of the board in the same way so that the outline becomes closed.
STEP 5.
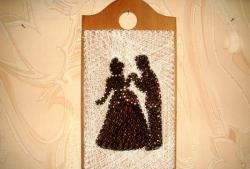
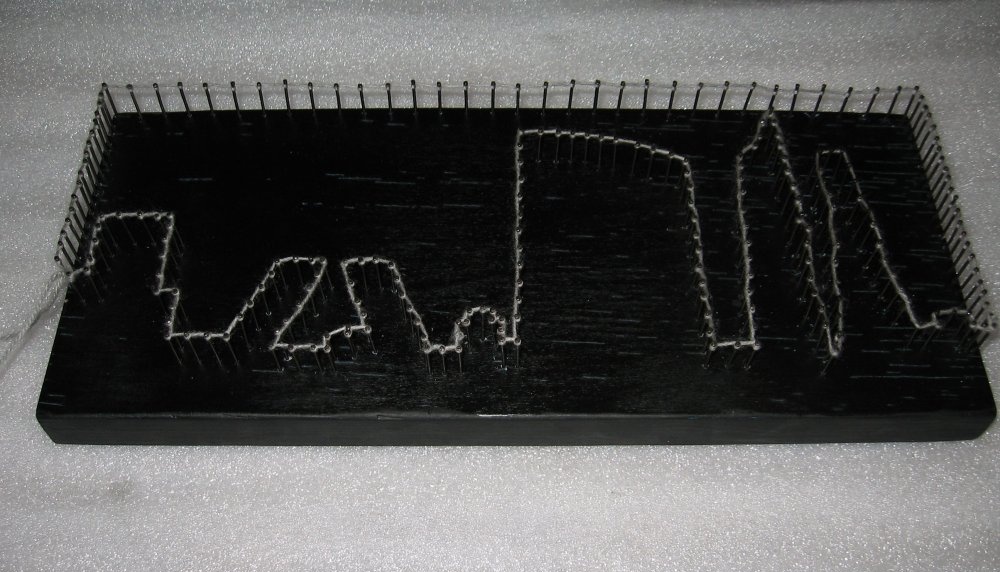
Now we begin to fill the outline with threads. First, take threads of the color that will be the main one.We secure the end of the thread with hot glue under the head of any nail. Next, we use this color along the contour to mark the boundaries and not go beyond them.
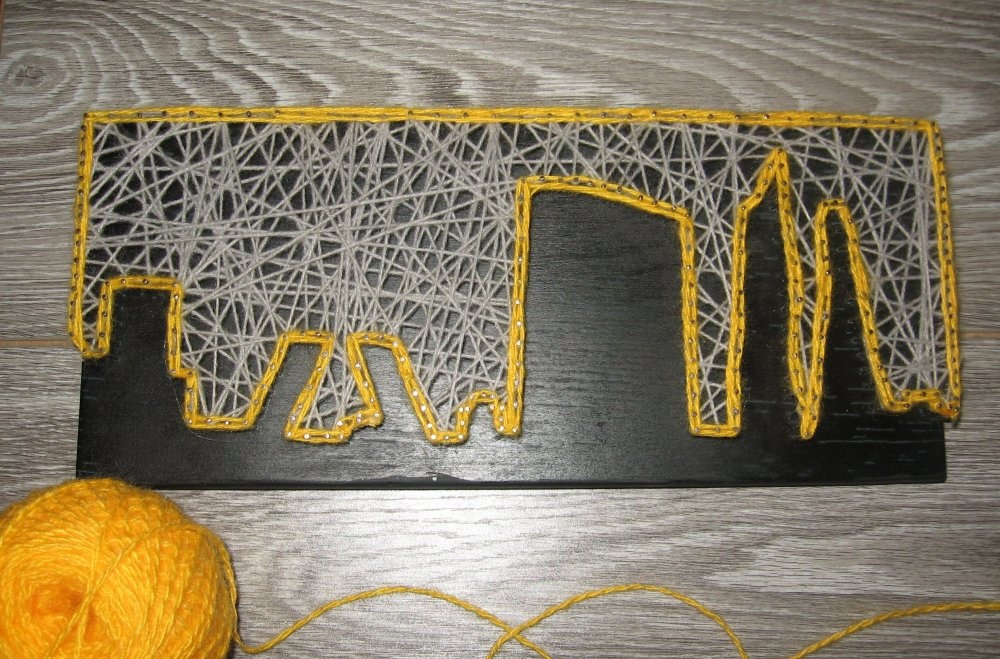
STEP 6.
After we have marked the boundaries, we begin to move from one nail to another in a chaotic manner, thus filling the entire contour. When you think the outline is sufficiently filled, carefully cut the thread and secure the end with hot glue to a nearby nail. To make the outline clearer, we take threads of a different color and pass them only along the outline.
STEP 7.
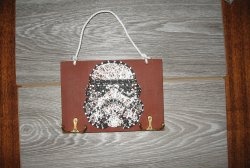
Now we take the garland. As I said, it doesn't have to be very long. And carefully push it inside the contour so that LEDs were not very close to each other. And the switch can be attached with hot glue to the side or back of the board. Now, thanks to LEDs, in the dark they will resemble stars in the night sky.
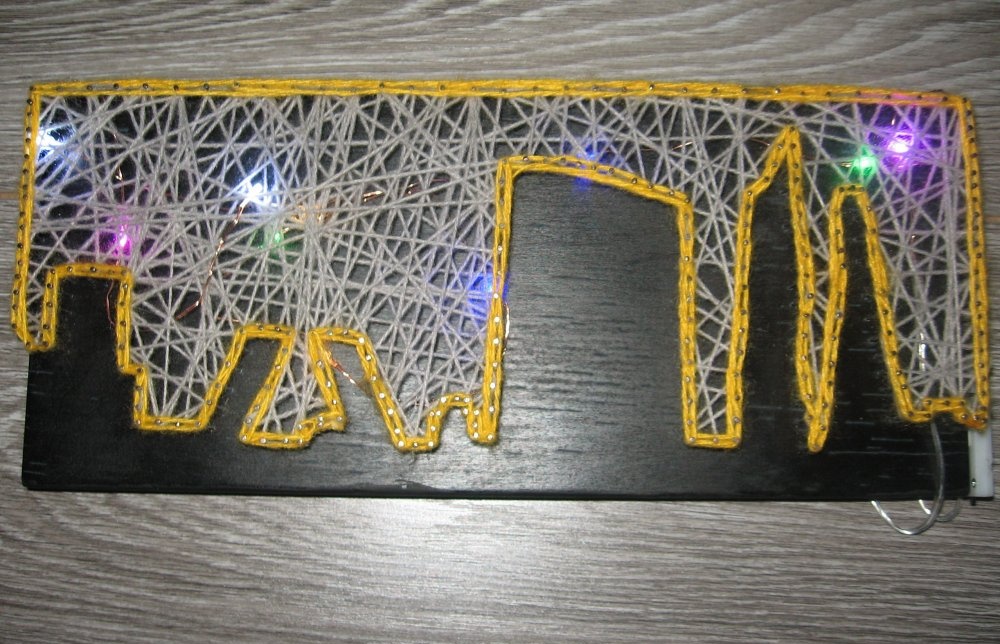
That's all. The craft is ready.
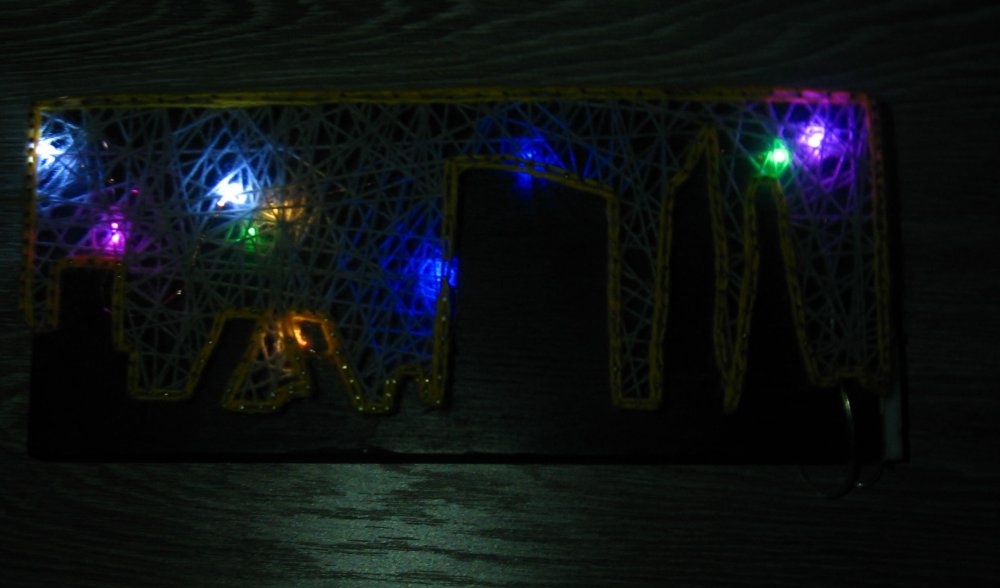
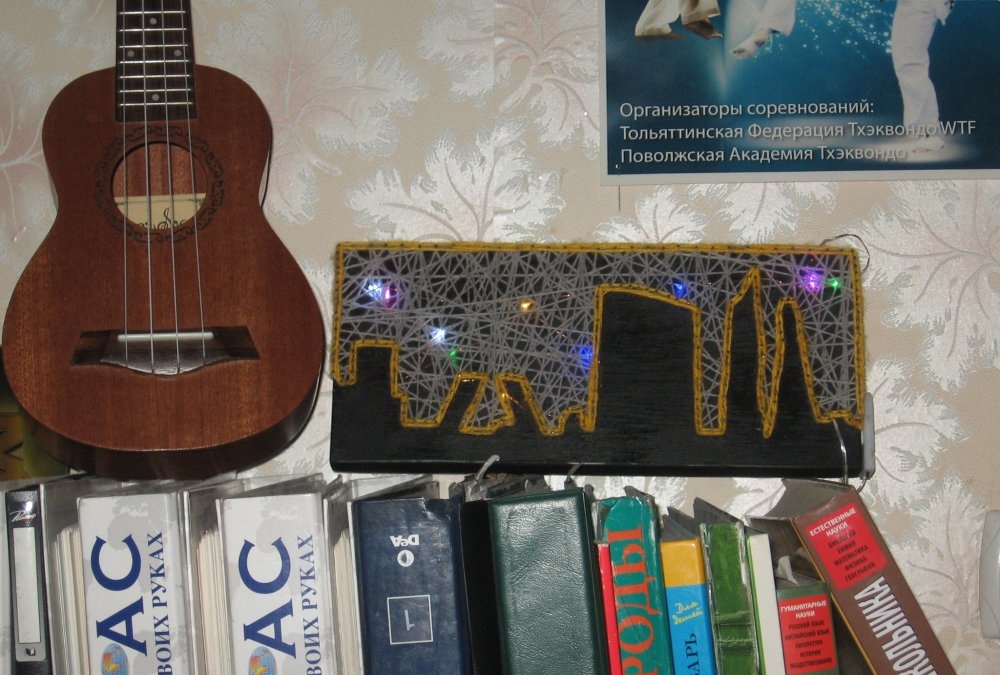
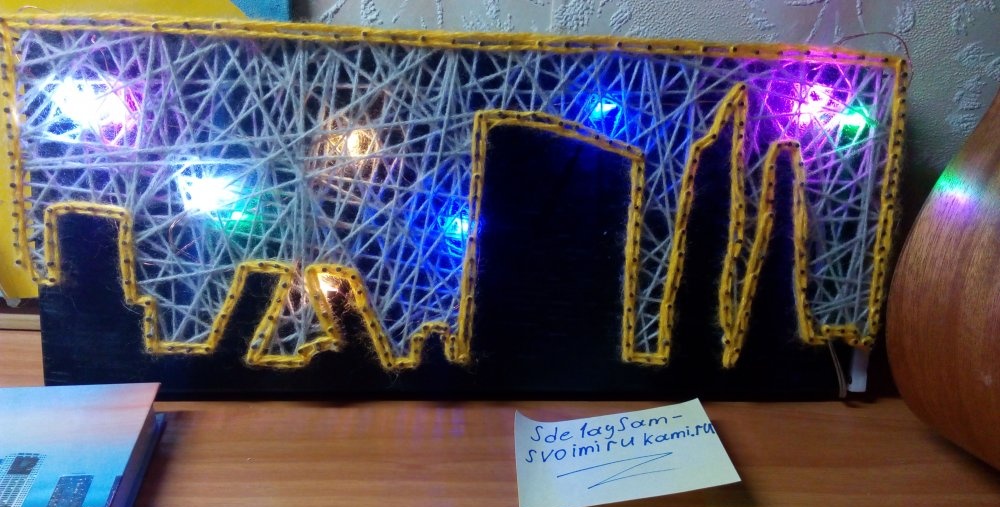
You can place it on a cabinet or on your desktop. And although this craft does not cope well with the task of a lamp, it looks very impressive in the dark.