It is so arranged by nature that cats feel the need to sharpen their sharp claws, and it would be better if they got a claw-claw on time, which you can not only buy at the pet store, but also do it yourself. The only way you can save your furniture, wallpaper or other furniture valuable to you.
Types of Scarlet Points
Today, stores offer a variety of pet claws:
- horizontal or vertical;
- angular;
- single-component or prefabricated.
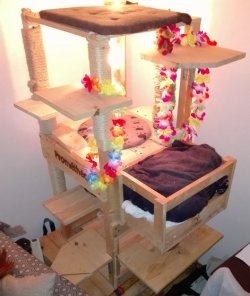
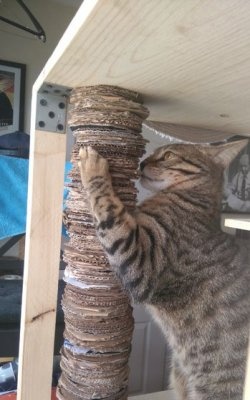
It can be simple planks with a coating of fabric, carpet or ordinary thick cardboard. In shape, they can resemble columns wrapped in rope. If space permits, you can purchase a multi-level design that allows you to recreate natural conditions.
We master the scratching post ourselves
What we need:
- 3 thin, with a diameter of 5 cm and a height of 1.5 m, the trunk of a young felling;
- sled rail, from which we cut 3 bars, each 50 cm long;
- screws;
- drill;
- wrench;
- a board measuring 20 x 40 cm for a stove bench;
- a piece of foam rubber of the same size;
- tight fabric;
- furniture gun with staples.
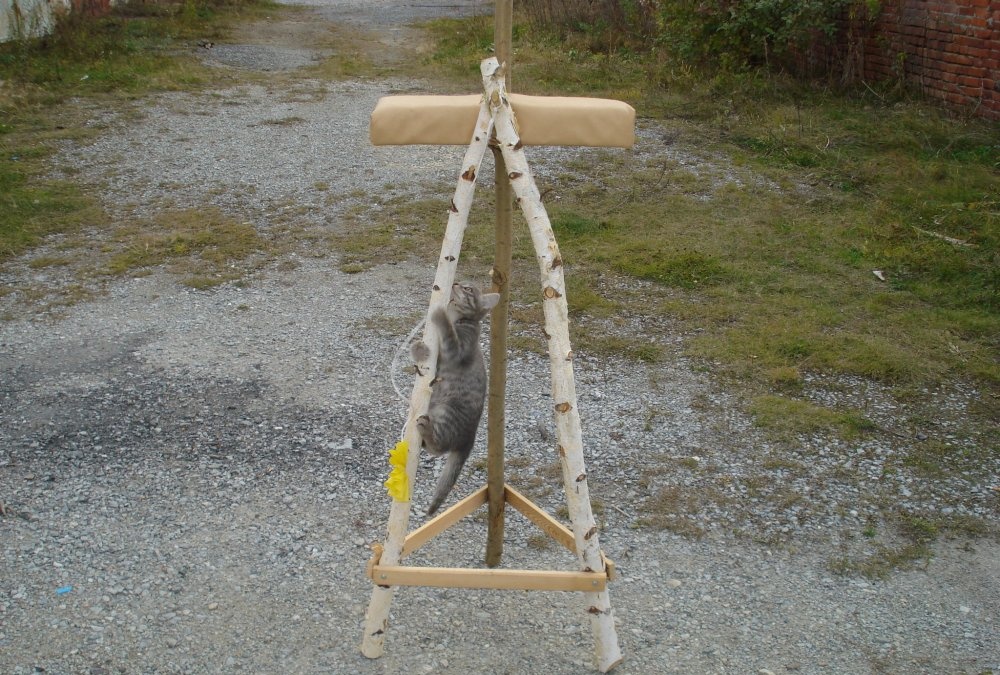
Working process
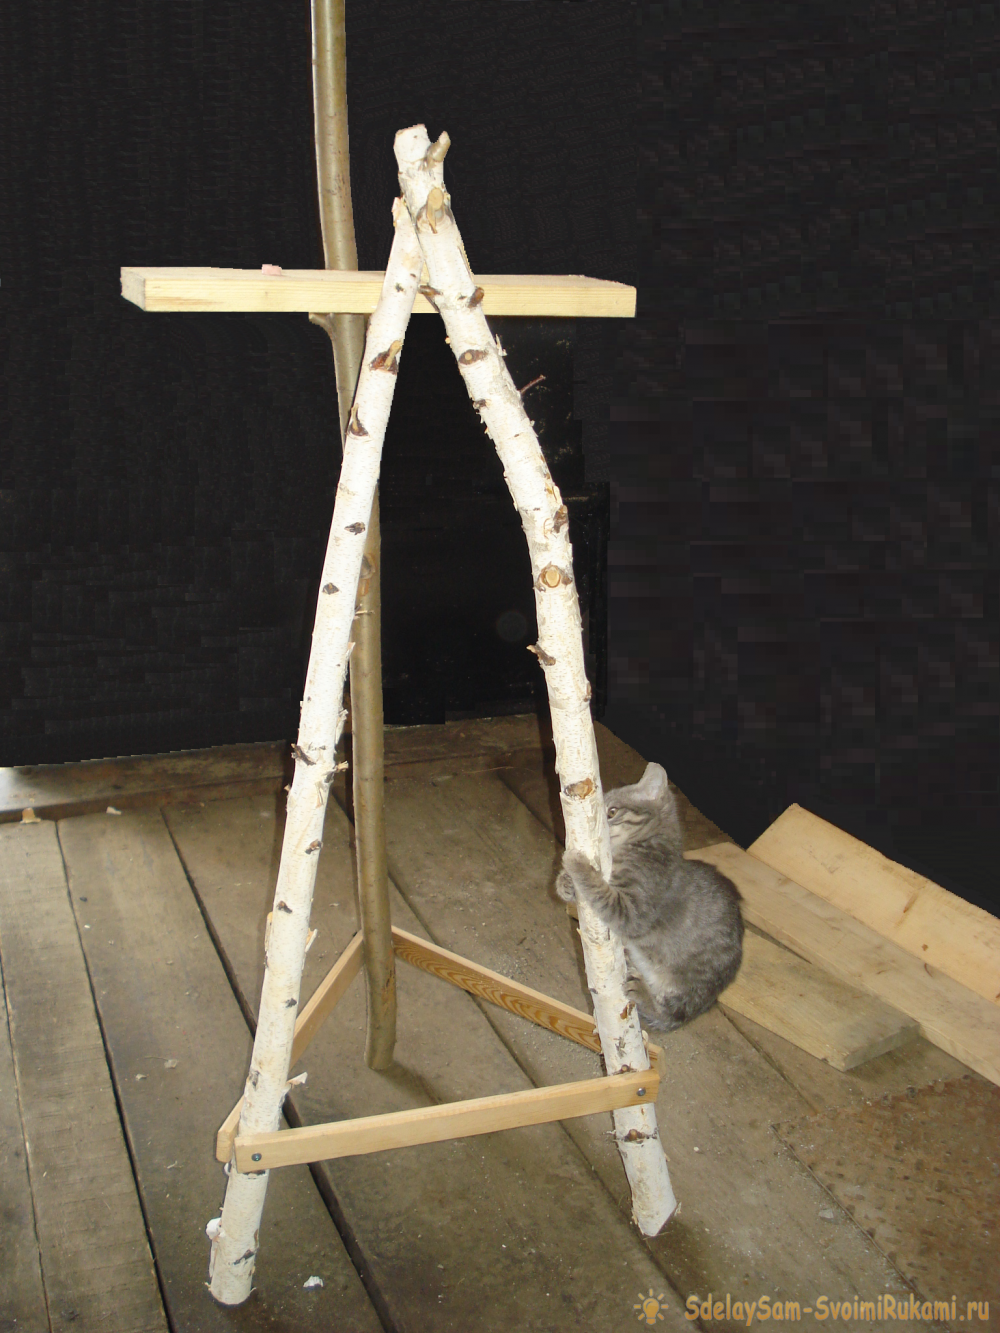
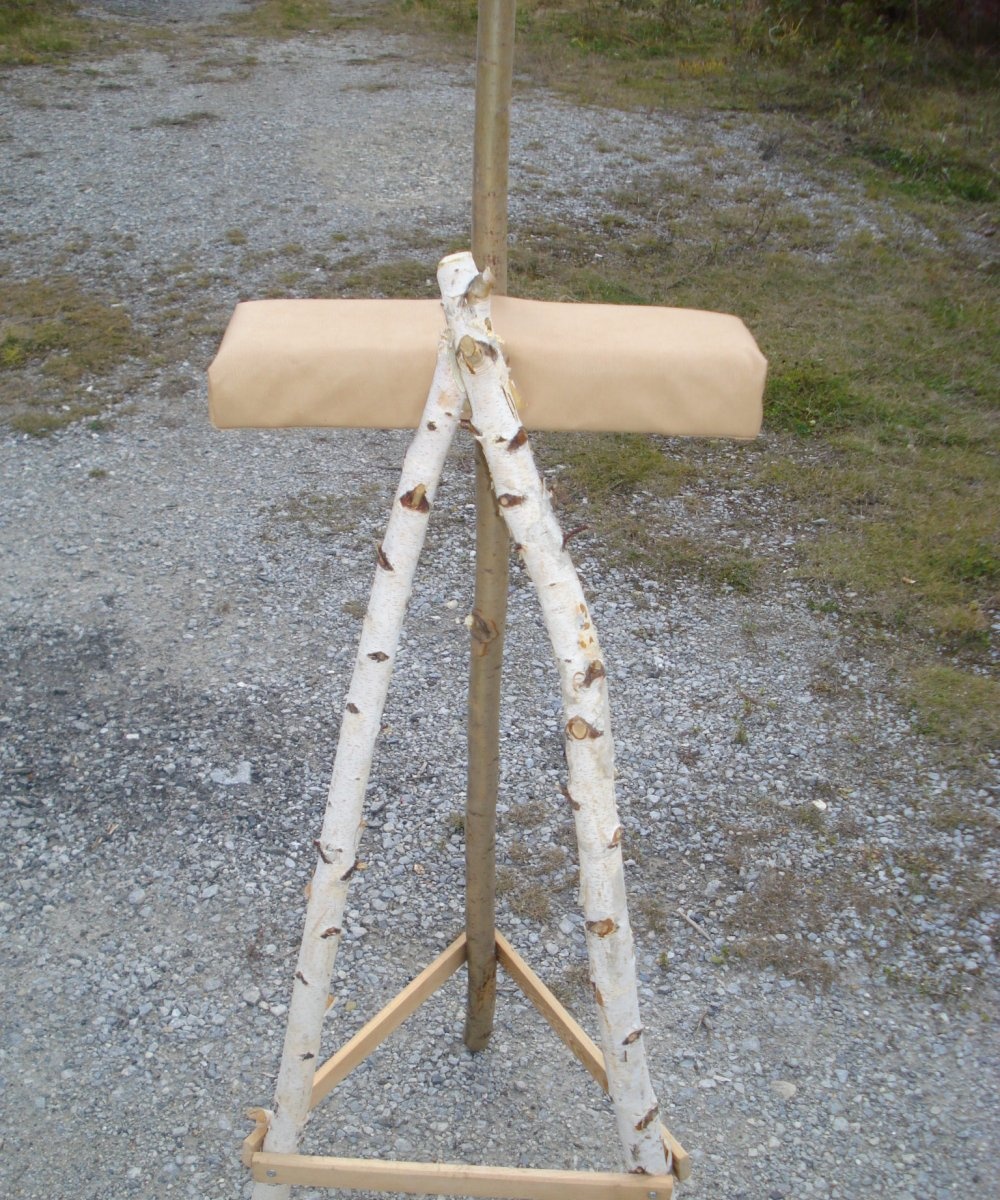
We will prepare the material. We clear the trunks of branches and saw off the desired length. Our design suggests that birch trunks are 20 cm shorter than the aspen tree trunk. We did this so that the kitten, lying on a shelf, could sharpen its claws. From the sled rail we will make the lower crossbars so that the structure is stable.

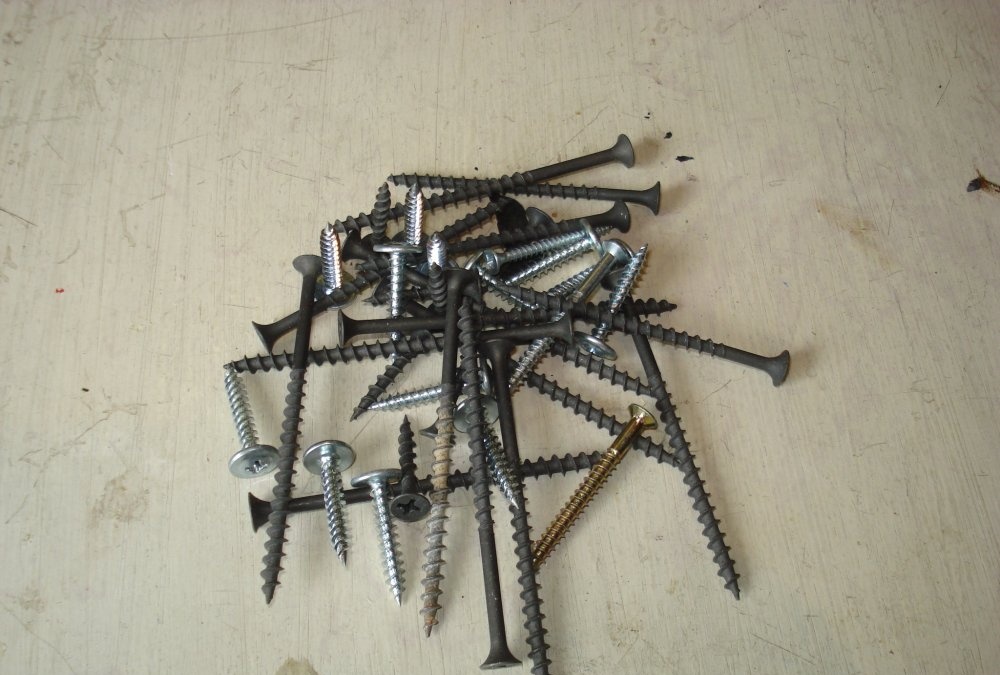
We will prepare screws of different lengths: from 2 to 7 cm.
We drill a hole for a screw in the rail at a distance of 2 cm from its edge. This must be done so that the wood does not disperse. Using a screwdriver, we drive the screw through the hole in the rail into the birch trunk at a distance of 10-15 cm from the edge.
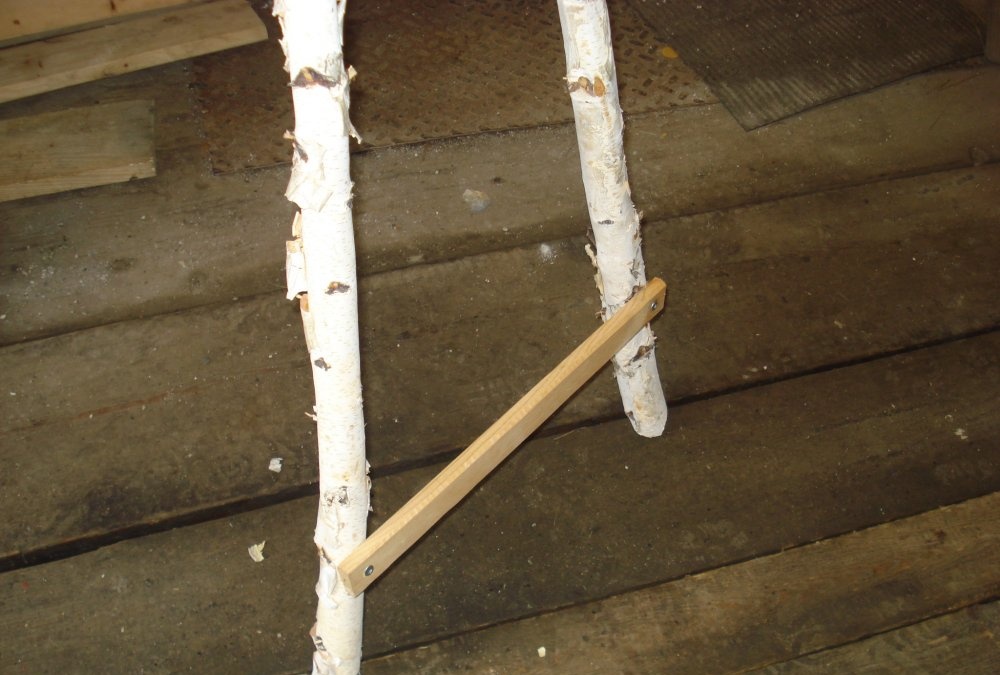
We do the same with the second and third trunk, and then we attach at the top of the stand - a shelf so that the cat lies on it. Now you can let the kitten test the design to make sure its strength, take into account the nuances and correct all the flaws in time.
After that, you can begin to tighten the shelves and the final assembly of the claw point.
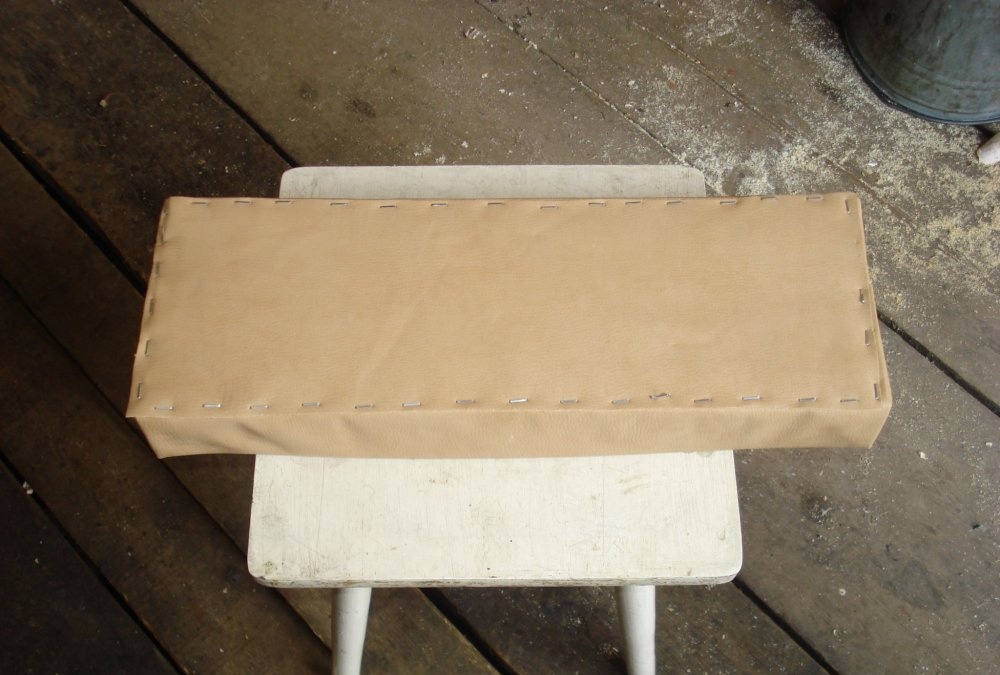
We cut out the foam rubber of the same size as the shelf itself, and the fabric with an allowance for hem. Using a furniture stapler, we attach the fabric to the board.
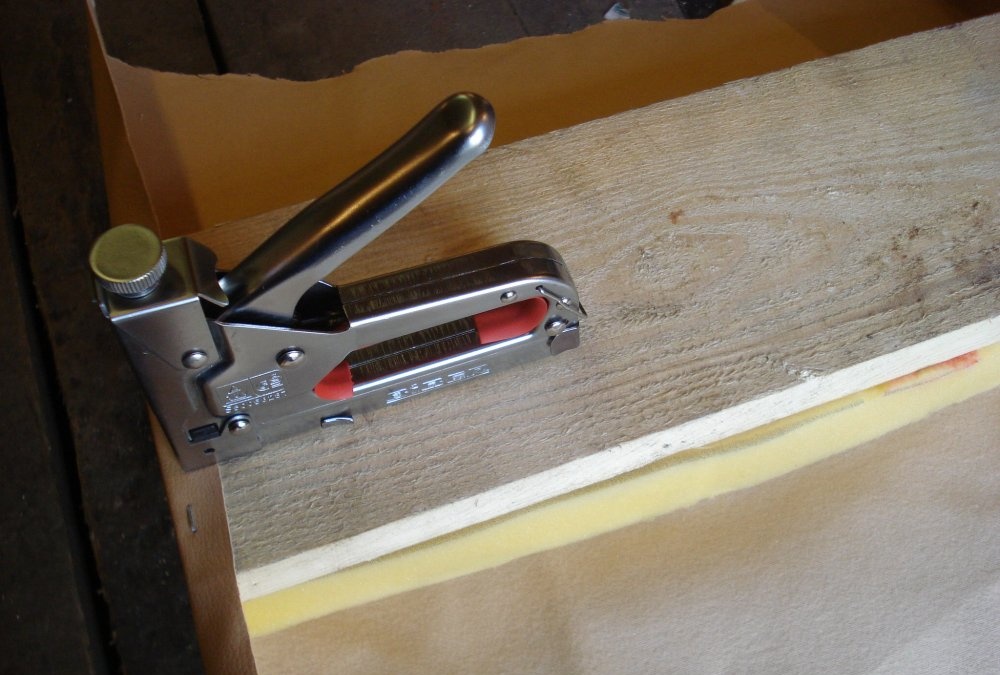
If there is no stapler, you can use PVA glue. To make the lower part of the shelf look aesthetically pleasing, we attach a whole piece of fabric to it, covering all joints.
With the help of long screws we fasten the shelf in place.
You can attach toys or a bow on a rope to the top of the structure, attracting the attention of a kitten. Your favorite will love your creation.