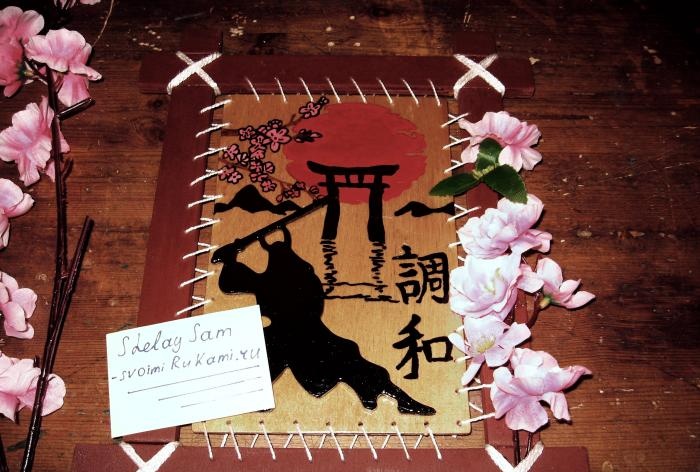
I have never been a fan of Japanese culture. However, I have always been amazed by the beauty of the works of ancient Japanese artists. Thanks to their works, I decided to create this homemade product.
To make it we will need:
- Plywood (4 and 8 im).
- Threads (Diameter from 1 to 2.5 mm).
- A sprig of artificial sakura.
- Thin wire, less than 1 mm in diameter.
- Watercolor paints.
- Varnish impregnation for wood.
- Hand jigsaw.
- Milling machine or regular flat file.
- Hot melt adhesive.
Let's get to work.
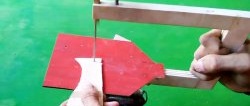
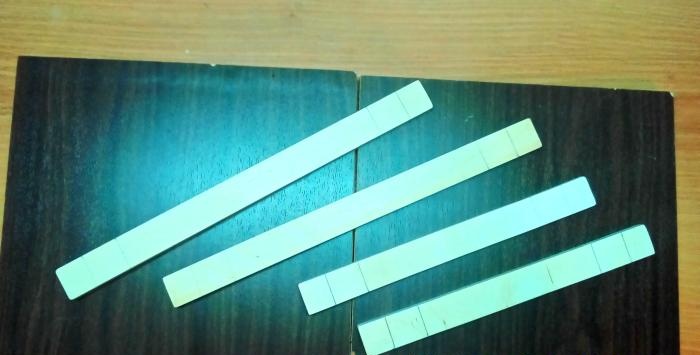
To begin with, we cut it out of plywood 8 mm thick; 4 segments (2 - 23 cm long and 2 - 30 cm long).
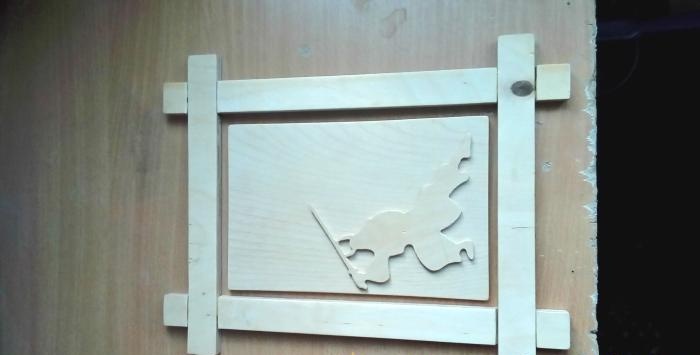
The width of all segments will be equal to 2.5 cm. These segments will be the frame of our panel. We process the sections of the future frame with a file and sandpaper. Next, we retreat 2.5 cm from each edge of the segments and 5 cm from the edges and draw the segments. Next, using a file or a milling machine, we remove exactly half the thickness of the plywood in the place that we limited by the lines. And we get the grooves with which the frame will be assembled.
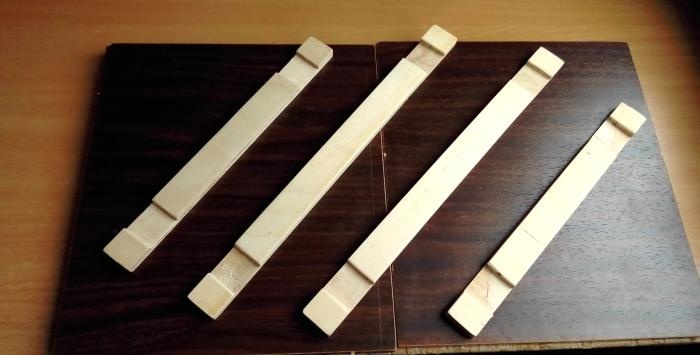
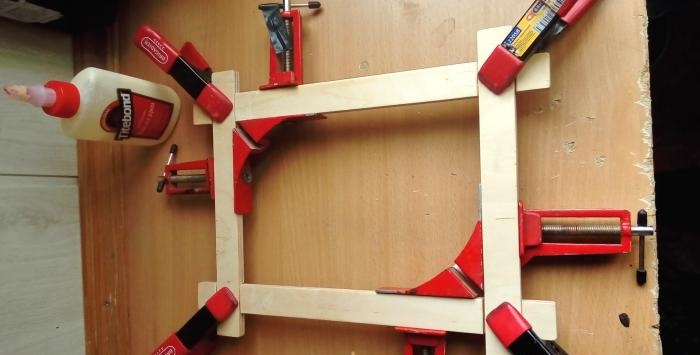
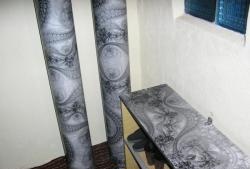
So, we protect the grooves with sandpaper and glue the frame.
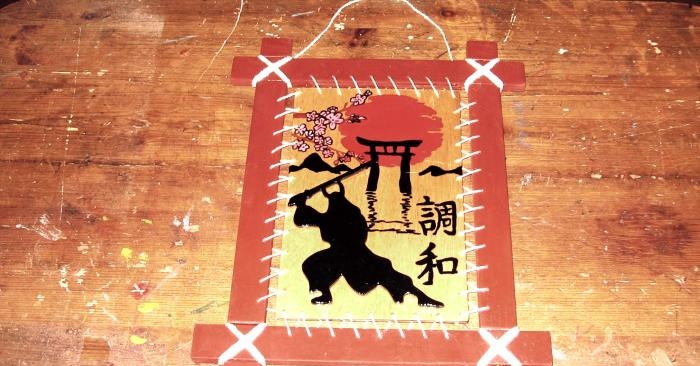
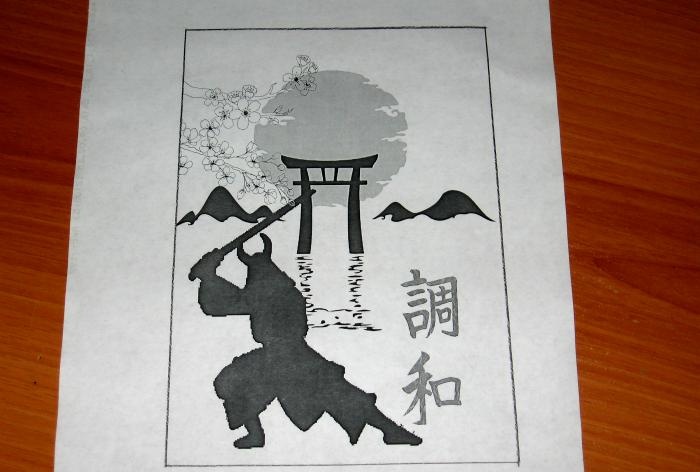
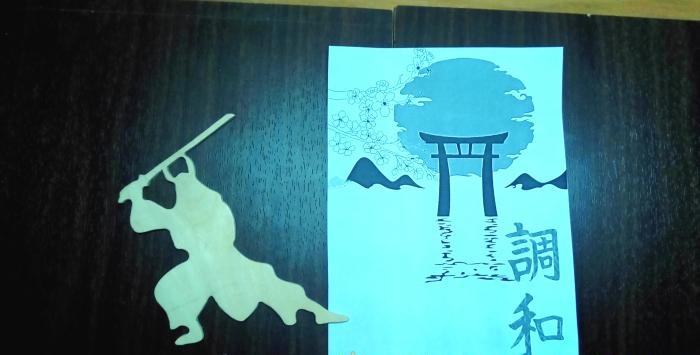
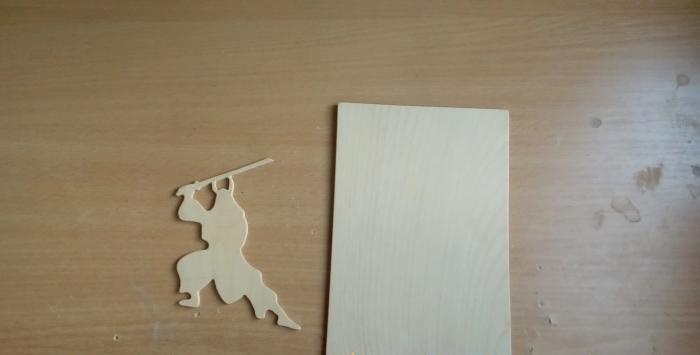
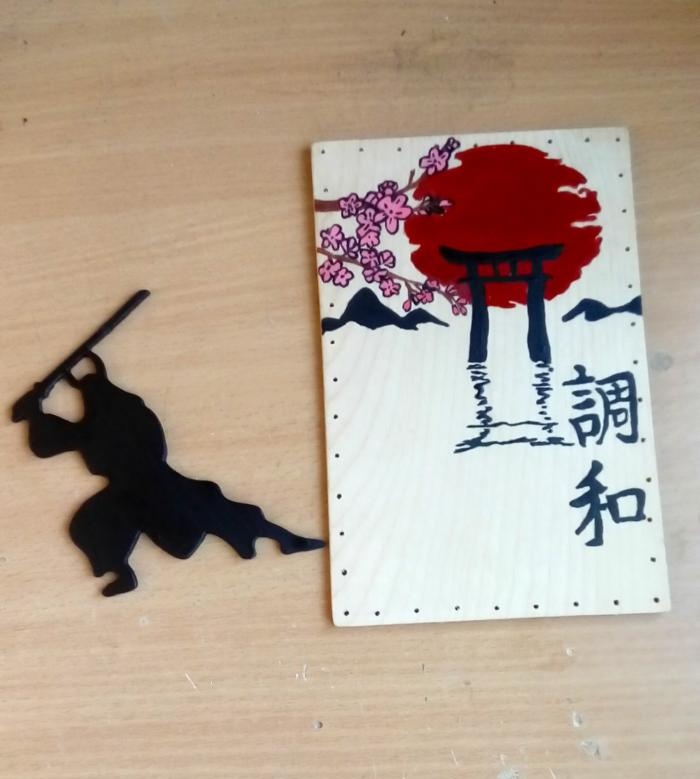
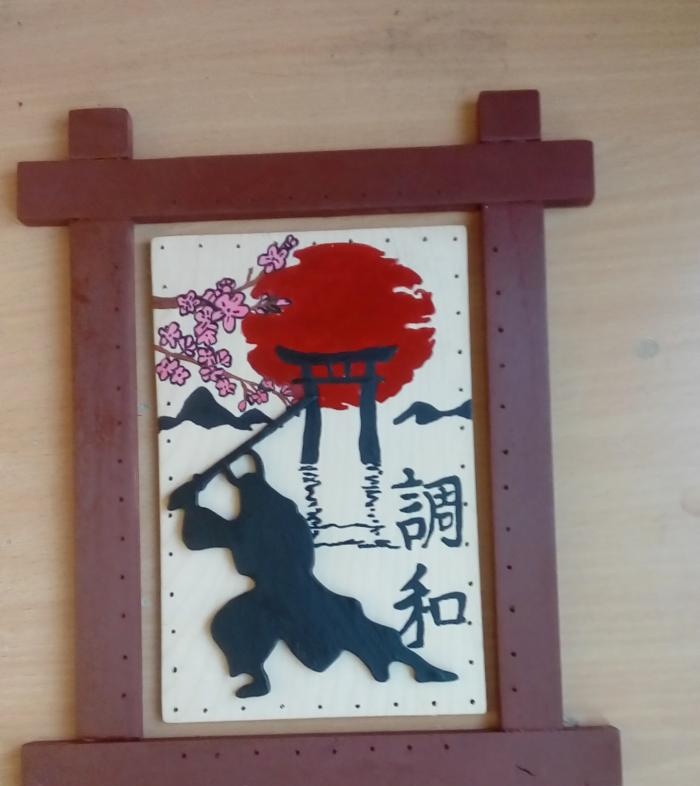
While the frame is being glued, we measure the length and width of the rectangle that is obtained inside the frame and, reducing these indicators by 0.5-0.8 cm, we cut out the resulting rectangle from plywood 4 mm thick. I will henceforth call this rectangle the base. Now it's time to choose the image that will be based on. I found this background image on the Internet and added a samurai and hieroglyphs to it. During the process of composing the image, I decided that the samurai should be more voluminous. And so we cut it out separately from 4 mm plywood.
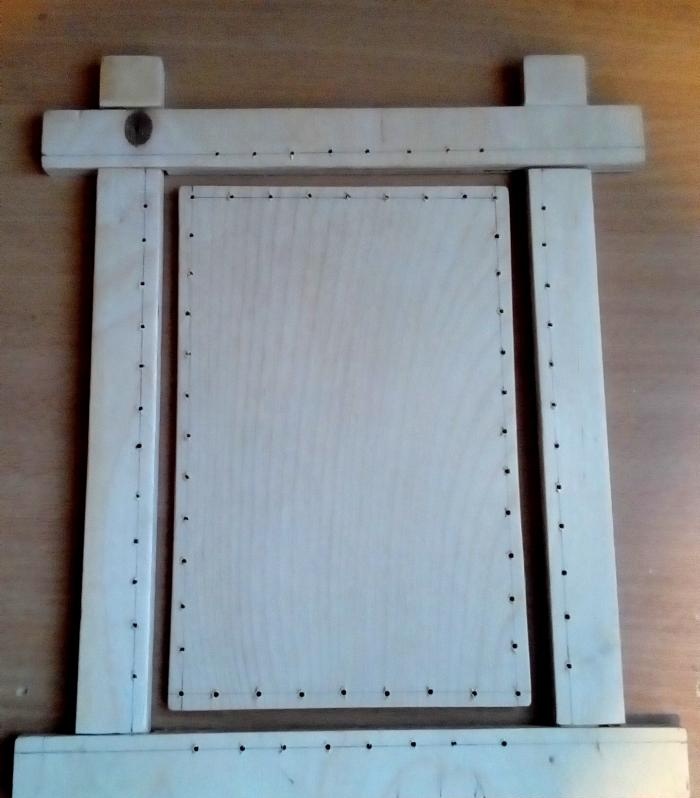
We mark the places for future holes, through which we will have lacing.
To do this, draw segments that will be located at a distance of 0.5 cm from the inner edges of the frame.
We retreat 0.5 cm from the edges of the base and also draw segments. And at the corners of the resulting rectangle we mark the first four notches for future holes. Next, we begin to retreat approximately 1.5 cm from any serif, placing serifs. When all the serifs are marked on the base, it will be necessary to place it approximately in the middle of the frame and mark the serifs on the segments drawn on the frame. We do this in the following way: the serifs on the frame need to be marked so that it is located approximately between two serifs on the base. And one more important detail: the number of serifs on the base must match the number of serifs on the frame. If all serifs are marked, then. It's time to drill holes in their places with a 3 mm drill.
Next stage. Using carbon paper or by hand, transfer the image onto the base. Thus, we get a simple coloring. You can paint with any paints, but I recommend using either acrylic paints or watercolors.
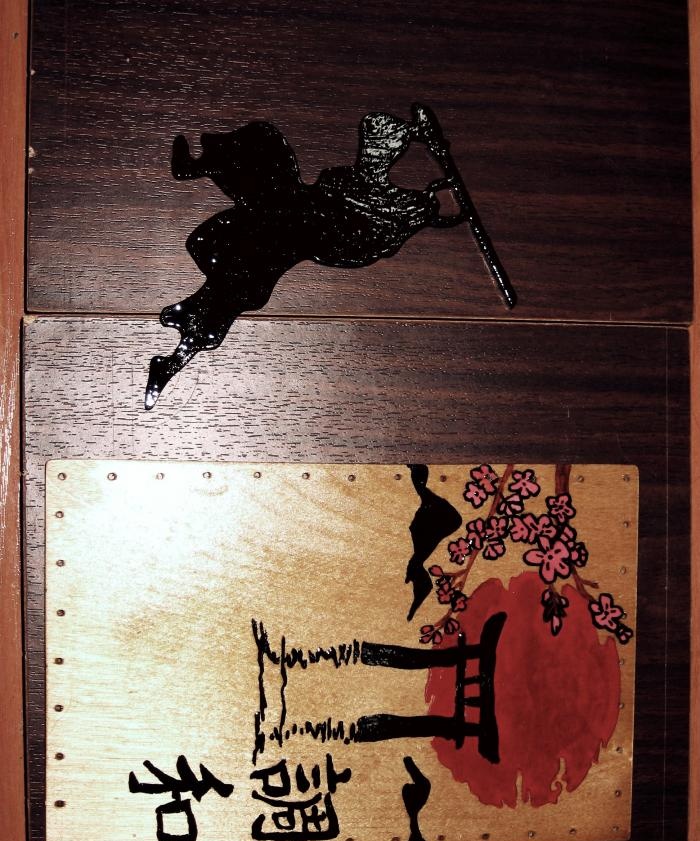
When the drawing is dry, you will need to cover it with oil varnish. In doing this, I had two goals. First, give the drawing the effect of antique paper. And secondly, give the picture shine. To prevent the paint from smearing, you need to give the drawing a day to dry.
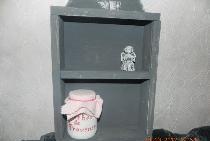
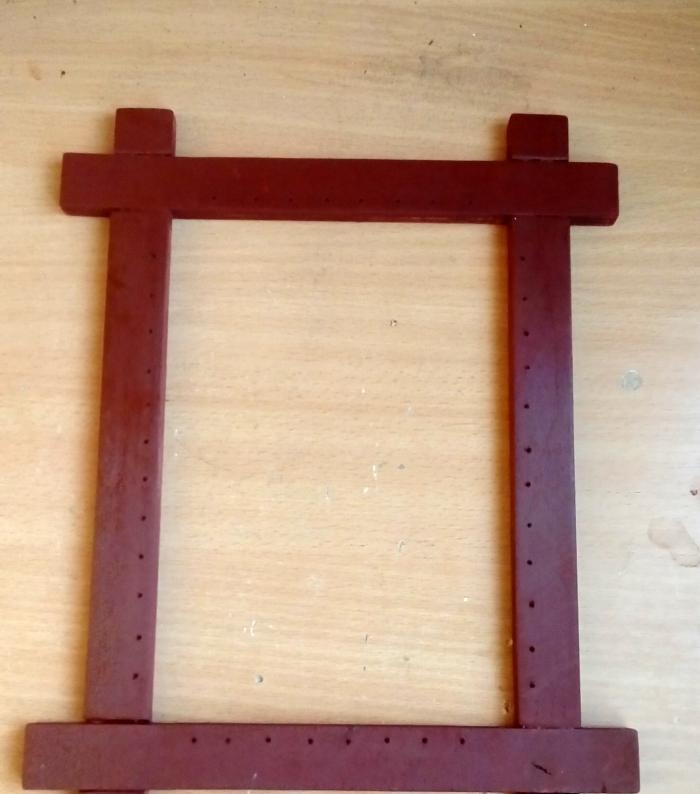
I don't really like the color of the plywood, so I decided to coat the frame with a varnish that imitates the color of mahogany. I covered it in two layers.
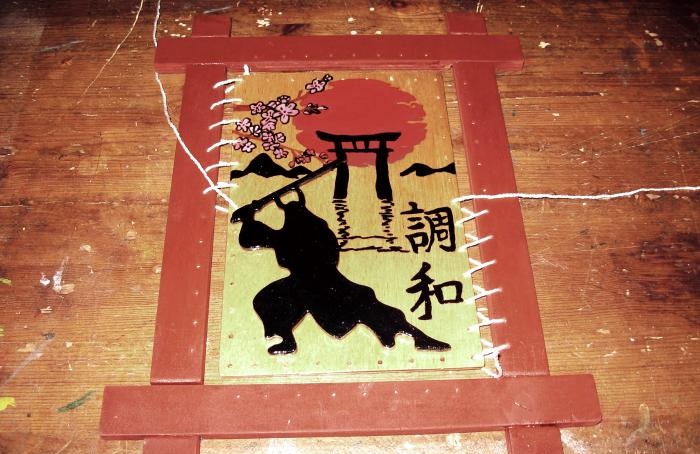
Now it's time to glue the samurai to the base. To make it look even more convex, I glued 3 small pieces on the back of it that I cut from a wooden ruler.
It's time for the last stage. You need to connect the frame and the base.
First we cut a thread 1-1.5 meters long. You also need to cut a 10 cm piece from the wire and bend it in half, and insert and clamp one end of the thread into the bend. So we got a kind of needle. We tie a knot at the other end of the thread.
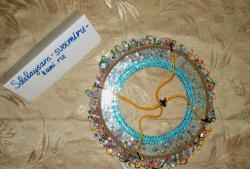
To start lacing, you need to place the base approximately in the middle of the frame.
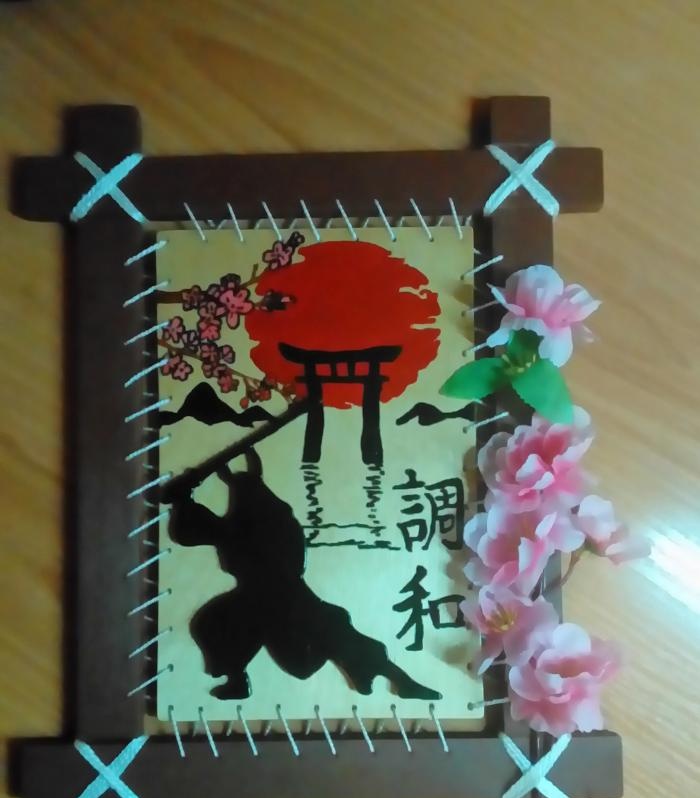
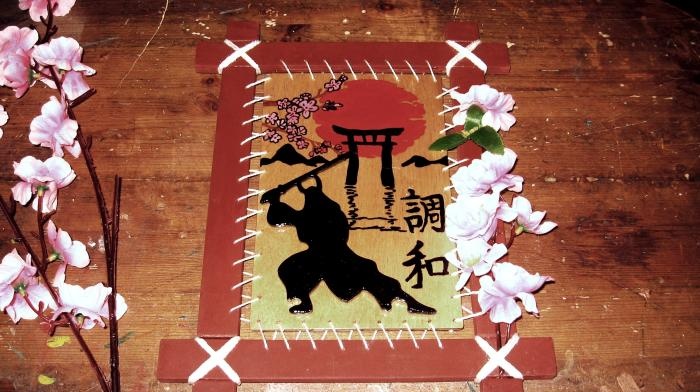
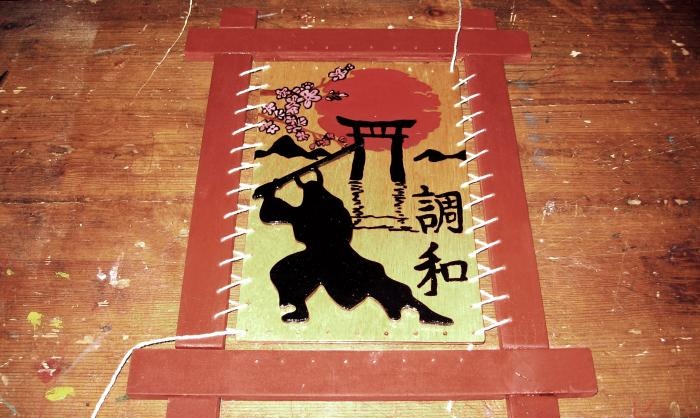
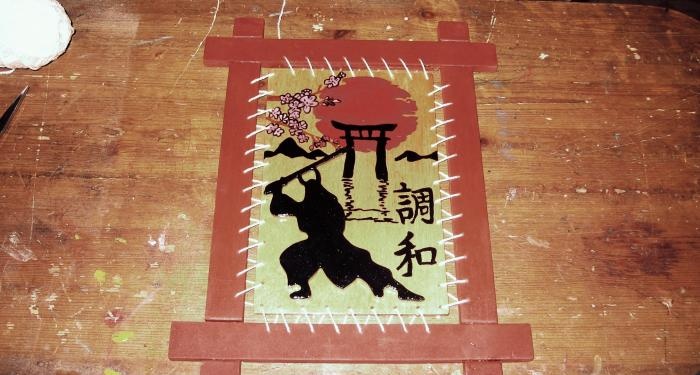
(So that each edge of the base is approximately the same distance from the inner sides of the frame). Now we drag the needle through the hole in the lower right corner on the back side of the base. Next, we drag the needle through the hole in the frame from the outside. And again through the base hole on the back side. And thus it is necessary to go through 5 holes on the base and 5 holes on the frame (If it is not clear, then we lace up relative to the lower right corner of the base). Now again we cut off 1-1.5 meters of thread and do the same, but from the upper left corner of the base. And we lace down. This is necessary so that any edge of the base is not pulled too tightly towards the frame. Try to maintain an equal distance between the base and the frame.If you notice that you have pulled the base too tight, it is better to unlace the lacing and start over. When both the right and left have laced 5 holes on the frame and base, then you can then lace both corners to the end in any order. If the thread runs out, then there is nothing to worry about. Just cut a new one, tie a knot at the end and continue lacing. When you're done, use hot glue to secure the ends of the threads to the back of the frame or base. Now we tie all four corners of the frame crosswise with the same threads. And we also secure the ends with hot glue. You can stop at this point, but I thought the frame looked a little empty. So I bought a fake cherry blossom branch and used hot glue to install it on the frame. Here our panel is ready. It can serve as a good gift for anyone. And if one of your friends is involved in martial arts, then instead of a samurai, you can make a fighter of the sport that you require.