Crossbow from a board, a chair and a bicycle chamber
To make a good home-made crossbow you need good knowledge and skills in this area. But you can simplify the design a bit by making all of the available materials.
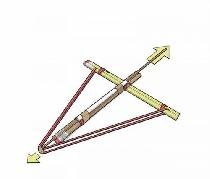
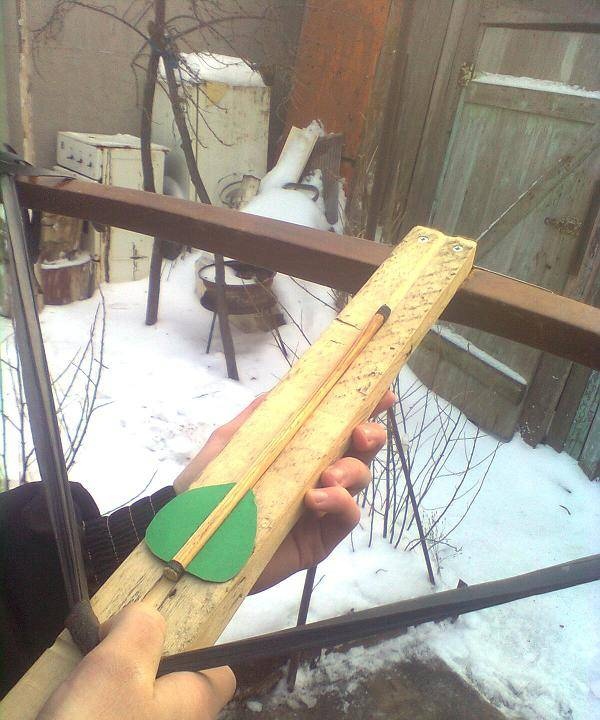
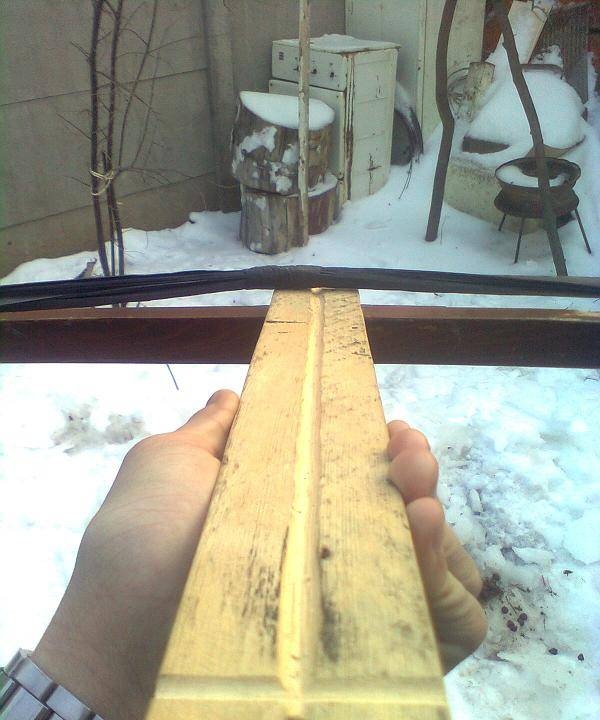
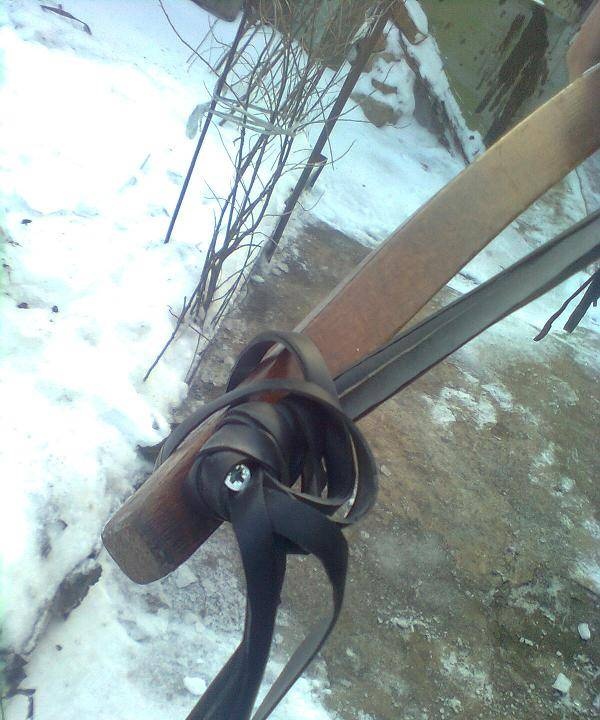
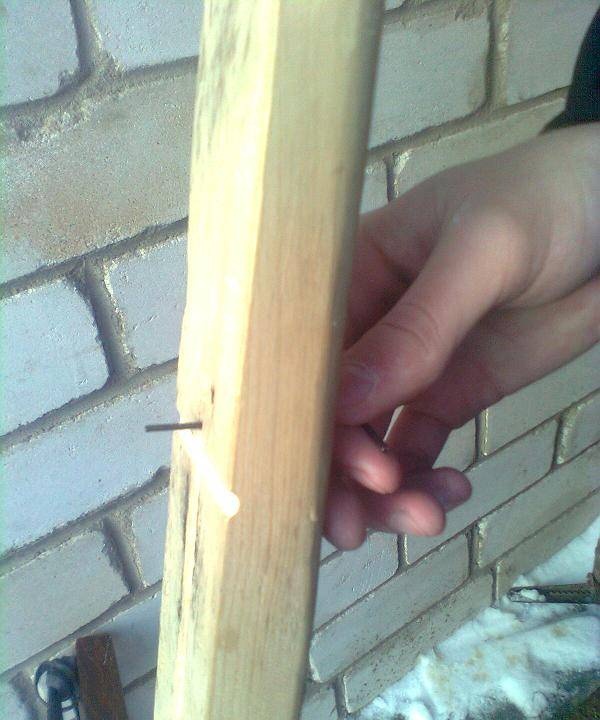
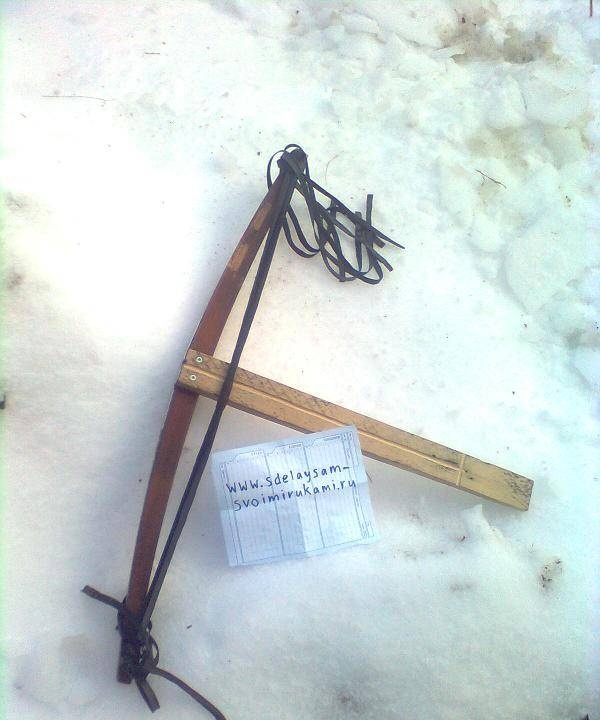
Our crossbow consists of a guide, shoulders and a bowstring. In crossbows bend your shoulders. In our case, the bowstring will stretch and transmit the force to the arrow. It is best to start manufacturing with a guide. It is made of a wooden bar (it is better to take a soft breed of wood, it will be easier to pierce the bed for the arrow). You can do any size and this is calculated by proportion: guide length = shoulder length. In the bar of the chisel, the bed is pierced almost to the very end of the board and a small hollow for the bowstring is turned out. The end is slightly rounded so that it is more convenient to hold in your hand.
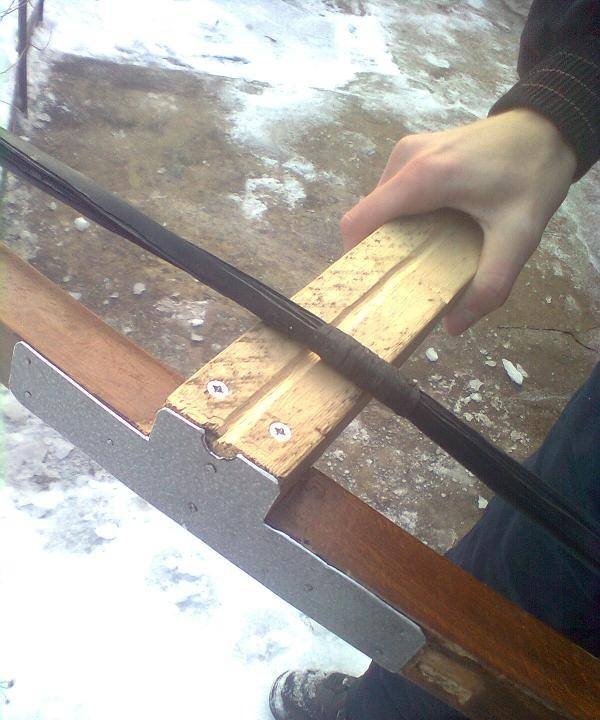
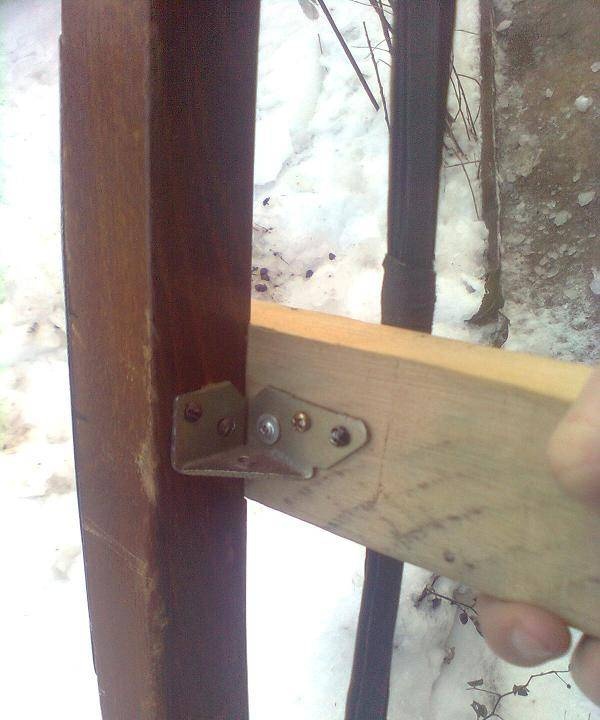
Now you need to make shoulders. We find an old chair with a back and we borrow a leg from it. If there is no chair, then the leg can be replaced with a board of a suitable size. Separate the leg from the chair. The rocker is ready. Now you need to connect the guide and shoulders. The guide is placed on the shoulders from above and screwed on with screws. On the reverse side, a metal corner is attached to reinforce. Now in front we beat a plate of galvanized steel or tin. It turns out a reliable connection.
Now you need to make a bowstring. I made it from a bicycle chamber. I cut the camera near the nipple and cut strips of 5-8 cm. Other gum can also be used. For example, buy a Hungarian woman in a fishing store or an elastic band for rubber engines in an aircraft model. To fasten the bowstring, 2 self-tapping screws screwed at the ends of the rocker arm are used. They need to be wound a couple of turns of electrical tape so that in the future not to damage the gum. The bowstring is attached to the screws and in the middle is fastened with electrical tape.
You can make the trigger from a nail bent by the letter “G” or simply press the bowstring with your thumb to the hollow.
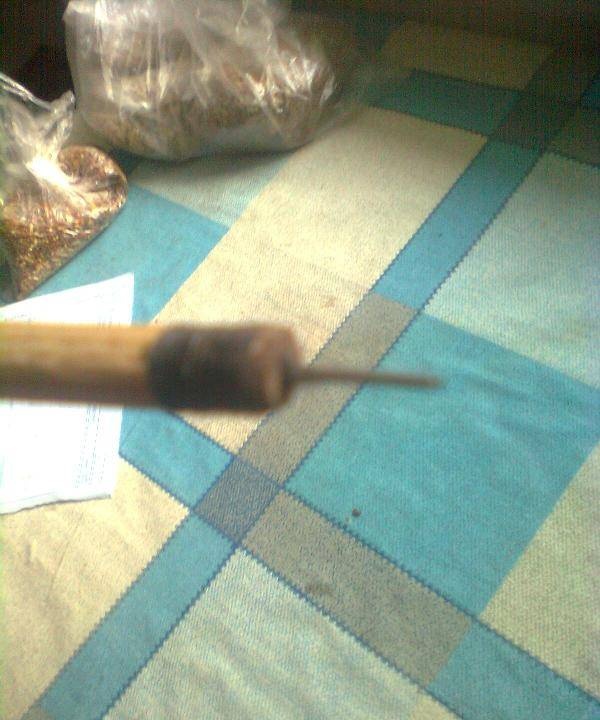
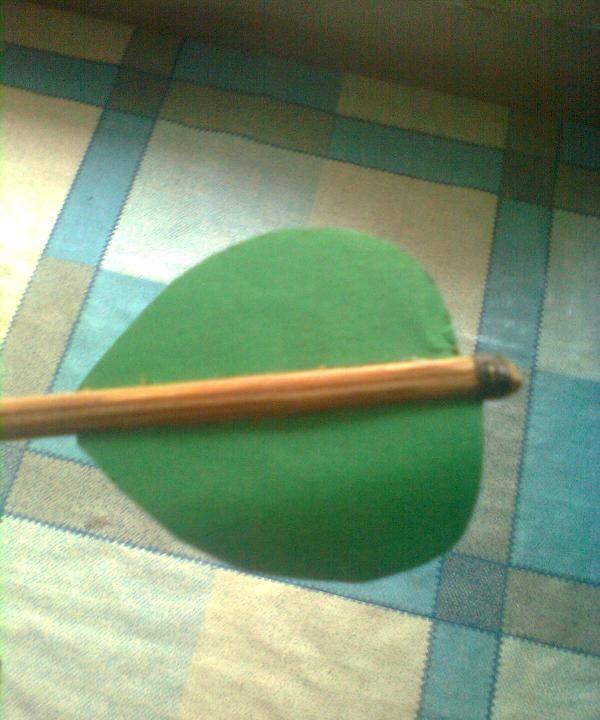
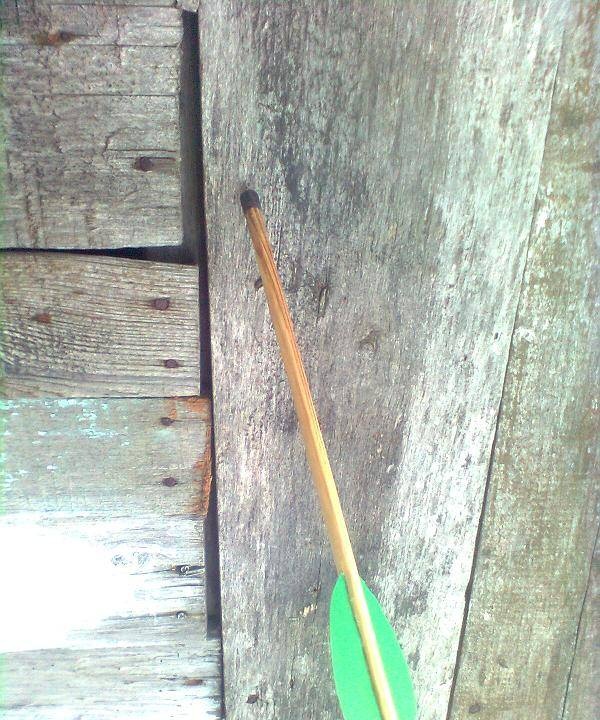
Now you need to make arrows. They need wooden slats of short length. We cut the edges of the reiki with a knife and get a rounded stick. A hole is made from one end and a small carnation with a bitten hat is pasted. A cut is made from the other end and a cardboard stabilizer in the form of an egg is inserted. The ends for strength are wrapped with threads and impregnated with glue. If there are no slats, then they can be replaced with pencils.
Now you can shoot. It is best to shoot at wooden targets. It is necessary to pull the bowstring and hold it with your finger or secure with a nail. The arrow should be stacked in the box at a short distance from the bowstring.
That's all. You can shoot with a sight or a canopy - arrows always stick well.
Article author: Makarov Kirill