I made a funny toy penguin from old tights, which took me seven days to work with (I sewed by hand) and materials and tools, such as black, white and brown fabric, threads, scissors, cotton wool, pinning needles, paper for drawing up the sample, as well as black fabric with fur, pink viscose napkin and blue rhinestones.
Toy making process:
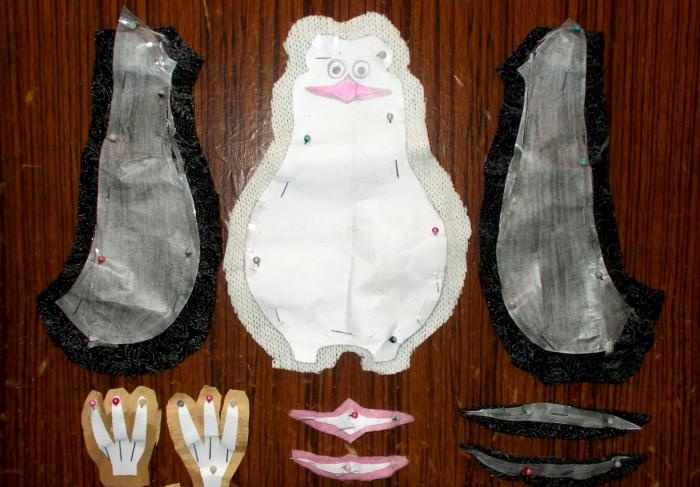
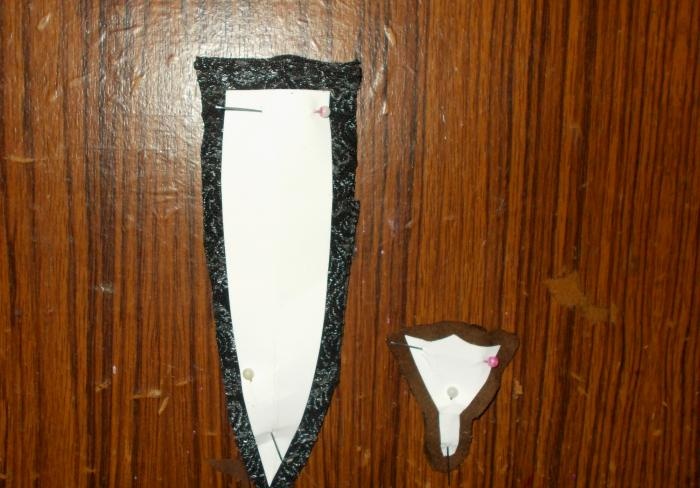
Step 1: We make a sample from paper, which we will need to divide into its component parts. Based on their shape, we will need to make fabric parts:
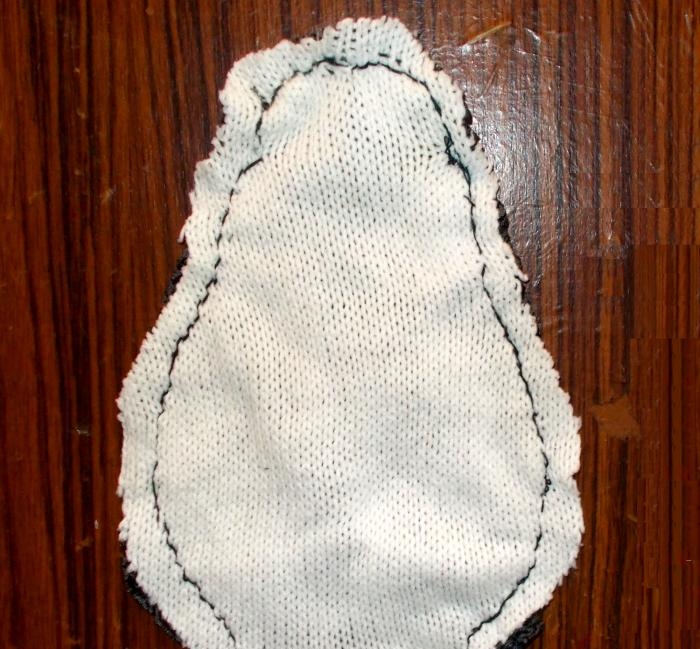
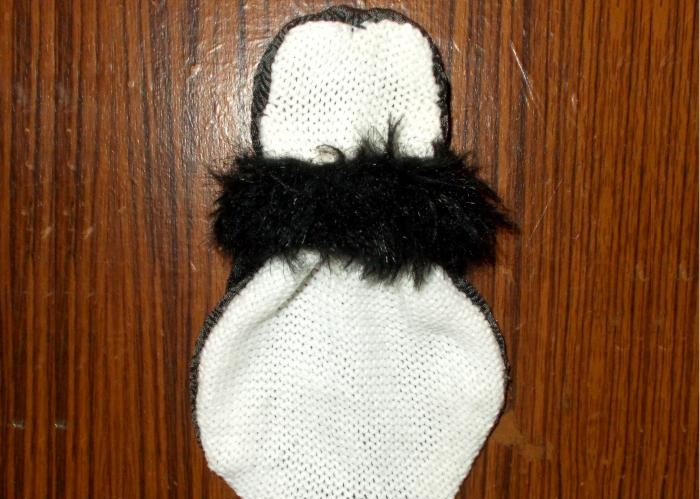
Step 2: Now we sew the front part of the toy (from white fabric) to the back:
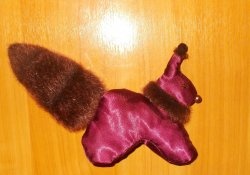
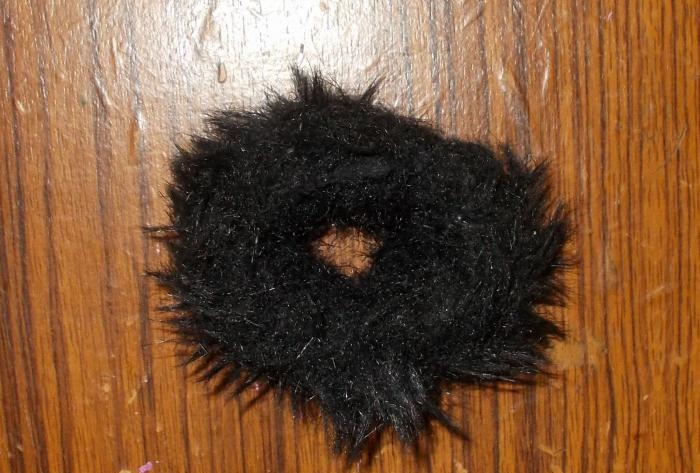
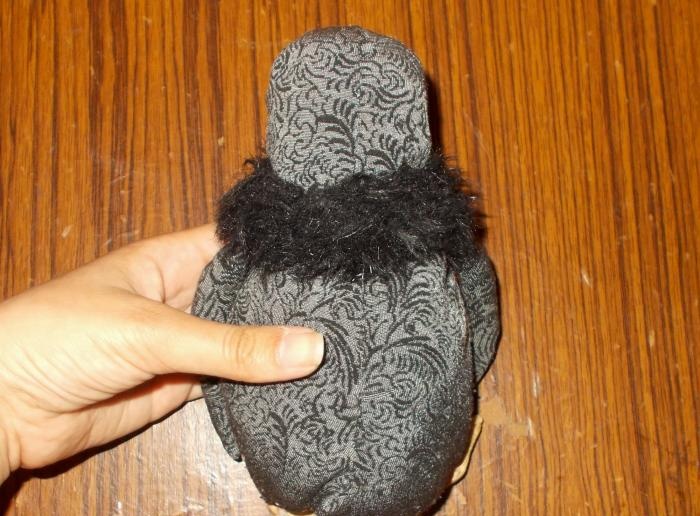
Step 3: Next, we cut out a rectangular shape from the fur fabric and sew its top side to the bottom, after which we sew it at the edges, forming a fluffy decoration for the neck:
Step 4: Now we turn the body of the toy inside out and pull the resulting decoration onto its neck, after which we sew it to it:
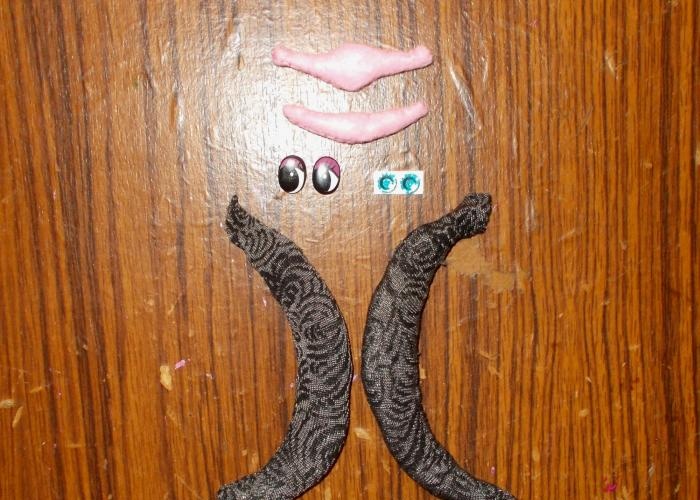
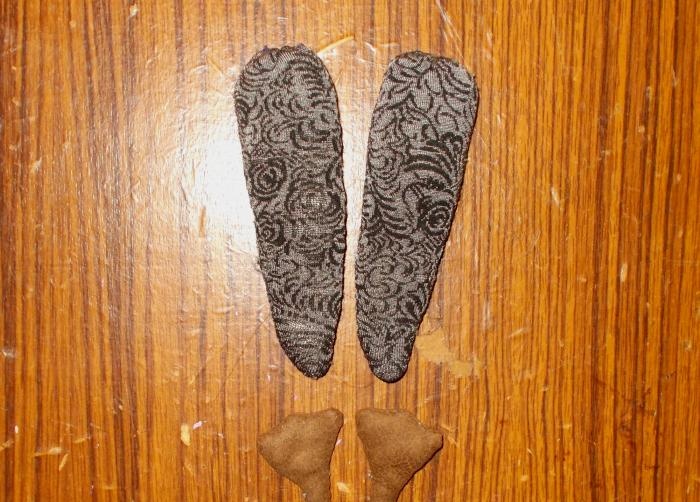
Step 5: Now we need to take the doll's eyes and rhinestones (for now only for comparison, to choose which of them are better suited as eyes), sew wings from the remnants of black fabric and a beak from a pink viscose napkin, and then fill them with cotton wool:
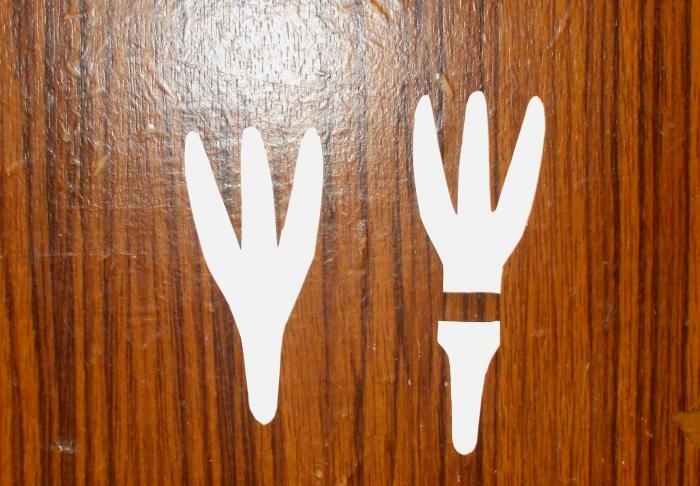
Step 6: Next, we need to cut out a sample from cardboard to make the toy’s paws.
To compose each paw, I make three parts: one, whole, for the lower part of the paw, and two “half” parts for the upper:
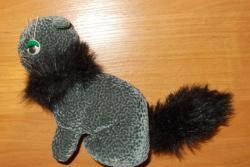
Step 7: We sew on the resulting wings with a beak, and for the eyes I choose rhinestones and glue them.
We fill the toy with cotton wool, and sew the parts together according to the pattern for making the paws. When they are ready, they will also need to be filled with cotton wool and sewn to the craft:
This is what the resulting toy looks like from the back:
It seems to me that the toy’s paws are too big and their fabric doesn’t fit well with the overall look crafts. In addition, the wings are not straight, and I want to fix this.
I cut out new samples for wings and paws from paper, and according to their shape I make new parts from fabric:
When the parts of the paws are sewn, they will need to be filled with cotton wool, after which the holes through which it was inserted will need to be sewn up:
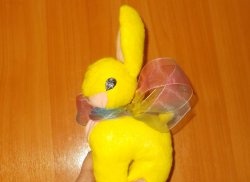
I attach the resulting wings and paws to the craft. It seems to me that after processing she began to look better:
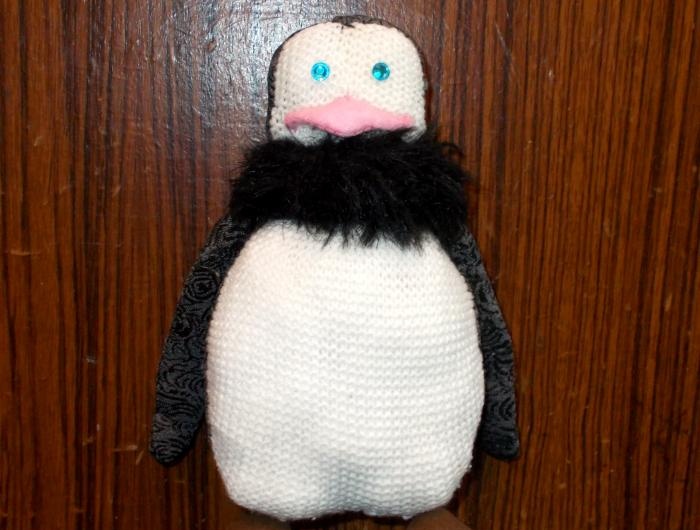
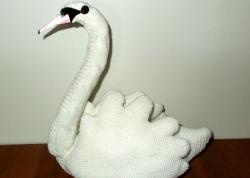
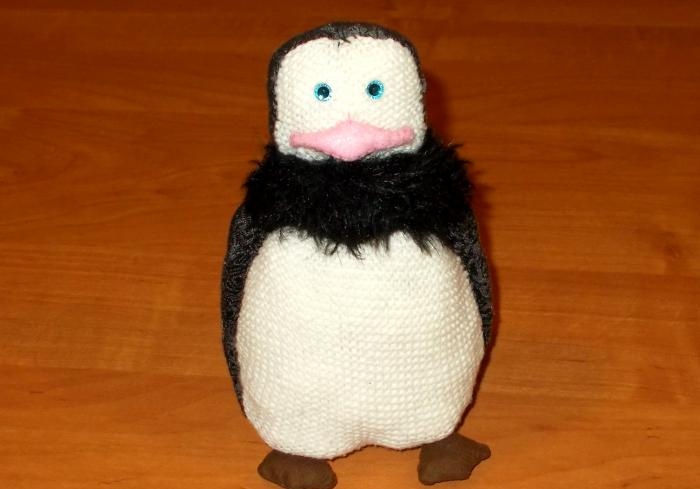
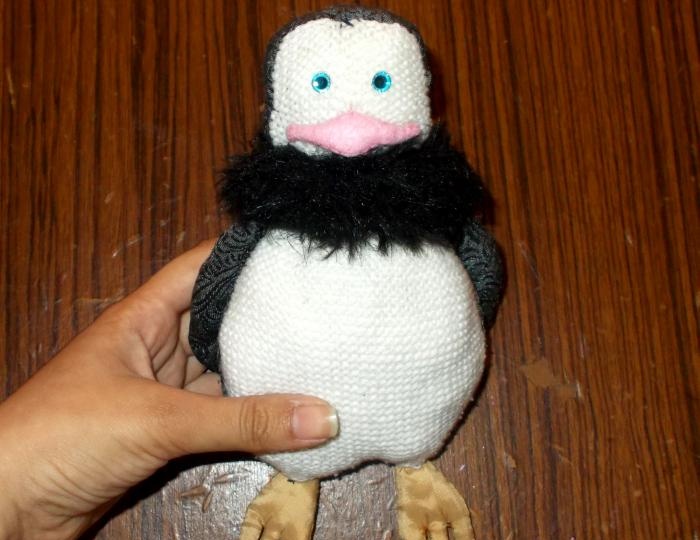
Now that's it, my toy penguin will be ready:
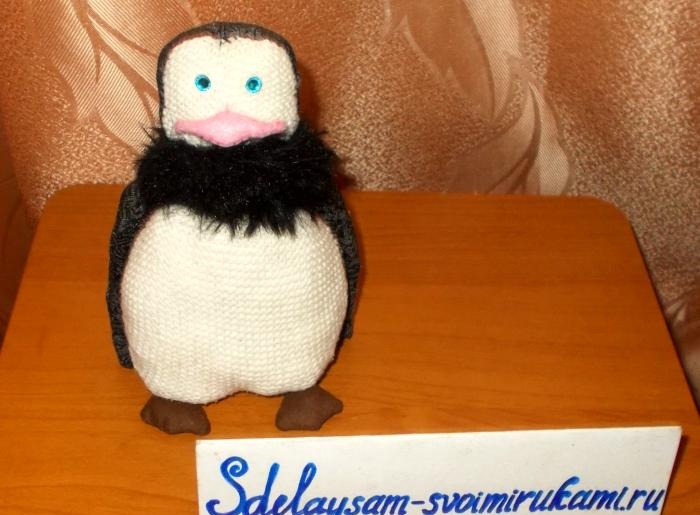
It can decorate the room and entertain children:

(With respect, Vorobyova Dinara)