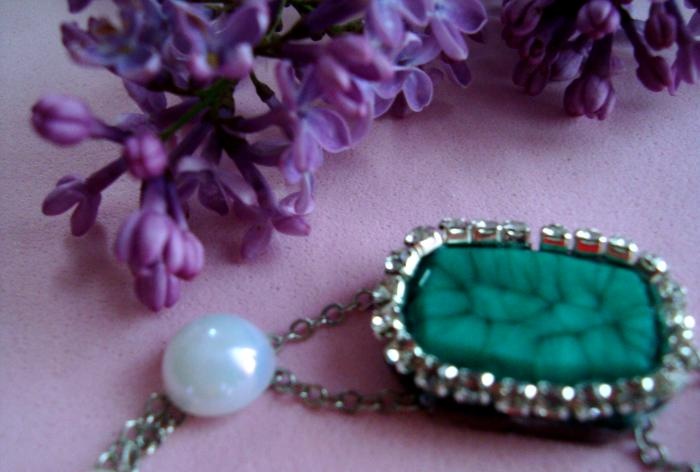
To create a bracelet we need:
- - chain;
- - rhinestones on a ribbon;
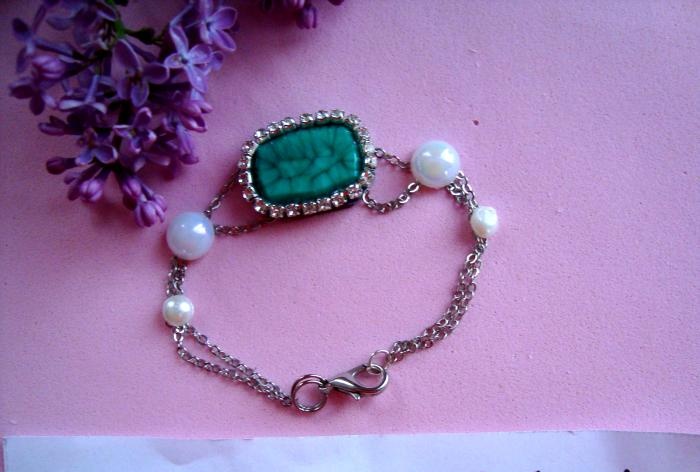
- - a flat stone for jewelry, made in marble;
- - four half beads (2 large and 2 small);
- - clasp - a carabiner for a bracelet and two rings;
- - nippers and pliers;
- - scissors;
- - glue moment;
- - a small piece of plastic from the container;
- - permanent marker or felt-tip pen.
Step 1. First, measure the wrist of the person to whom the bracelet is intended. In this case, the size is about 17 cm. Then we take the chain, fold it in half and measure out 17 cm, it will be more convenient if you use a tailor's tape.
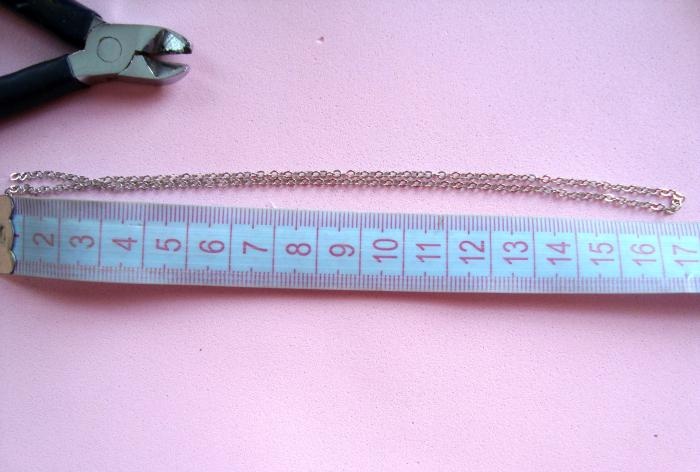
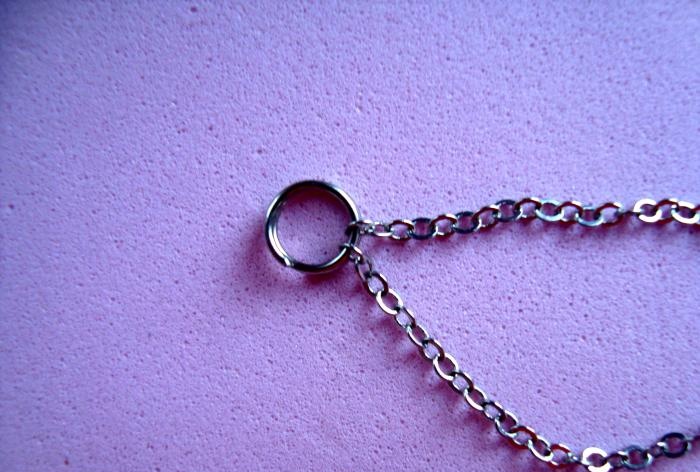
Step 2. Then at one end of the chain we thread the ring and close it with pliers.
Step 3. We take the second ring and we pass in it a fastener - a carbine. Next, thread the carabiner with the ring at the other end of the chain.
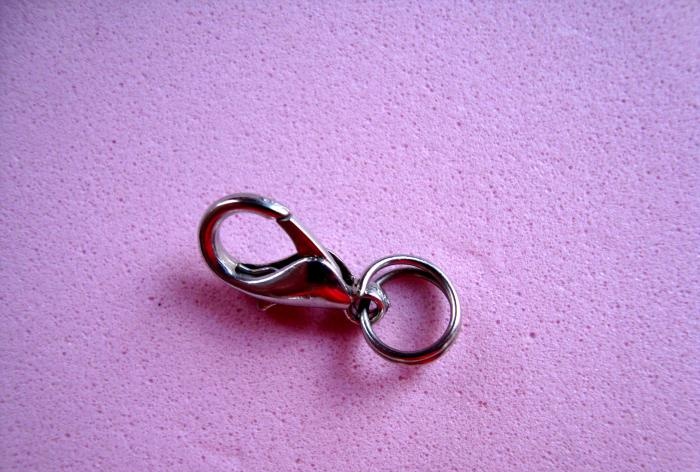
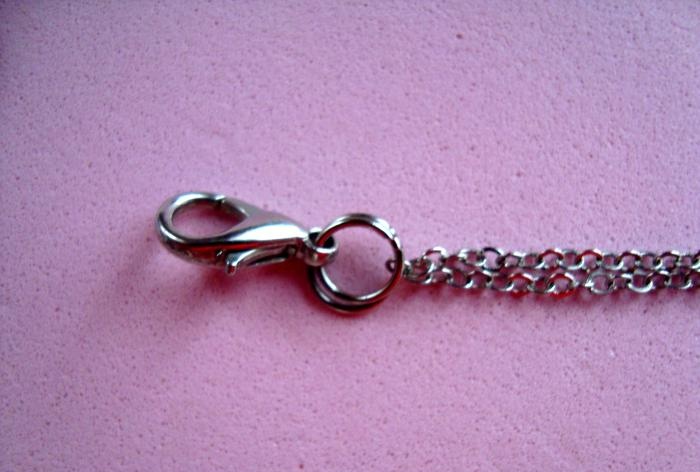
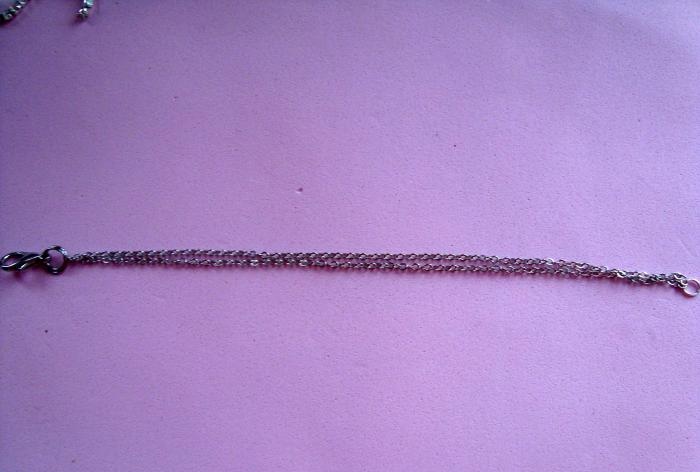
Step 4. As a result, the chain should be double. There is a ring on one side of the chain, and a ring with a carbine on the other.
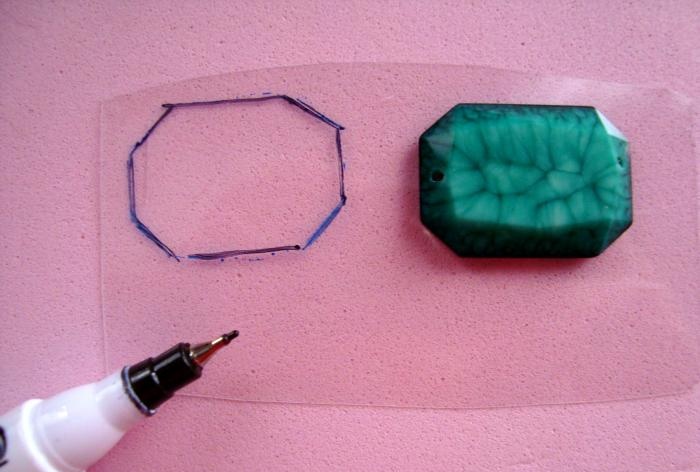
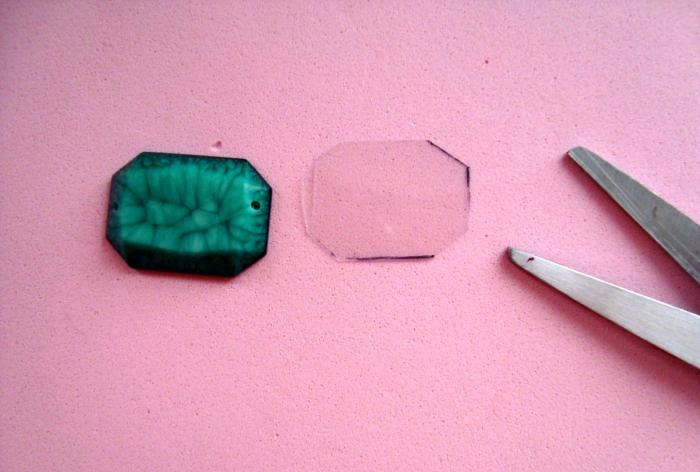
Step 5. On a small piece of plastic from the container, circle a flat stone made of marble (such a stone can be bought at any store for creativity) and cut it out, it turns out a plastic blank. This is done so that when we glue the stone, it will be securely fixed.
Step 6. For beauty, glue the rhinestones on the ribbon along the contour of the stone.
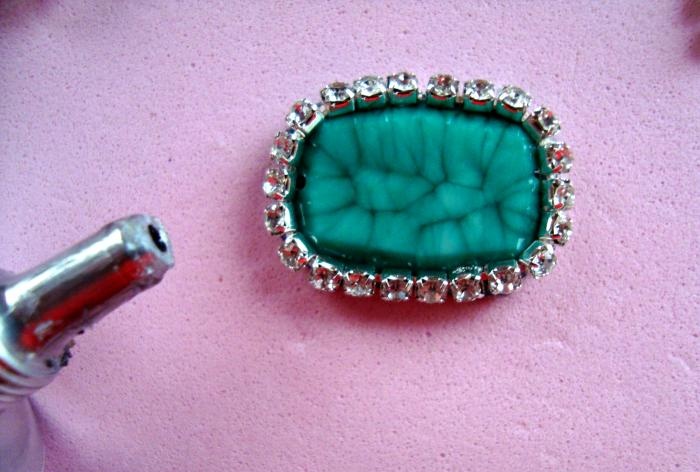
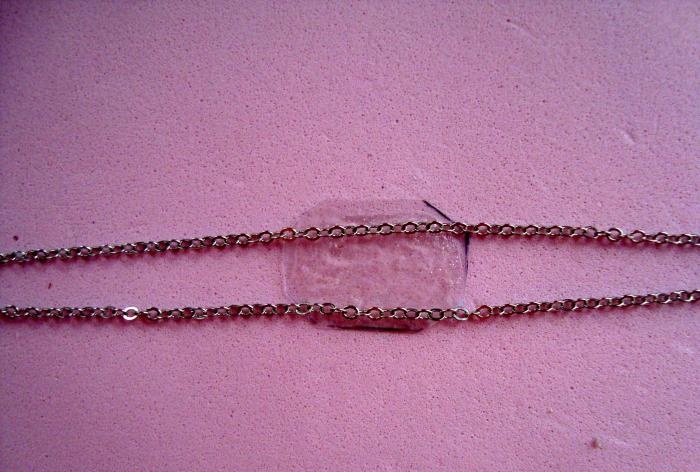
Step 7. It remains to stick everything. Take a pre-cut from plastic blank and glue it under the chain. Keep in mind that the chain should be wide apart, as shown below.
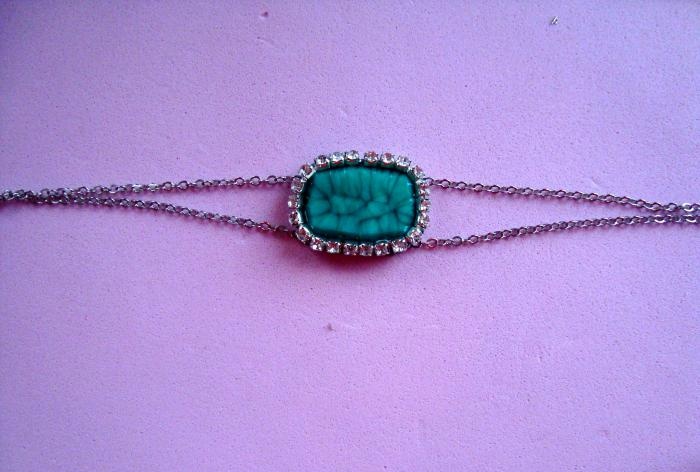
Step 8. Glue a stone on top of the plastic blank.
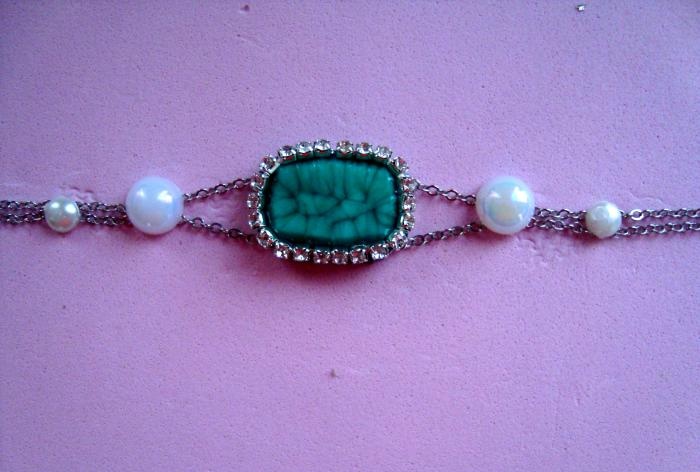
Step 9. Glue the half beads. The distance between them should be the same. You can use more or less half beads, and the color of the stone depends on your taste or the color of the dress.
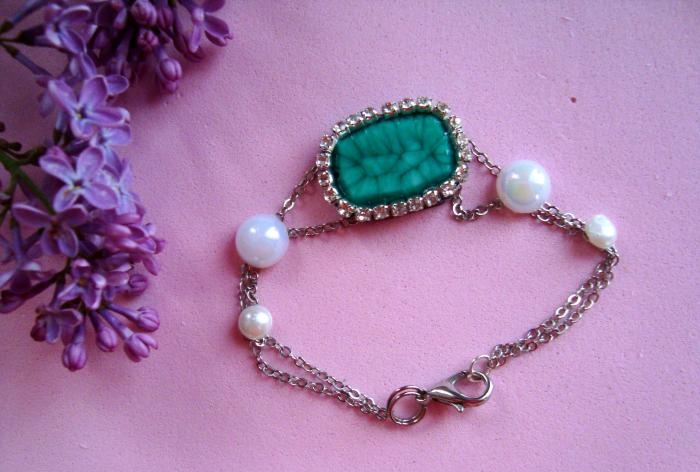
Here we have such a gentle and romantic bracelet! Thanks to this bracelet, you will definitely not be left without attention.

