Tile facing of the furnace can be done independently, you only need to have the desire and the necessary building materials. How to do it yourself, we will describe in detail in this article.

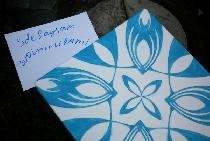
How to choose the right material
Construction markets and shops offer a huge number of tiles for every taste and budget. Do not chase too low cost, in most cases, such a cheap tile is not able to serve its owners a long service. Tile should choose one that is resistant to high temperatures, easy to clean and does not have too heavy weight.
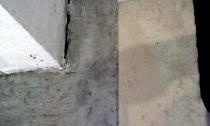
We prepare the surface of the furnace for facing
Before proceeding with the facing, it is necessary to prepare the surface of the furnace. For this we need:
- Putty knife;
- Metal brush;
- Sand-cement mortar;
- Primer mixture.
Using a spatula and a metal brush, it is necessary to clean the surface of the furnace from existing contaminants. Next, a primer mixture is applied, which must be refractory. We wait until the mixture is completely dry and plaster the design of the furnace with a sand-cement mortar. The walls of the furnace should be smooth, the entire success of the work depends on this.
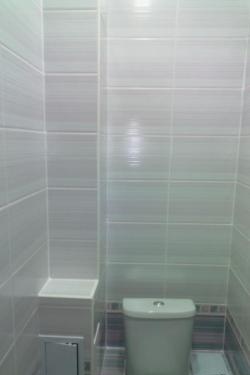
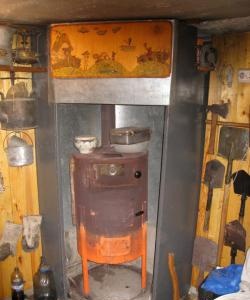
Tiled stove
For cladding, both special building glue and cement mortar are suitable. Masonry tiles from the bottom up, pay special attention to the first row, it should be perfectly even. Glue should be applied with a special notched trowel. The first tile is taken, special glue is applied, then it is applied to the base and fixed. Then you need to check the tiles for evenness using the level. We perform the same actions with the following tiles. It is worth noting that each glued tile must be checked with a level. If irregularities occur, after the glue dries, it will no longer be possible to correct them.
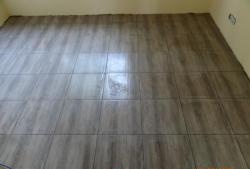
Excess glue protruding to the surface is immediately removed using a special narrow spatula. In those places of the stove where the tile is not suitable in size, you will have to cut it with a tile cutter. After the work on the lining of the furnace is completed, you must wait a day to dry the glue well.
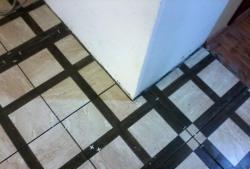
The next day, we go to grouting the joints, use a gypsum mortar and a rubber spatula for this, excess solution is removed with a damp cloth. After a few hours, you can wash the oven.