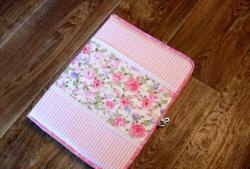
Of course, you can execute it from anything, the main thing is to understand the principle, based on the proposed schemes. A beautifully designed product can be used as a greeting card or a thematic photo album. A young lady will be able to play with him, presenting him as a purse or cosmetic bag ... Look for new ways to use the product.
So, for work we need:
- sheet of scrapbook paper measuring 30.5x30.5cm. It is better to use loose paper or a sheet of medium density. It will be difficult to work with the cardstock. The product will turn out to be stubborn, thick, and may not fold into a book.
- ruler for marking;
- scoring. As a scoring, you can use a non-sharp awl, a knitting needle or a scribbled pen that will not leave a mark on paper. Although, if you make a markup on the inside of the product, then no one will see it until you deploy the organizer and turn it into an original sheet.
We mark out the scrapbook paper according to the chosen scheme. Schemes differ from each other only in the presence of a spine and its width. Follow the advice: without a spine, according to this scheme, it is better to make a product from the thinnest paper. The thicker the sheet, the more the spine needs to be provided. This is necessary so that the organizer can be folded book. These are the schemes for the spine organizer. You already understood that the spine is one or two lines in the middle. He will be our guide in the manufacture of the product.


We start folding along the lines that are 5 cm from the edge and parallel to the spine. We turn the sheet along them, and bend all four corners inward. This side we will have the front.

Then, we turn the product 90 degrees and turn it face down.
On marked lines, we turn the edges of the organizer inward. The parties curled up with a slight overlap. Put excess paper in the resulting pockets.


It remains to fold the products along the fold lines of the spine, and the organizer is ready!


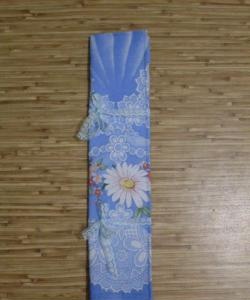
This is what double-sided paper organizers look like. And these products are made of single-sided sheets.


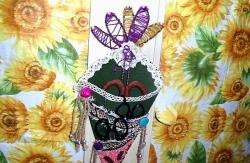
Fill the organizer with postcards or photos, because the product has 8 pockets! Decorate it as a gift item.


On the attached sheets you can write wishes.
Create and be happy!