So, now we will consider a master class in the manufacture of such folders for a birth certificate for both a boy and a girl.
For the master class we take:
- Binding cardboard, 4 blanks measuring 14.5 cm by 20 cm;
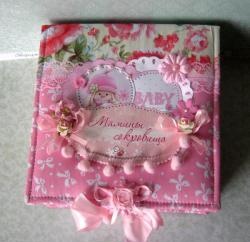
- Fabric pink in a bow, mint in peas, blue and beige with stars, we take dense good cotton made in Korea;
- White cardboard;
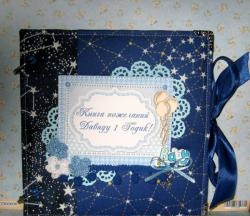
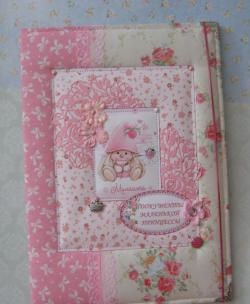
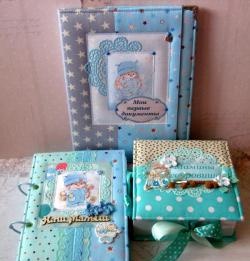
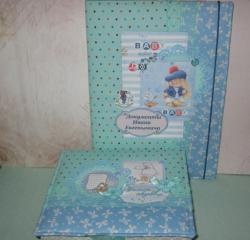
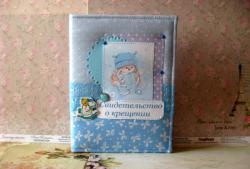
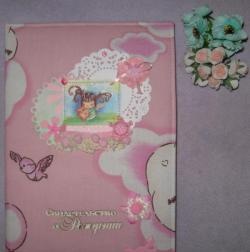
- Picture with a teddy bear in a pink fur coat and a bear with a star;
- Synthetic winterizer;
- Two chipboards “My documents”;
- Lace pink and blue;
- Thin hat gum gray and mint;
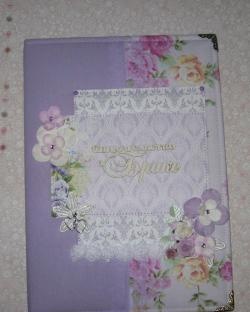
- Flowers knitted blue, pink, mint;
- Ribbons for decor;
- Brads are metal;
- Eyelets for attaching the gum and installer;
- Scrapbooking paper in pink and blue;
- Plastic corner;
- Metal corners, 8 pcs;
- Glue stick, pencil, ruler, scissors, double-sided tape, adhesive with the effect of adhesive tape.


First, we begin by making covers for the covers a dense base of binding cardboard. We take two blanks, put them, leaving between them a distance of about 5 mm. We measure the strip of cardboard 2.5 * 0.5 * 2.5 cm, scoring it and paste this strip on the binding blanks, leaving just the distance between them 0.5 cm.


Well smooth and now with scissors we still carefully scoring.


We close and get such solid foundations. Now we take a synthetic winterizer and glue it with strips of double-sided tape.


Now we take the fabric and combine pink and mint, and blue with beige, according to the color scheme. Also cut off one strip of blue and pink 3 * 24 cm approximately, this is for the interior decoration of the folder. We also cut two strips of pink and blue lace.


Iron the fabric and sew the fabric sections first, and then sew the lace at the joints. Turn the fabric over, lay out the workpiece and, using the glue stick, starting from the corners, glue the fabric to the workpiece.


We sew both of our soft workpieces along the edge of the machine.


On the back, we attach an elastic band to two eyelets. Now we take pictures and chips and try on the covers. Sew pictures. We don’t stick the chips yet, we’ll put them on the glue at the end.


Now take the scrapbook paper. We measure two rectangles of 14 * 19.8 cm. And also two plastic rectangles for pockets.


We lay out the plastic rectangles on the edges on paper and stitch it.


Now we need to paste these rectangles into the covers. And now we just have to stick chips with inscriptions and a bit of decor. Folders are ready! Thanks for your attention!