This article is not a guide on how to install the sensor, but rather how to upgrade it yourself for home use. Now motion sensors are sold absolutely ready for installation. In addition to the motion sensor itself, it has a built-in light sensor and a timer. "So what is there to upgrade, if everything is already in it?" - you ask? This will be discussed in this article. . .
This article is not a guide on how to install the sensor, but rather how to upgrade it yourself for home use. Now motion sensors are sold absolutely ready for installation. In addition to the motion sensor itself, it has a built-in light sensor and a timer. "So what is there to upgrade, if everything is already in it?" - you ask ? One of these upgrades will be changes to the power source of the device itself.
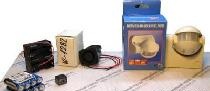
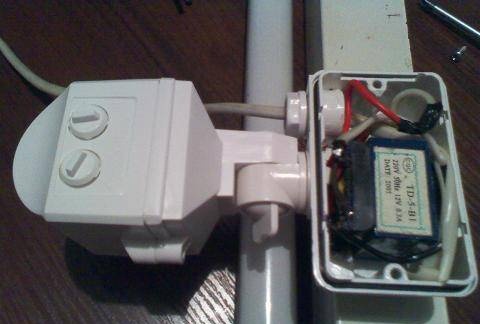
In most cases, these devices use a direct conversion power supply. See picture.

The efficiency of such a unit is negligible! The consumption of electricity by this unit will affect quite significantly the pocket of the homeowner. And the result will be that the sensor does not help save, but rather helps to spend!
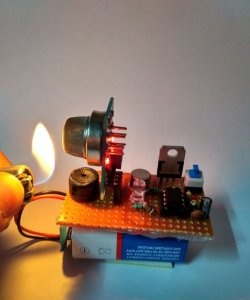
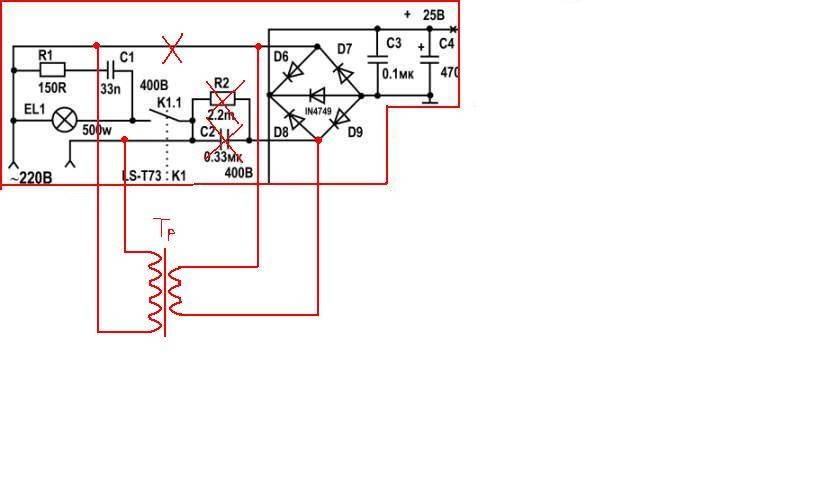
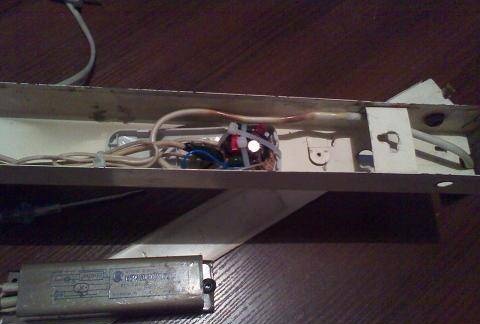
What to do ? - I propose replacing this power supply with a transformer or a switching one. Their efficiency is many times higher. And if you choose specifically between switching and transformer, then the efficiency is greater for a switching power supply. Despite this fact, I still preferred a transformer, and besides, I had to introduce only a transformer into the device, since the rectifier bridge and stabilizer are already there. See picture.
I decided to put a lamp with my upgraded sensor in the kitchen, that when a person came up to the table or just entered (it all depends on how you need to configure the sensor), the light would turn on.
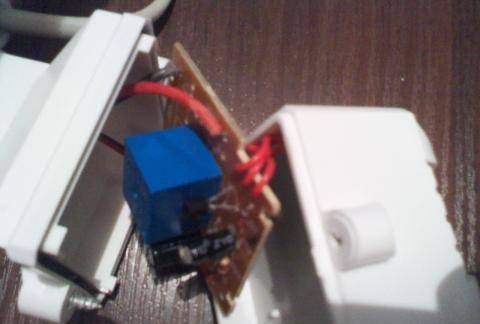
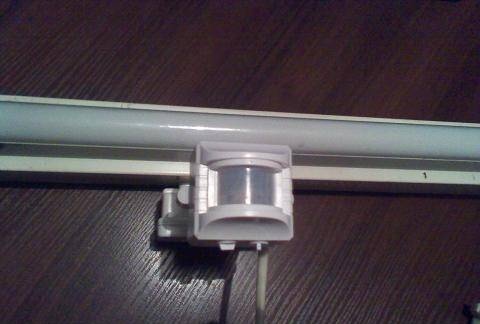
I installed everything, attached it. See photo:

Next is the most enjoyable part of all the work - this is testing. But the trouble is: the sensor refused to turn off the lamp! That is, it went out for a second and immediately turned on. What is the problem, I thought? And I realized that when the contacts open, a powerful electromagnetic pulse occurs in the sensor, since there is a choke in my incandescent lamp, and the interference that creates an open circuit interferes with the sensor and turns on the lamp again after turning it off. Whatever I do, no matter what kind of interference - I put out the blanking chains - I didn’t succeed. . .
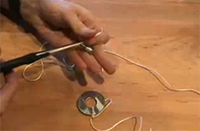
All the same, a solution was found when I found a launch board from a burned-out economy lamp. By the principle of starting, it works the same as a regular fluorescent lamp. That is, this heavy throttle, starter, I can replace with this small board. Then I realized that I could kill two birds with one stone. Firstly, I will get rid of unnecessary interference to me, and secondly I will save electricity. Indeed, in comparison with the throttle system, the start-up system of the economy lamps is pulsed. From this, she "saves".
All. I tore off all the insides and replaced them with such a small board.
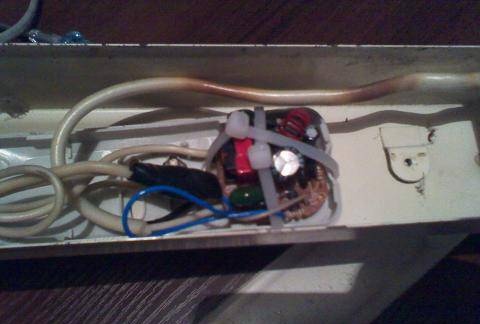
Now I got a hybrid economy lamp with a fluorescent lamp.
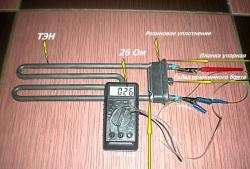
I want to say that the Chinese again exaggerated.Instead of putting 26 watts (as it was written on the case of an energy-saving lamp), it gave out about 17-19 watts. And so the glow became a little worse than with a throttle.
Along with this, several pluses appeared. The first of these is the savings, and the second is a quick and smooth launch. That is, now the lamp ignites instantly like an incandescent lamp without blinking and without cracking the contacts of the starter.
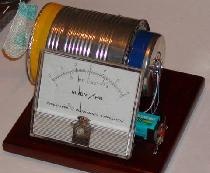
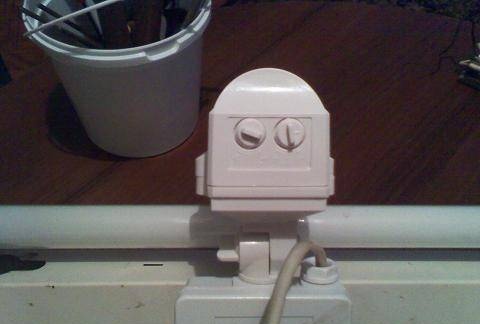
Now all the work is completed, proceed to re-testing. Everything works stably. At the bottom of the sensor are two variable resistors. One adjusts the sensitivity of the light sensor, and the second burns the lamp, that is, the time delay of the motion sensor.
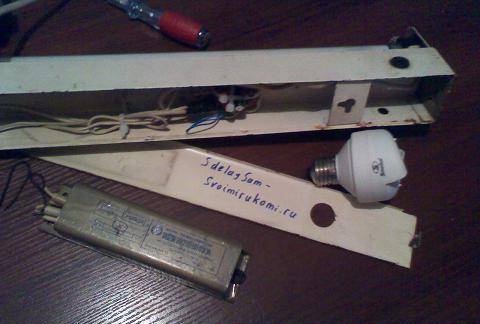
I attached the sensor to the bottom of the lamp. See the photo.
Thus, he did not quite reasonably. The light from the switched on lamp is reflected from objects and falls on the light sensor and the lamp starts to blink. I had to abandon the light sensor. I reduced its sensitivity with a variable resistor to zero and the light sensor stopped working. Actually, the thing is necessary, but reinstalling the entire sensor to another place was not entirely practical. Now our device only responds to movement.
In principle, I am satisfied. I set up the lamp so that when approaching the table it lights up, and when leaving, it turned off after 15 seconds. This time is necessary so that there are no sudden shutdowns when the sensor "gets used" to your being at the table.
In conclusion, I want to recall security measures. If you are going to do something like that. All parts are under a life-threatening voltage of 220 volts. When working, make sure that the device is de-energized, in no case touch live parts when they are live! After turning off, you must wait 15 minutes and only then start working, otherwise the high-voltage capacitors in the circuit will not have time to discharge and you may be shocked.
Be especially careful and careful!