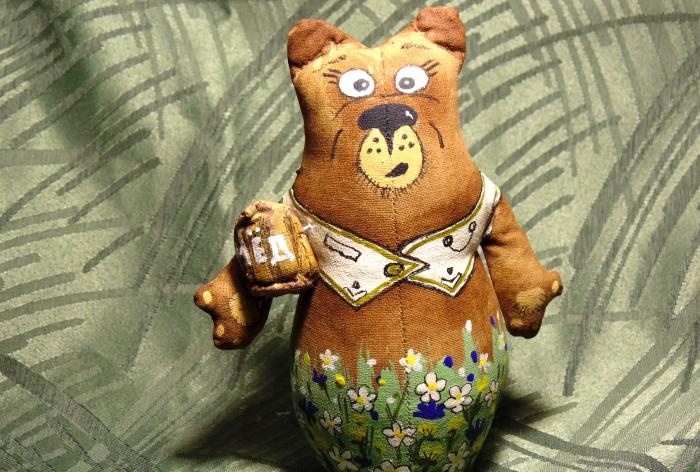
To make such a bear, we will take the following materials:
- sewing machine.
- thick white cotton fabric.
- needle and thread.
- acrylic paints.
- sewing pins with heads.
- pencil.
- black helium pen.
- scissors.
- brushes for painting.
- some cardboard.
- filler for toys.
- brown yarn.
- PVA glue.
- instant coffee.
Let's get started with the bear. Let's draw a pattern. There will be two main parts. The toy should stand using its round bottom. And of course the bear needs a barrel of honey.
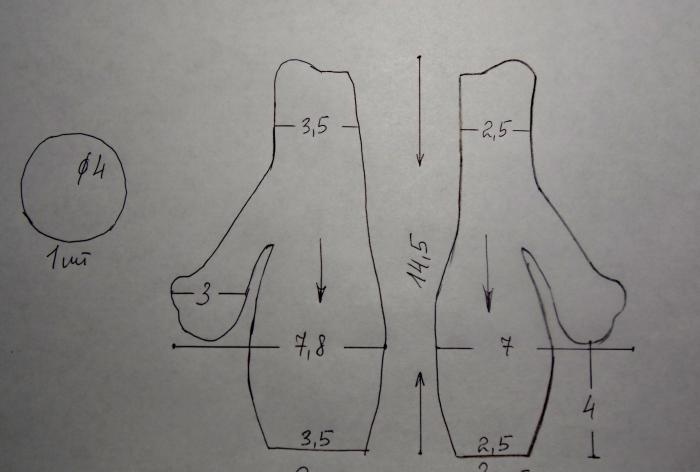
We cut out these templates and apply them to the fabric. We pre-position it in two layers for ease of cutting. We trace with a pencil and cut out with an allowance from the outline.
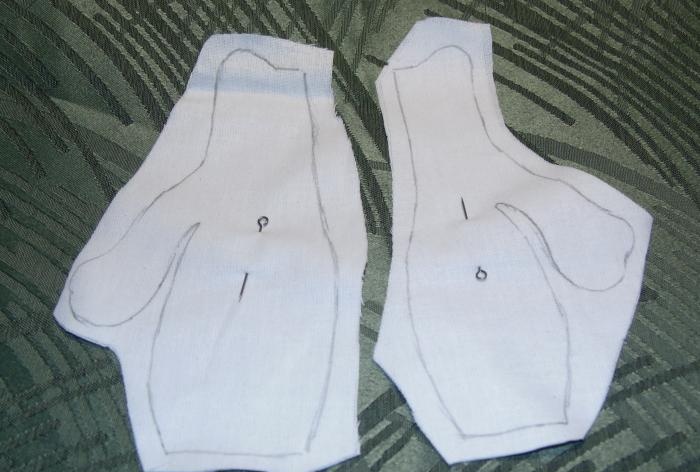
We get two blanks together. Now the main thing is to sew it correctly. The first two lines will run along wavy lines that symbolize the middle of the toy. The lines go from the middle of the top of the head to the bottom, the bottom of the toy. And when the line is laid, we retreat only 2 - 3 mm from it and cut off the excess fabric.Now, for convenience, you need to attach the templates to the stitched blanks only on the other side in a mirror image. And when we open the stitched part in one layer, we get a piece with a seam in the middle and two legs on the sides.
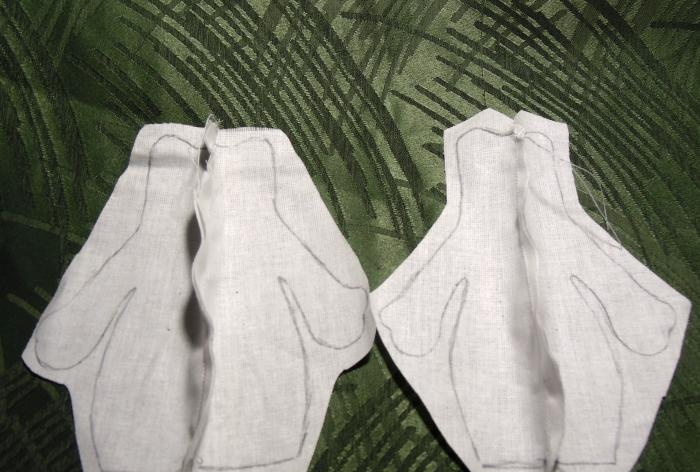
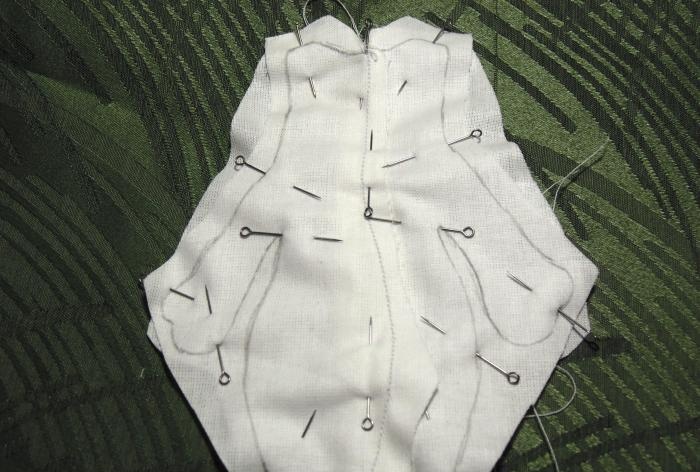
We got the front and back parts. The front part should be wider in volume. And the outlined outline on both sides will help in the future to correctly assemble the entire bear together. Place the pieces right sides together and line up all the folds evenly. You can simply sweep along the outer contours with a needle and thread. Or use sewing pins to apply stitching. And carefully make a line along the drawn line, without touching the bottom of the toy.
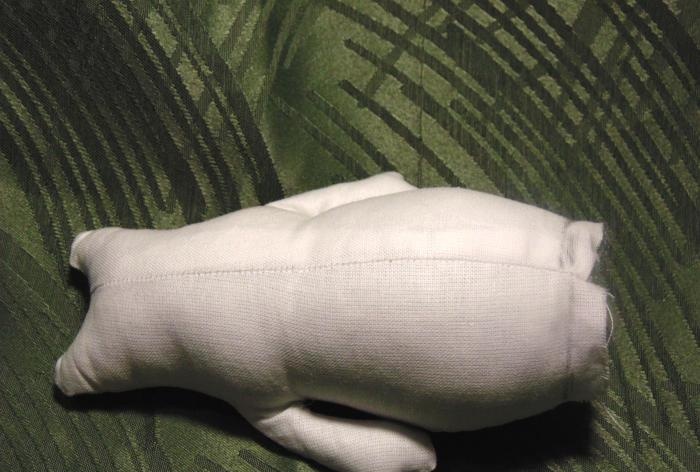
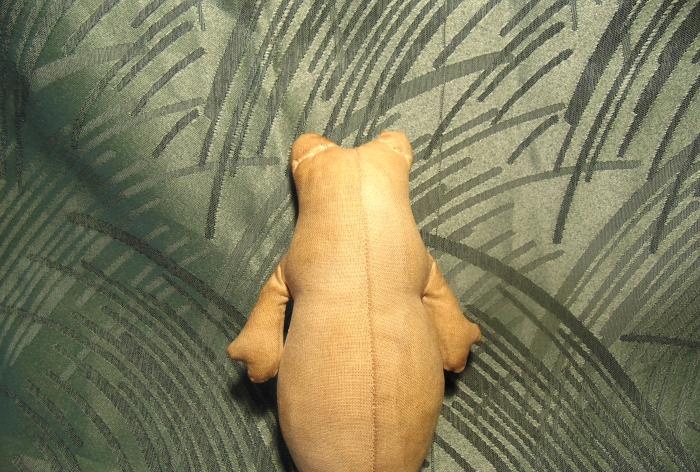
When sewn, you need to turn all the parts right side out. The result is a toy blank with an unsewn bottom, through which we will fill the toy. We turn out the paws and ears well.
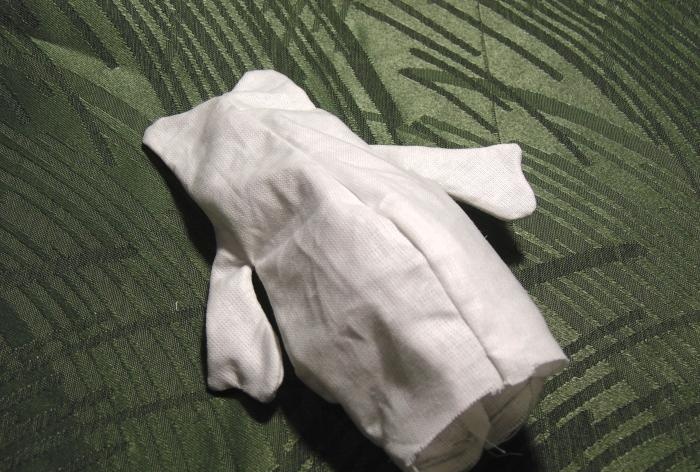
One nuance needs to be taken into account when stuffing. We fill the paws only from the bottom and to the middle so that they can be bent. And we compact the rest of the body, not to a stone state, but tightly. Then, with a pencil on the front side at the bottom, mark 0.8 cm for the hem from the edge of the fabric.
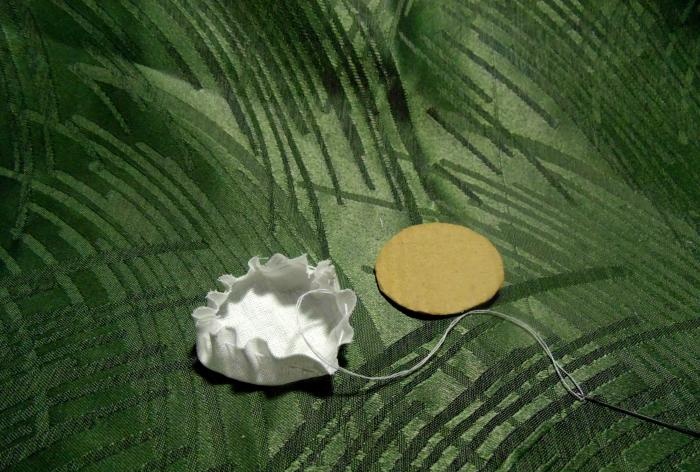
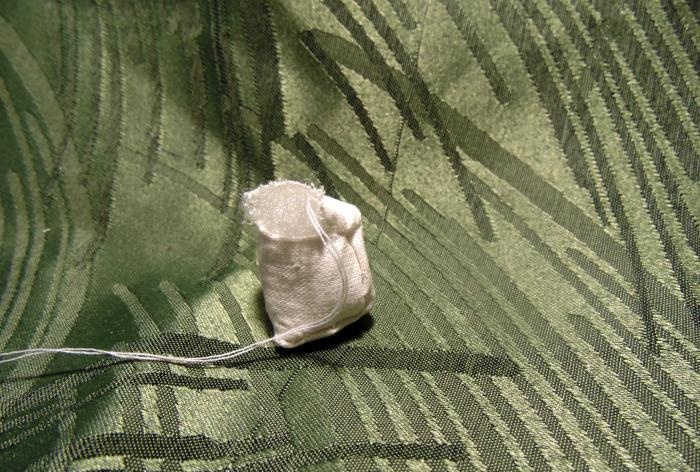
Now you need to close the bottom and to do this, use a template to cut out a circle from cardboard, and to it we cut the fabric in one layer wider than the bottom by 1 cm. Then, using a needle and thread, we collect the fabric in a circle, insert the cardboard inside and pull the thread tightly.
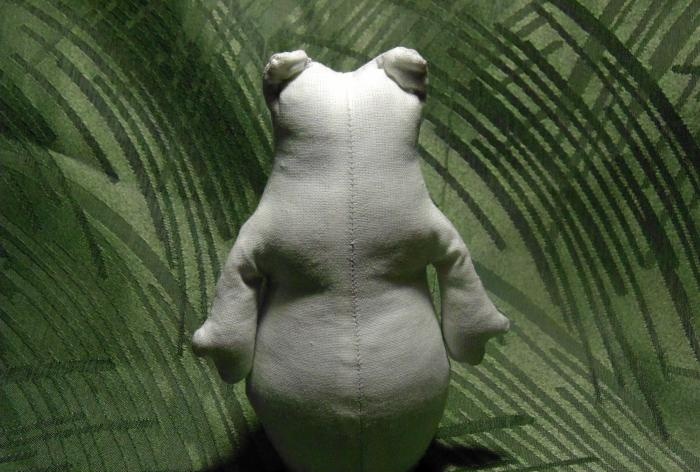
All that remains is to sew this part into place. We unfold the prepared part with folds inside the toy, and with a needle we make stitches along the edge of the circle and along the marked line along the body. We close all the irregularities into the middle of the bear. If additional filling is needed, you should leave a very small hole, add stuffing, and then simply sew it up.

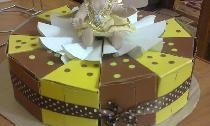
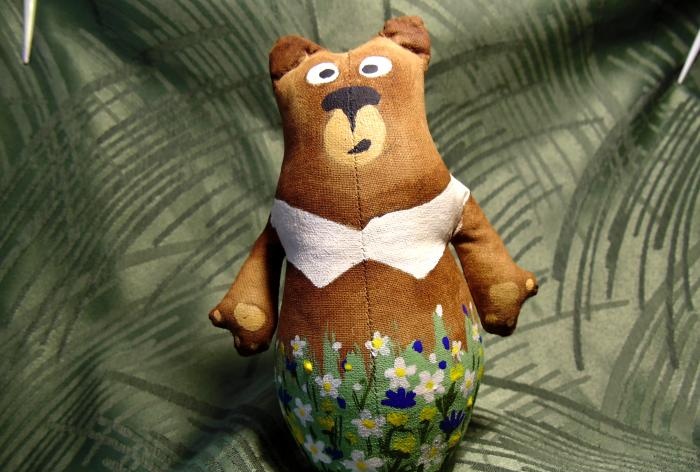
As a result, the toy should stand well.
Now let's make a barrel. From the fabric we cut out two strips measuring 4 x 2.5 cm and 2 circles with a diameter of 3 cm.
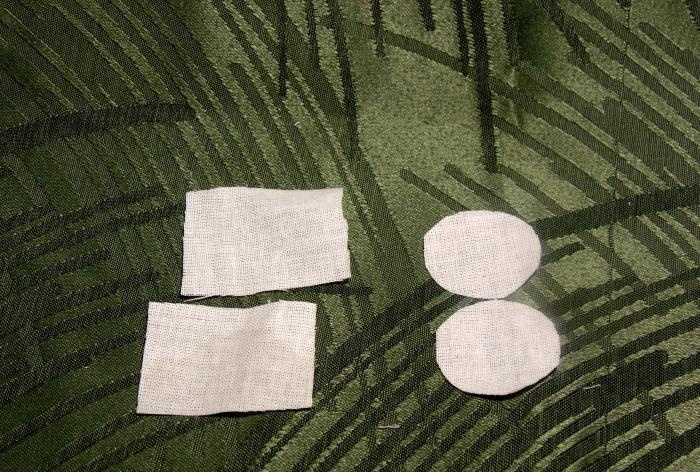
Sew the sides and fasten the bottom and lid. We don’t sew the entire lid together at once, leaving room for filling. And when the barrel is ready, we just carefully sew everything up.
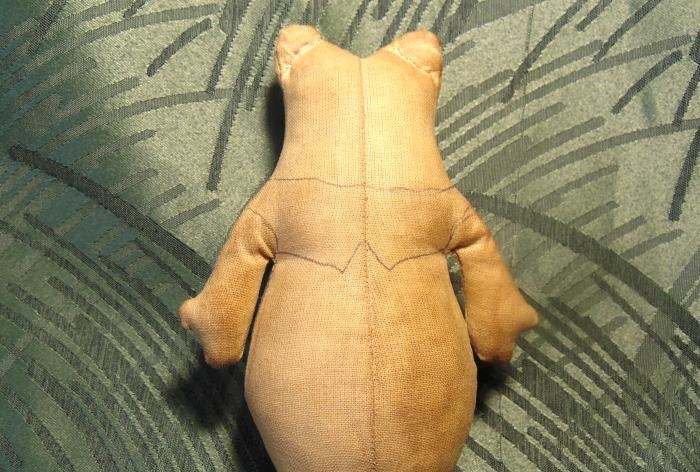
Now let's move on to priming the finished products. You will need a small container into which we add 2 teaspoons of instant coffee and half a glass of warm water. Stir thoroughly, add a slightly smaller amount of glue than water and again dissolve everything well. And we will cover the products with the resulting solution. We make loops from the thread for hanging, paint and give time for complete drying. When the bear dries, it turns out to be light brown in color.
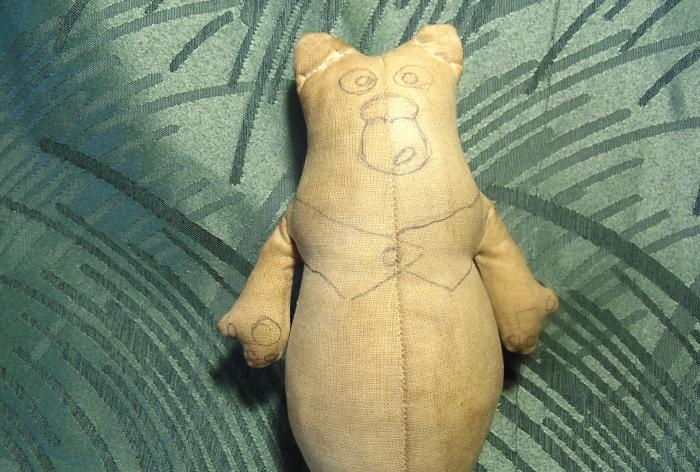
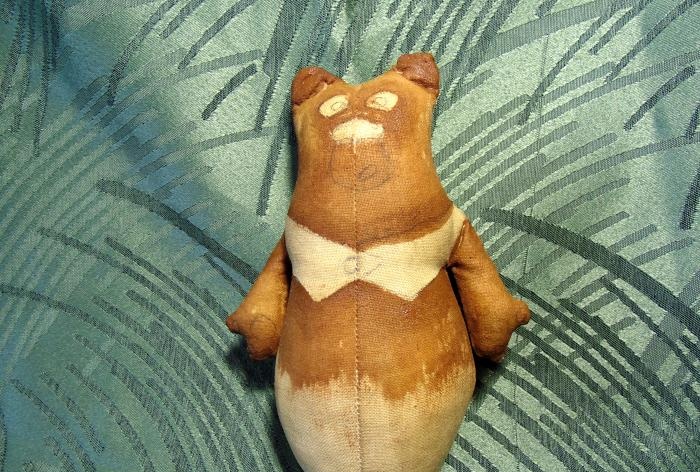
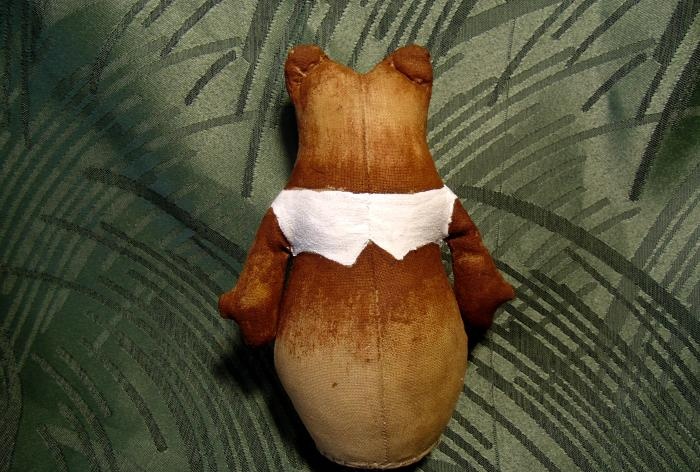
Now with a pencil you need to outline the shape of the vest and the details of the muzzle. We define the bear's shoulders and outline the edge of the vest. We leave room for the neck, the rest up to the ears will be the head. Divide this distance in half, and here will be the location of the nose, which is not so small. Further above the nose we place round eyes, and below we outline an oval beard and a small mouth. On the inside of the paws we draw a round palm and fingers.
Now let's move on to coloring. Let's take brown paint to paint the ears, the bottom of the paws around the eyes and nose. Using a brush we make smooth transitions across the body. Using a clean, wet brush, blur the rough contours. Around the vest we paint the same darkening in a brown tone. The middle and bottom of the toy remain unaffected.
When the first layer of paint has dried, add light brown color to the circles of the bear's paws and beard.
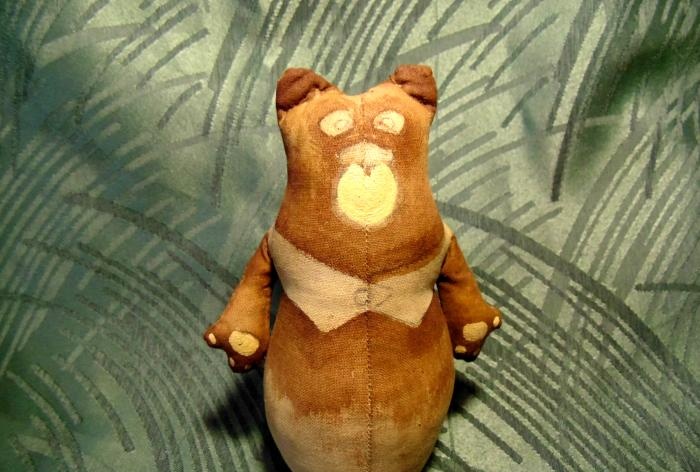
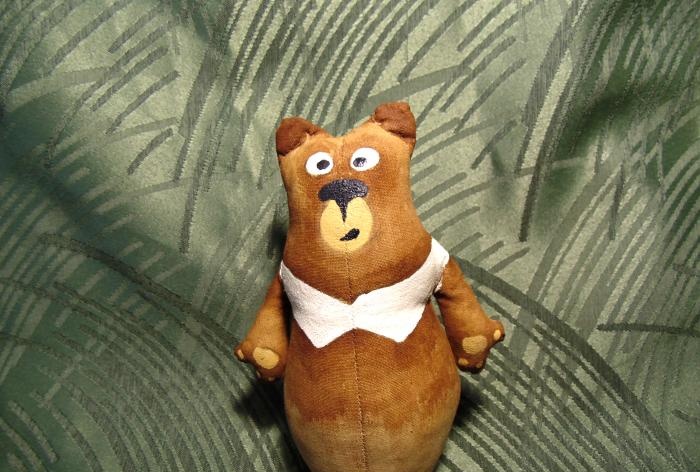
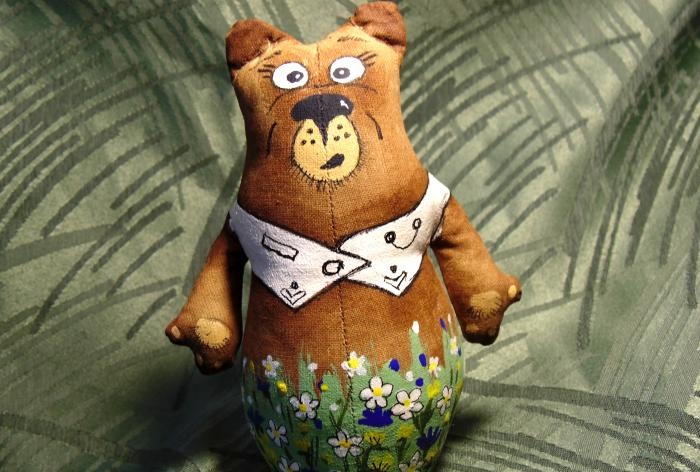
Next, paint the entire vest and eye circles with white paint. And we dry everything again.
And with black acrylic we draw the nose and pupils in the eyes. We also add a mouth.
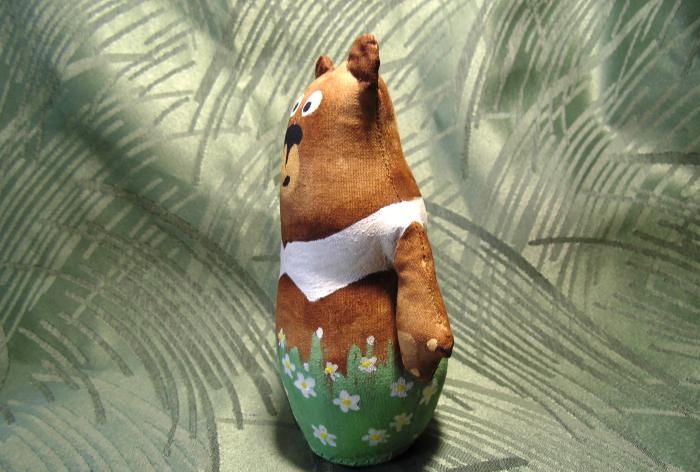
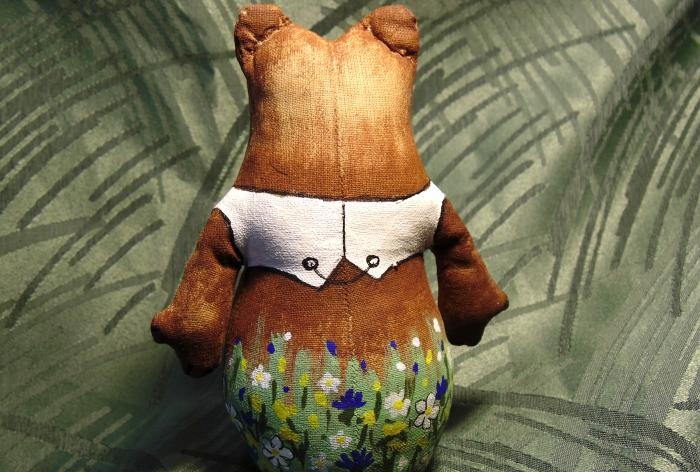
Now let's move on to the second half of the body. The bear will stand in a clearing with flowers. With the first layer of light green paint we cover the bottom and up to the middle of the body. And for a smooth transition to a brown tone, draw thin blades of grass upward. Only after drying again do we draw white daisies of different sizes all over the field.
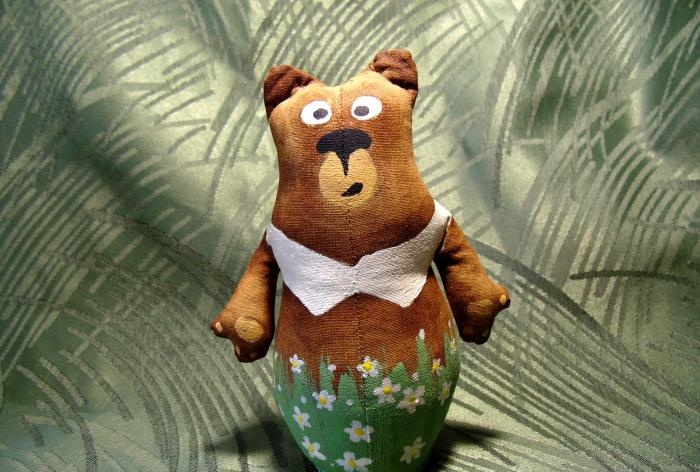
Now we will plant blue and yellow flowers in our field. But if there is still space left, then you can paint on leaves and grass with dark green paint.
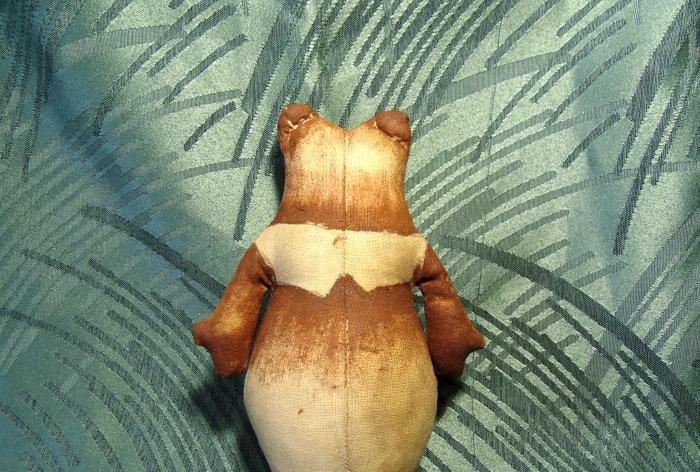
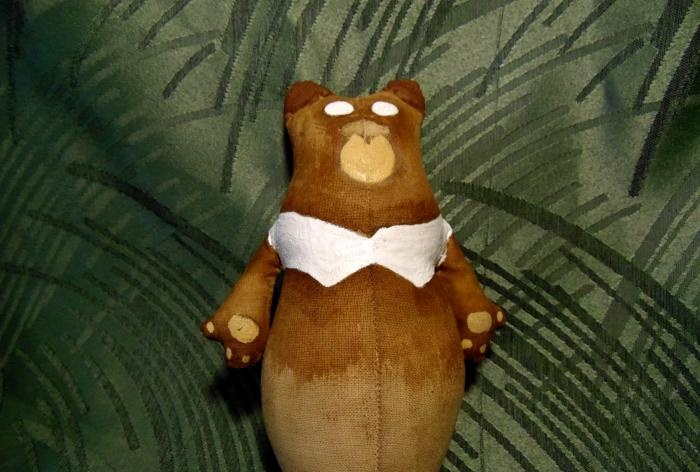
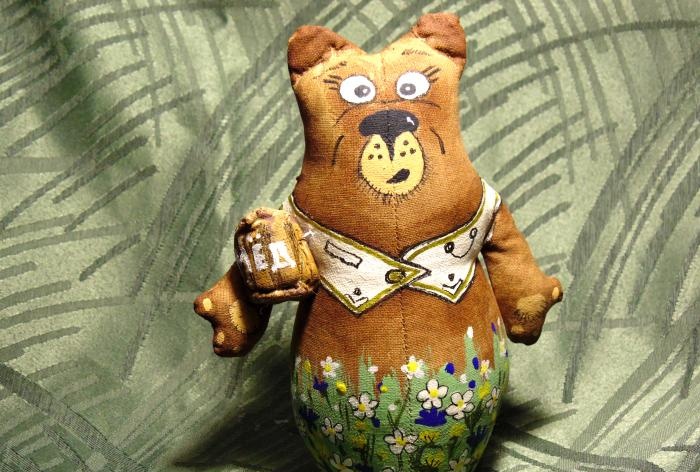
Next, on a completely dry toy, we will draw on small details with a black pen. Let's start with the head. We outline the white eyes, draw on the eyelashes and eyebrows. We outline the beard and draw small fibers along the contour, put a mustache - dots. Then we pass the handle along the entire contour of the vest. In front we draw a button, a pocket and small decorations. We make one decoration on the back. We also make small strokes on the palms. Let's move on to flowers. We outline the large daisies, and they immediately come to the fore in the clearing. Finally, we make white dots on the nose and pupils.
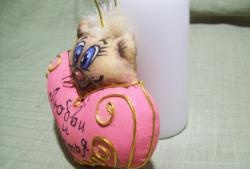
Next we take the barrel, go over the seams with brown paint and write the word “honey” in white.
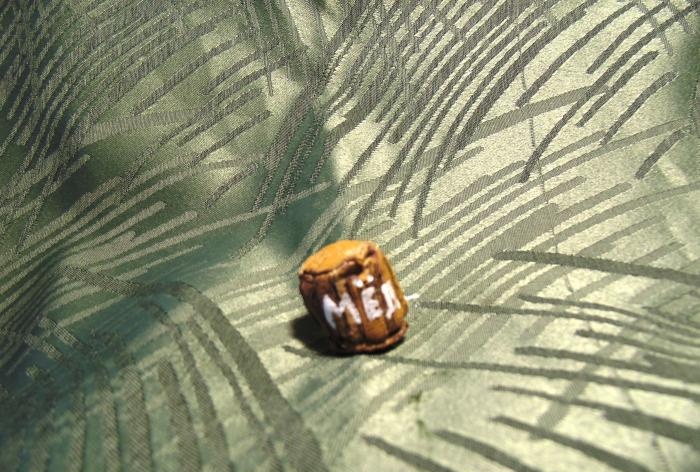
All that remains is to sew this barrel tightly to the arm and body. And the souvenir is ready.
Good luck to all!