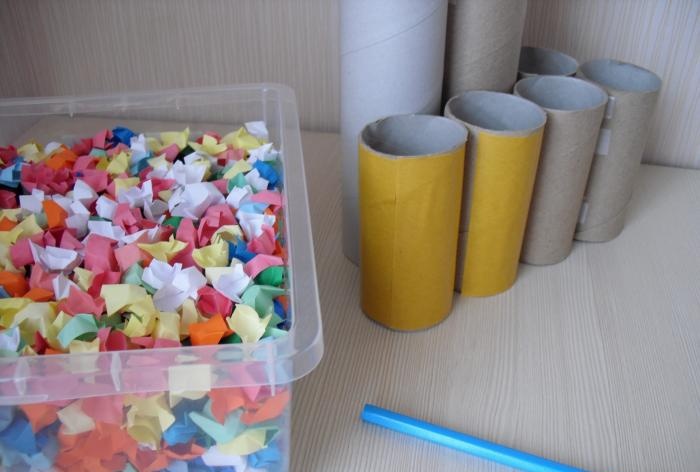
For the manufacture of crafts you will need the following materials:
- colored paper for cutting blanks;
- scissors;
- double-sided tape;
- spools of toilet paper and paper towels;
- super glue (gel glue is best);
- wide satin ribbon;
- pencil for fixing trims.
Step-by-step master class:
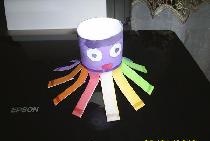
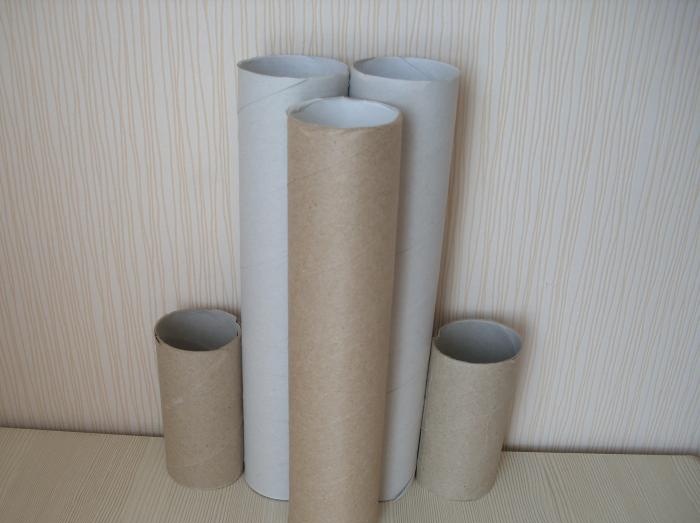
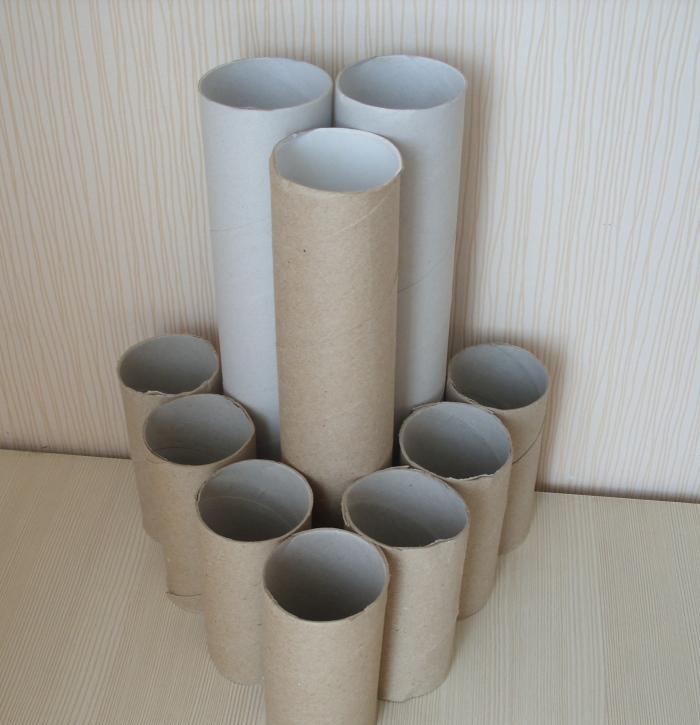
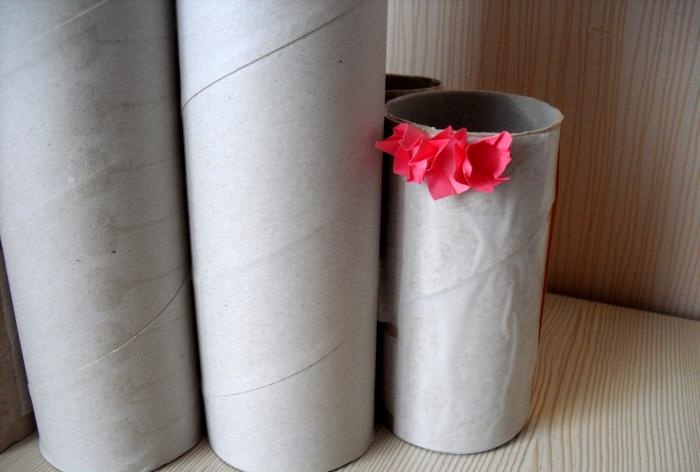
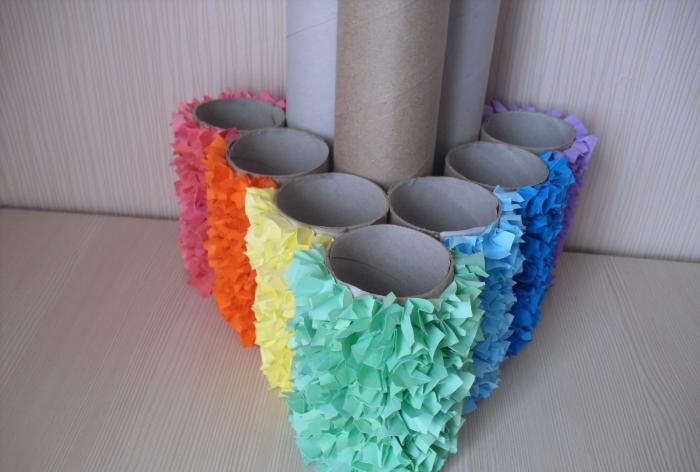
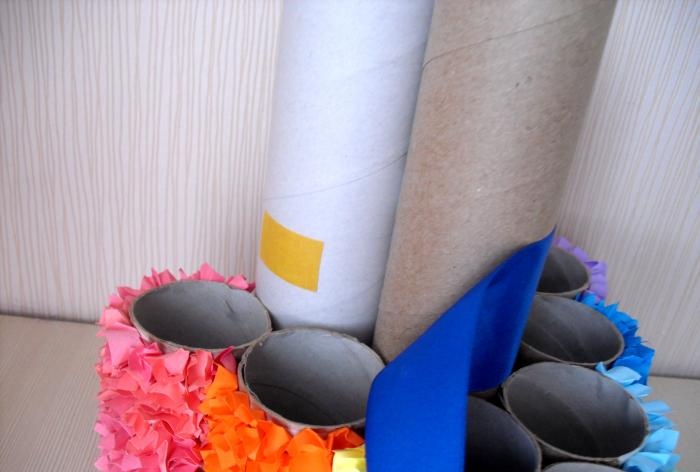
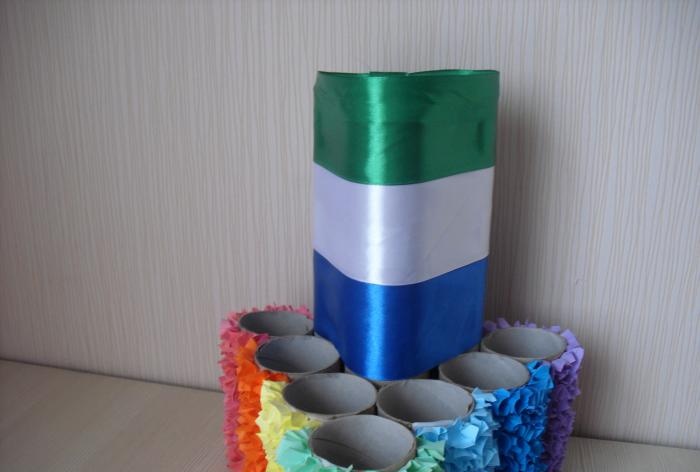
1. We begin the production of our product by giving it a basic shape. We form the frame from toilet paper reels and paper towels. First you need to arrange all the materials in the right order. After the form is approved, you need to carefully seal all the parts using super glue or double-sided tape.
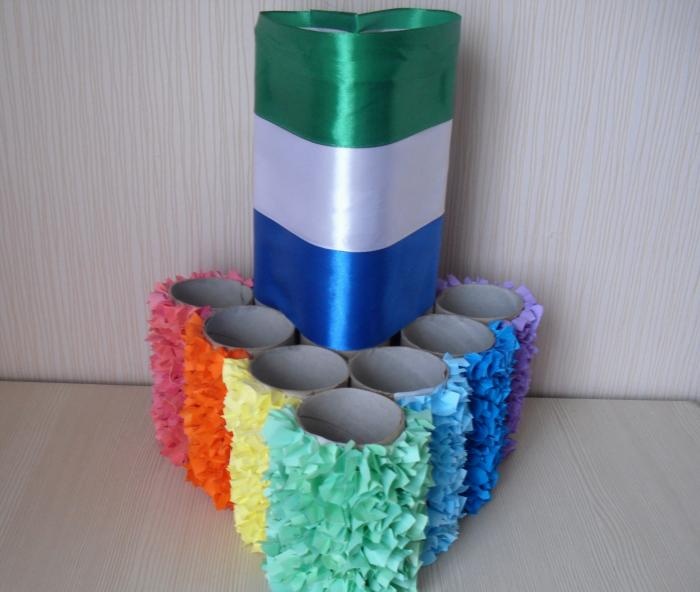
The frame for our craft is ready.

To prevent pens and pencils from falling out during use, it is necessary to attach a bottom to our container. The lower part can be made from thick cardboard or plastic. Secure the bottom with super glue.
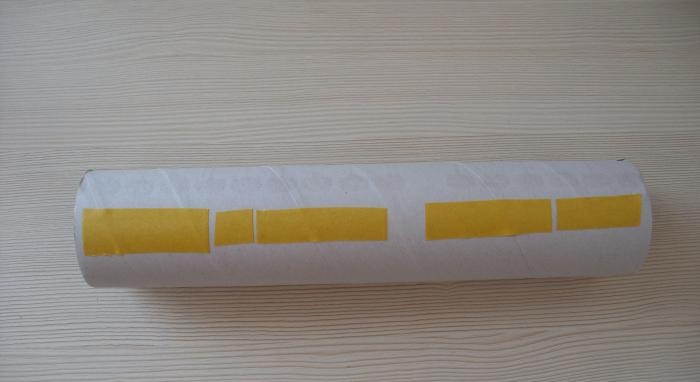
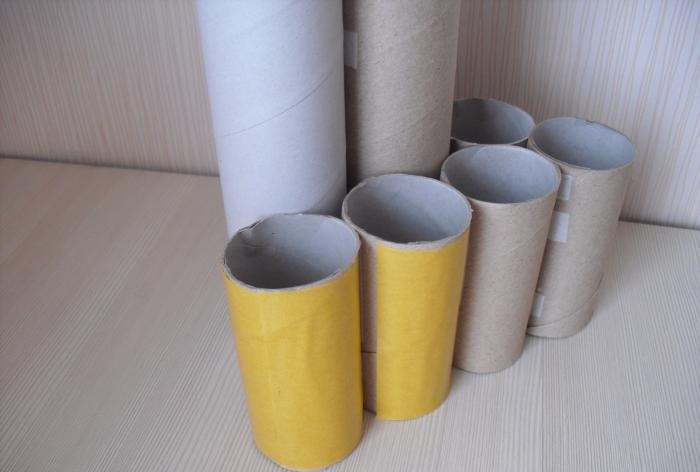
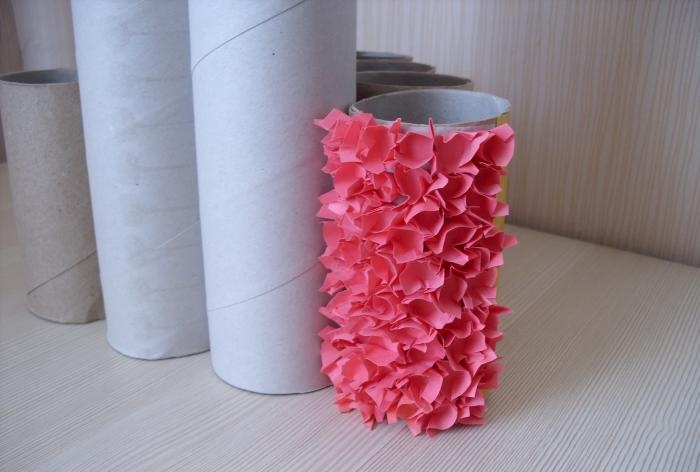
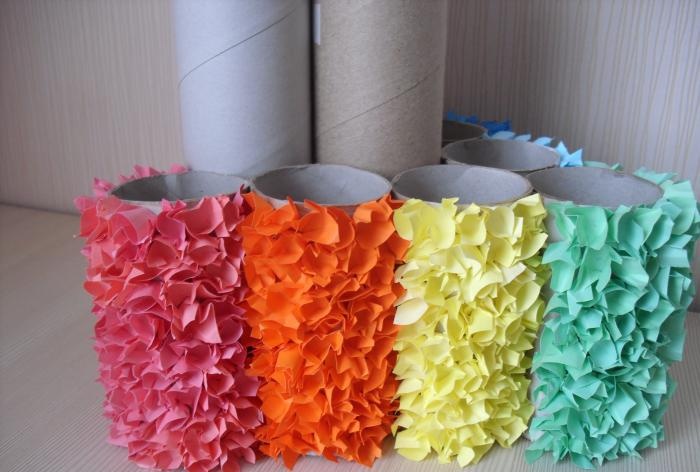
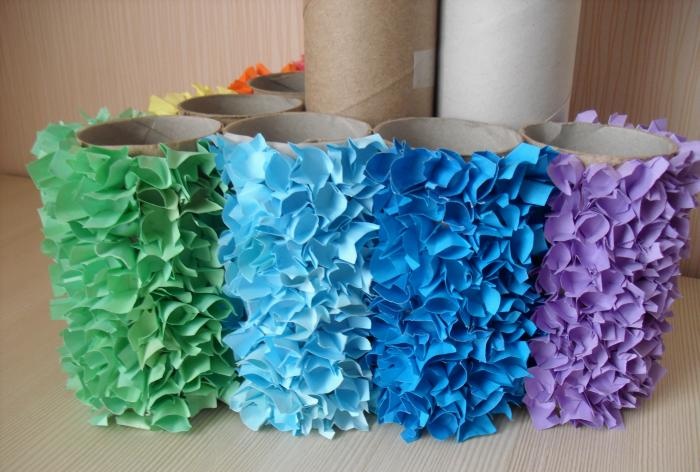
2. We begin to decorate our container for small items. For decoration we need paper blanks. We will decorate toilet paper spools using the trimming technique. Trimming blanks are best secured with double-sided tape. First, it must be carefully glued to the frame, after which the trim pieces are secured with a pencil on the prepared surface. We decorate each compartment gradually using different colors of paper. This tutorial uses the colors of the rainbow: red, orange, yellow, green, blue, indigo and violet.
3. Decorate the top part of our product. For decoration you will need satin ribbons. For ease of installation, we glue the tapes with double-sided tape. Along the edges, you can use super glue to attach the tape. Carefully attach the strips one after another from bottom to top.
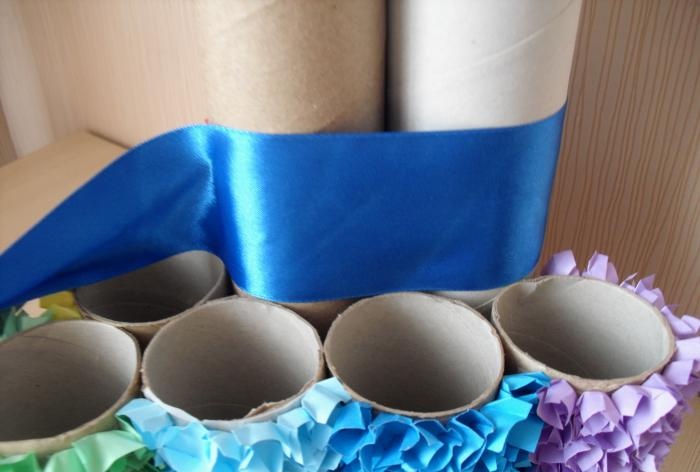
The upper part of the product is ready.
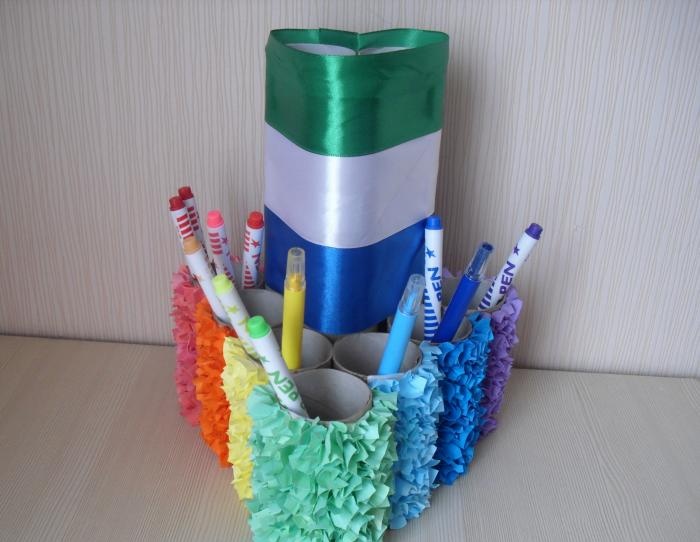
Mixed media rainbow storage container completed. Now you can safely place your child’s pencils, markers, pens and other stationery in it. For convenience, you can arrange pencils by color. This placement option will help save your child’s time and also teach him order.
This master class discusses one of the options for making a container for office supplies from scrap materials. If you show a little imagination, you can make hundreds more options for such products. In addition, it is very useful to include a child in the creative process.The manufacturing technique is accessible even to a preschooler, so the child will find this activity not only useful, but also very interesting. Create crafts together and they will delight you for many months and years.