Body manufacturing process
In this workshop, a piece of gabardine about 30 x 40 cm in size was used. You can use thick knitwear, calico, cotton flax, etc. We fold the fabric in half, transfer the pattern to it, which should be located along the shared thread. The pattern can be printed on a printer or attached to the computer monitor sheet, and then circled.
To make a doll, the following blanks should be obtained:
- - head (in front) - 2 pcs.;
- - head (nape) - 1 pc.;
- - body - 2 pcs.;
- - hand - 4 pcs.;
- - foot - pcs.

After the pattern was transferred to the fabric, we sew along the contour. In the photo with a dashed line, those places should not be flashed immediately. They are necessary for eversion and subsequent stuffing.
It is recommended to first stitch on a piece of fabric and only then cut it, stepping 3-5 mm from the seam. Well, if the farm has a zig-zag scissors. If they are not, then in the rounded areas we make small notches, especially near the finger on the hand. This is necessary so that after turning the blanks on the front side, the fabric is not pulled in these places.
To create a head, we first grind together two identical parts intended for the face. Then we unfold the workpiece and connect it to the back of the head. We leave small open segments in the neck and nape.


As soon as the legs are ground and cut, we turn them out, turn them around in the toe area. We connect the vertical seams with each other, form a rounded foot, fix it with pins or a mark, grind it on a typewriter.
We turn out all the other details. It’s more convenient to use a sushi stick or knitting needle, the main thing is that the end is not sharp, otherwise you can deform the seam.
For stuffing, you can use holofiber, synthetic winterizer, synthetic winterizer, etc. Each needlewoman chooses for herself a particular filler with which she is most comfortable working. The tool can be the same sushi stick, pencil, tweezers, etc. In some cases, you can break off the tip of the stick so that the filler does not slip through it.
After filling the body, we fix it with pins, but so far we do not sew it. It is worth noting that the neck should be very tight. We put on her head blank, not yet filled with synthetic winterizer, align the position and sew it with a blind seam. Then fill the head through the back of the head. It should also be very dense.
We fill the arms and legs in the same way: first, tightly to half, then tighten the “elbow” and “knee” places with thread, then add the filler, but very little, sew with the usual stitch.


At the next stage, you can sew the limbs with a blind stitch. We sew the legs in two stages - we sew to the body, hide this line inside and sew it with a hidden seam.
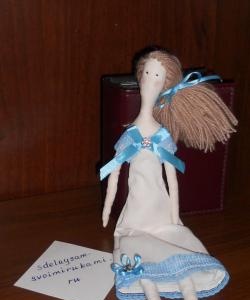
Dress up the doll and create her image
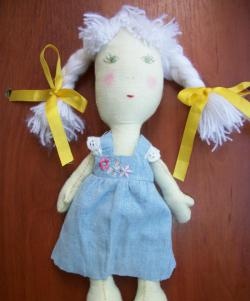
Now you can dress the doll and make her hair. Yarn was used for hair in this workshop. We wind it on a book, the width of which corresponds to the length of future hairs. On the one hand we cut the yarn, straighten it and sew it in the middle. Under it, you need to put thin paper (for example, toilet paper), otherwise, when sewing, the yarn will crumple.


Thus, we get tresses, which we sew in a circle of the head, starting from the bottom. We form a hairstyle for the doll, draw eyes, a nose and a mouth. To do this, it is better to use acrylic paints, which are not afraid of water when dried. For reliability, the face can be sprayed with acrylic varnish.