Do it yourself
Life hacks, master classes, useful tips, recipes.
home » Handicraft techniques » Kanzashi » Kanzashi hair clips » Butterfly made from ribbons
With the help of technology kanzashi You can create an endless variety of original jewelry with your own hands. You just need to learn the basics, and it’s not difficult at all. This master class shows how to make a beautiful butterfly from the simplest kanzashi petals: round and sharp from two layers of ribbon. For this you will need:
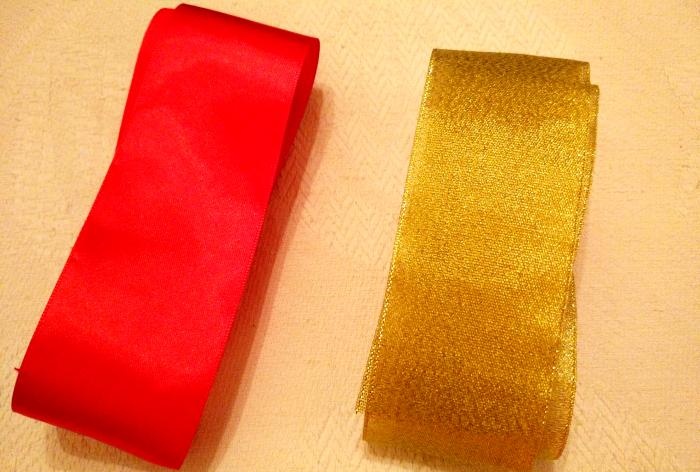
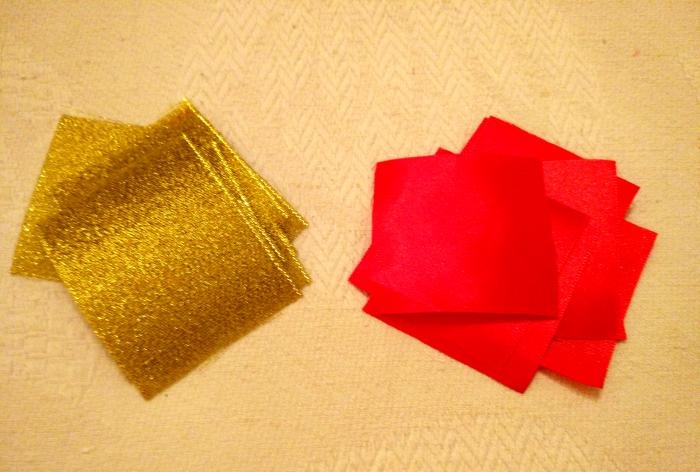
1. 20 cm each of satin and brocade ribbon, 5 cm wide.
Butterfly made from ribbons using the Kanzashi technique

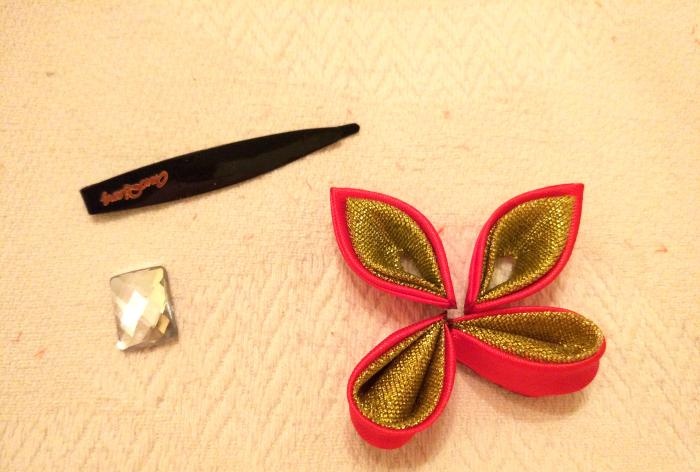
2. Kanzashi tool kit: scissors, lighter, tweezers and glue gun.
Butterfly made from ribbons using the Kanzashi technique

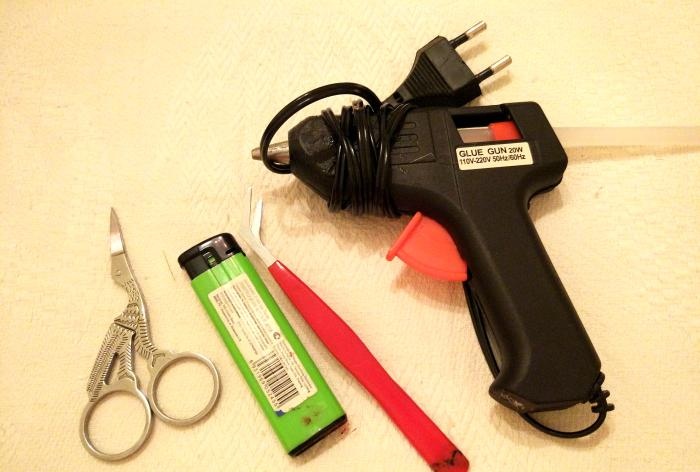
3. Accessories for decorating and securing the finished product.
All elements will be made from square pieces of tape. In total you will need 4 squares of each color.
Butterfly made from ribbons using the Kanzashi technique

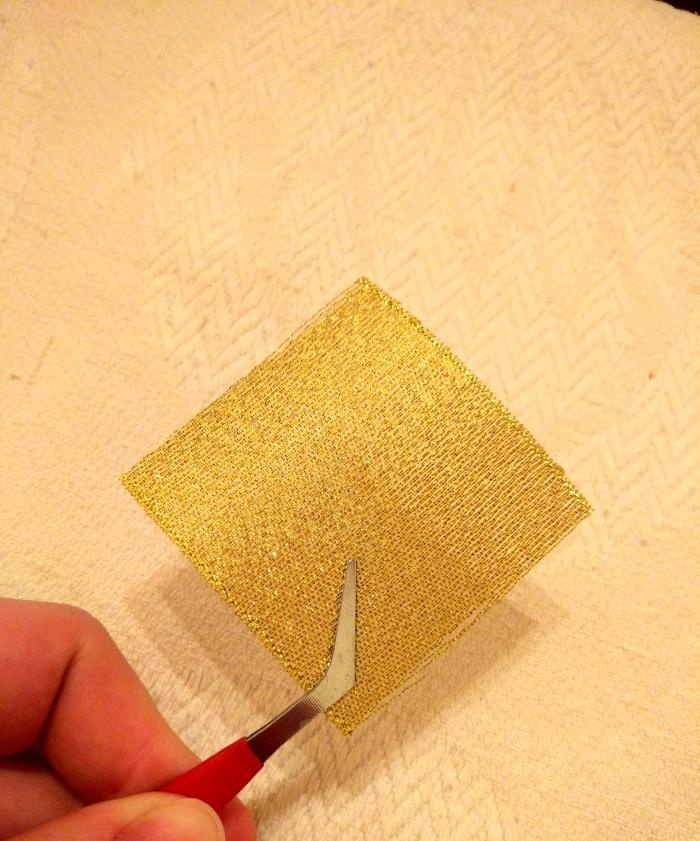
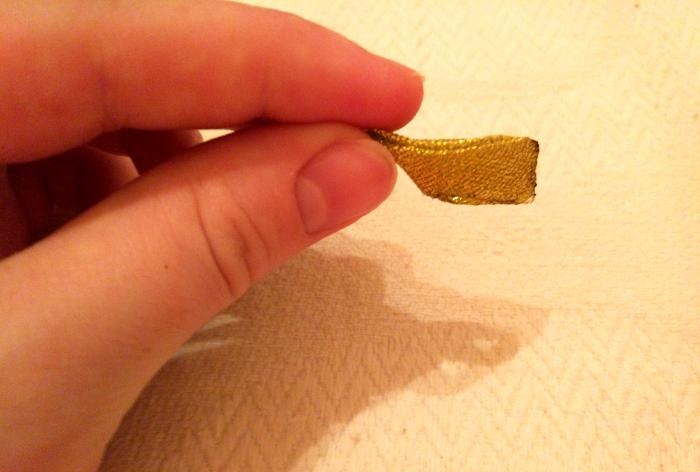
The wings for the butterfly will consist of round and sharp kanzashi petals. First, let's make a double hot wing. To do this, a piece of brocade ribbon must be folded diagonally and in half.
Butterfly made from ribbons using the Kanzashi technique

Butterfly made from ribbons using the Kanzashi technique

Butterfly made from ribbons using the Kanzashi technique

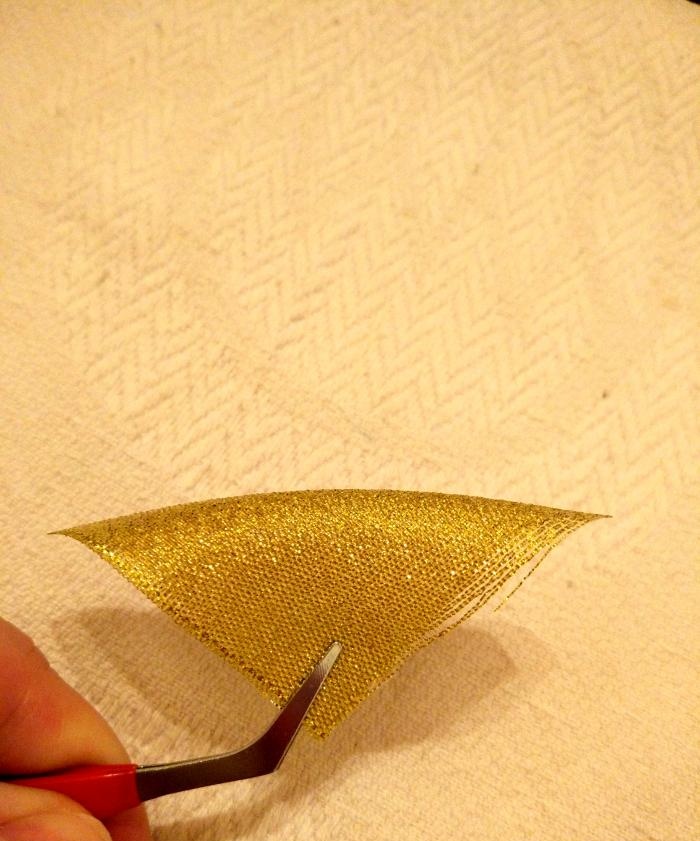
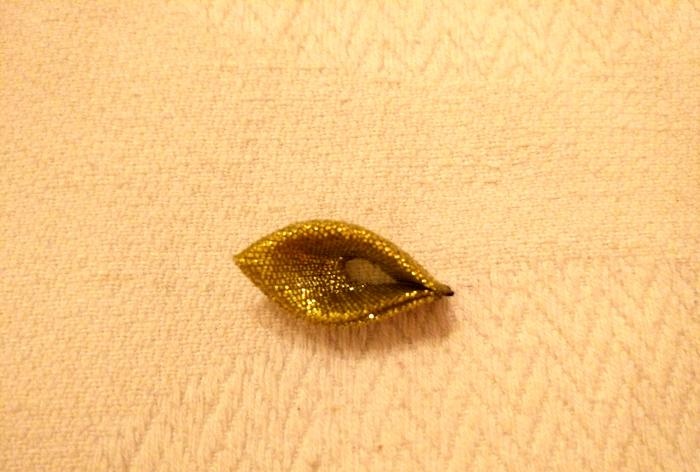
The resulting triangle also needs to be folded in half, forming a petal.
Butterfly made from ribbons using the Kanzashi technique

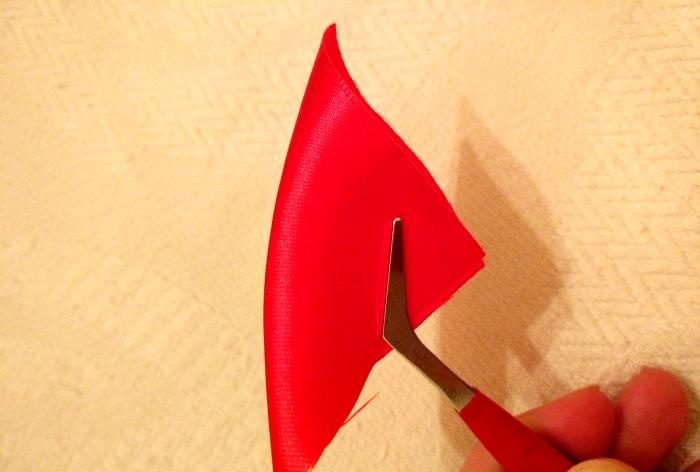
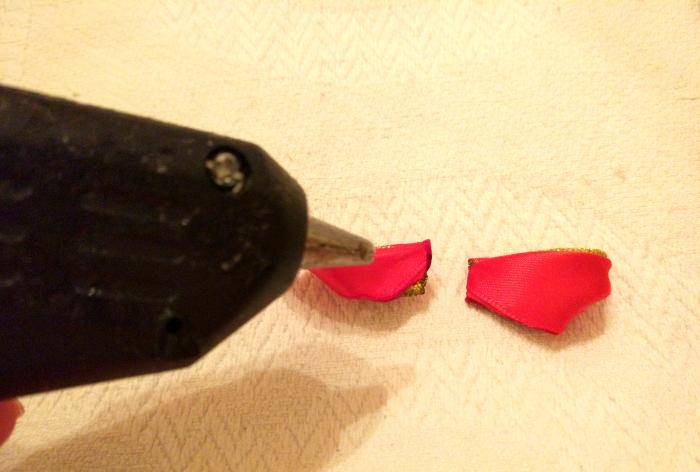
Its edges need to be cut and scorched with a lighter from the front and bottom.
Butterfly made from ribbons using the Kanzashi technique

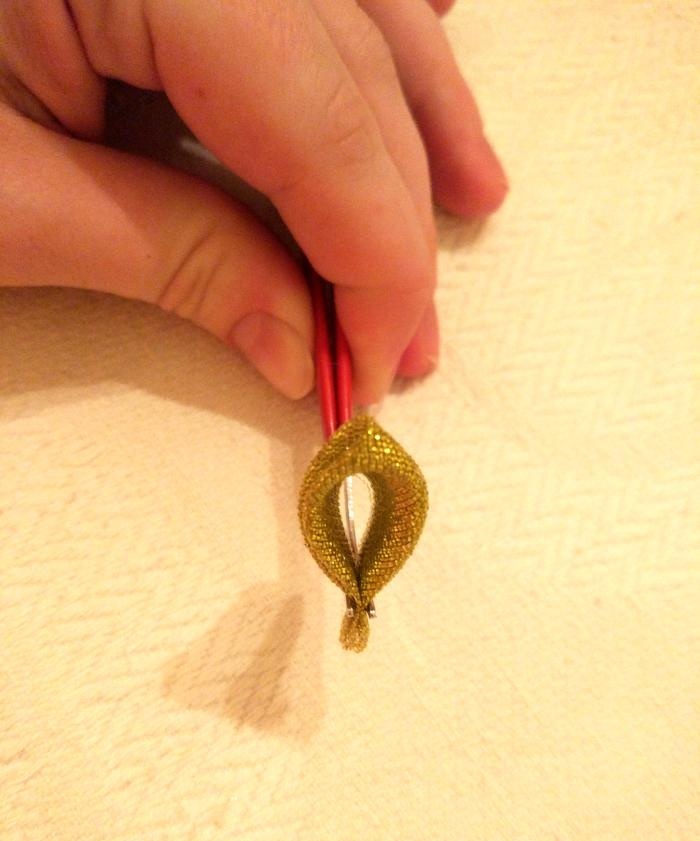
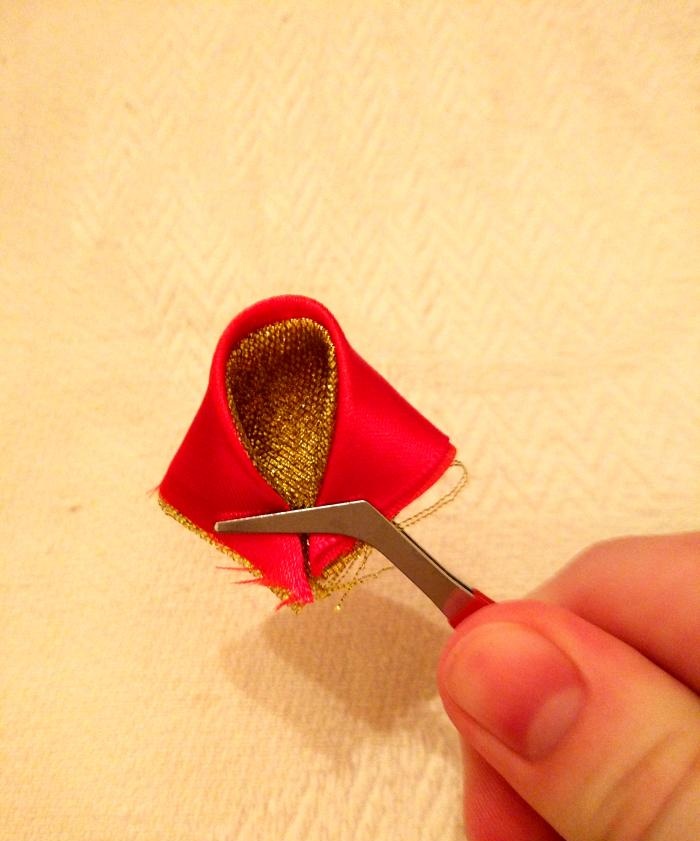
After glowing with a lighter, the front part is clamped with tweezers to glue all layers of the tape together.
Butterfly made from ribbons using the Kanzashi technique

Now you need to prepare the second layer in the same way by folding a triangle of satin ribbon.
Butterfly made from ribbons using the Kanzashi technique

Butterfly made from ribbons using the Kanzashi technique

Butterfly made from ribbons using the Kanzashi technique

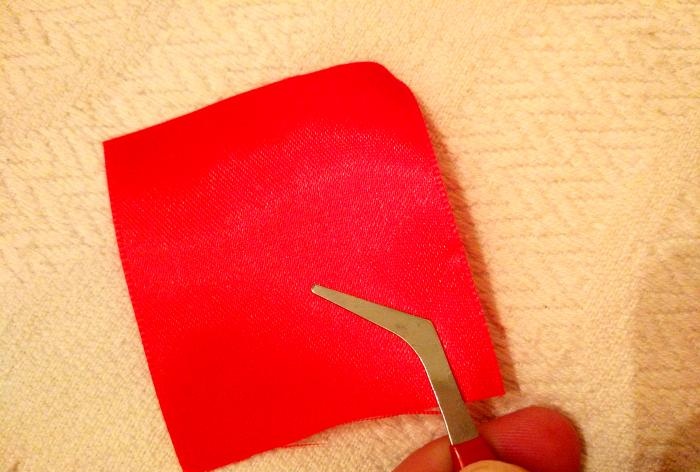
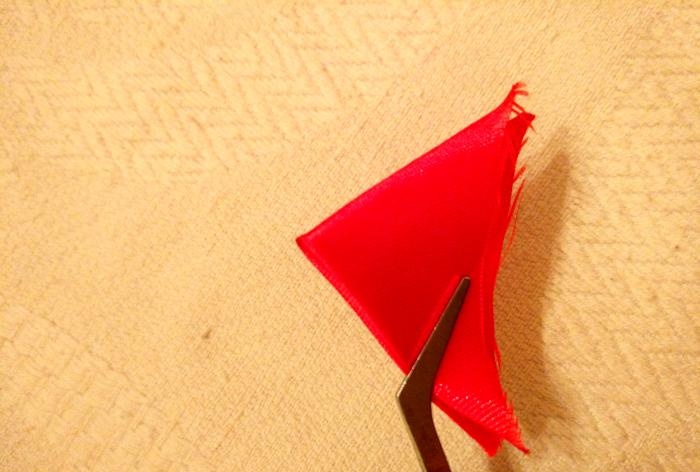
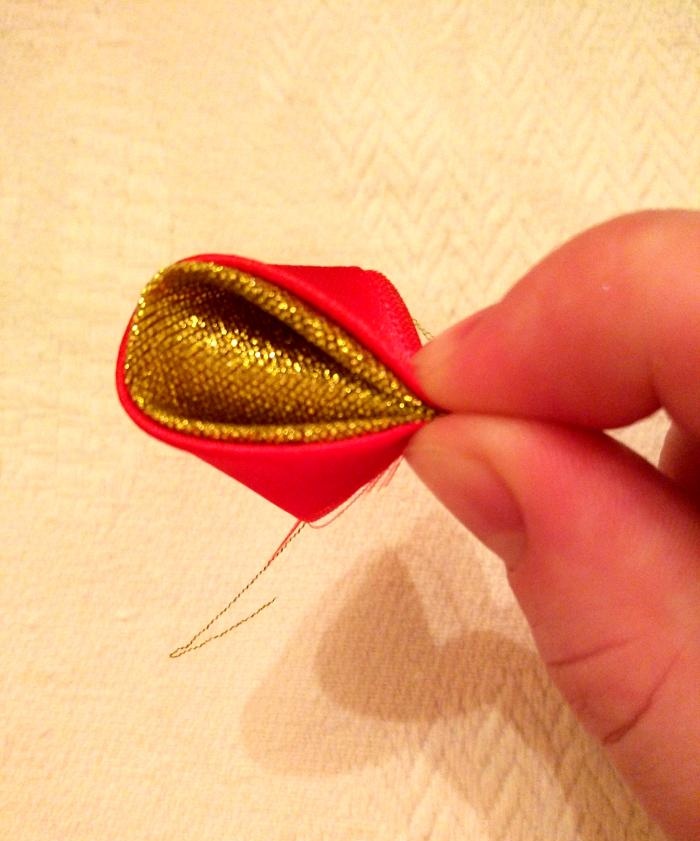
Now you can wrap the golden petal with the top layer of ribbon, cut it and singe it.
Butterfly made from ribbons using the Kanzashi technique

Double petals can be made in another way. This method is longer, but requires more skill and accuracy. Let's look at the example of making a round petal. Two pieces of tape need to be folded into triangles diagonally and placed on top of each other.
Butterfly made from ribbons using the Kanzashi technique

Butterfly made from ribbons using the Kanzashi technique

The edges of the petal bend towards the middle.
Butterfly made from ribbons using the Kanzashi technique

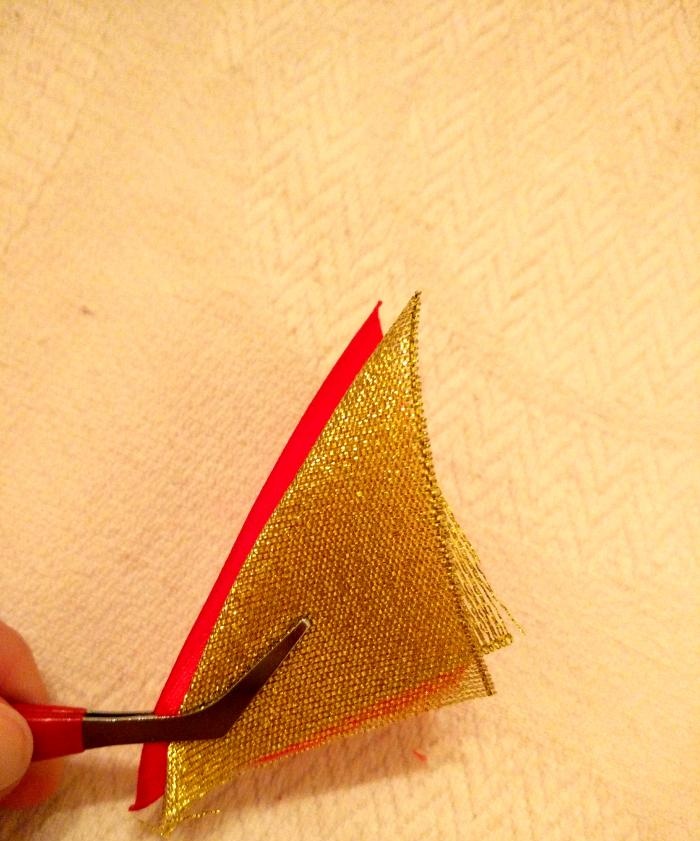
The sides need to be turned back as shown in the photo.
Butterfly made from ribbons using the Kanzashi technique

The excess is cut off from the front and bottom and fixed with a lighter.
Butterfly made from ribbons using the Kanzashi technique

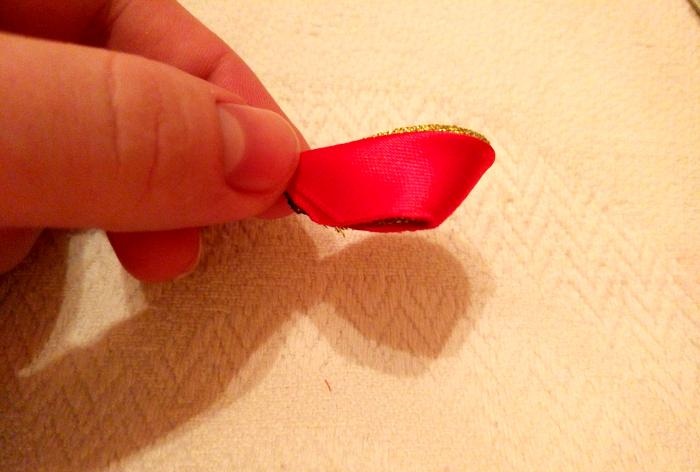
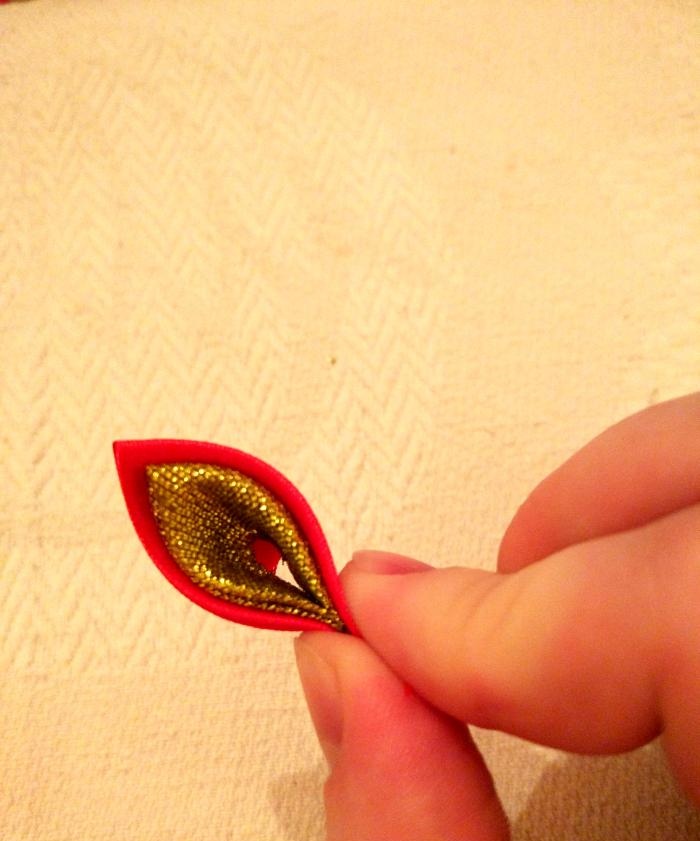
This creates a round petal.
Butterfly made from ribbons using the Kanzashi technique

With this method, you do not need to do the same steps twice, however, when working with two layers of fabric, you need to carefully ensure that all the bends are parallel to each other.
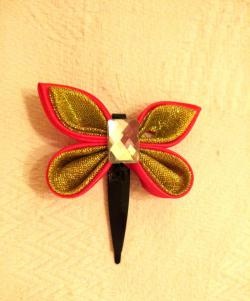
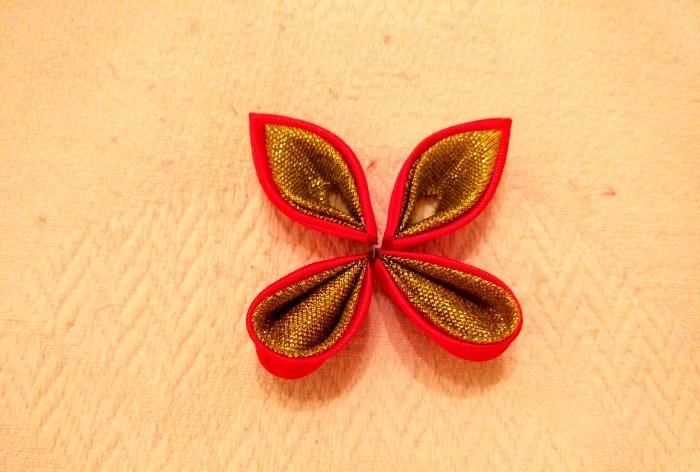
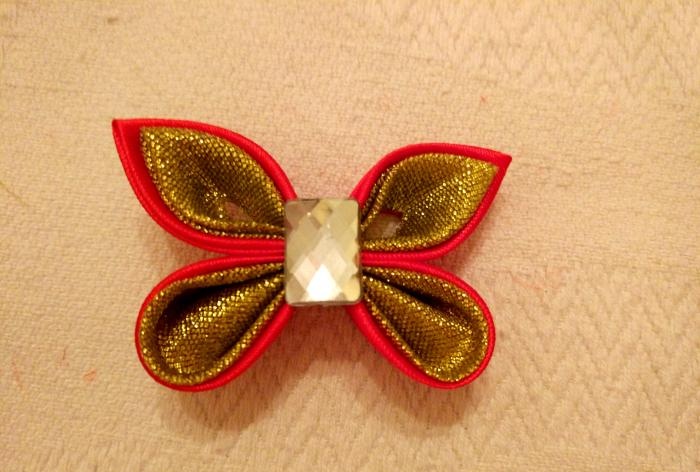
To make a butterfly you will need two petals of each type.
Butterfly made from ribbons using the Kanzashi technique

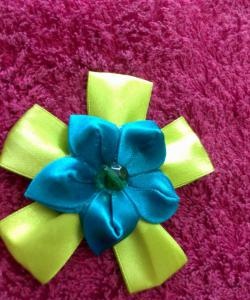
The butterfly will be secured to a wide invisible hairpin, and the middle can be decorated with a large stone.
Butterfly made from ribbons using the Kanzashi technique

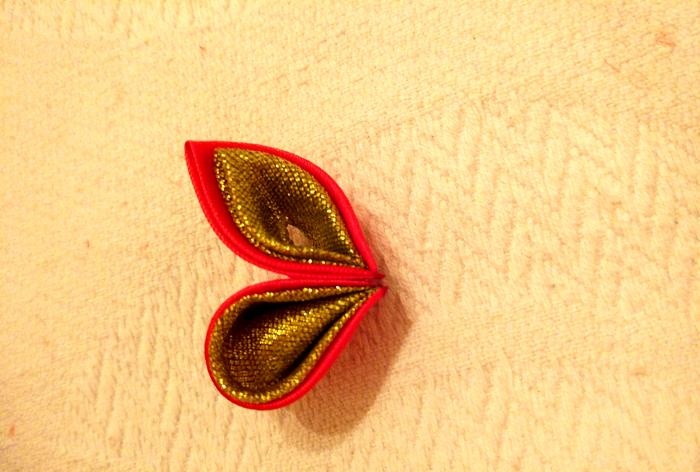
Using a well-heated glue gun, two wings on one side are glued together.
Butterfly made from ribbons using the Kanzashi technique

Butterfly made from ribbons using the Kanzashi technique

Then both sides need to be glued in the middle.
Butterfly made from ribbons using the Kanzashi technique

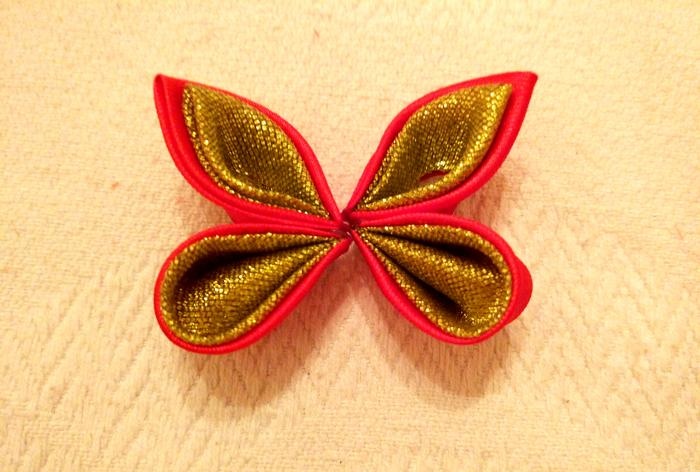
When the wings are connected, you need to glue the middle and fix the butterfly to the hairpin using hot glue.
Butterfly made from ribbons using the Kanzashi technique

Butterfly made from ribbons using the Kanzashi technique

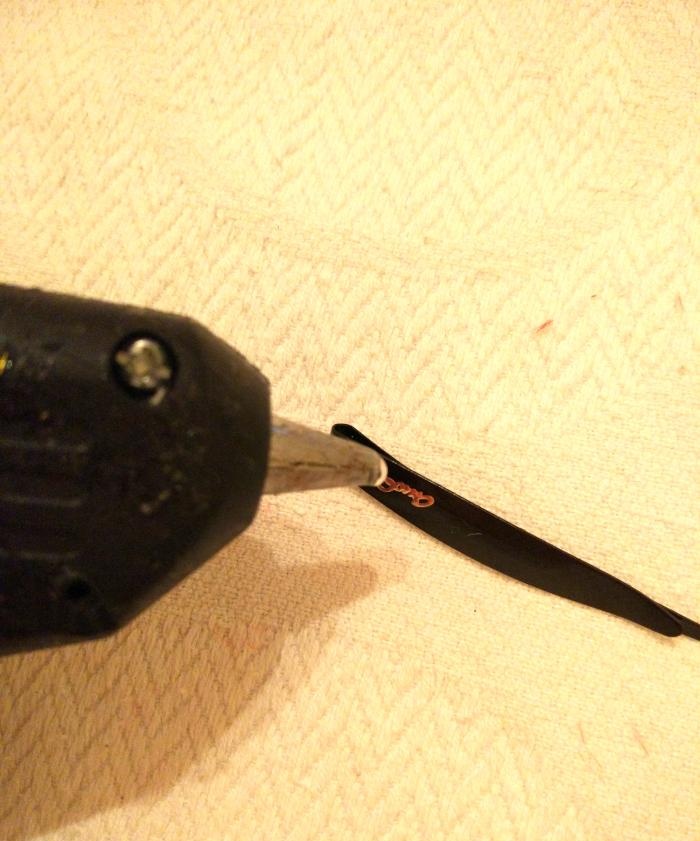
The hairpin is ready!
Butterfly made from ribbons using the Kanzashi technique

With such a butterfly you can decorate any hairpins, elastic bands, headbands, and even make a stylish brooch out of it. The middle can also be formed from any pebbles or beads that are on hand. This way, each butterfly will turn out unique and inimitable. Creative success!
come back
Comment
  • bowtiesmilelaughingblushsmileyrelaxed relaxedsmirk
    heart_eyeskissing_heartkissing_closed_eyesflushedrelievedsatisfiedgrin
    winkstuck_out_tongue_winking_eyestuck_out_tongue_closed_eyesgrinningkissingstuck_out_tonguesleeping
    worriedfrowninganguishedopen_mouthgrimacingconfusedhushed
    expressionlessunamusedsweat_smilesweatdisappointed_relievedwearypassive
    disappointedconfoundedfearfulcold_sweatperseverecrysob
    joyastonishedscreamtired_faceangryragetriumph
    sleepyyummasksunglassesdizzy_faceimpsmiling_imp
    neutral_faceno_mouthinnocent
3+three=
Comments (1)
  1. Lilya
    #1 Lilya Guests 14 March 2017 13:40
    0
    Great, thank you!

Various | Page 12 | Do it yourself

How to make a chair without nails and glue using plastic bottles | Do it yourself

Banana ice cream | Do it yourself

How to make a fire pit from an old wheel rim

«Do it yourself - with your own hands» - a site of interesting homemade products made from scrap materials and items at home. Step-by-step master classes with photos and descriptions, technologies, life hacks - everything a real master or just a craftsman needs for needlework. Crafts of any complexity, a large selection of directions and ideas for creativity.

We recommend reading

Washing machine error codes