For the master class we take:
- Thick cardboard A4 format, purple, blue and salad color;
- Scrapbook paper of different shades and colors;
- Pictures are spring and with different inscriptions;
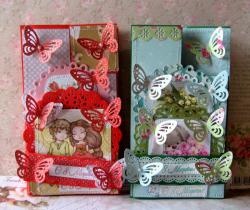
- Cutting down of different colors: flowers, leaflets, napkins, butterflies;
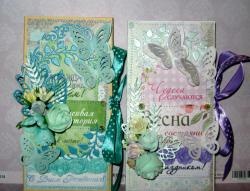
- Congratulatory inscriptions "Happy Holiday" and "Congratulations";
- Chiffon ribbons with roses of mint, blue and beige colors;
- Polka dot mint and lilac ribbons;
- Stamens complex lilac, white and pink;
- Poppy mint and beige;
- Paper roses;
- Half beads;
- Hole puncher;
- Artificial wormwood twigs;
- Scissors, pencil, ruler, double-sided tape, glue stick.


We take all the sheets of cardboard and measure out each quadrangle 18 * 20 cm.


Now we divide each in half on the larger side and fold in half.


Now we measure the satin ribbon, cut pieces of about 20 cm and two cuts for each glue on the front and back of the base of the cards.


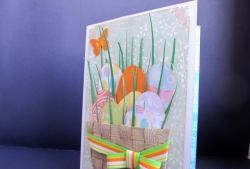
Now we take a scrapbook paper and cut 9.5 * 17.5 cm rectangles from it. We also cut small rectangles so that we can add them later as a decor.


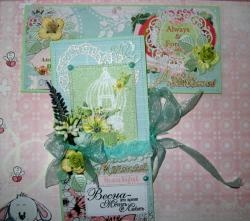
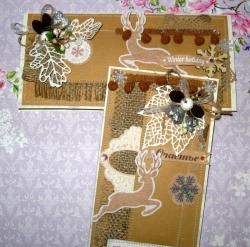
We immediately glue one rectangle on the back of the card bases. And we need to decorate the three rectangles. Glue napkins, pictures, twigs, inscriptions on them.


We decorate to your taste all the rectangles, pictures and inscriptions are best toned with an ink pad for greater beauty. Sew on all glued elements. Each element must be glued and sewn separately. Between the layers of pictures you can insert napkins and flowers.


Now we need to glue all the decorated rectangles onto the bases of our postcards, glue them using double-sided tape. We flash each side of the postcard on a typewriter.


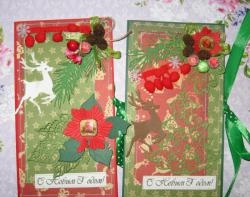
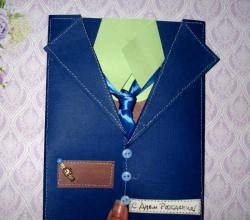
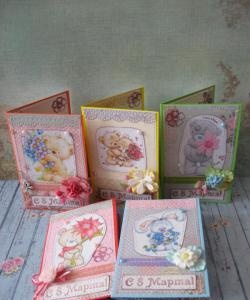
Now we glue decorations to our discretion and decorate our postcards. We get here such spring holiday cards for a gift to relatives and friends. Thank you for your attention and good luck.