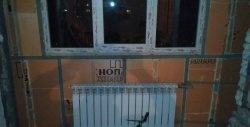
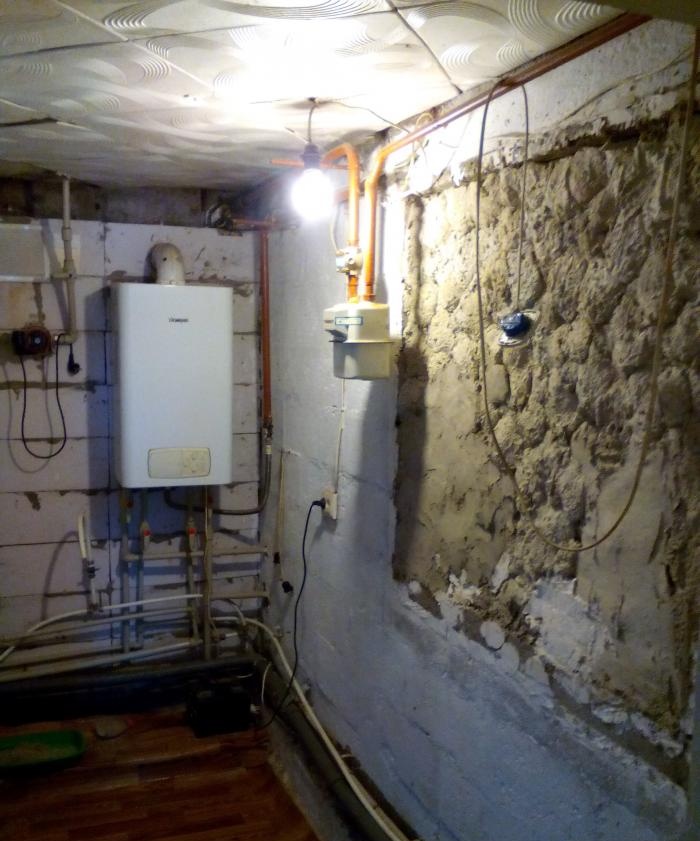
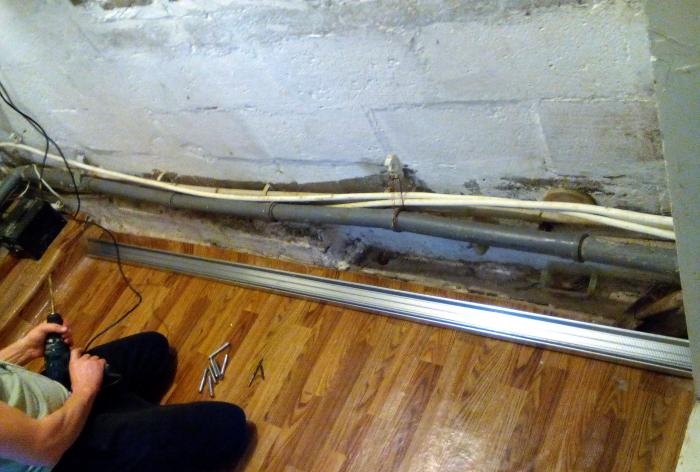
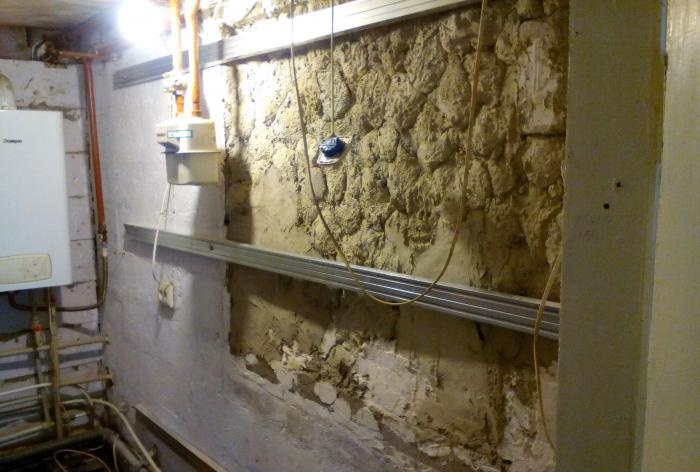
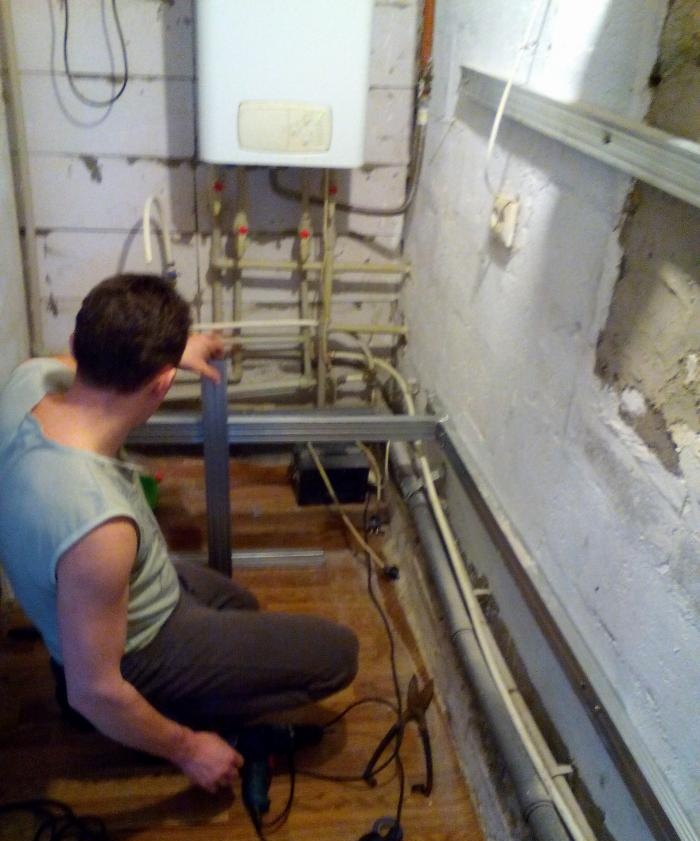
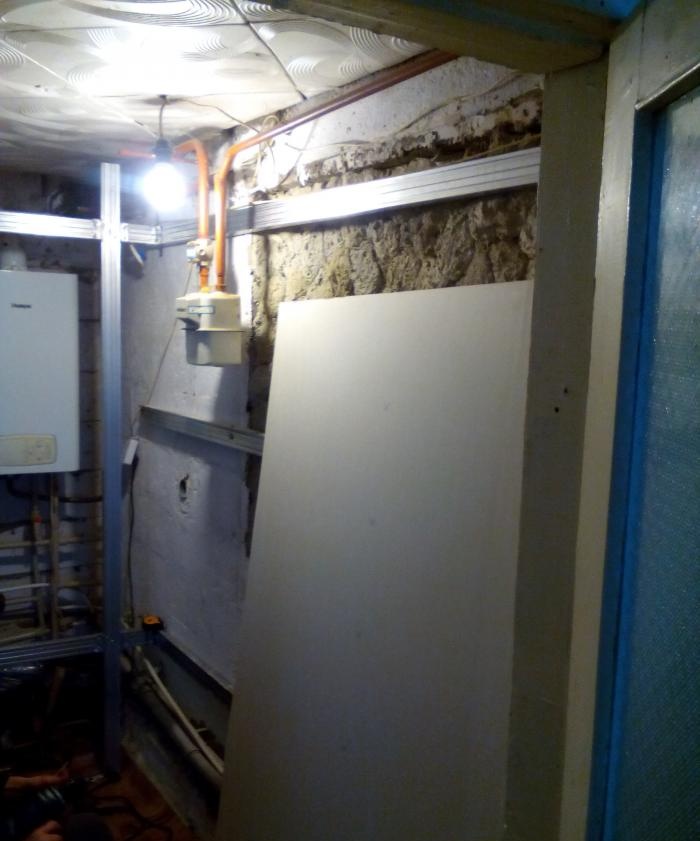
1. The condition of the room can be seen in the photo. I insulated the wall near the boiler with foam blocks, but there wasn’t enough for one strip, so that’s how it stands. There used to be a window on the second wall leading to the summer kitchen; I filled it in, but the transition with the wall was very large. There was not enough time to plaster it properly, so the former window received the remains of concrete mortar from other work.
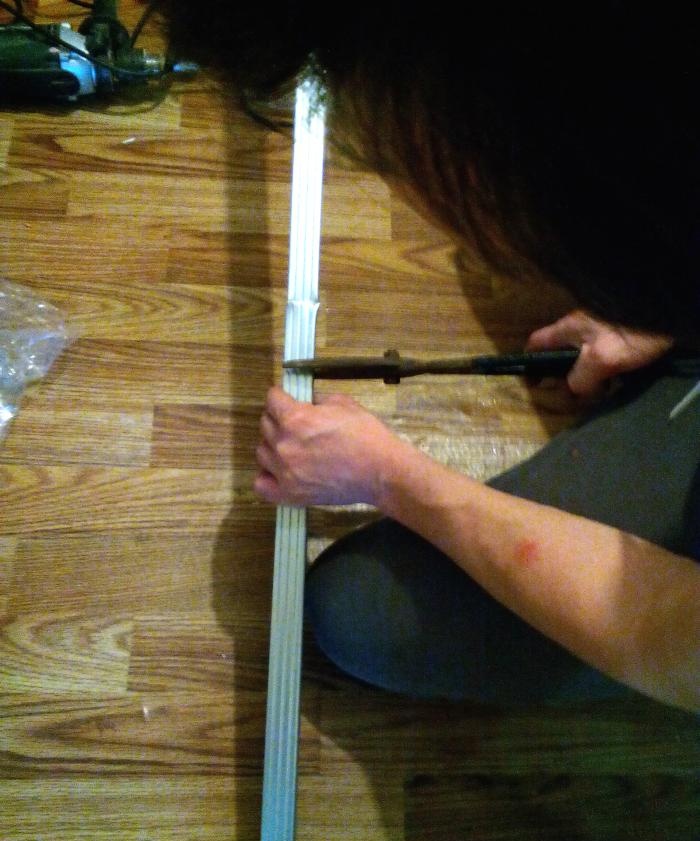
2. I cleaned the walls with a broom and began installing the profile on the wall. I measured out the required piece and cut it with metal scissors. The wall is not long, so I decided to install the profile on 3 anchor bolts.
3. Using a metal drill, I drilled holes in the profile for the bolts. The drill bit was slightly smaller than the thickness of the bolt.
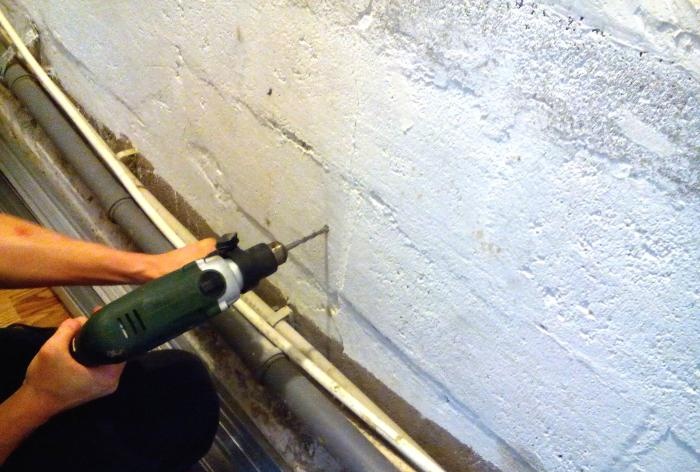
4. Use a concrete drill to make holes in the wall.
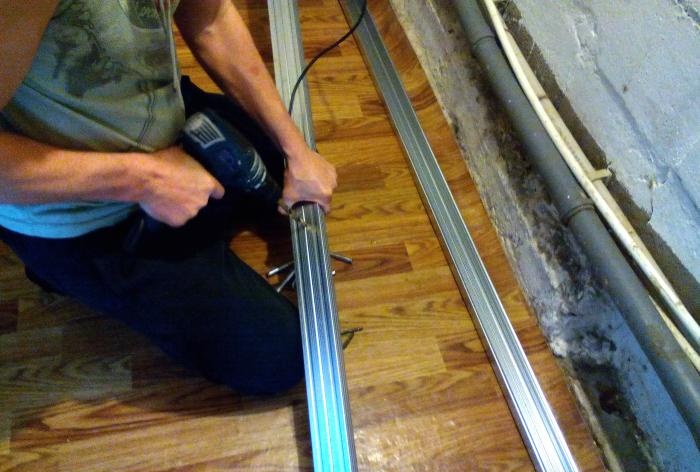
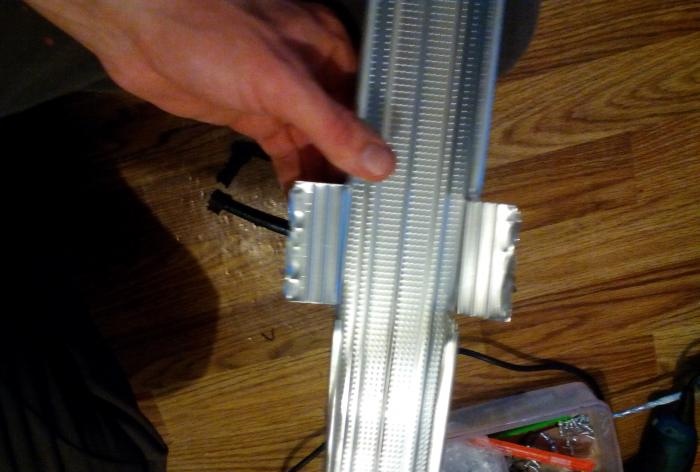
5. Installed anchor bolts on the profile as shown in the photo.
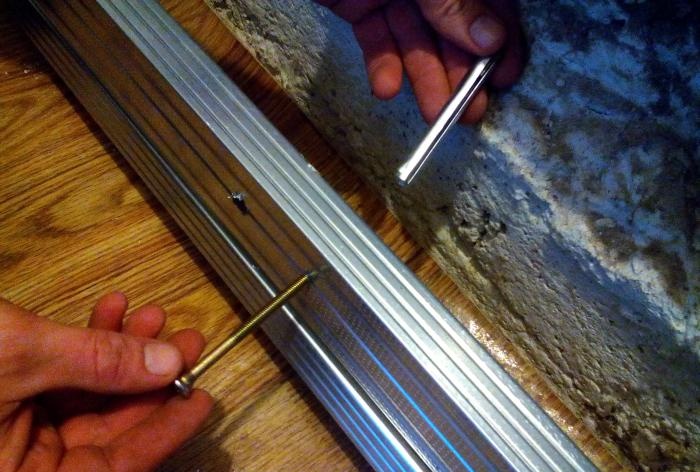
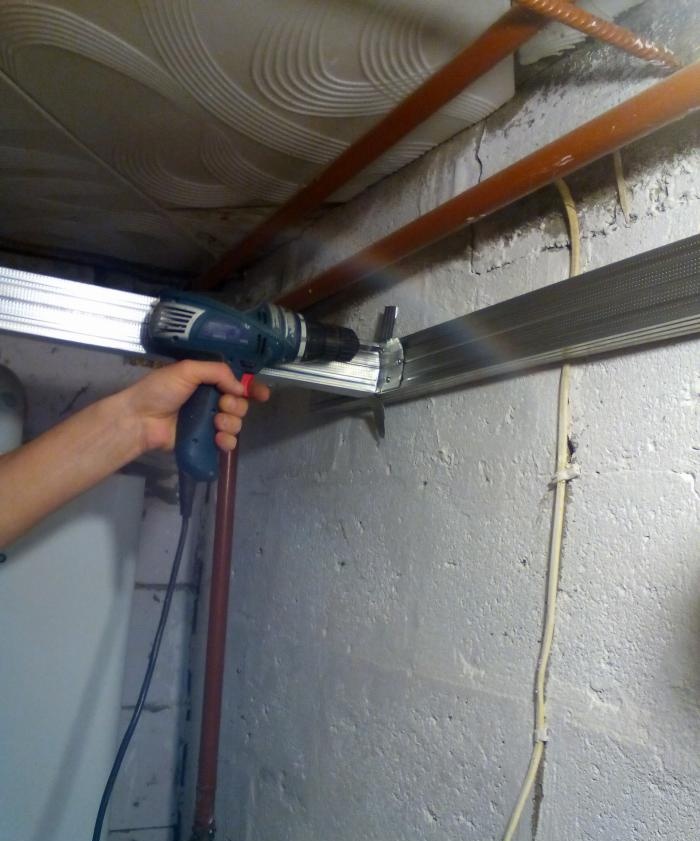
6. I attached the profile with bolts to the holes and, using a hammer, drove them into the wall approximately halfway along the length of the anchor.
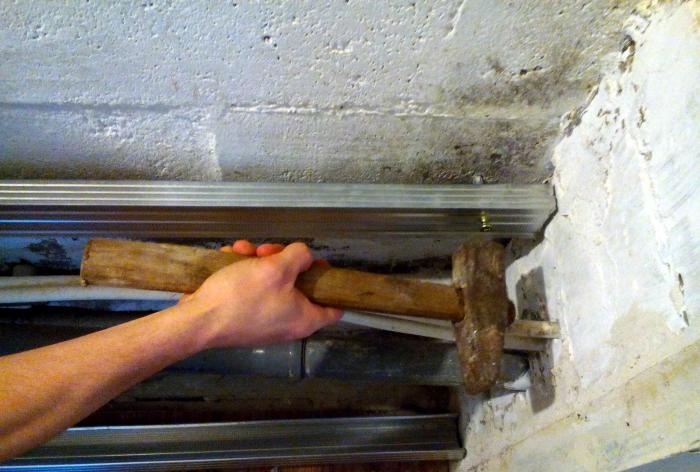
7.Then, using a screwdriver, I tightened the bolts tightly, pressing them slightly into the profile.
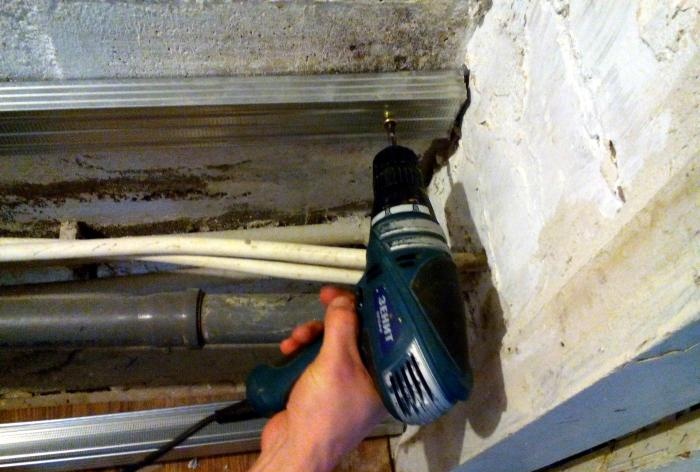
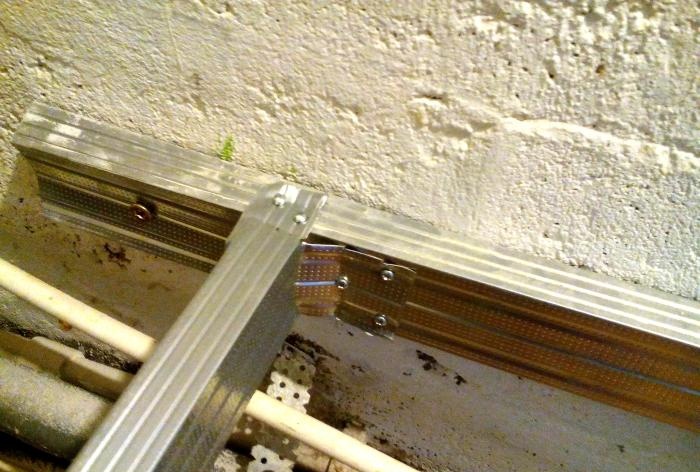
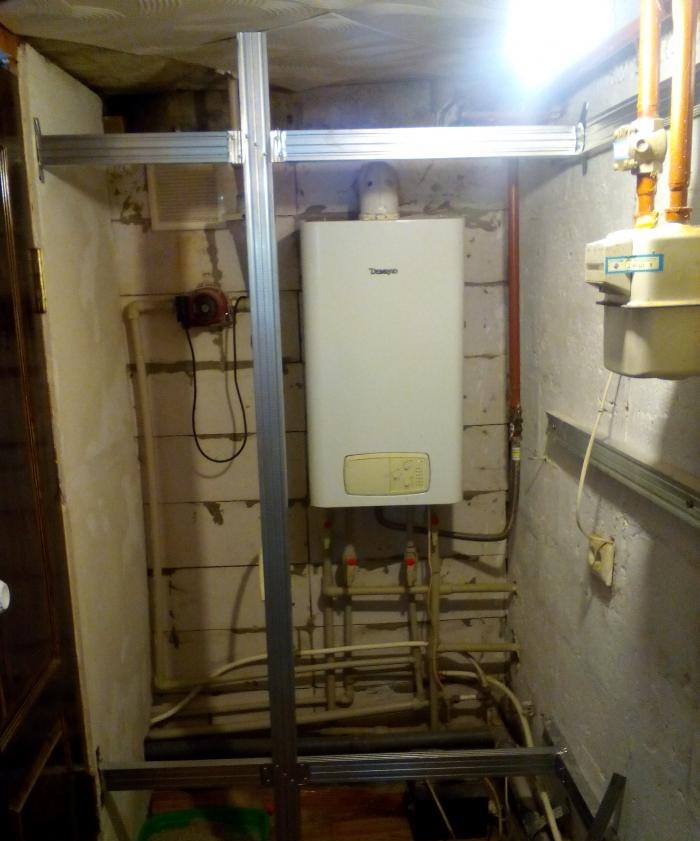
8. This is what a fully installed profile looks like.
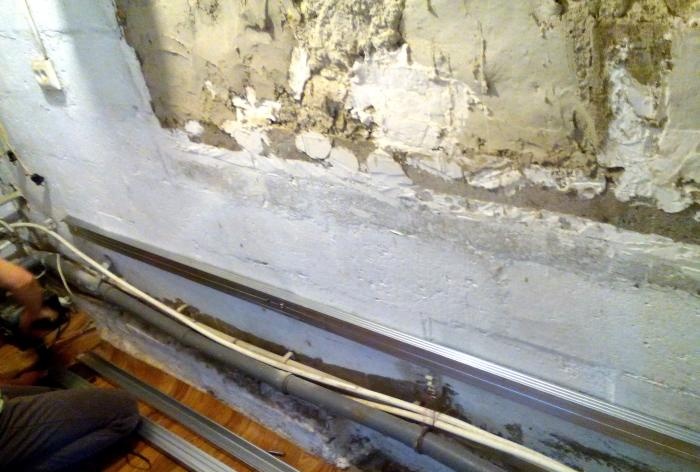
9. Installed the remaining two profiles in the same way.
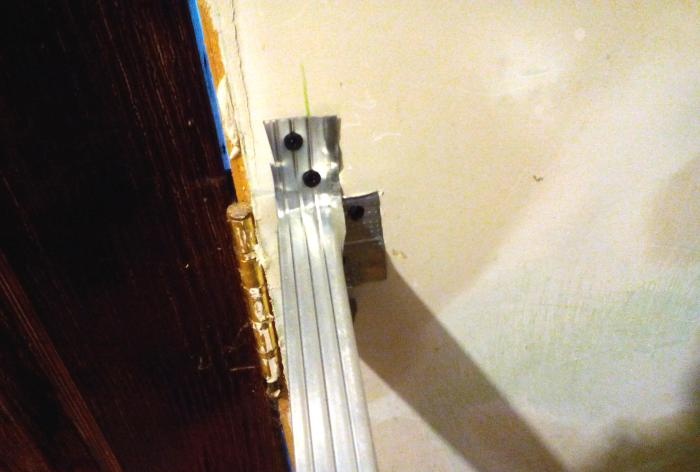
10. Under the boiler I have a rather noticeable threshold on which there is a cat litter box and a voltage transformer for the boiler. In addition, there are a lot of taps near it, both water and gas, so you can’t cover them with shelves. Access to them should always be complete, so I decided to make a closing wall with a door, immediately from the toilet door, where the beam on which the wall is fixed passes. I cut off a piece of the profile and installed it using self-tapping screws. On both sides I made cuts in the profile on the sides, bent them and secured them with steel self-tapping screws with a press washer (flea).
11. Installed a similar crossbar on top in the same way.
12. Next, it was necessary to install the crossbars to which the door would be attached. And it will be just right for strengthening the structure. I measured the length of the required piece of profile from floor to ceiling. For a tight installation to an existing profile, I made cuts on the sides of the profile at the points where it joins the installed profile.
13. I bent and smoothed the edges with a hammer, as in the photo.
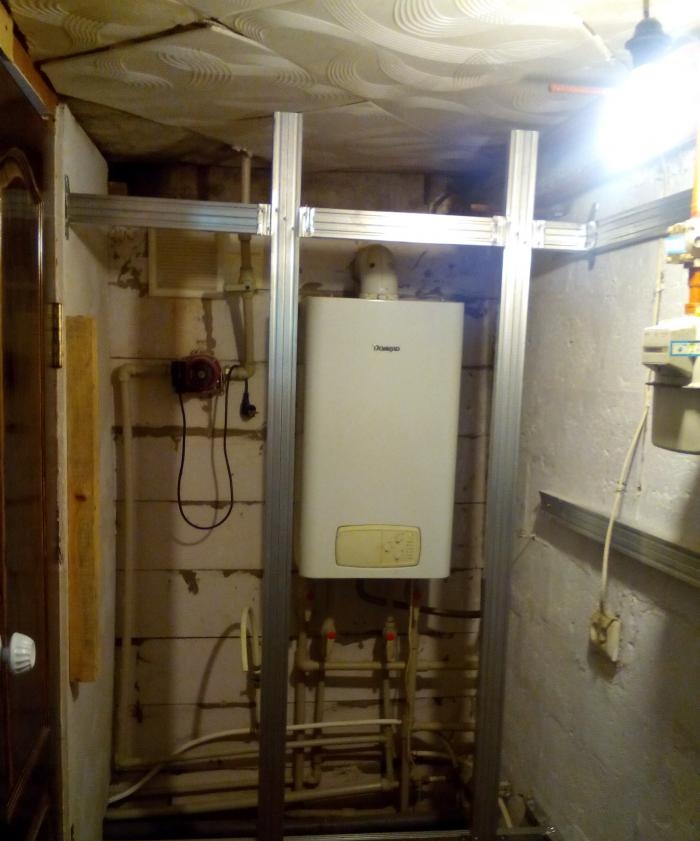
14. I secured it with “fleas”, the result is in the photo. It turned out solid, there is no play anywhere. I also secured it to the floor using the cut sides of the profile. But for this I used anchor bolts.
15. Installed another transverse profile in the same way.
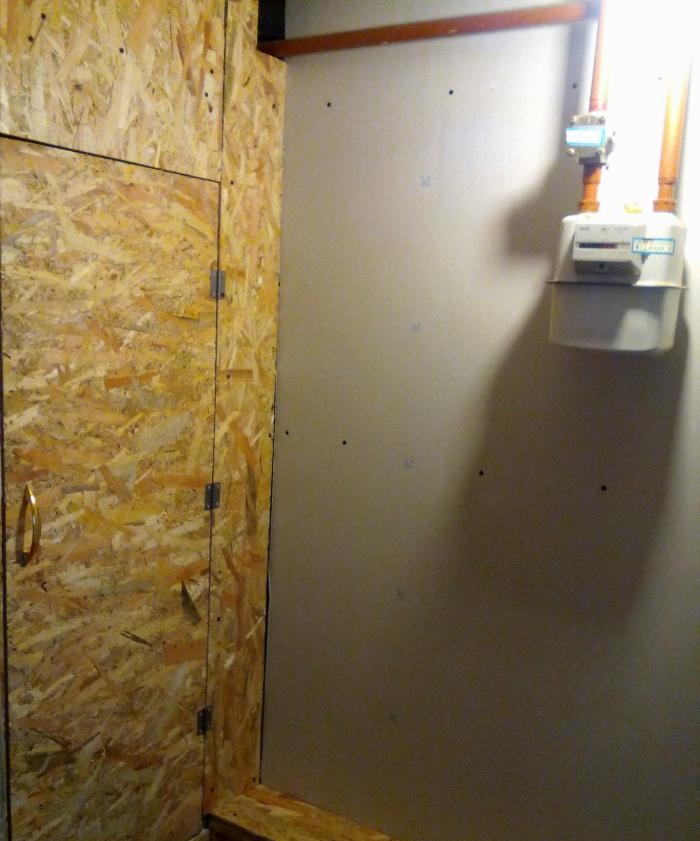
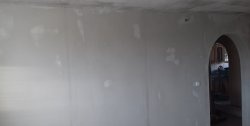
16. Afterwards, I began installing drywall directly to the profile on the wall where the window used to be.
17. First I attached it to several screws on top and bottom, and then I went over the entire sheet. The wife was brought in to fix the sheet.
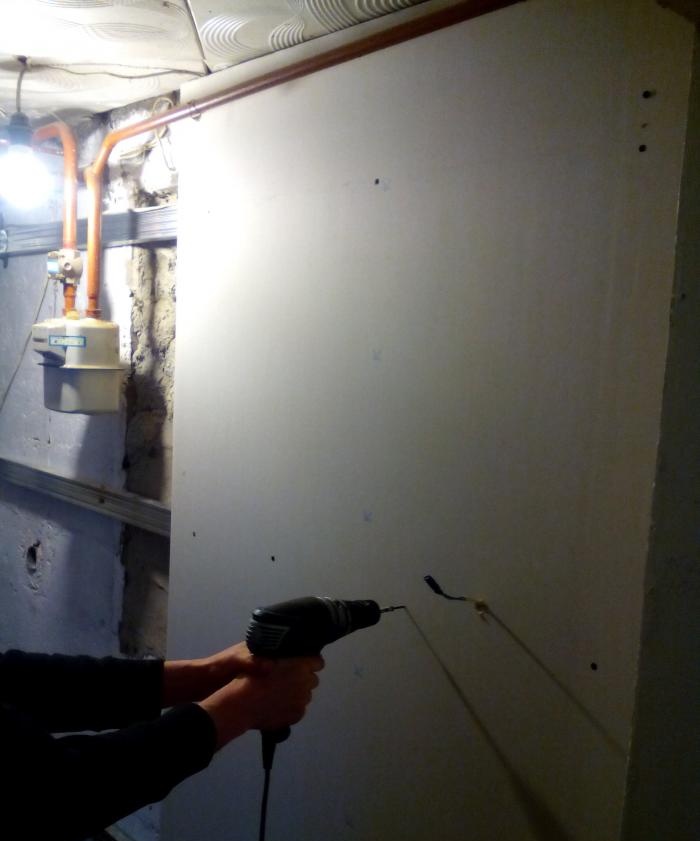
18.It took 2 sheets, but there were good pieces left that will have a place in the house.
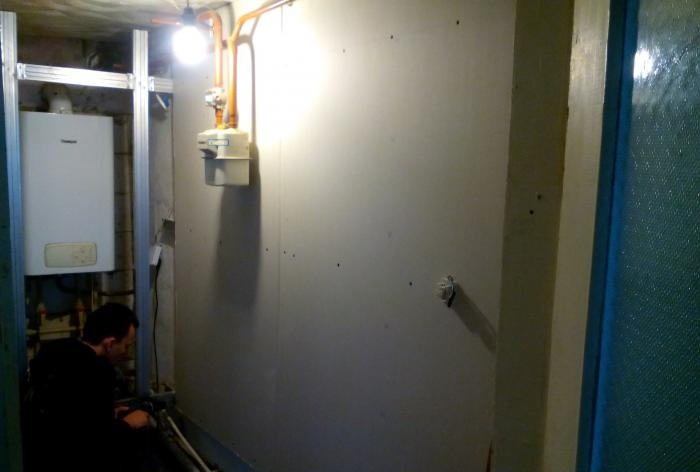
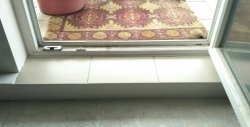
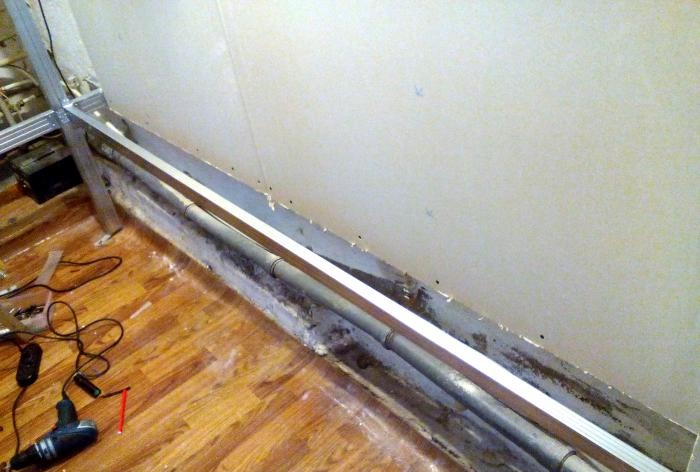
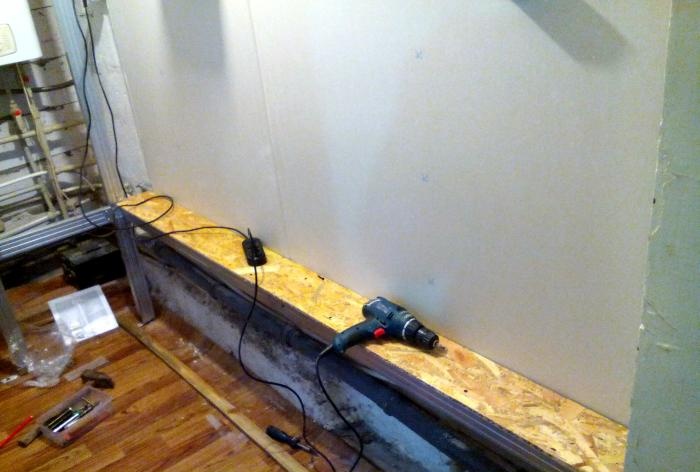
19. I have sewer and heating pipes coming from below, so they need to be closed. To do this, I installed another piece of the profile. On the one hand, from the wall, placing it on an anchor bolt, and on the other, “fleas” to the profile.
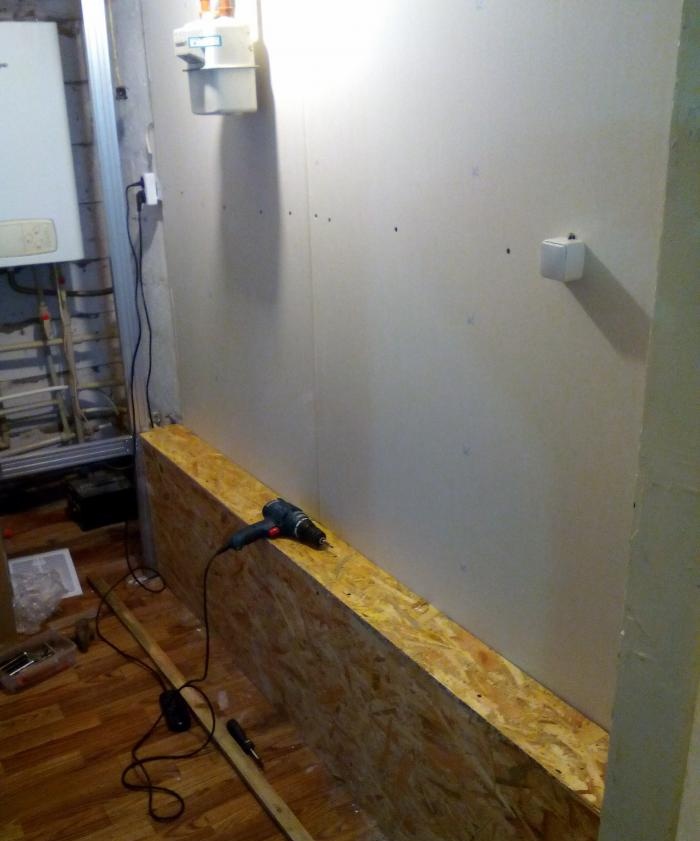
20. I cut out a piece of OSB of the required size and attached it with metal screws to the installed profile.
21. Cut out the side wall that will cover the pipes. There must be access to them, for example, for cleaning the sewer, so I made it so that it stood and not attached, but leaving it like that in a house where there are children is unsafe, so I attached screws in several places.
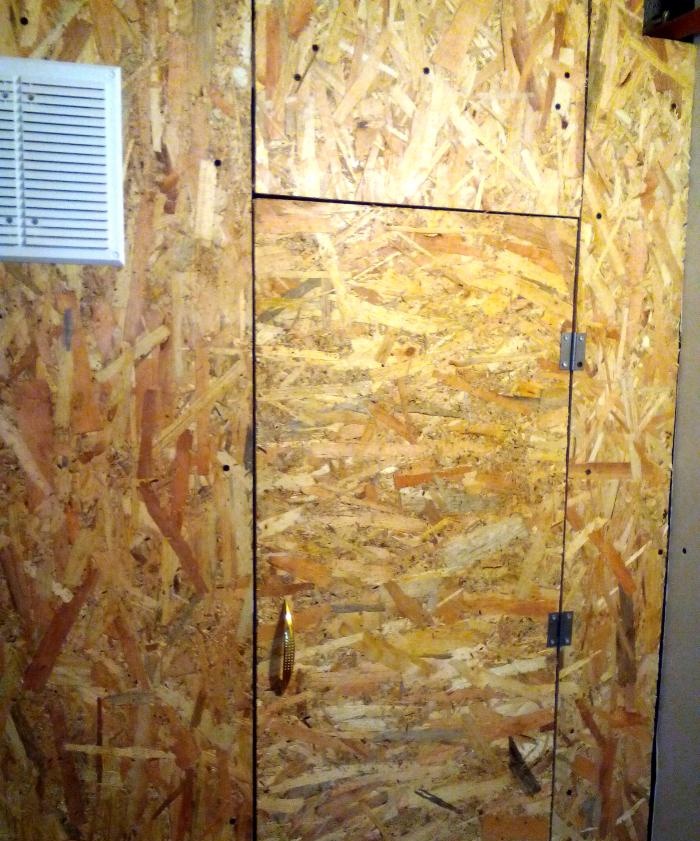
22. Then I started covering the walls from the boiler with OSB boards. I started with the largest piece. I cut a hole in it for the ventilation hood.
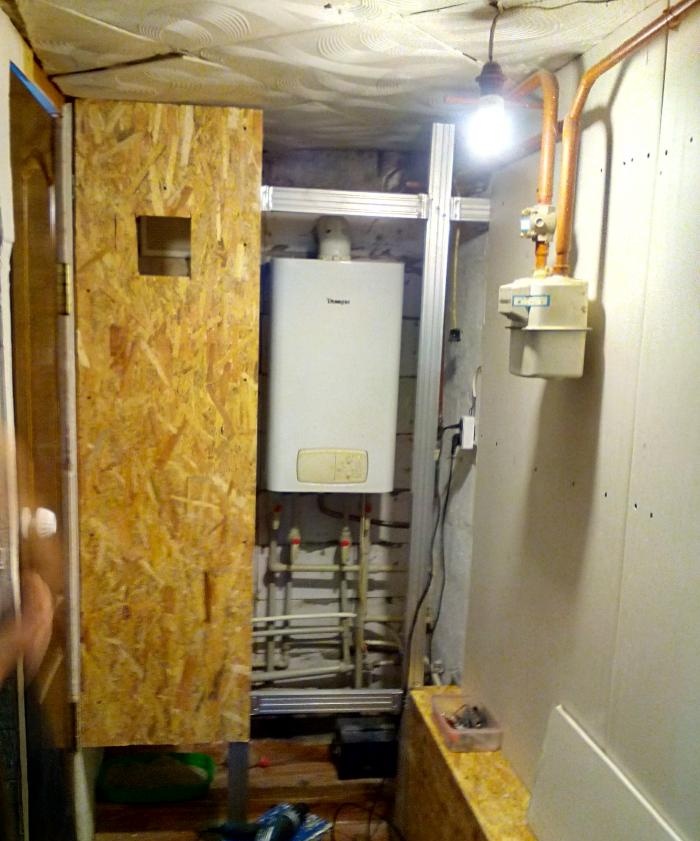
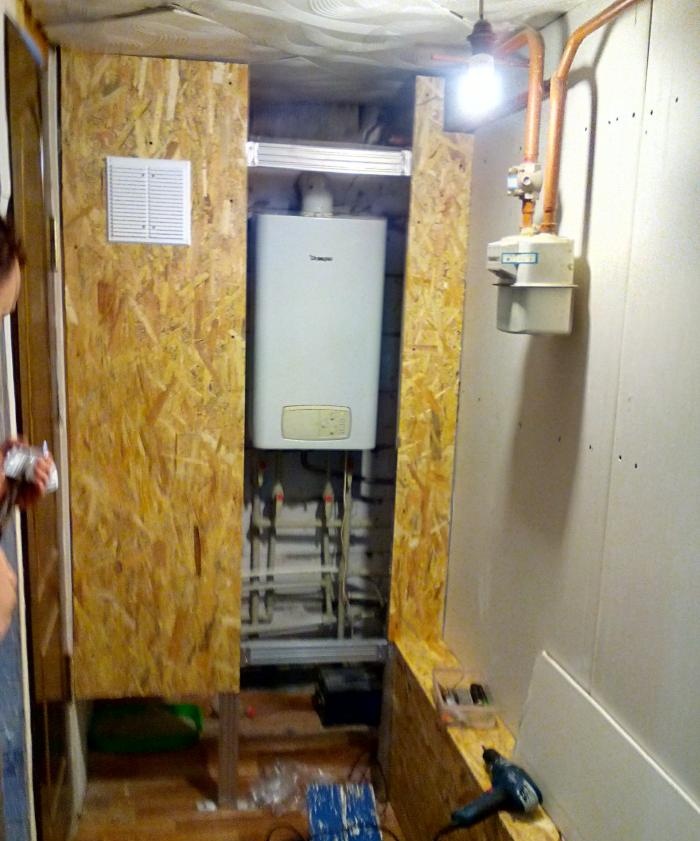
23. I installed a slab door on 3 small canopies.
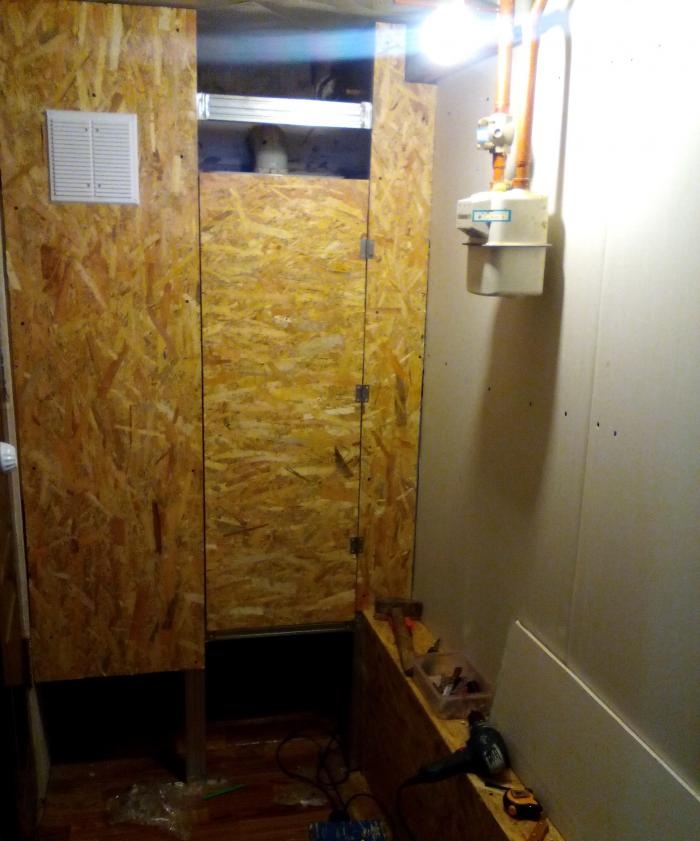
24. I hemmed the remaining areas, leaving the piece at the bottom unsewn so that the cat could go to the toilet and it could be cleaned calmly and conveniently.

25. I installed magnets on the inside of the door. There is a handle on the outside. Now all that remains is to paint it all or wallpaper it, but that will be up to the spouse to decide. It took a day to do everything, except that I ordered the material in the morning and waited for it to be delivered by lunchtime.