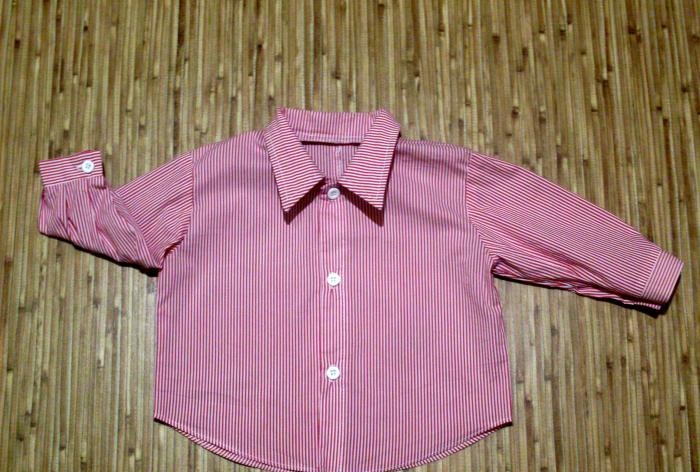
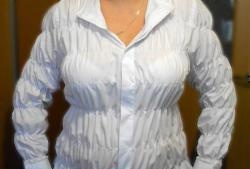
For example, from a classic cotton blouse size 44, a mother with little experience in cutting and sewing can easily sew a shirt for her son 75-80 cm tall (about 1 year 3 months) in a couple of evenings.
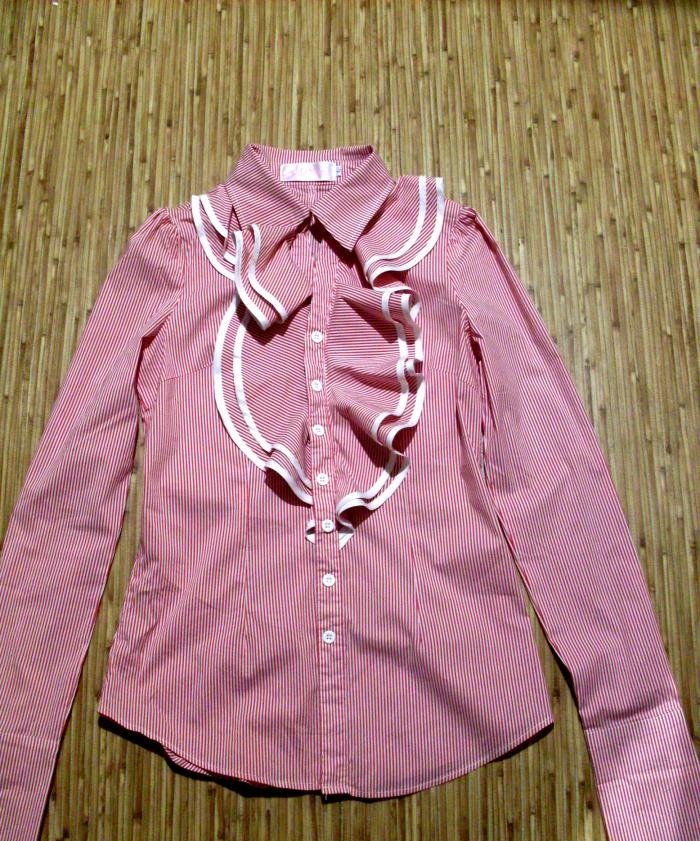
First, you need to prepare the blouse for cutting - carefully open it, wash it and iron it.
Then you can start cutting out the shirt pieces. The pattern can be copied from a magazine on sewing children's clothing or printed out by downloading from the Internet.
A dress shirt should include the following details:
1. Shelf, 2 parts. We cut out blouses from the shelves.
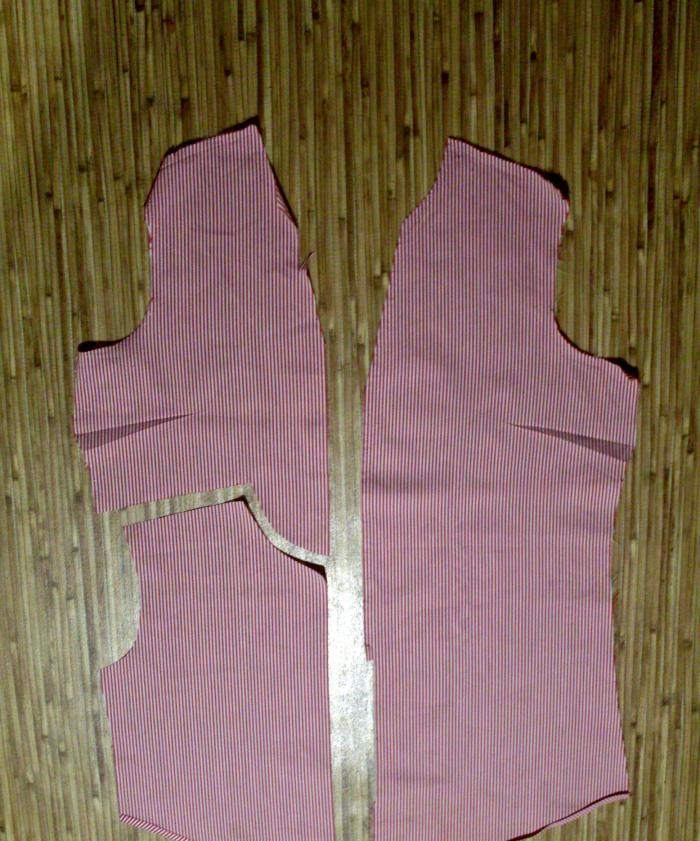
2.Back, 2 parts. We cut it out from the back, which has a middle seam.
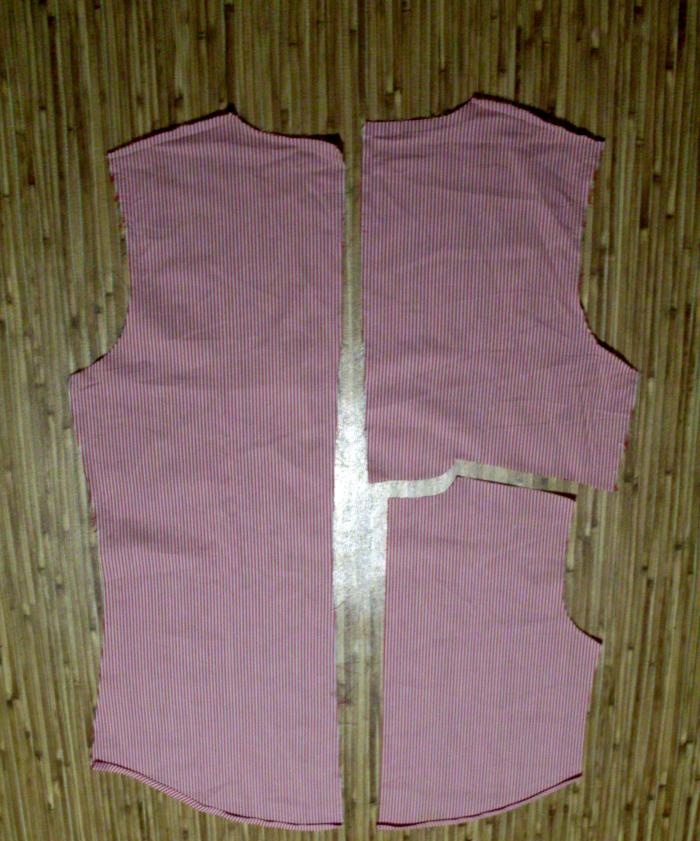
3.Sleeve, 2 parts. We cut it out from the sleeves.
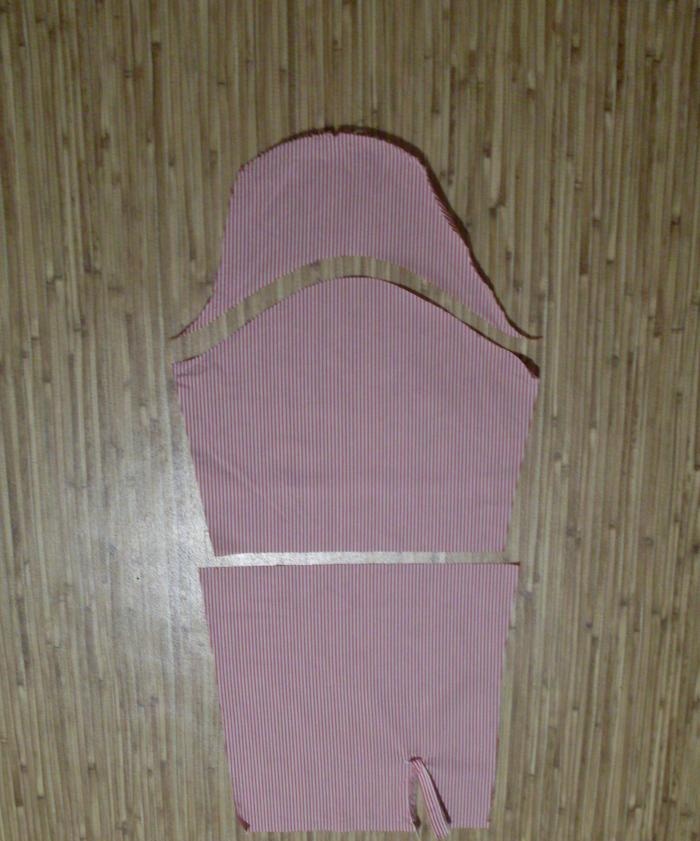
4.Cuffs, straps for fastening, 2 parts each, cut out from the remains of the blouse. Collar, 1 piece. We remake it from a blouse collar.
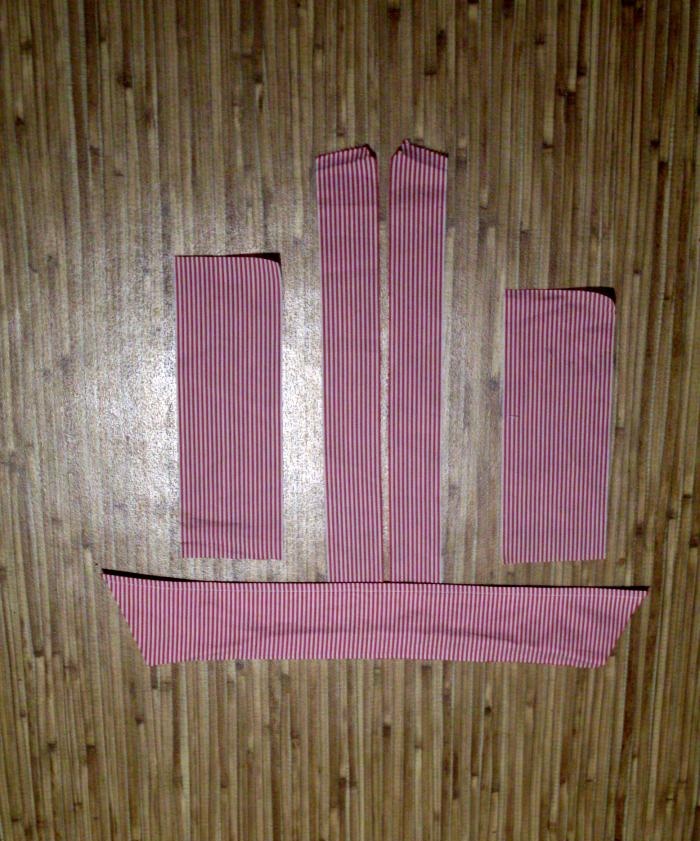
All details of the cut must be cut out, adding seam allowances 1 cm wide.
Then you can start assembling the shirt.
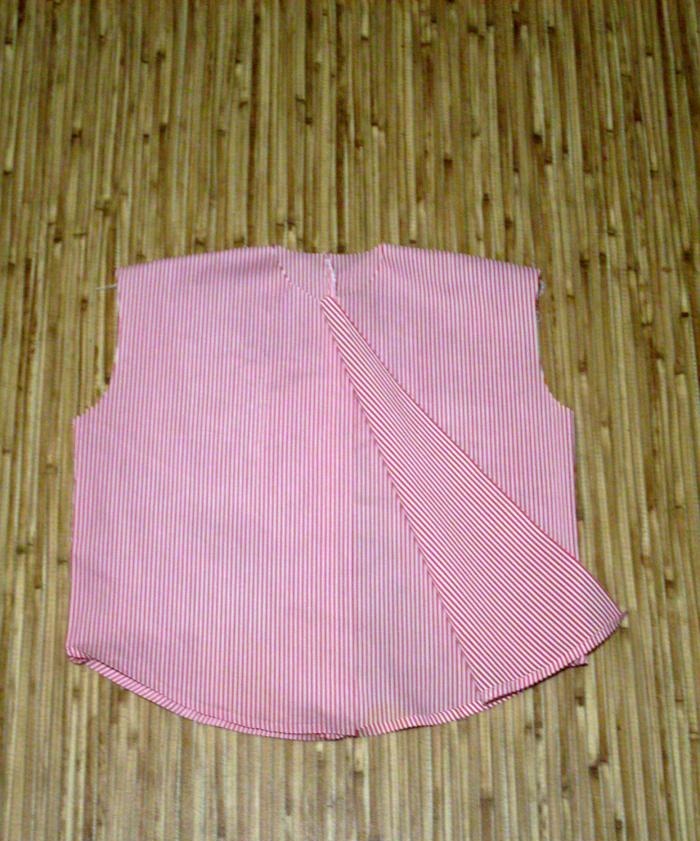
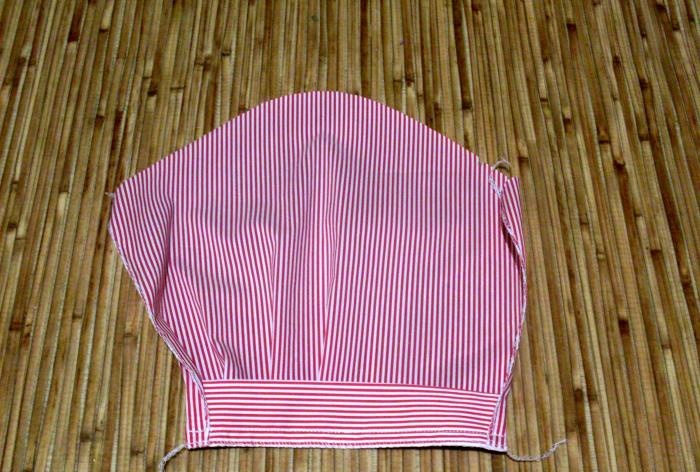
First you should stitch and overcast the middle seam of the back. The seam allowance must be pressed in any direction.
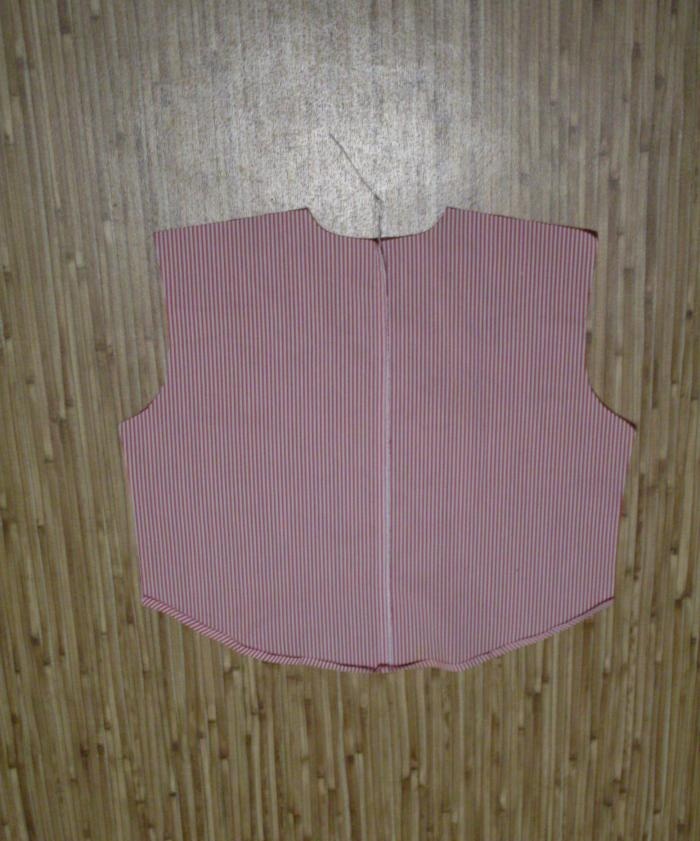
Then you need to stitch, overcast and iron the shoulder and side seams of the shirt towards the back, in other words, sew the fronts to the back.
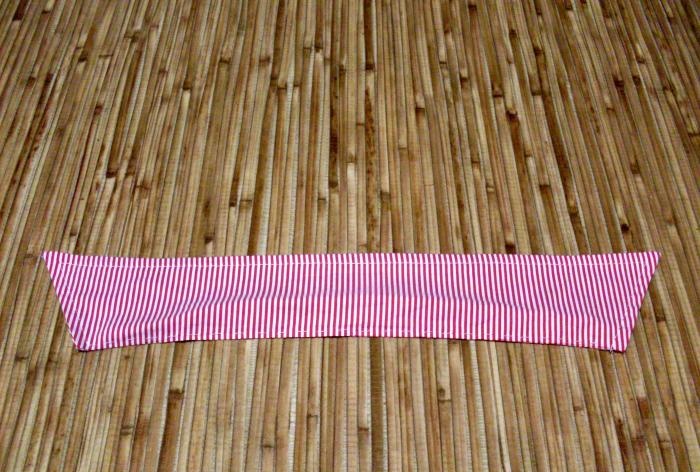
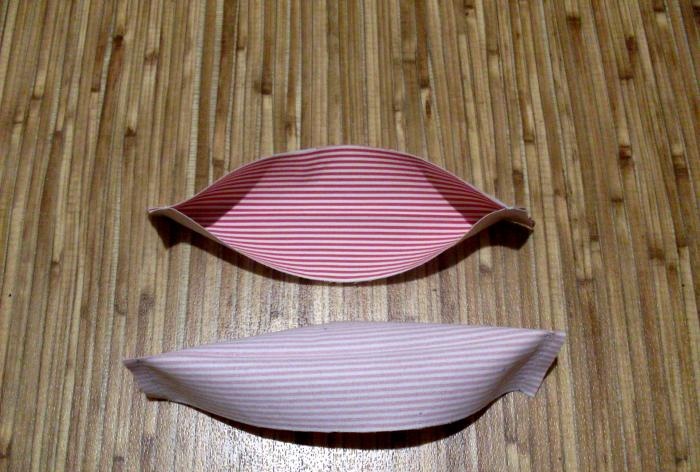
Next you need to prepare the collar - grind its ends.
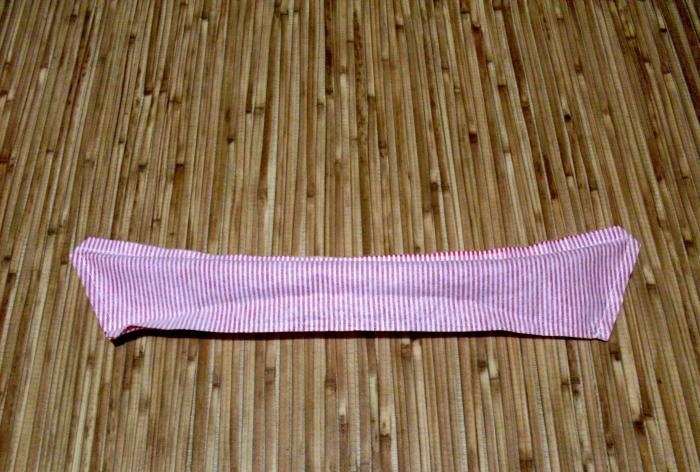
After this, the seam allowances in the corners of the collar must be cut out, the collar itself must be turned onto the face and ironed. A finishing stitch should be given along the ends and flap of the collar. The upper and lower collars must be basted together using auxiliary hand stitches along the lower edges (in this form, the collar will be conveniently sewn into the neckline).
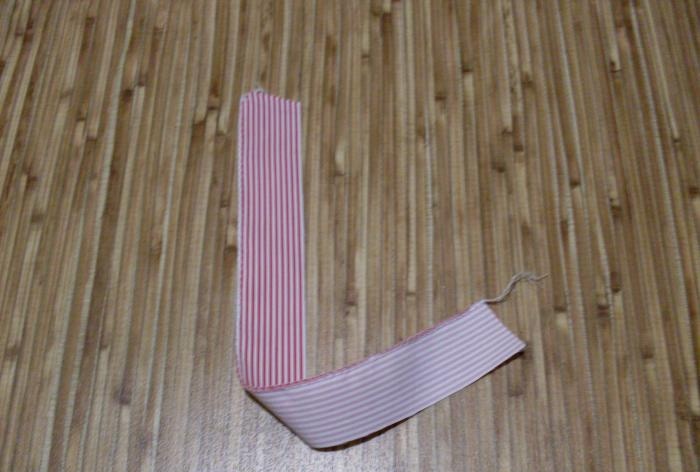
The cut strips for the fastener must be duplicated with an adhesive lining on a fabric or knitted (depending on the properties of the main fabric) base. One longitudinal section of the plank should be overcast.
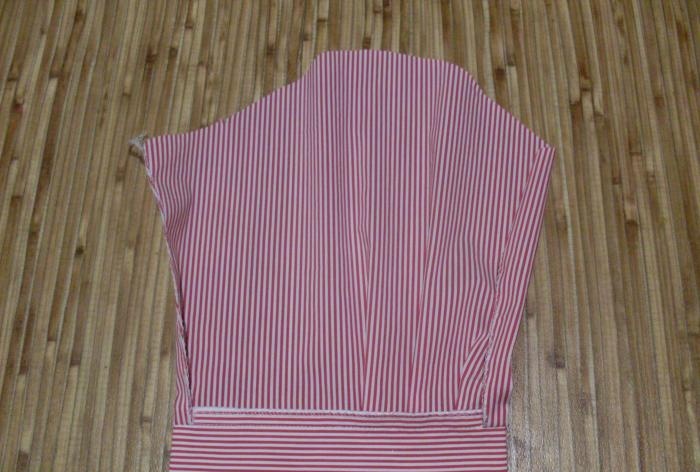
Next, the collar needs to be pinned along the neck of the shirt, and the straps along the cut of the side.
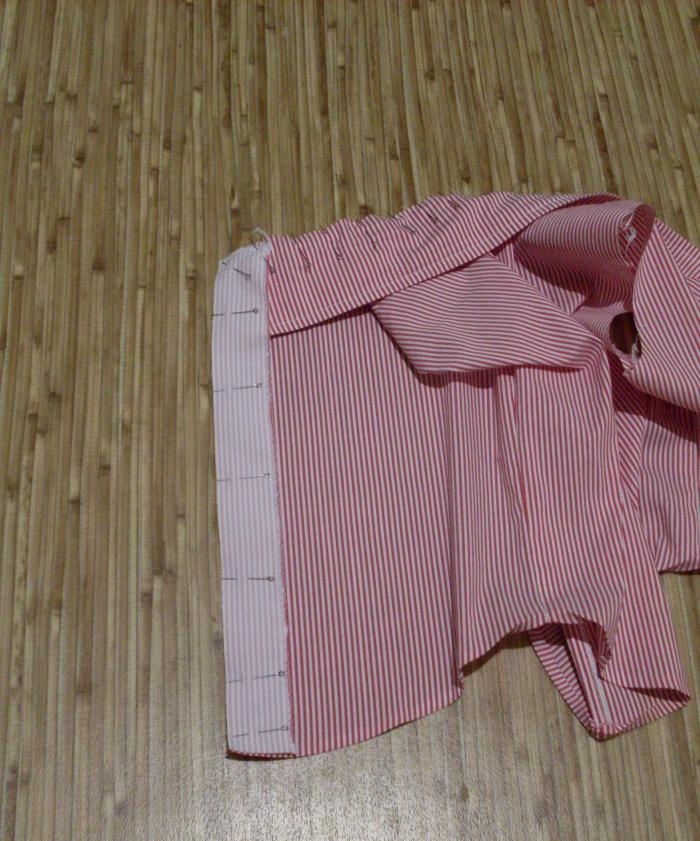
Then you need to sew the collar into the neck of the shirt, while simultaneously turning the edges with strips.
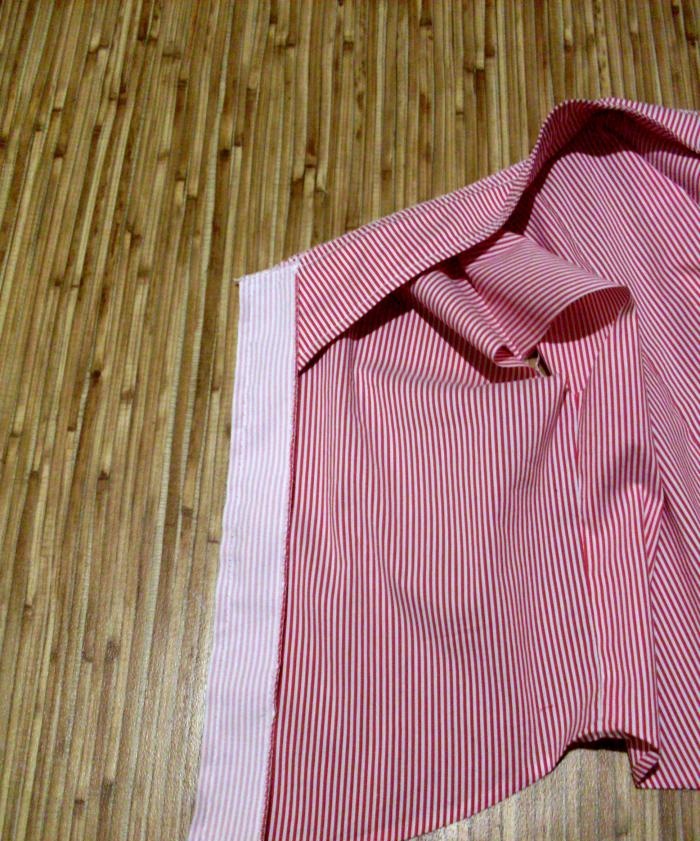
After completing the operation, the pins and basting threads of the collar parts can be removed. The seam allowance for sewing in the collar must be overcast. The panels should be turned over the face and ironed on the wrong side of the shirt. At the next stage, you need to give a finishing stitch along the straps and at the same time along the bottom of the shirt. The cuffs should also be backed with an adhesive pad. Then each cuff needs to be hemmed along the short sides.
Then the cuffs must be turned onto the face, ironed and stitched along the bottom of the sleeves, wrapping them at the beginning and end of the stitching with the allowances of the bottom seam of the sleeve (they must be overcast in advance).In the process of stitching the cuff, the sleeve must be folded along the bottom into 3 folds going towards the back.
The cuff stitching seams also need to be overcast.
Next, stitch and iron the bottom seam of the sleeve.
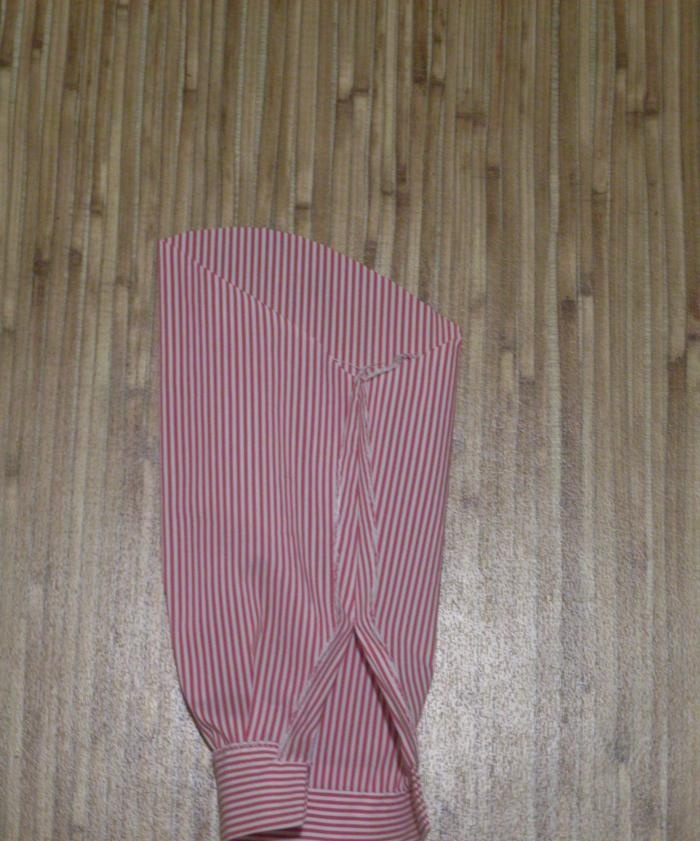
The sleeve must be turned out, basted, and then sewn into the armhole of the shirt. After this, the tucking threads must be removed, the seam allowance must be overcast and ironed, turning it towards the sleeve.
On the trims and cuffs you need to mark and overcast straight loops on a sewing machine, and also sew buttons by hand.
The finished shirt should be ironed thoroughly.