Do it yourself
Life hacks, master classes, useful tips, recipes.
home » Different » Crafts » Origami » Cockerel using origami mosaic technique
I decided to learn a new technique called origami-mosaic. It is based on making pictures from colored squares, folded according to the principle of origami modules. Since this is my first work, I had to start with the simplest squares. But the theme is New Year's. The result was the symbol of the year - a bright young cockerel. The main thing in this technique is to make more paper blanks and draw a clear diagram.
To work you will need:
- scheme of work;
- a set of colored double-sided paper (several pieces of the same color);
- white sheets;
- a sheet of thick snow-white cardboard;
- pencil and long ruler;
- scissors;
- a tube of PVA glue.
First you need to select a scheme and calculate the number of modules. Then cut into squares of different colors. To do this, take sheets of paper and draw them into cells measuring 3 cm x 3 cm.
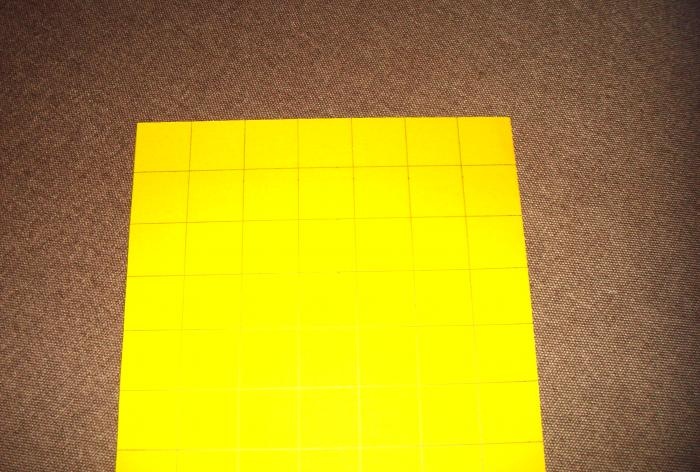
Cockerel using origami mosaic technique

In general, you will need the following number of squares (everything is calculated according to the diagram):
- white 158 pcs.;
- blue 2 pcs.;
- purple 15 pcs.;
- yellow 48 pcs.;
- red 41 pcs.;
- green 16 pcs.
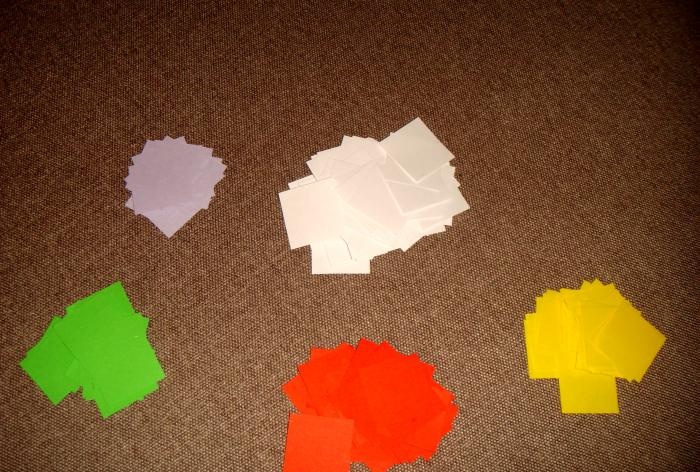
Cockerel using origami mosaic technique

How to make a main square module?
Take a piece of paper 3 cm by 3 cm, fold it in half and in half again.
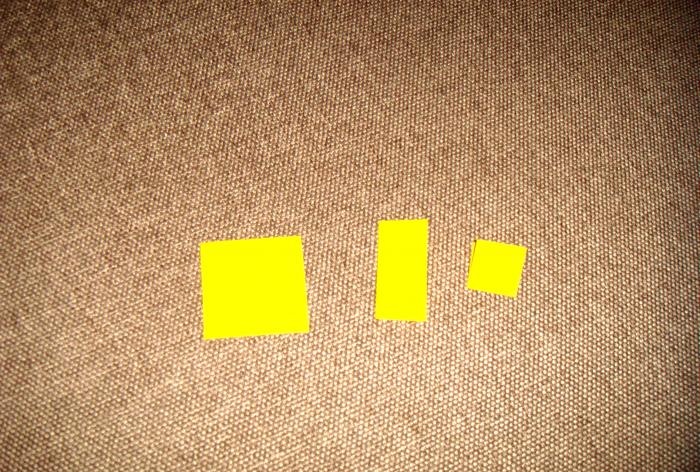
Cockerel using origami mosaic technique

Then we unfold the resulting part to its original position. Now we bend each corner of the square to the center.
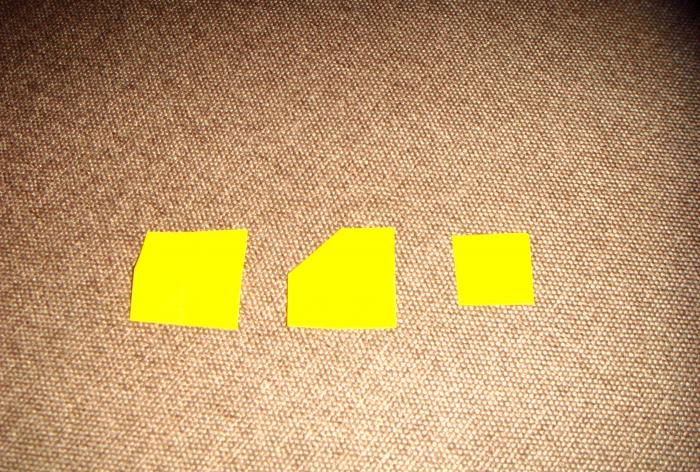
Cockerel using origami mosaic technique

We turn the workpiece over with the wrong side facing us and again bend the corners of the small square into the middle.
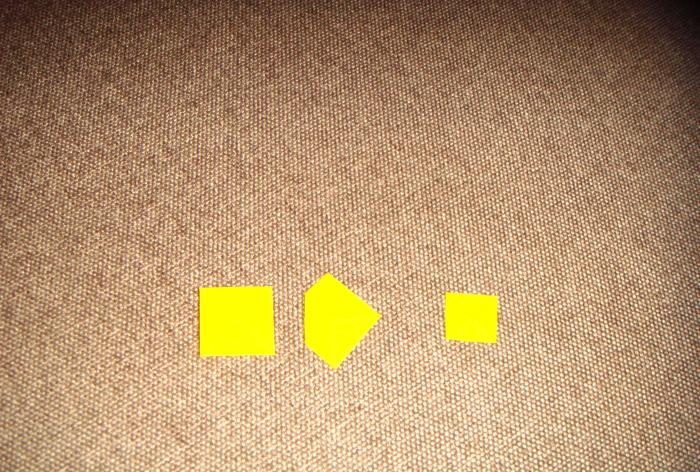
Cockerel using origami mosaic technique

The module is ready. In the same way we form multi-colored squares. This will take a lot of time. For example, I spent three whole evenings making all the necessary parts.
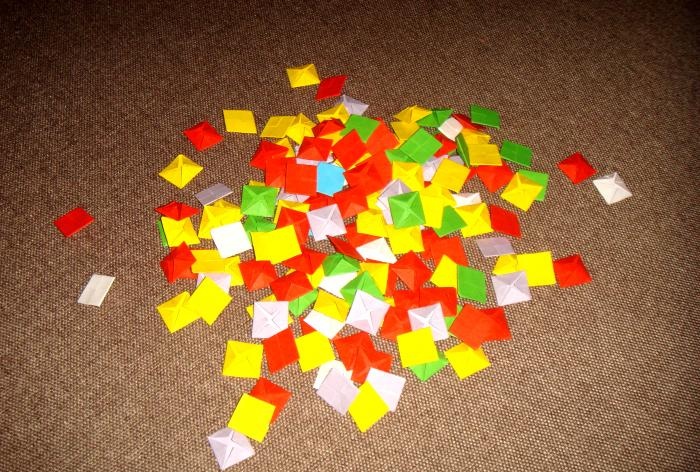
Cockerel using origami mosaic technique

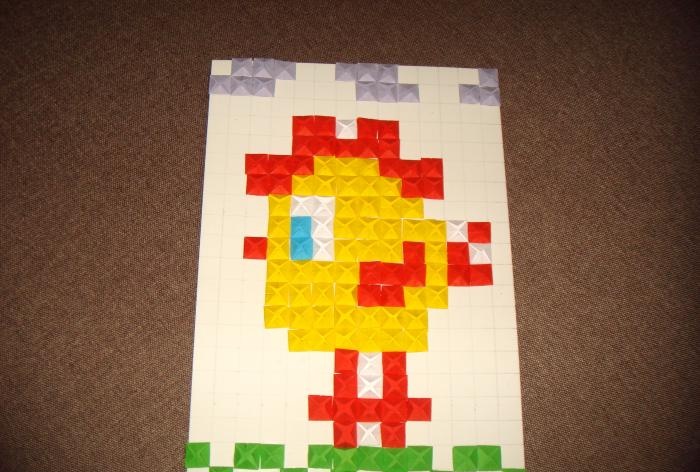
The scheme of work looks like this: a yellow cockerel with blue eyes, red paws, tail, wings, comb and beak stands on green grass surrounded by purple clouds.
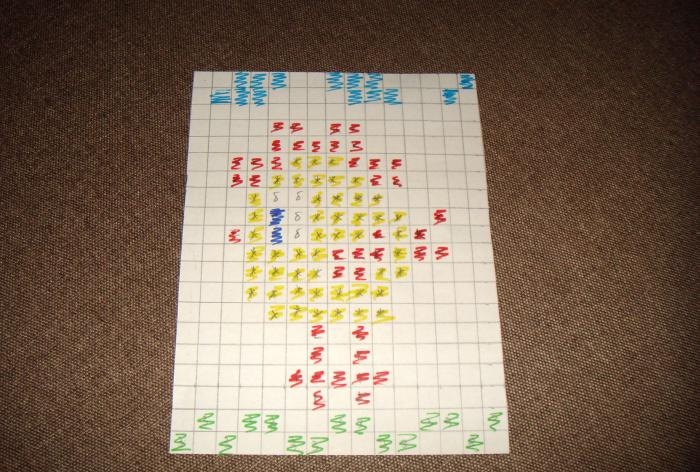
Cockerel using origami mosaic technique

Next, take a thick sheet of snow-white cardboard, a long ruler and a simple pencil.
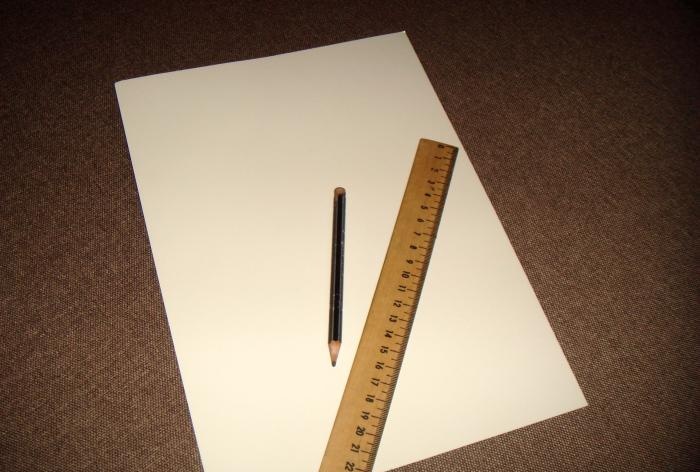
Cockerel using origami mosaic technique

Draw a grid with squares measuring 1.5 cm x 1.5 cm.
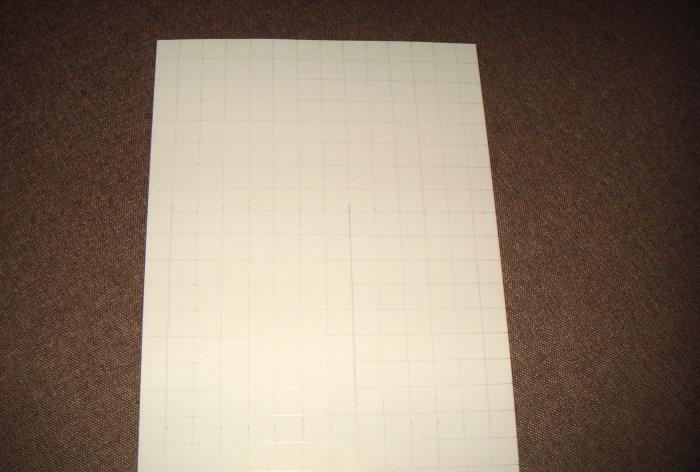
Cockerel using origami mosaic technique

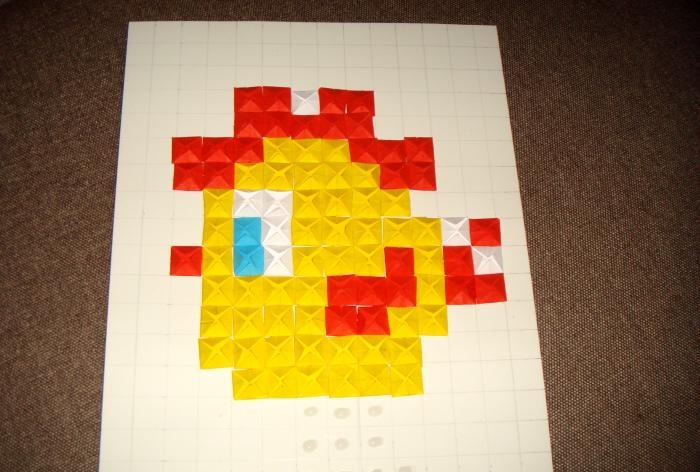
I started work from the center. You can start moving from above or below, from the right or from the left. That is, whatever is more convenient. It was convenient for me to make the longest central row.
Glue the beak, this will be the first reference point.
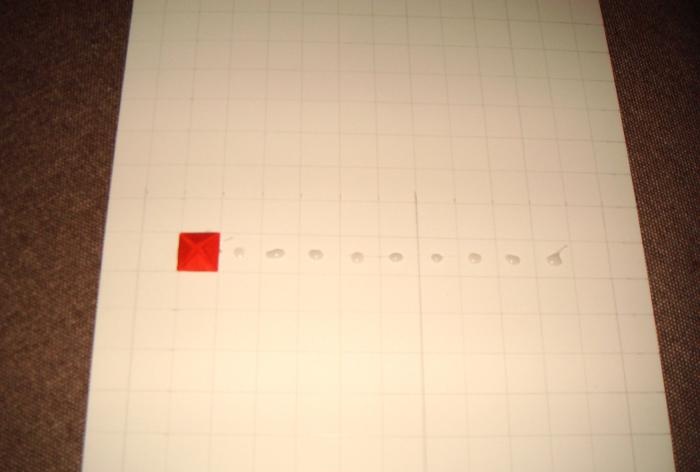
Cockerel using origami mosaic technique

Then we coat each white square of the base with glue and attach the module of the desired shade.
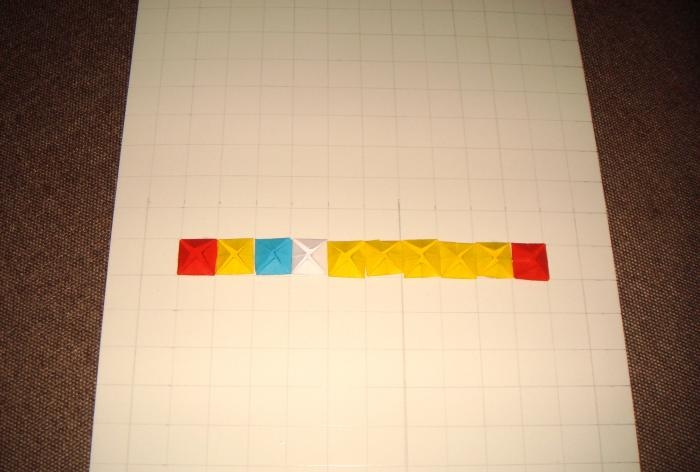
Cockerel using origami mosaic technique

Next, we count the number of colored blanks according to the diagram and select shades.
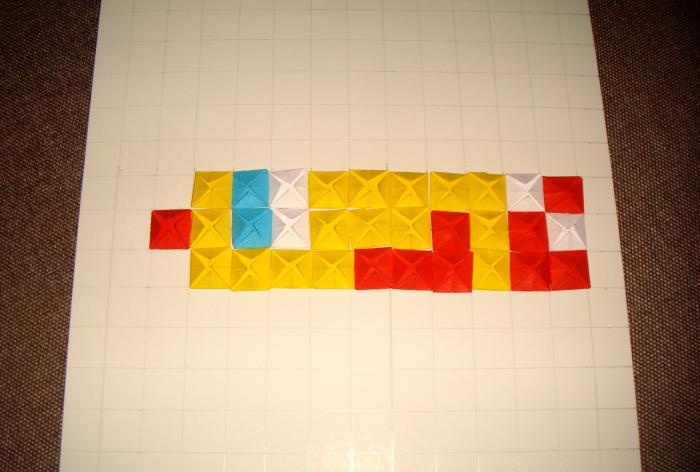
Cockerel using origami mosaic technique

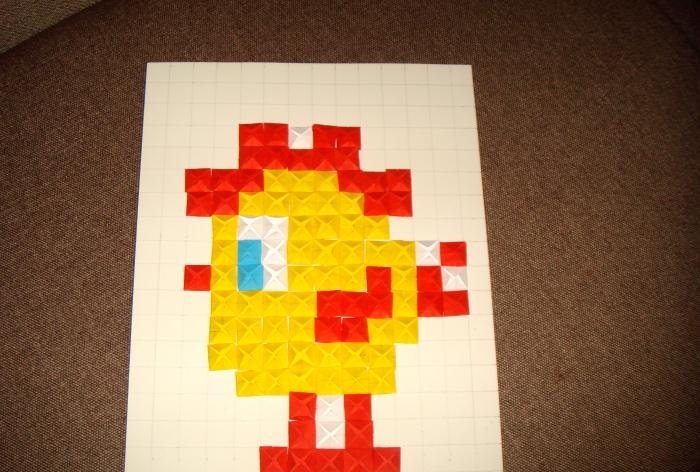
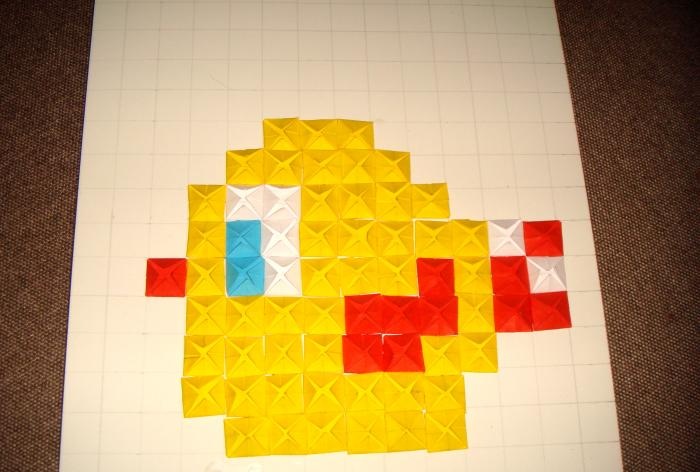
We move up and down, clearly following the schematic drawing.
Cockerel using origami mosaic technique

Cockerel using origami mosaic technique

The result is a cockerel like this.
Cockerel using origami mosaic technique

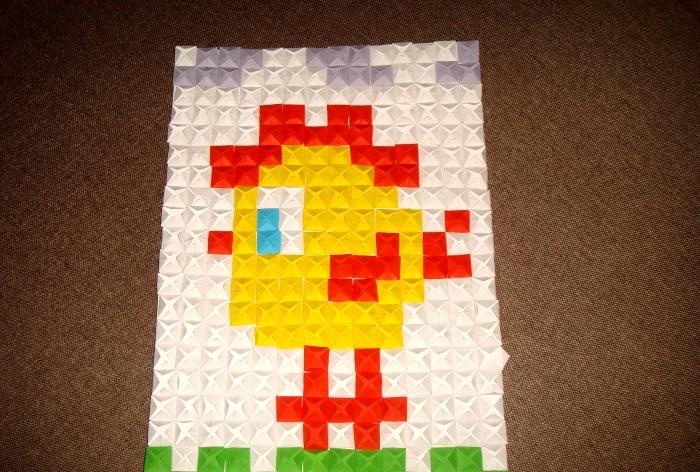
We form grass and clouds.
Cockerel using origami mosaic technique

We fill all the remaining space of the base with white modules.
Cockerel using origami mosaic technique

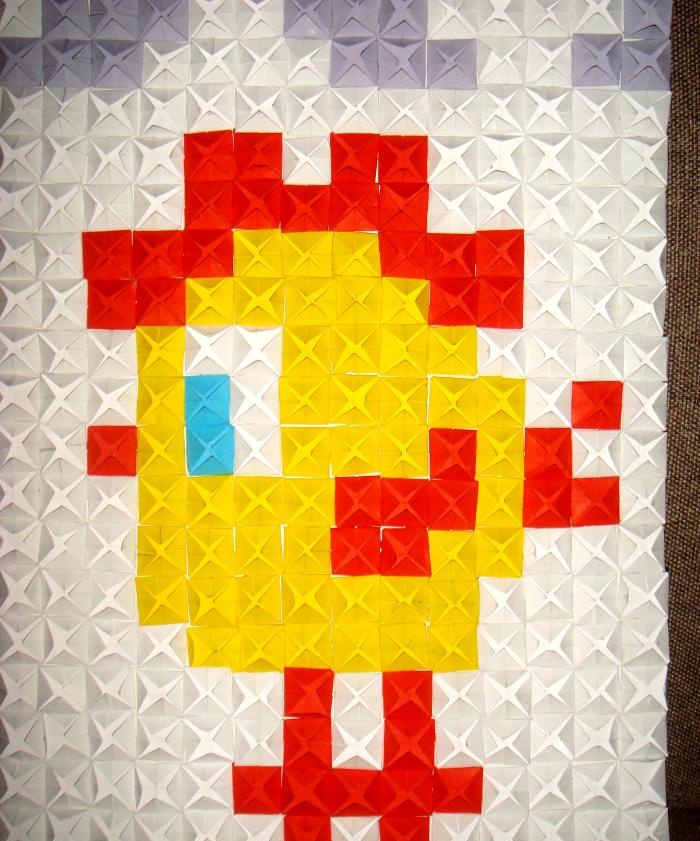
The painstaking work is finished, and now you can admire the original bird made from square modules.
Cockerel using origami mosaic technique

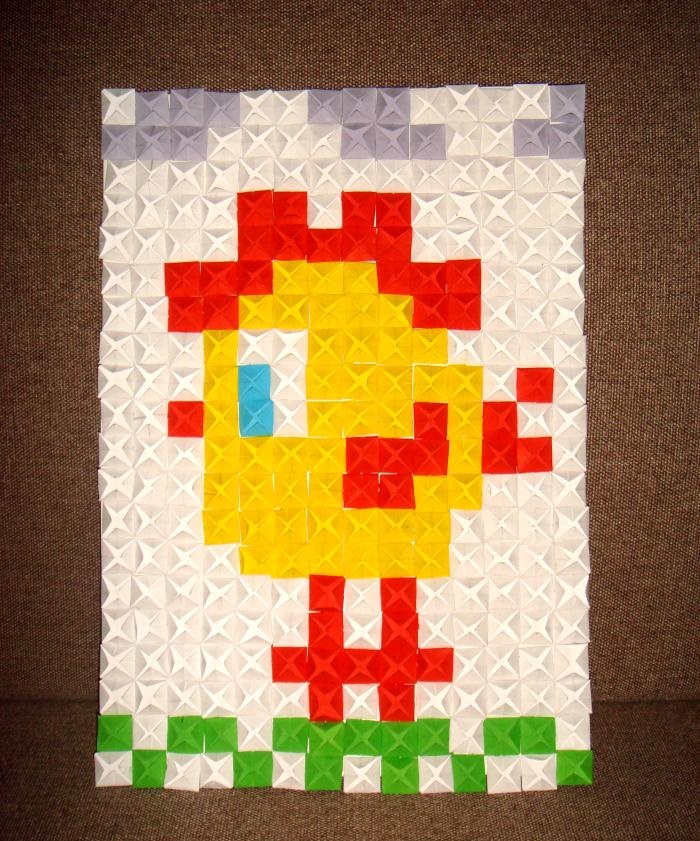
This is what the work looks like after the glue has dried!
Cockerel using origami mosaic technique

Unusual and exciting. Despite the fact that it took a lot of time to make the parts, I am pleased with the result. Now I have an original postcard - a cheerful Cockerel, which I will give to a colleague on New Year's Eve.
come back
Comment
  • bowtiesmilelaughingblushsmileyrelaxed relaxedsmirk
    heart_eyeskissing_heartkissing_closed_eyesflushedrelievedsatisfiedgrin
    winkstuck_out_tongue_winking_eyestuck_out_tongue_closed_eyesgrinningkissingstuck_out_tonguesleeping
    worriedfrowninganguishedopen_mouthgrimacingconfusedhushed
    expressionlessunamusedsweat_smilesweatdisappointed_relievedwearypassive
    disappointedconfoundedfearfulcold_sweatperseverecrysob
    joyastonishedscreamtired_faceangryragetriumph
    sleepyyummasksunglassesdizzy_faceimpsmiling_imp
    neutral_faceno_mouthinnocent
3+three=
Comments (0)

Reliable DIY slate glue

Budget Belt Sander | Do it yourself

Mobile boiler | Do it yourself

How to make a sprinkler with a large watering radius from PVC pipes

«Do it yourself - with your own hands» - a site of interesting homemade products made from scrap materials and items at home. Step-by-step master classes with photos and descriptions, technologies, life hacks - everything a real master or just a craftsman needs for needlework. Crafts of any complexity, a large selection of directions and ideas for creativity.

We recommend reading

Washing machine error codes