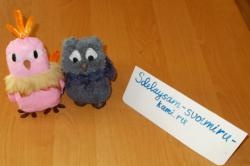
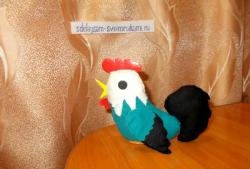
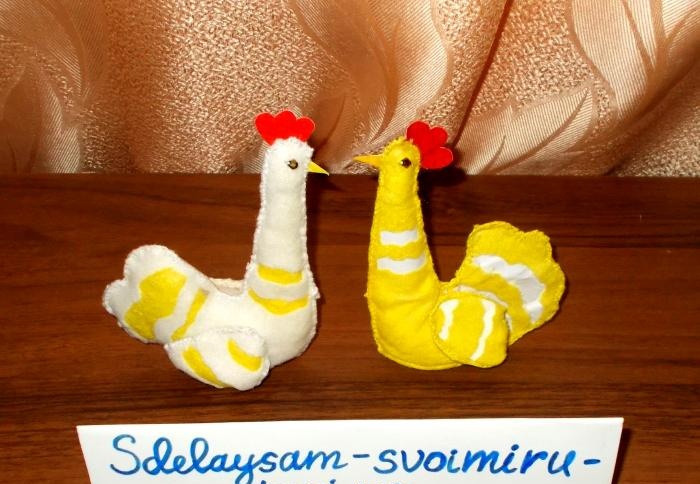
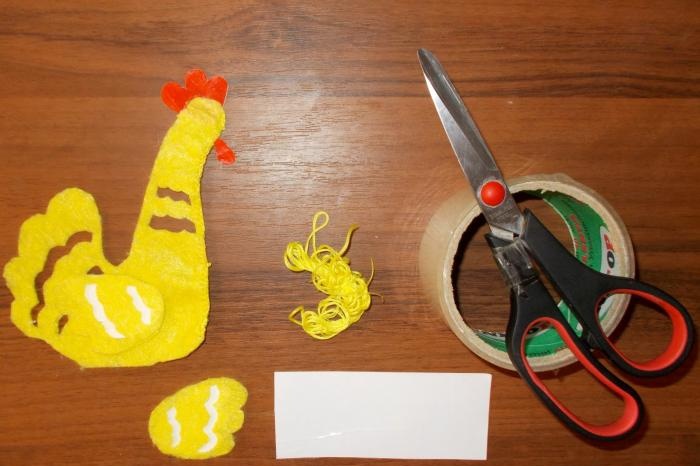
We got two of these toy chickens:
To make these toys we needed: yellow fabric (viscose), white fabric (not fraying after cutting), yellow and white threads with a needle, scissors, a cardboard sample, filler (cotton wool or padding polyester), four medium-sized brown beads , cardboard sheets of red and yellow paper, tape, tweezers and sewing needles for pinning.

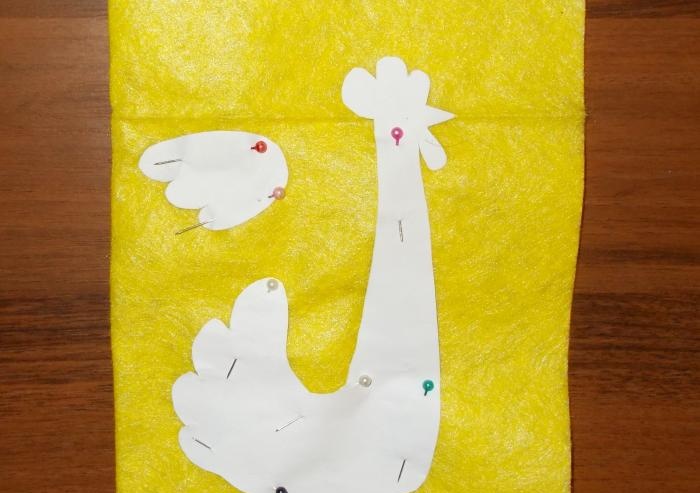
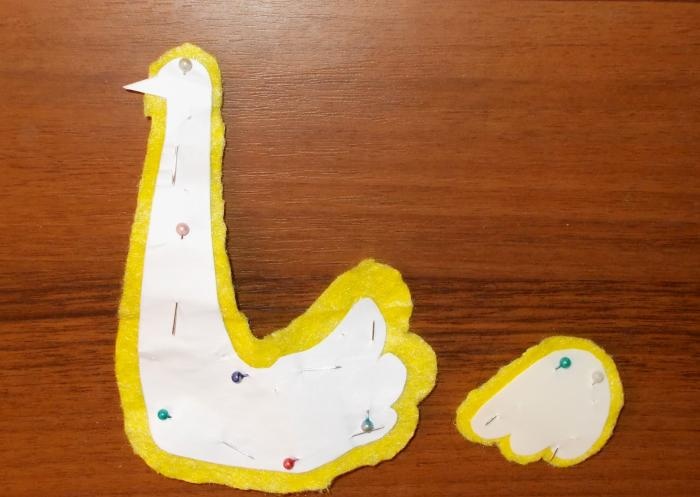
Starting work, from three layers of white paper we glue together a dense sample shape, slightly increasing its size:

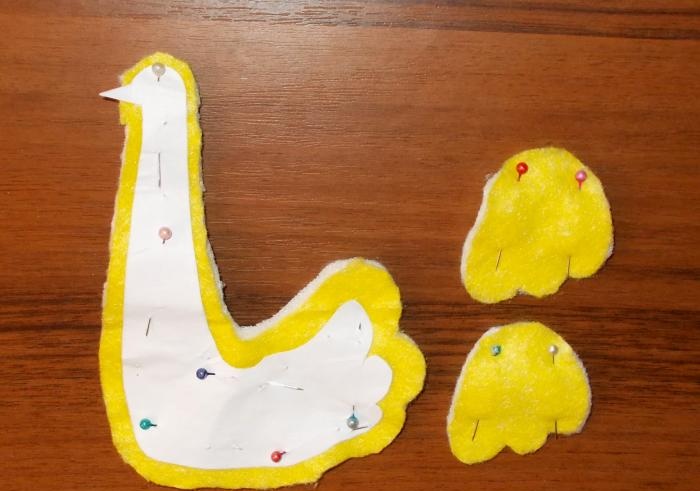
Next, we take yellow viscose fabric and, folding it in half, pin this sample to it using pinning needles:
Having cut out two parts of the future toy from the fabric with a slight indentation from the sample, we sew (sew around the outside) these parts from the front, from the neck to the bottom.To make one wing, we need two fabric figures - upper and lower - and between them you can place a cardboard sample covered with tape (if there is no white fabric). In order for the finished toy to be kept in a standing position, we cut out an additional oval part with pointed ends:
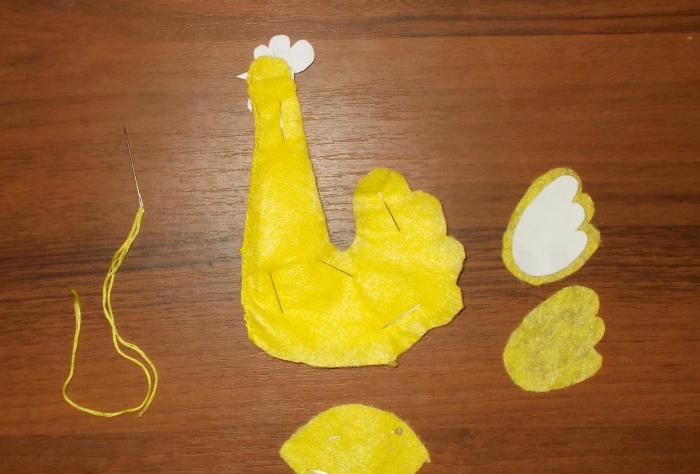
Next, we cut out openwork patterns in the neck, wings and tail on the parts of the future toy. You can cut out a scallop shape from red cardboard and cover it with tape on both sides (if there is no red fabric), and then sew them on. At first we wanted to make a red “chin” (earrings) for the future toy, and so we made them in advance; but a little later it turned out that the toy looks good even without them.
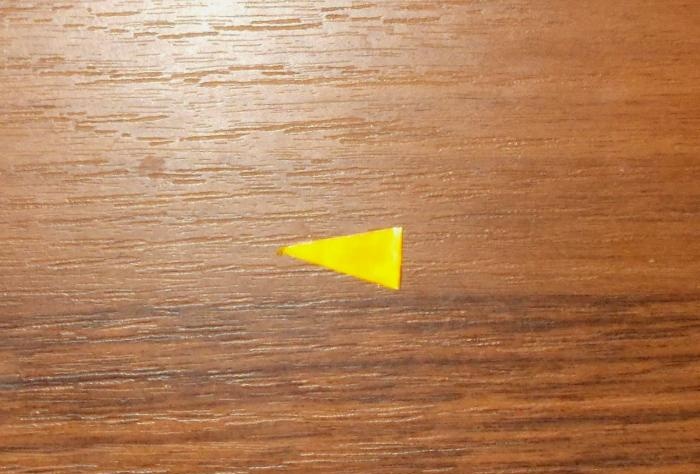
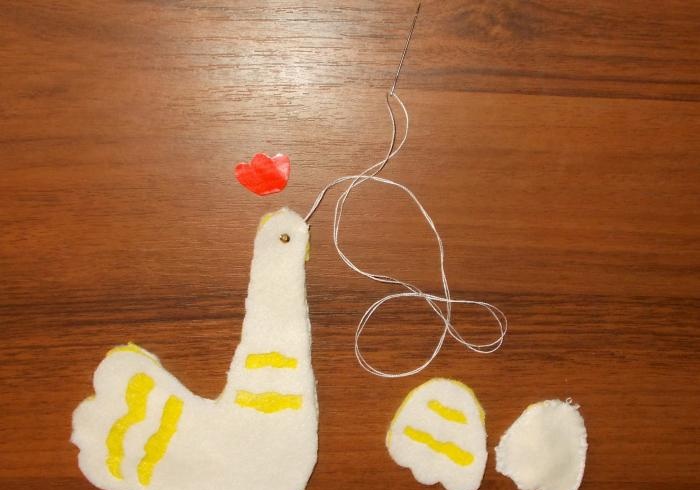
We cut out a beak from yellow glued cardboard covered with tape:
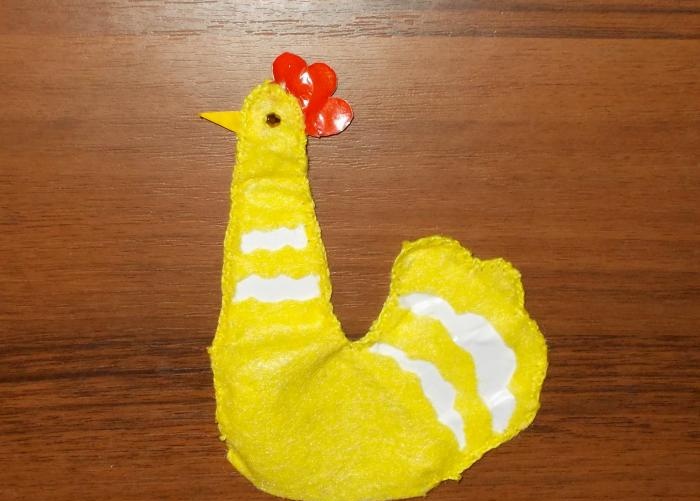
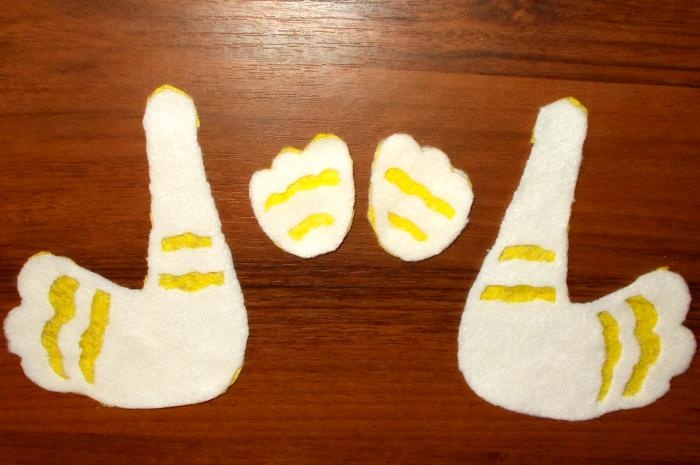
We need to sew this beak to the figure along with the comb and eyes - beads; and it will be more convenient to sew them on while it is not filled with cotton wool. In areas with a cutout, you need to insert white fabric and sew two parts of the toy (right and left):
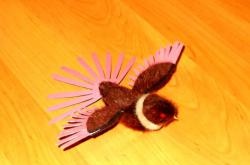
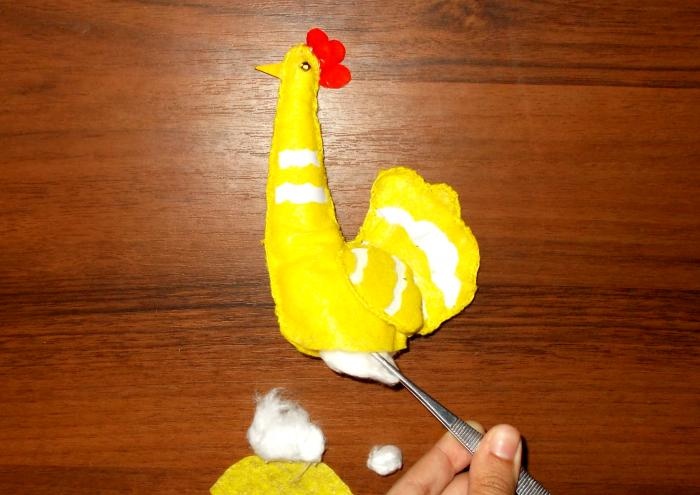
Next, we sew on the wings and make seams in the longitudinal section between the tail and body of the future toy so that when filling the toy with cotton wool, it cannot come out through the cut edges. After that, using tweezers, we fill the toy with cotton wool:
Next, we take an oval piece with pointed ends and sew it on from the bottom, while making seams inside:
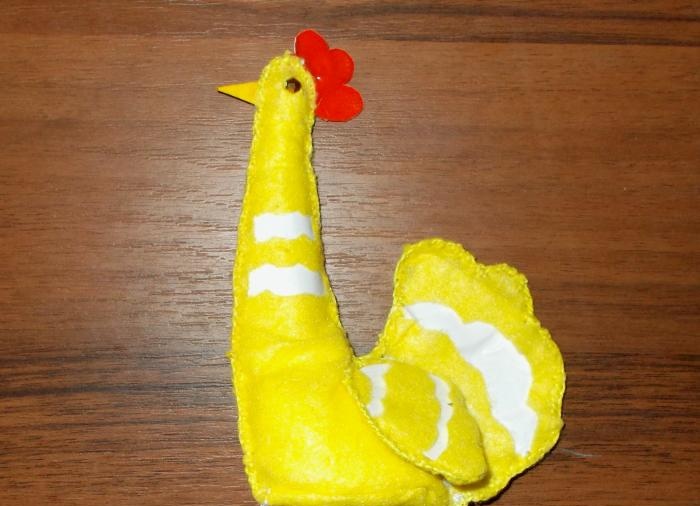
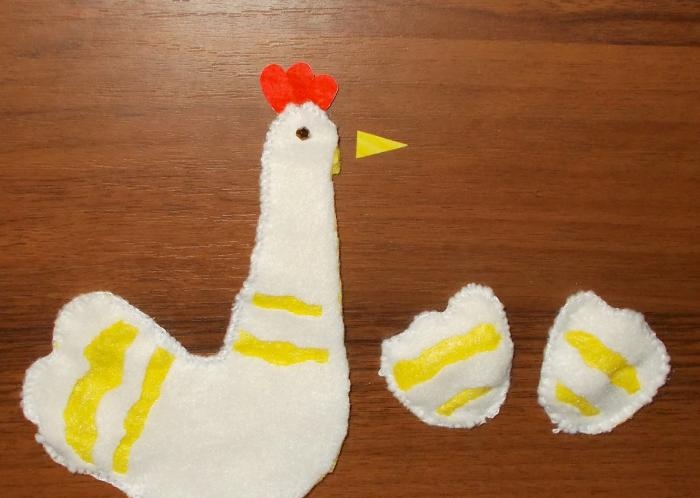
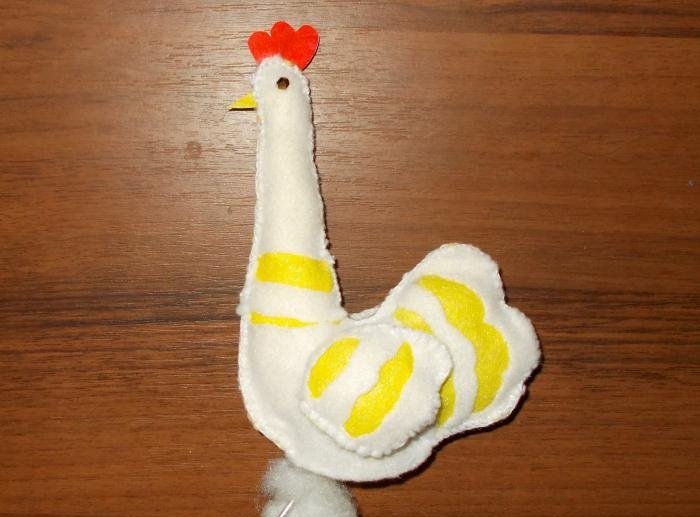
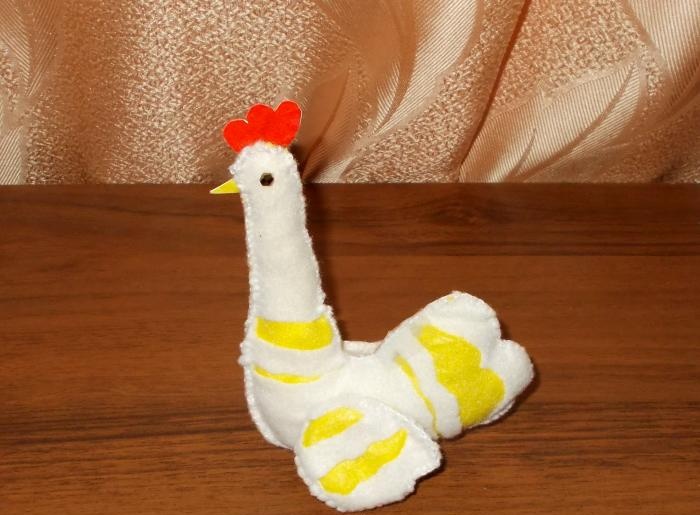
After this, our first toy is ready:
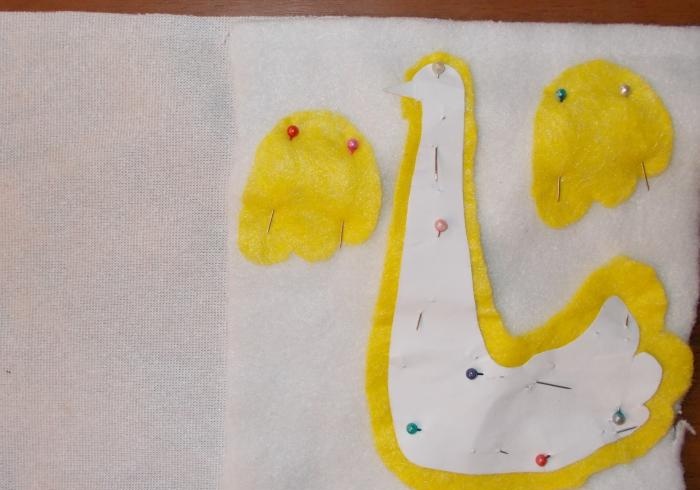
Now we start making the second toy from white and yellow fabric. First we take the yellow fabric and, folding it in two, pin cardboard samples to it:

Then we cut out these samples from the fabric with a slight indentation:
After this, we pin the cut out samples to a white fabric, also folded in two, and cut out:
We lay out the cut out parts on two sides, forming two parts of the future toy, and cut out openwork patterns on them:
Next, we sew an eye bead to the top of each side, thus connecting two layers of fabric in each side with seams, after which we will need to overcast these sides along the edge, attaching a comb with a beak:
After this we sew the wing parts. When they are ready, they will need to be sewn on:
Now we sew the parts of the body from the front, leaving only the oblong section at the bottom unsewn, for filling the toy with cotton wool.
When filling very narrow areas of the toy with cotton, you can use tweezers:
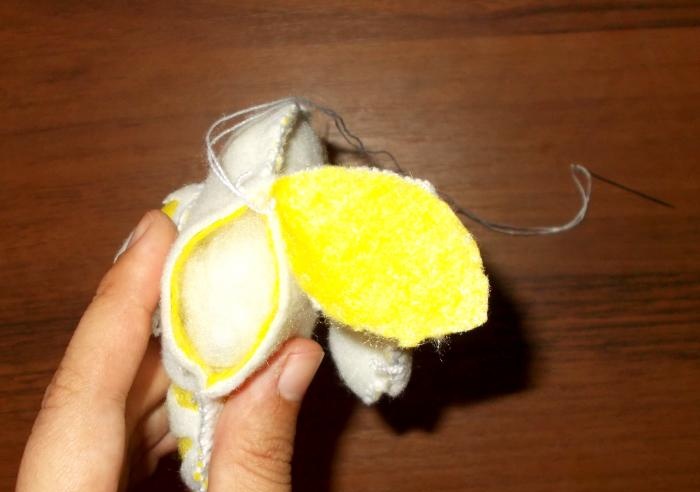
Next, we cut out two oval figures with pointed ends, which need to be sewn from the bottom in order to give the finished craft the ability to stay in a standing position:
We need to fold these two oval pieces, yellow and white, one on top of the other and sew them in such a way that the seams remain inside:
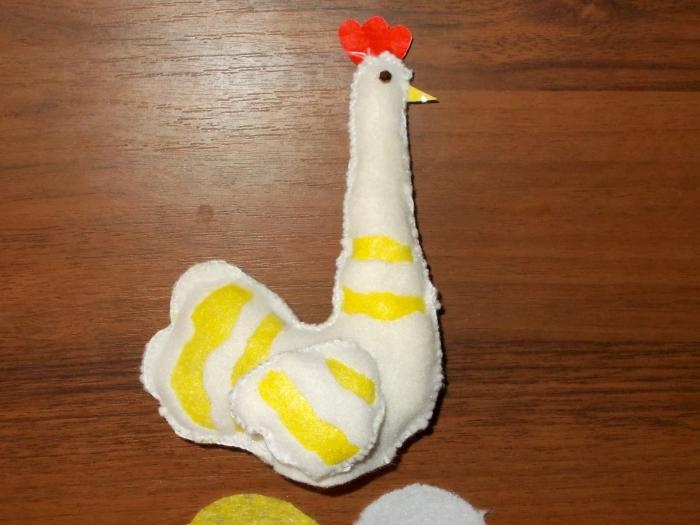
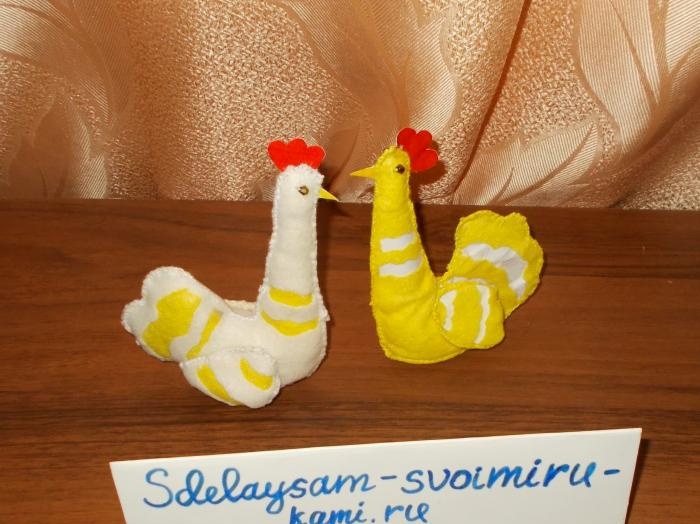
After work on these two parts is completed, our second toy will be ready:
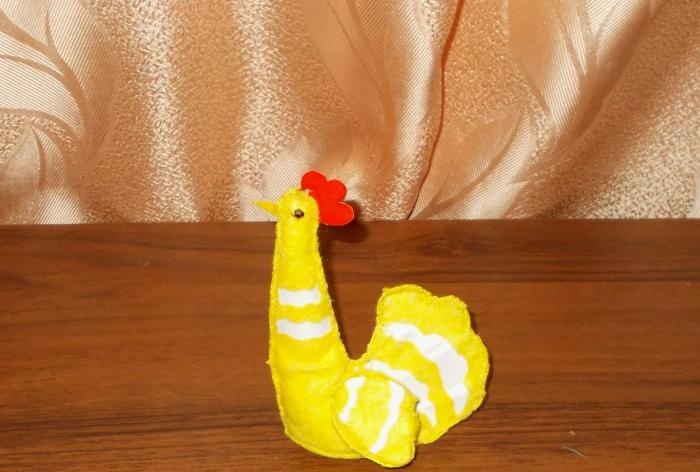
Like the first toy, it has the ability to stay in a standing position:
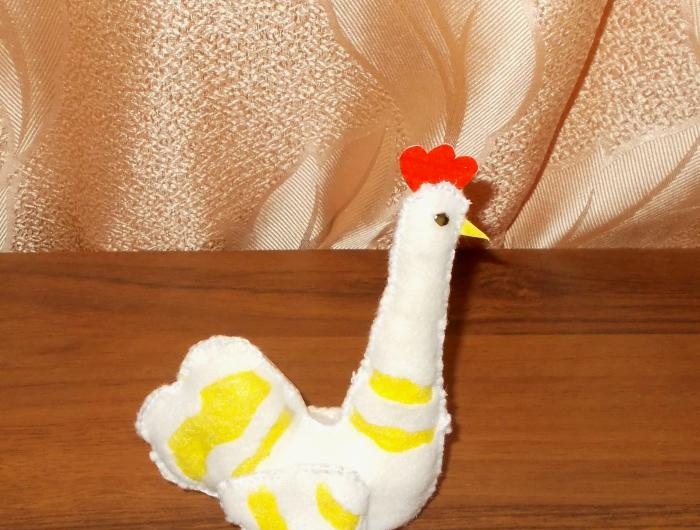
We think it turned out better than the first one. Here are both of our toys. After that, that’s it, our toys are ready:
Sincerely, Vorobyova Dinara.