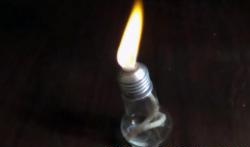
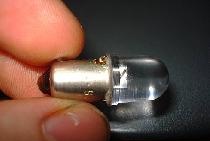
1. Degrease the bulb with nail polish remover. This is necessary so that the glass "adheres" to the paint. Let the bulb dry.


2. Paint the glass part of the bulb with white acrylic paint in two layers. Sushim.

3. Take the yellow paint and create the background for our chicken. It is advisable to put the color in two layers.

4. Using a simple pencil, draw eyes, beak, eyebrows, then draw them with a thin brush.

5. Holding the bulb by the base, varnish it.

6. After the varnish dries, we make Santa’s hat from plasticine. We insert a loop in the center of the cap, for which you can hang the chicken on a Christmas tree. Additionally we fix the loop with glue.

7. In order for the paint to lie flat on plasticine, with a small brush, cover the cap with flour.

8. We color a headdress in red and white color.

9. Coat the hat with varnish.
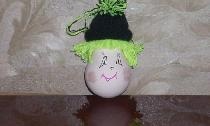
Christmas tree toy is ready! Feel free to hang it on a green beauty or present it to someone from your close people, putting it in a beautiful package. Symbol of the year - the fiery Rooster will certainly appreciate your efforts and become a good patron for all 12 months!