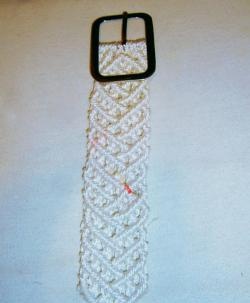
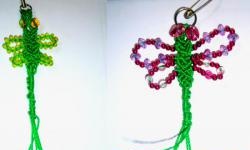
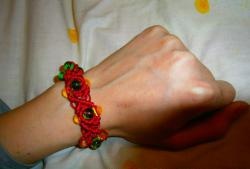
I want to tell you about the easiest bracelet to perform according to the technique - it consists of rhombs, which is formed, in turn, from diagonal nodes - nodes made of tatting.
You will need:
1. Buttons orange and green shiny 1 * 1.5 cm - 2 pieces.
2. Beads with a diameter of 0.8 cm orange and green - 4 pieces each.
3. Large beads - 64 pieces.
4. Beads medium -32 pieces.
5. The thread is green - 6 m and yellow 3 m.
6. Latch 1.8 cm wide.
7. Lighter.
8. Clay Sec.
1. Fold in half 6 strands of 1.5 m each and hang on a latch: 4 of them are green and 2 are yellow

2. We form a beautiful, clear edge of the macrame bracelet.
We attach 1 tatting knot to the 2 thread on the right.

We attach 2 knots to the right on the 3rd thread, tatting it with the 1st and 2nd threads.

On the 6th thread on the right we hang 5 knots with threads on the right.

And on the left.

Connect the two edges together with a tatting knot.

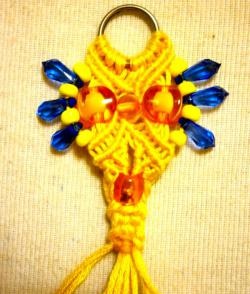
3. Weave two more rows of diagonal knots and string a green button on two middle threads.
[center]

4. We close the button with two rows of diagonal knots from tatting, hanging them on the extreme threads on the right and left and string an orange bead on two middle threads.

5. On these middle threads we hang 2 threads on the right and left, string 4 or 5 orange beads, then hang the thread again, and then string 8 yellow beads.

6. We open the rhombus with the first row of diagonal nodes and string on the extreme threads along a green bead - these threads will not participate in the formation of the second and third rows of diagonal nodes.
Next, string an orange button and close the rhombus with two rows of diagonal nodes.

7. The third row will be formed with the participation of these extreme strands with beads - then you will get an even beautiful edge of the bracelet

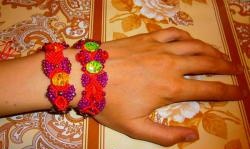
8. We form the next row, alternating a green button with orange beads.

9. At the end of the bracelet, pull the threads a little and tie it with a knot on the fastener, drip with glue a second until the glue sets, and cut off the ends. Also, for greater rigidity, you can drop glue on the strands without beads - to give greater rigidity to the bracelet.

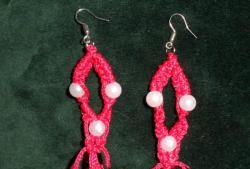
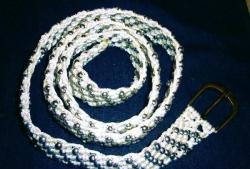
In the same way, you can get other beautiful bracelets.